1. Introduction
Thank you for choosing the Camelion Mini Portable Charger BC-1001B. This compact and efficient charger is designed to safely and reliably charge AA, AAA, and 9V rechargeable batteries. Please read this manual thoroughly before use to ensure proper operation and to maximize the lifespan of your charger and batteries.
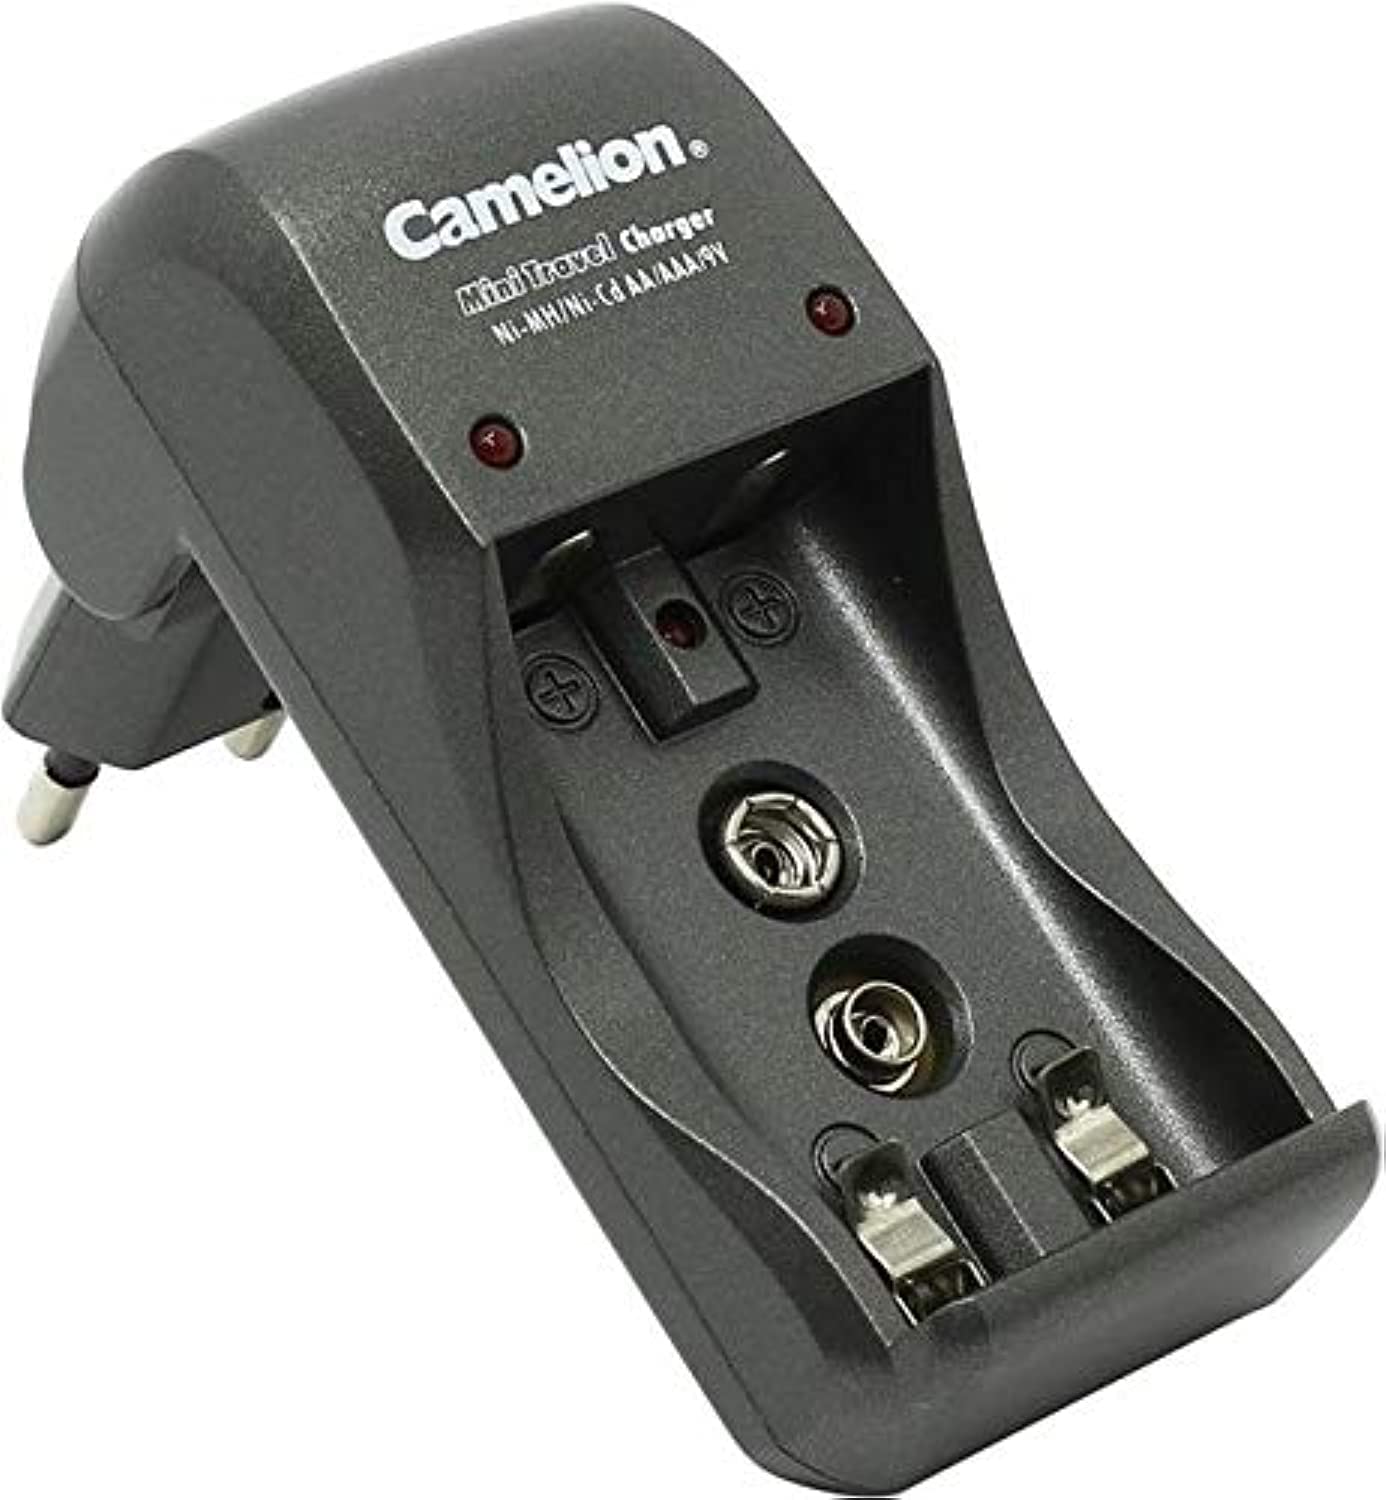
Image 1.1: The Camelion Mini Portable Charger BC-1001B. This image shows the compact design of the charger, suitable for various battery types.
2. Safety Precautions
To prevent injury or damage to the charger and batteries, always observe the following safety precautions:
- Use this charger only with specified rechargeable batteries (AA, AAA, 9V Nickel-Metal Hydride (Ni-MH) or Nickel-Cadmium (Ni-Cd)).
- Do not attempt to charge non-rechargeable batteries. This may lead to leakage, rupture, or explosion.
- Keep the charger out of reach of children and pets.
- Do not expose the charger to water, moisture, or extreme temperatures.
- Unplug the charger from the power source when not in use or during cleaning.
- Do not disassemble, modify, or attempt to repair the charger yourself. Contact qualified service personnel if repair is needed.
- Ensure proper ventilation during charging. Do not cover the charger.
3. Package Contents
Please check the package for the following items:
- 1 x Camelion Mini Portable Charger BC-1001B
- 1 x User Manual
4. Setup
Follow these steps for initial setup:
- Unpacking: Carefully remove the charger from its packaging.
- Power Connection: Connect the charger to a standard wall power outlet. Ensure the connection is secure.
- Battery Insertion: Insert rechargeable batteries into the designated charging slots. Pay close attention to the polarity markings (+ and -) on both the batteries and the charger to ensure correct insertion.
5. Operating Instructions
The Camelion Mini Portable Charger BC-1001B is designed for straightforward operation.
5.1 Charging AA/AAA Batteries
- Insert one or two AA or AAA rechargeable batteries into their respective charging slots. Ensure the positive (+) and negative (-) terminals align correctly with the charger's markings.
- Once batteries are correctly inserted, the charging indicator light for that slot will illuminate, typically red, to indicate that charging is in progress.
- When the batteries are fully charged, the indicator light will change color (e.g., to green) or turn off, depending on the charger's design.
- Remove the batteries promptly once charging is complete.
5.2 Charging 9V Batteries
- Connect one 9V rechargeable battery to the dedicated 9V charging terminal. Ensure the positive (+) and negative (-) terminals align correctly.
- The charging indicator light for the 9V slot will illuminate, typically red, to indicate charging is in progress.
- When the 9V battery is fully charged, the indicator light will change color (e.g., to green) or turn off.
- Remove the 9V battery promptly once charging is complete.
5.3 Charging Indicators
The charger features LED indicators to show the charging status:
- Red LED: Indicates that the battery is currently charging.
- Green LED (or LED off): Indicates that charging is complete, and the battery is ready for use.
6. Maintenance
Proper maintenance ensures the longevity and optimal performance of your charger.
- Cleaning: Always disconnect the charger from the power source before cleaning. Use a soft, dry cloth to wipe the exterior of the charger. Do not use liquid cleaners, solvents, or abrasive materials, as these can damage the device.
- Storage: When not in use, store the charger in a cool, dry place, away from direct sunlight, high temperatures, and moisture. Ensure no batteries are left in the charger during storage.
7. Troubleshooting
If you encounter issues with your charger, please refer to the table below for common problems and solutions:
| Problem | Possible Cause | Solution |
|---|---|---|
| Charger not powering on | No power connection | Check if the charger is securely plugged into a working wall outlet. Try a different outlet. |
| Batteries not charging (indicator not lighting up) | Incorrect battery type or polarity / Faulty battery | Ensure you are using rechargeable AA, AAA, or 9V batteries. Verify correct positive (+) and negative (-) polarity. Try charging a different, known-good rechargeable battery. |
| Charger or batteries become excessively hot during charging | Poor ventilation / Faulty battery / Overcharging (less likely with modern chargers) | Ensure the charger is in a well-ventilated area and not covered. Remove the battery immediately if it feels excessively hot. Discontinue use of that battery if it consistently overheats. |
8. Specifications
Technical details for the Camelion Mini Portable Charger BC-1001B:
| Feature | Detail |
|---|---|
| Model | BC-1001B |
| Brand | Camelion |
| Compatible Battery Types | AA, AAA, 9V (Ni-MH/Ni-Cd Rechargeable) |
| Dimensions (L x W x H) | 17.6 x 8.6 x 1.2 cm |
| Weight | 44 grams |
| Compliance | CE |
| UPC | 873999006915 |
9. Warranty Information
This Camelion product is covered by a standard manufacturer's warranty. The warranty period and terms may vary by region and retailer. Please retain your original purchase receipt as proof of purchase for any warranty claims. For detailed warranty information, please refer to the warranty card included with your product or visit the official Camelion website.
10. Customer Support
Should you require technical assistance, have questions regarding product operation, or need to report an issue, please contact Camelion customer support. Contact information can typically be found on the product packaging, the official Camelion website, or through your retailer.
For more information, you may visit the Camelion Store on Amazon.