1. Introduction and Overview
The WantJoin Manual Cup Sealing Machine is designed for efficiently sealing beverage cups, commonly used for milk tea, juices, and other drinks. This machine operates manually, providing a secure seal for cups with specific dimensions. It features a rapid heating system and is built for consistent performance in commercial or home settings.

Image: Overview of the WantJoin Manual Cup Sealing Machine, highlighting its high-efficiency design.
2. Safety Instructions
- Always ensure the machine is placed on a stable, level surface.
- Do not operate the machine with wet hands or near water to prevent electric shock.
- Keep hands clear of moving parts and the heating element during operation. The heating element can reach high temperatures.
- Unplug the machine from the power outlet before cleaning or performing any maintenance.
- Do not attempt to modify or repair the machine yourself. Contact qualified personnel for service.
- Ensure proper ventilation around the machine during use.
3. Setup
3.1 Unpacking and Placement
- Carefully remove all packaging materials.
- Place the machine on a sturdy, flat, and heat-resistant surface. Ensure there is adequate space around the machine for operation and ventilation.
- Verify all components are present and undamaged.
3.2 Installing the Sealing Film Roll
- Insert the film roll onto the designated spindle.
- Thread the film through the guides as shown in the diagram or video, ensuring it is taut and aligned.
- Secure the film roll and ensure it can rotate freely.

Image: Close-up of the film roll installation area, demonstrating easy setup.
3.3 Connecting Power
Plug the power cord into a grounded electrical outlet. Ensure the voltage matches the machine's requirements (110V/50HZ).
Video: Demonstrates the installation of the film roll and general operation of the WantJoin Manual Cup Sealing Machine.
4. Operating Instructions
4.1 Powering On and Heating
- Press the red "POWER SWITCH" button to turn on the machine.
- The red "HEATING" indicator light will illuminate. The machine typically takes about 3 minutes to reach the optimal sealing temperature for the first use.
- Once the green "STEADY TEMPERATURE" indicator light illuminates, the machine is ready for operation.
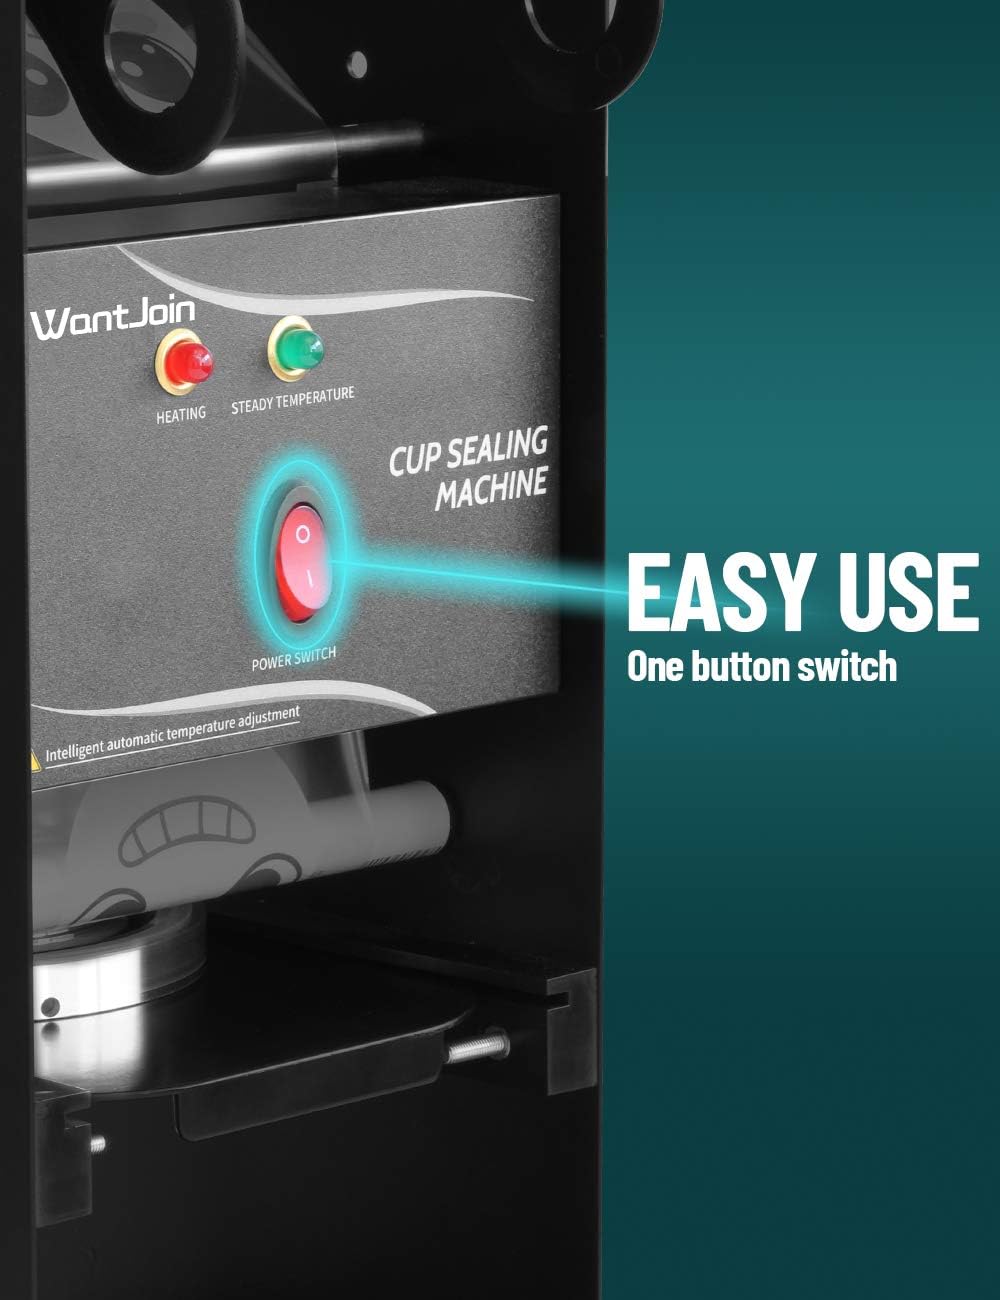
Image: Close-up of the control panel showing the power switch and heating/steady temperature indicator lights.

Image: Illustration of the heating element, indicating the 3-minute initial heat-up time.
4.2 Placing the Cup
- Pull out the cup tray.
- Place a filled cup into the cup holder on the tray. Ensure the cup is centered and sits firmly.
- Push the cup tray back into the machine until it is fully inserted and the cup is positioned under the sealing head.

Image: A cup being placed into the machine for sealing, showing the quick 3-second sealing process.

Image: Detail of the fixed slot ensuring accurate cup placement for sealing.

Image: Shows the adjustable cup holder, allowing for various cup heights.
4.3 Sealing the Cup
- Once the cup is in position, firmly pull down the handle bar. This action will press the sealing film onto the cup and activate the sealing process.
- Hold the handle down for approximately 3 seconds to ensure a complete and secure seal.
- Release the handle. The sealed cup will be ready for removal.

Image: A sealed cup demonstrating a tight, drip-free seal.
4.4 Removing the Sealed Cup
Pull the cup tray out again and carefully remove the sealed cup. The machine is now ready for the next cup.
5. Maintenance
5.1 Cleaning the Machine
- Always unplug the machine before cleaning.
- The cup tray is removable for easy cleaning. Slide it out and wash with mild soap and water. Dry thoroughly before reinserting.
- Wipe down the exterior of the machine with a damp cloth. Do not use abrasive cleaners or immerse the machine in water.
- Regularly check and clean any film residue from the sealing area to ensure optimal performance.

Image: Close-up of the removable cup tray, emphasizing ease of cleaning.
5.2 Film Roll Replacement
When the film roll is depleted, follow the steps in Section 3.2 to replace it with a new roll. Ensure the new film is correctly aligned to prevent sealing issues.
6. Troubleshooting
- Machine Not Powering On: Check if the power cord is securely plugged into a working outlet. Ensure the power switch is in the "ON" position.
- Machine Not Heating: Verify the red "HEATING" indicator light is on. If not, check power connection. Allow sufficient time (approx. 3 minutes) for initial heating. If the issue persists, contact support.
- Poor Seal or Leaking Cups:
- Ensure the cup is correctly placed and centered in the cup holder.
- Check if the sealing film is properly threaded and taut, without wrinkles or tears.
- Confirm the machine has reached operating temperature (green "STEADY TEMPERATURE" light is on).
- Ensure the handle is pressed down firmly and held for the recommended 3 seconds.
- Verify that the cups and film are compatible with the machine's specifications.
- Film Not Advancing: Check for any obstructions in the film path. Ensure the film roll is installed correctly and not jammed.
- Missing Parts: If any parts are missing upon arrival, please contact the seller or manufacturer immediately for assistance.
7. Specifications
| Feature | Specification |
|---|---|
| Brand | WantJoin |
| Model | B08YWPKFHZ |
| Material | Stainless Steel |
| Power Source | Electric |
| Operation Mode | Manual |
| Wattage | 80 watts |
| Voltage/Frequency | 110V/50HZ |
| Compatible Cup Diameter | 90mm / 95mm (85mm/88mm rings provided) |
| Maximum Cup Height | 180mm (Under 18cm) |
| Output Capacity | 300-500 cups/hour |
| Dimensions (W x D x H) | 7.9 in x 9.8 in x 20.1 in |
| Weight | 10 kg |

Image: Labeled diagram of the machine with key parts and dimensions.

Image: Chart illustrating compatible plastic and paper cup sizes (low and high cups under 18cm) and included adapter rings.
8. Warranty and Support
For warranty information, technical support, or to inquire about replacement parts, please contact the manufacturer or your point of purchase. Keep your purchase receipt and product model number handy for faster service.