1. Introduction
This manual provides essential information for the proper installation, operation, and maintenance of the GlobPro 2552A Ice Maker Water Valve. This component is designed as a replacement part for various ice maker models, including Uline 2552A, and is engineered to meet OEM standards for reliable performance. Please read these instructions thoroughly before proceeding with installation or use.
The GlobPro 2552A water valve is compatible with a range of brands such as True, Beverage Air, Plased, Tecumseh, RCA, Estate Whirlpool, Monogram, Maytag, GE, Kenmore, Samsung, Frigidaire, Amana, LG, Miele, and more. Note that the physical appearance or part number of the replacement valve may differ from your original part due to updated designs, but it is engineered for a perfect fit and function.
2. Safety Information
WARNING: Before attempting any installation or repair, always disconnect power to the appliance and shut off the water supply. Failure to do so can result in electric shock, water damage, or personal injury.
- Always wear appropriate personal protective equipment, such as gloves and safety glasses.
- Ensure the work area is dry and well-lit.
- If you are unsure about any step, consult a qualified technician.
- Do not use damaged tools or equipment.
- Verify that the replacement part specifications match your appliance's requirements (e.g., voltage).
3. Installation Instructions
The installation process typically takes approximately 15 minutes. No additional wire cables, terminals, or glue are required.
3.1. Pre-Installation Check
- Verify Compatibility: Compare your existing water valve with the GlobPro 2552A. Pay attention to the inlet and outlet connection types and sizes. The replacement valve may have a different appearance or part number than your old one, but it is designed to be a functional equivalent.
- Gather Tools: You will typically need basic hand tools such as screwdrivers, pliers, and a wrench.

Image 3.1: This image displays two types of ice maker water valves. The valve on the left features a 5/16 inch threaded intel and a 1/4 inch hose or copper tube connection. The valve on the right has a 3/4 inch threaded intel and a 1/4 inch threaded outlet. Note that the color of the replacement valve may differ from your original.

Image 3.2: This image illustrates several different mounting and connection configurations for the GlobPro 2552A water valve, highlighting its versatile design to ensure a perfect fit for both older and newer ice maker models.
3.2. Step-by-Step Installation
- Disconnect Power: Unplug the ice maker or turn off the circuit breaker supplying power to the appliance.
- Shut Off Water Supply: Locate the water shut-off valve for the ice maker and turn it off.
- Drain Water: Disconnect the water line from the old valve and allow any residual water to drain into a towel or small container.
- Remove Old Valve: Carefully disconnect any electrical wiring and mounting screws securing the old water valve. Note the orientation of the old valve for reference.
- Install New Valve: Position the GlobPro 2552A replacement valve in the same orientation as the old one. Secure it with the mounting screws.
- Connect Water Lines: Attach the water inlet and outlet lines to the new valve. Ensure all connections are tight to prevent leaks.
- Connect Electrical Wiring: Reconnect the electrical wires to the terminals on the new valve.
- Restore Water Supply: Slowly turn on the water shut-off valve and check for any leaks around the connections.
- Restore Power: Plug in the ice maker or turn on the circuit breaker.
- Test Operation: Allow the ice maker to cycle and produce ice. Check for proper water flow and ice production.

Image 3.3: A detailed view of the GlobPro 2552A water valve, featuring a blue plastic body and a metal mounting bracket, with a 'Quality Approved Control' stamp visible on the bracket.
4. Operation
Once correctly installed, the GlobPro 2552A water valve operates automatically as part of your ice maker's system. It controls the flow of water into the ice maker mold based on signals from the ice maker's control board.
4.1. Initial Operation
- After installation and restoring power, the ice maker will typically perform an initial fill cycle.
- Observe the water flow into the ice mold to ensure it is consistent and without leaks.
- The first batch of ice may take longer to produce. Discard the first few batches of ice to flush any air or impurities from the water line.
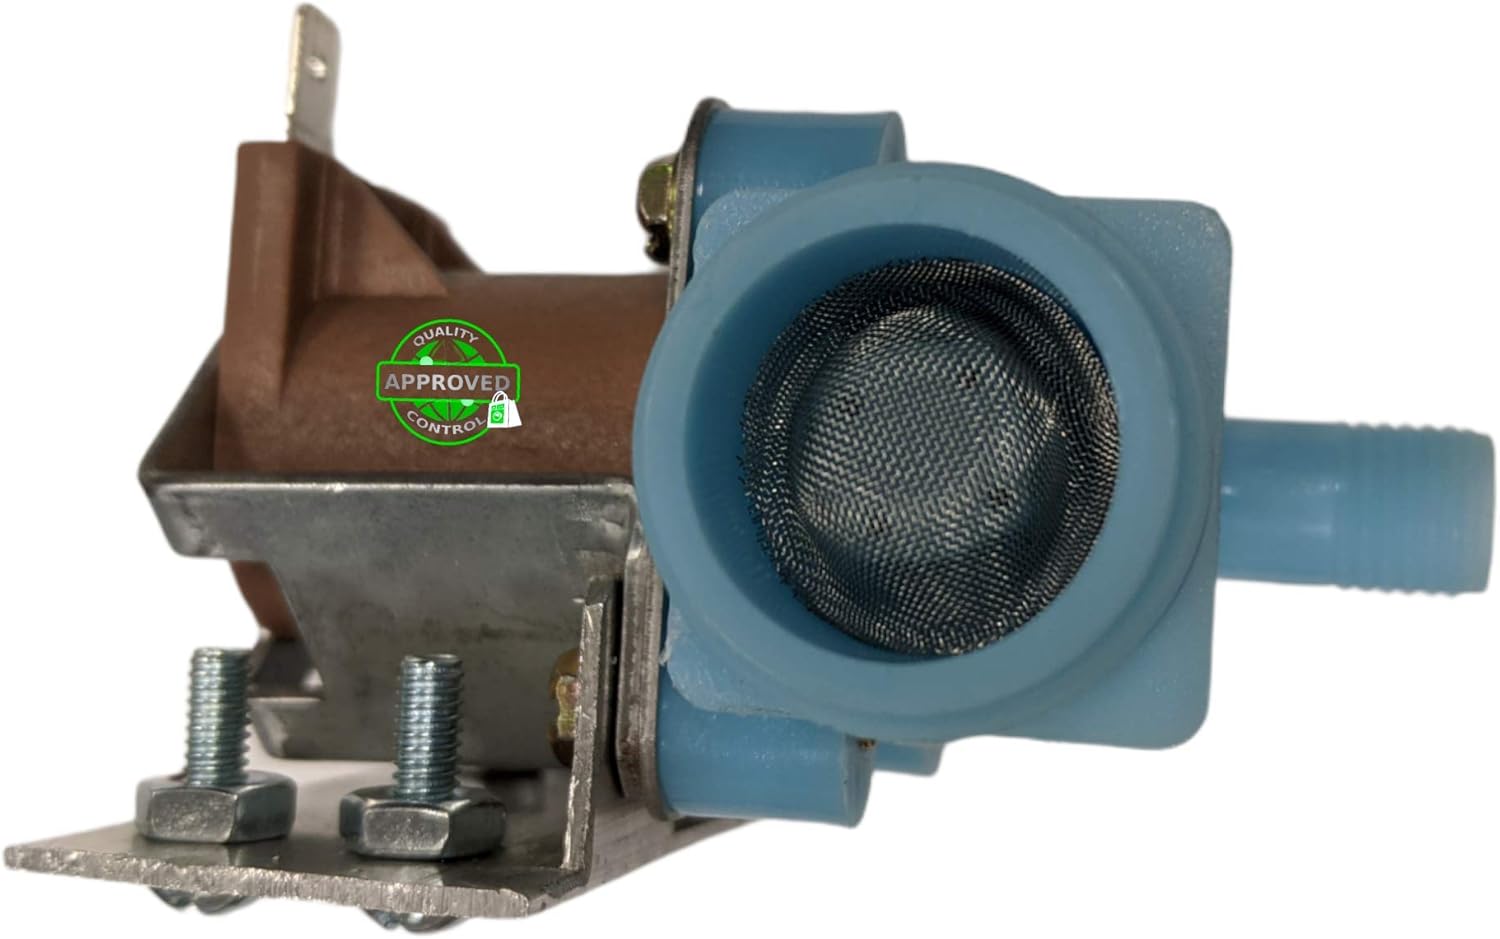
Image 4.1: This image provides a side view of the water valve, showcasing the brown solenoid coil and the blue inlet port with a visible mesh screen filter designed to prevent debris from entering the valve.
5. Maintenance
The GlobPro 2552A water valve is designed for durability and requires minimal maintenance. However, periodic checks can help ensure its longevity and optimal performance.
- Leak Inspection: Periodically inspect the water lines and connections around the valve for any signs of leaks. Address any leaks immediately to prevent water damage.
- Inlet Screen Cleaning: The valve features an inlet screen to filter out sediment. If water flow is reduced, you may need to disconnect the water supply and clean this screen. Refer to Image 4.1 for the location of the inlet screen.
- General Cleaning: Keep the area around the valve clean and free of dust or debris.
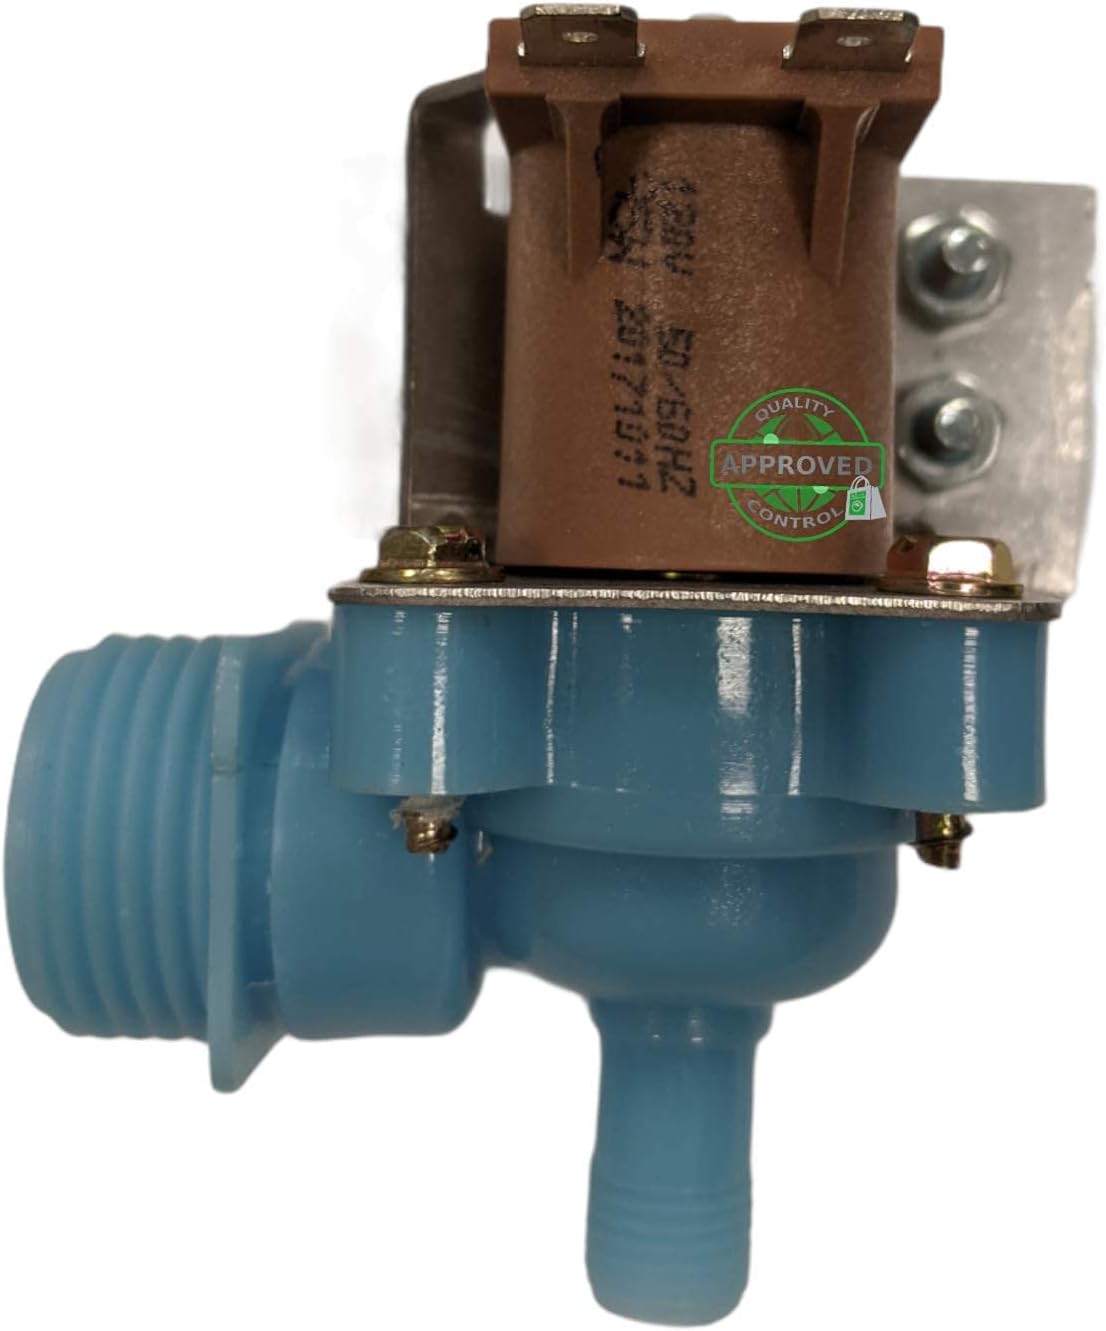
Image 5.1: A front-facing view of the water valve, highlighting the solenoid coil with printed specifications '120V ED 50/60HZ', indicating its operating voltage and frequency.
6. Troubleshooting
If your ice maker is not functioning correctly after installing the GlobPro 2552A water valve, refer to the following common issues and solutions:
| Problem | Possible Cause | Solution |
|---|---|---|
| No water filling ice mold |
|
|
| Water leak at valve connections |
|
|
| Ice maker not producing ice |
|
|
7. Specifications
| Feature | Specification |
|---|---|
| Model Name | 2552A |
| Brand | Global Solutions |
| Voltage | 120 Volts |
| Wattage | 12 watts |
| Item Weight | 7 ounces |
| Package Dimensions | 4.76 x 4.41 x 4.37 inches |
| Part Number | 2552A-DC |
| UPC | 631344902752 |
8. Warranty & Support
For specific warranty information regarding your GlobPro 2552A Ice Maker Water Valve, please refer to the documentation provided at the time of purchase or contact the seller directly. Global Solutions aims to provide high-quality replacement parts.
If you require technical assistance or have questions not covered in this manual, please contact Global Solutions USA customer support through your purchase platform or the manufacturer's official channels.