1. Introduction
This manual provides detailed instructions for the installation, operation, and maintenance of your DigitaLinx DL-USB-PTZ20-W TeamUp+ Series PTZ Camera. Please read this manual thoroughly before using the product to ensure proper and safe operation.
1.1 Product Overview
The DigitaLinx DL-USB-PTZ20-W is a high-performance Pan-Tilt-Zoom (PTZ) camera designed for professional video conferencing, live streaming, and recording applications. It features 20x optical zoom, 1080p video resolution, and multiple output interfaces including USB 3.0, HDMI, SDI, and LAN, making it versatile for various integration scenarios. The camera is equipped with advanced low-light capabilities to ensure clear images in diverse lighting conditions.
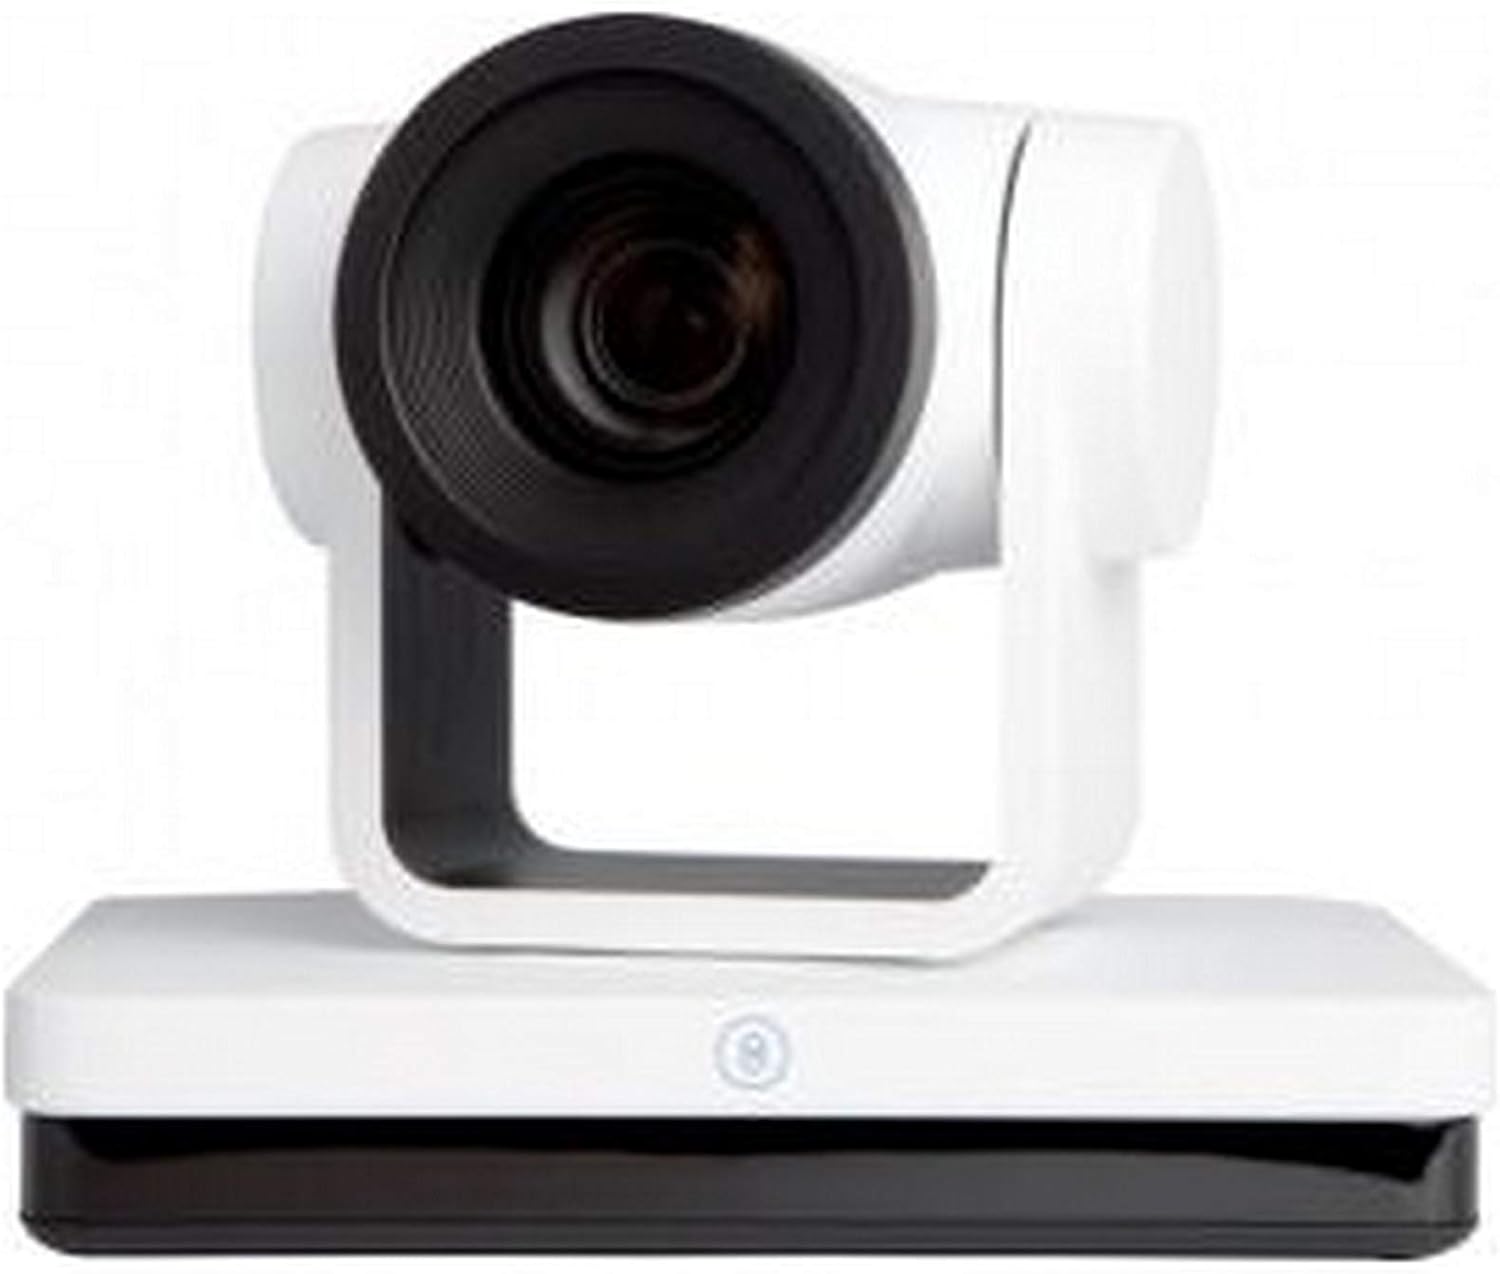
Figure 1: Front view of the DigitaLinx DL-USB-PTZ20-W PTZ Camera. The camera features a white body with a black lens housing, mounted on a white base.
1.2 Package Contents
Verify that all items are present and in good condition. If any items are missing or damaged, contact your vendor immediately.
- DL-USB-PTZ20-W PTZ Camera (White)
- Power Adapter
- USB 3.0 Cable
- IR Remote Control
- Wall Mount Bracket (with screws)
- User Manual (this document)
2. Safety Information
Observe the following safety precautions to prevent damage to the product and to ensure the safety of the user.
- Power Supply: Use only the provided power adapter. Ensure the power source matches the camera's requirements.
- Ventilation: Do not block ventilation openings. Install the camera in a location with adequate airflow.
- Environment: Avoid exposing the camera to moisture, extreme temperatures, dust, or corrosive environments.
- Cleaning: Disconnect power before cleaning. Use a soft, dry cloth. Do not use liquid or aerosol cleaners.
- Servicing: Do not attempt to open or service the camera yourself. Refer all servicing to qualified personnel.
- Mounting: Ensure the mounting surface or tripod is stable and can support the camera's weight.
3. Setup
3.1 Physical Installation
The DL-USB-PTZ20-W camera can be placed on a flat surface, mounted on a wall, or installed on a tripod.
- Desktop Placement: Place the camera on a stable, level surface. Ensure there is sufficient space for pan and tilt movements.
- Wall Mounting: Use the provided wall mount bracket. Securely attach the bracket to a sturdy wall using appropriate fasteners. Then, attach the camera to the bracket. Ensure the camera is level and stable.
- Tripod Mounting: The camera base includes a standard tripod screw hole for mounting on a compatible tripod.

Figure 2: Angled view of the DigitaLinx DL-USB-PTZ20-W PTZ Camera, showing its compact design suitable for various installations.
3.2 Connecting the Camera
Refer to Figure 3 for the rear panel connections. Ensure the camera is powered off before making any connections.
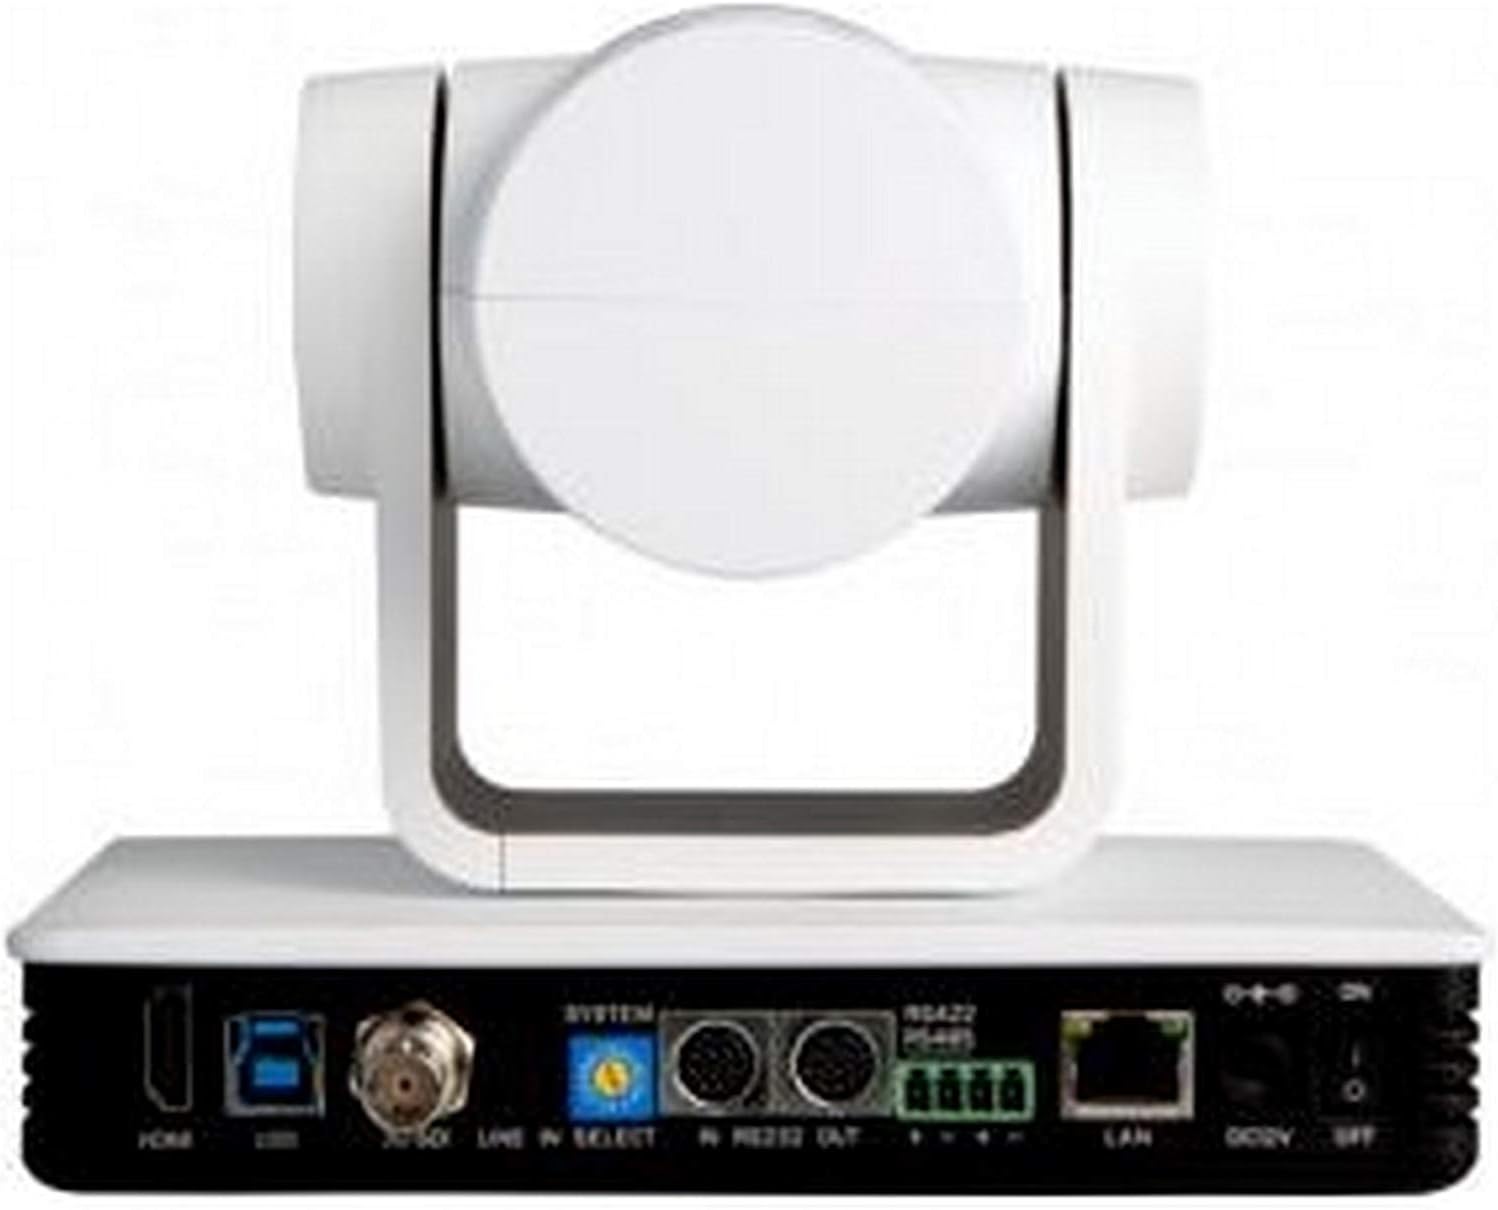
Figure 3: Rear panel of the DigitaLinx DL-USB-PTZ20-W PTZ Camera, displaying various input/output ports including HDMI, USB 3.0, SDI, LAN, and control ports.
- Power Connection: Connect the provided power adapter to the "DC12V" port on the rear panel and then to a power outlet.
- USB 3.0 Connection: For video conferencing and control via a computer, connect the USB 3.0 cable from the camera's "USB 3.0" port to a USB 3.0 port on your computer.
- HDMI Output: Connect an HDMI cable from the "HDMI" port to a display, projector, or video switcher for high-definition video output.
- SDI Output: Connect an SDI cable from the "3G-SDI" port to a professional video switcher or recorder for broadcast-quality video output.
- LAN Connection: Connect an Ethernet cable to the "LAN" port for IP streaming, remote control, and firmware updates.
- Audio Input: If external audio is required, connect an audio source to the "LINE IN" port.
- Control Ports: Use the RS232 (IN/OUT) or RS422/485 ports for external PTZ control systems.
4. Operating Instructions
4.1 Powering On/Off
After all connections are made, press the power button on the rear panel or use the IR remote control to power on the camera. The camera will perform a self-test and the lens will move to its home position.
4.2 PTZ Control
The camera's Pan, Tilt, and Zoom functions can be controlled via the IR remote control, USB software (when connected to a PC), or external control systems via RS232/RS422/LAN.
- Pan/Tilt: Use the directional arrows on the remote or control software to move the camera horizontally (pan) and vertically (tilt).
- Zoom: Use the "ZOOM IN" and "ZOOM OUT" buttons on the remote or corresponding controls in software to adjust the 20x optical zoom.
- Presets: The camera supports setting and recalling preset positions. Refer to the remote control's specific instructions for setting and recalling presets.
4.3 Video Output
The camera simultaneously outputs video through its HDMI, SDI, USB 3.0, and LAN interfaces. The maximum resolution supported is 1080p.
- USB 3.0: Appears as a webcam device on a connected computer, compatible with most video conferencing applications.
- HDMI/SDI: Provides direct video feeds to displays or professional video equipment.
- LAN (IP Streaming): Supports various IP streaming protocols for network-based video distribution. Consult the advanced settings guide for specific IP streaming configurations.
4.4 Image Settings
The camera features automatic image adjustments. Manual adjustments for exposure, white balance, and other parameters can be accessed via the IR remote control's OSD (On-Screen Display) menu or through control software. The camera's low-light feature enhances performance in dimly lit environments.
5. Maintenance
- Cleaning the Lens: Use a soft, lint-free cloth specifically designed for optical lenses. Avoid harsh chemicals.
- Cleaning the Body: Wipe the camera body with a soft, dry cloth. Do not use abrasive cleaners or solvents.
- Firmware Updates: Periodically check the DigitaLinx website for firmware updates to ensure optimal performance and access to new features. Follow the provided instructions carefully for any updates.
- Storage: When not in use for extended periods, store the camera in a dry, dust-free environment.
6. Troubleshooting
| Problem | Possible Cause | Solution |
|---|---|---|
| No power indicator | Power adapter not connected or faulty; power outlet issue. | Check power connections. Try a different power outlet. Ensure the power button is pressed. |
| No video output | Incorrect cable connection; display input not selected; camera not powered on; resolution incompatibility. | Verify all video cables (HDMI, SDI, USB) are securely connected. Select the correct input on your display/switcher. Ensure camera is powered on. Check display's supported resolutions. |
| PTZ control not responding | IR remote battery low; line of sight blocked; incorrect control settings; USB/LAN connection issue. | Replace remote batteries. Ensure clear line of sight for IR remote. Check USB/LAN cable connections and software settings. |
| Image quality issues (blurry, dark) | Lens dirty; insufficient lighting; incorrect image settings. | Clean the camera lens. Improve lighting conditions. Adjust image settings (exposure, white balance) via OSD or software. |
7. Specifications
| Feature | Description |
|---|---|
| Model | DL-USB-PTZ20-W |
| Optical Zoom | 20x |
| Video Capture Resolution | 1080p |
| Photo Sensor Technology | CMOS |
| Connectivity Technology | Wired (USB 3.0, HDMI, SDI, LAN) |
| Special Feature | Low Light performance |
| Color | White |
| Item Weight | 2 pounds (approx. 0.91 kg) |
| Camcorder Type | Webcam / PTZ Camera |
8. Warranty and Support
For warranty information, technical support, or service inquiries, please contact DigitaLinx customer support or visit the official DigitaLinx website. Keep your purchase receipt as proof of purchase.
DigitaLinx Official Website: www.digitalinxav.com