Introduction
This manual provides comprehensive instructions for the safe and effective use of your CDIYTOOL 3-in-1 Multifunction Measuring Gauge, Model SB-634. This versatile tool is designed to assist with precise measurements in woodworking and other applications, combining the functions of a drill depth gauge, a drill point angle gauge, and a table saw height gauge.
Please read this manual thoroughly before operating the device to ensure proper usage and to maximize its functionality and lifespan.

Image: The CDIYTOOL 3-in-1 Multifunction Measuring Gauge, showcasing its compact design and measurement scales.
Setup
The CDIYTOOL 3-in-1 Multifunction Measuring Gauge comes pre-assembled and requires no complex setup. Upon receiving your gauge, perform the following steps:
- Unpack: Carefully remove the gauge from its packaging.
- Inspect: Check the gauge for any visible damage or loose components. Ensure all parts, including the adjustable slider and locking screw, are intact and functioning smoothly.
- Familiarize: Observe the metric and imperial scales on both sides of the gauge. Identify the adjustable copper screw used for locking measurements.
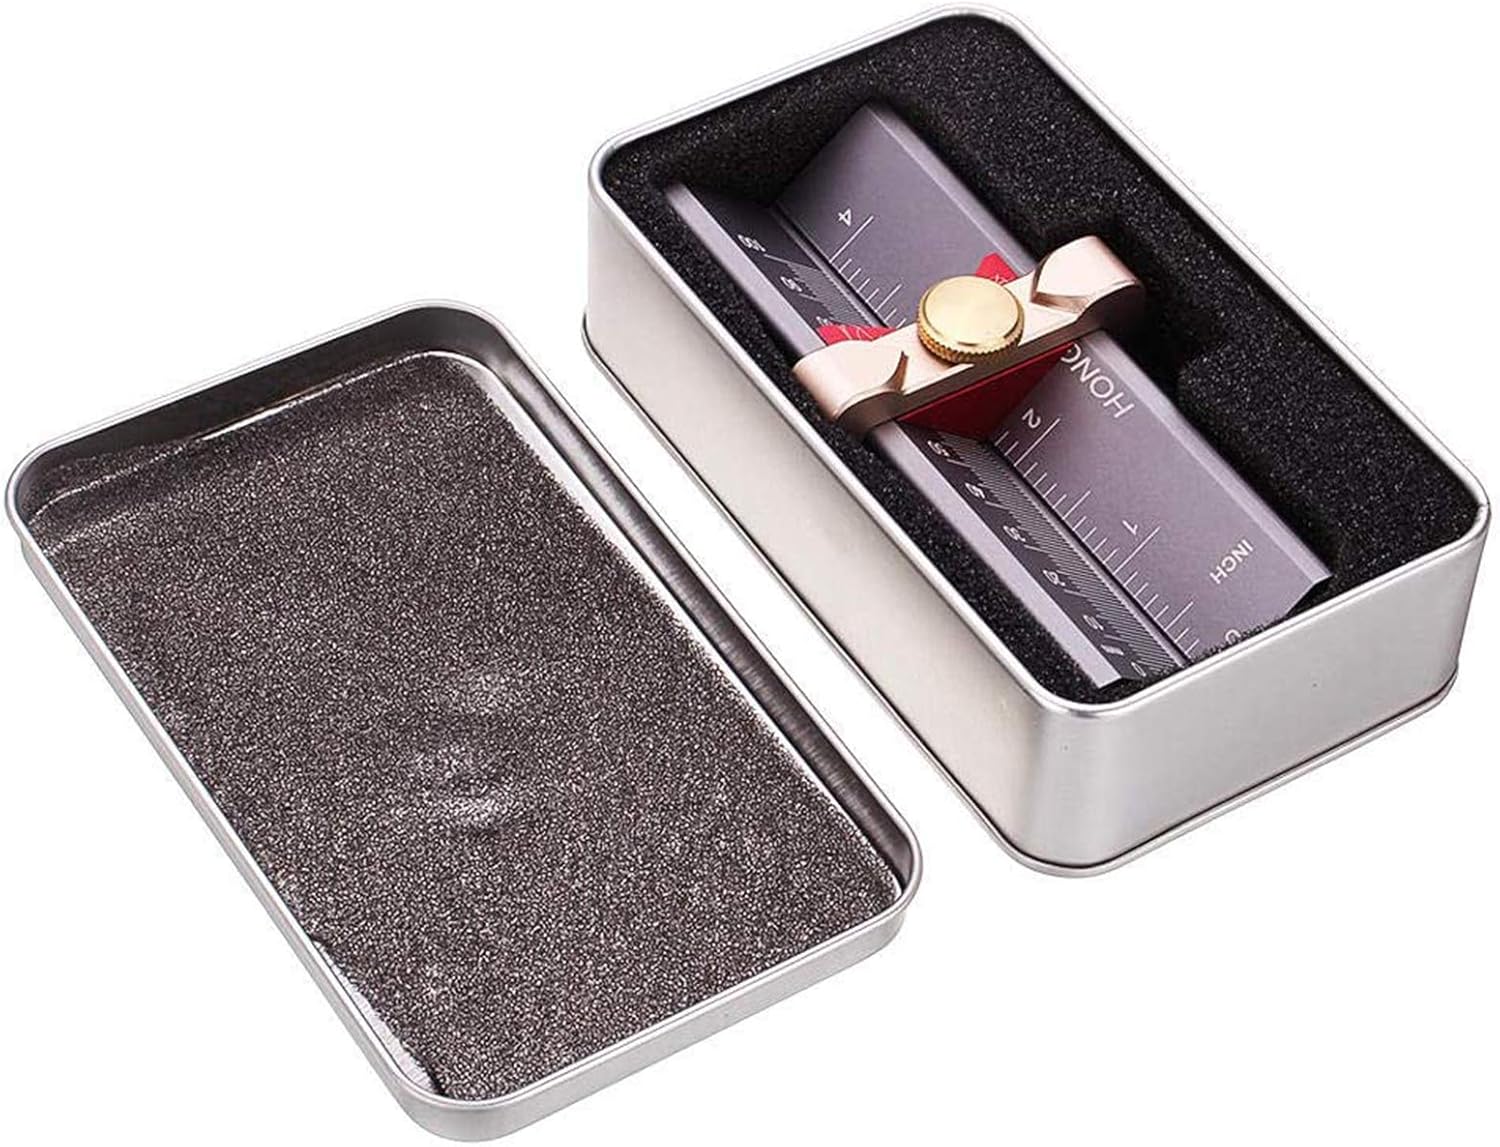
Image: The measuring gauge stored within its protective tin case, indicating secure packaging.
Operating Instructions
The gauge offers three primary functions. Always ensure the copper screw is loosened before adjusting and tightened firmly to secure your measurement.
1. Drill Depth Measurement
This function allows for precise setting of drill bit depth stops.
- Position the Gauge: Place the gauge on a flat surface.
- Insert Drill Bit: Insert the drill bit into the designated slot on the gauge.
- Adjust Depth: Loosen the copper screw. Slide the adjustable part of the gauge until the desired depth is indicated on the scale.
- Secure: Tighten the copper screw to lock the measurement.
- Set Drill Stop: Use the set depth to position and secure your drill stop collar on the drill bit.

Image: Demonstrates how to use the gauge for setting the precise drilling depth, with a drill bit inserted into the measurement slot.
2. Drill Point Angle Measurement
This feature helps in verifying or setting the correct angle for drill bit sharpening.
- Orient the Gauge: Flip the gauge to expose the drill point angle measurement section.
- Place Drill Bit: Position the tip of the drill bit into the V-groove of the angle measurement section.
- Read Angle: Compare the drill bit's point angle against the marked angles on the gauge to ensure it matches the desired specification (e.g., 55 degrees).

Image: Illustrates the process of measuring a drill bit's point angle by aligning it with the gauge's angle markings.
3. Table Saw Height Measurement
Accurately set the height of your table saw blade for consistent cuts.
- Position on Table: Place the gauge on the table saw surface, adjacent to the blade.
- Adjust Blade Height: Loosen the copper screw on the gauge. Adjust the table saw blade height until it aligns with the desired measurement on the gauge's scale.
- Secure Gauge: Tighten the copper screw to lock the measurement on the gauge.
- Verify: Double-check the blade height against the gauge's reading.
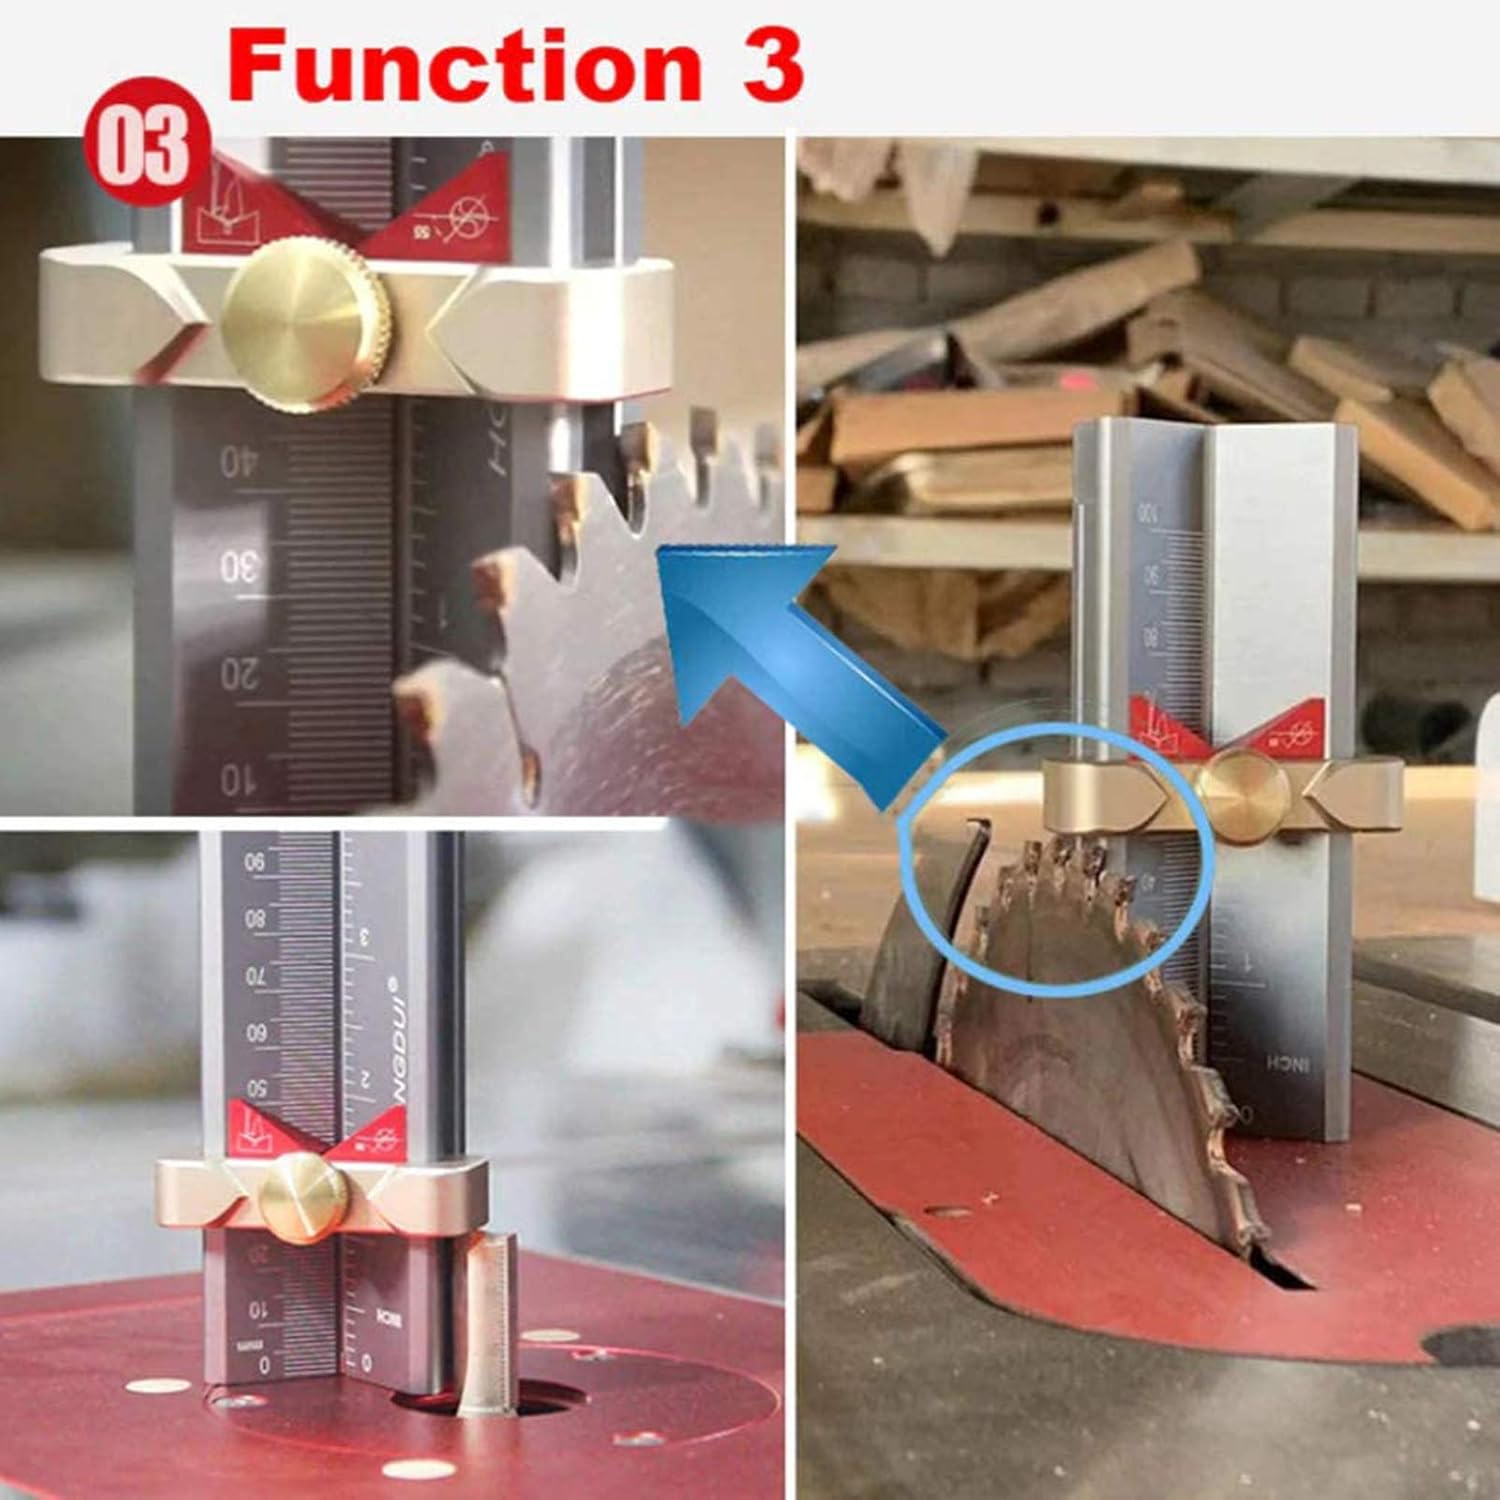
Image: Shows the gauge being used to precisely measure and set the height of a table saw blade.
Additional Features
- Dual Scales: The gauge features both metric (mm) and imperial (inch) scales for versatile use.
- Magnetic Stop: Integrated magnets help secure drill stop collars, preventing them from shifting during measurement.

Image: A close-up view highlighting the magnetic screws designed to hold drill stop collars in place.
Maintenance
Proper maintenance ensures the longevity and accuracy of your measuring gauge.
- Cleaning: Wipe the gauge with a soft, dry cloth after each use to remove dust, sawdust, or debris. Avoid using harsh chemicals or abrasive materials that could damage the finish or markings.
- Storage: Store the gauge in its protective tin case in a dry environment to prevent corrosion and physical damage.
- Inspection: Periodically check the locking screw and sliding mechanism for smooth operation. If any part feels stiff, a small amount of dry lubricant can be applied.
Troubleshooting
If you encounter issues with your measuring gauge, consider the following:
- Inaccurate Readings: Ensure the copper locking screw is fully tightened after adjustment. Verify that the gauge is placed on a flat, stable surface during measurement.
- Stiff Slider: If the adjustable slider is difficult to move, check for any debris obstructing its path. Clean thoroughly and apply a small amount of dry lubricant if necessary.
- Initial Assembly Check: In rare cases, the internal components might be incorrectly oriented. If readings appear consistently off from the start, carefully inspect the alignment of the internal scales and components. If comfortable, you may loosen the end cap screws to re-orient the sliding mechanism, ensuring the '0' mark aligns correctly. If unsure, contact support.
Specifications
| Feature | Detail |
|---|---|
| Model Number | SB-634 |
| Manufacturer | Jumayer |
| Material | Aluminum, Copper |
| Item Weight | 10.5 ounces |
| Package Dimensions | 5.87 x 4.13 x 1.85 inches |
| Batteries Required | No |

Image: Detailed dimensions of the measuring gauge, showing height, width, and depth in millimeters and inches.
Warranty Information
No specific warranty information is provided in the product details. For details regarding warranty coverage, please refer to the product packaging or contact the manufacturer directly.
Support
For technical assistance, product inquiries, or to report any issues, please contact the manufacturer CDIYTOOL through their official channels or refer to the seller's contact information provided at the point of purchase.