
1. Introduction
The Asnish Mini Projector PJ-88BT is designed for home theater entertainment, offering a portable solution for projecting movies, games, and photos. It supports Full HD 1080P resolution and features a 2000:1 contrast ratio for clear and detailed images.
Important Notes:
- This projector is not recommended for professional presentations such as PPT, Word, or Excel documents.
- For optimal performance, it is recommended to use the projector in a dark environment.
- The USB port supports USB flash drives up to 128GB for media playback (Music, Pictures, Video, TXT). It does not support cord connection for data transfer from other devices.
Eye Protection Feature:
The projector utilizes diffuse reflection imaging, which helps to reduce eye fatigue during extended viewing periods, promoting better eye health for users.

Figure 1.1: Diffuse reflection imaging for reduced eye strain.
Usage Scenarios:
The PJ-88BT projector is suitable for various entertainment purposes, including video gaming, home cinema, outdoor movie nights, and casual meetings.
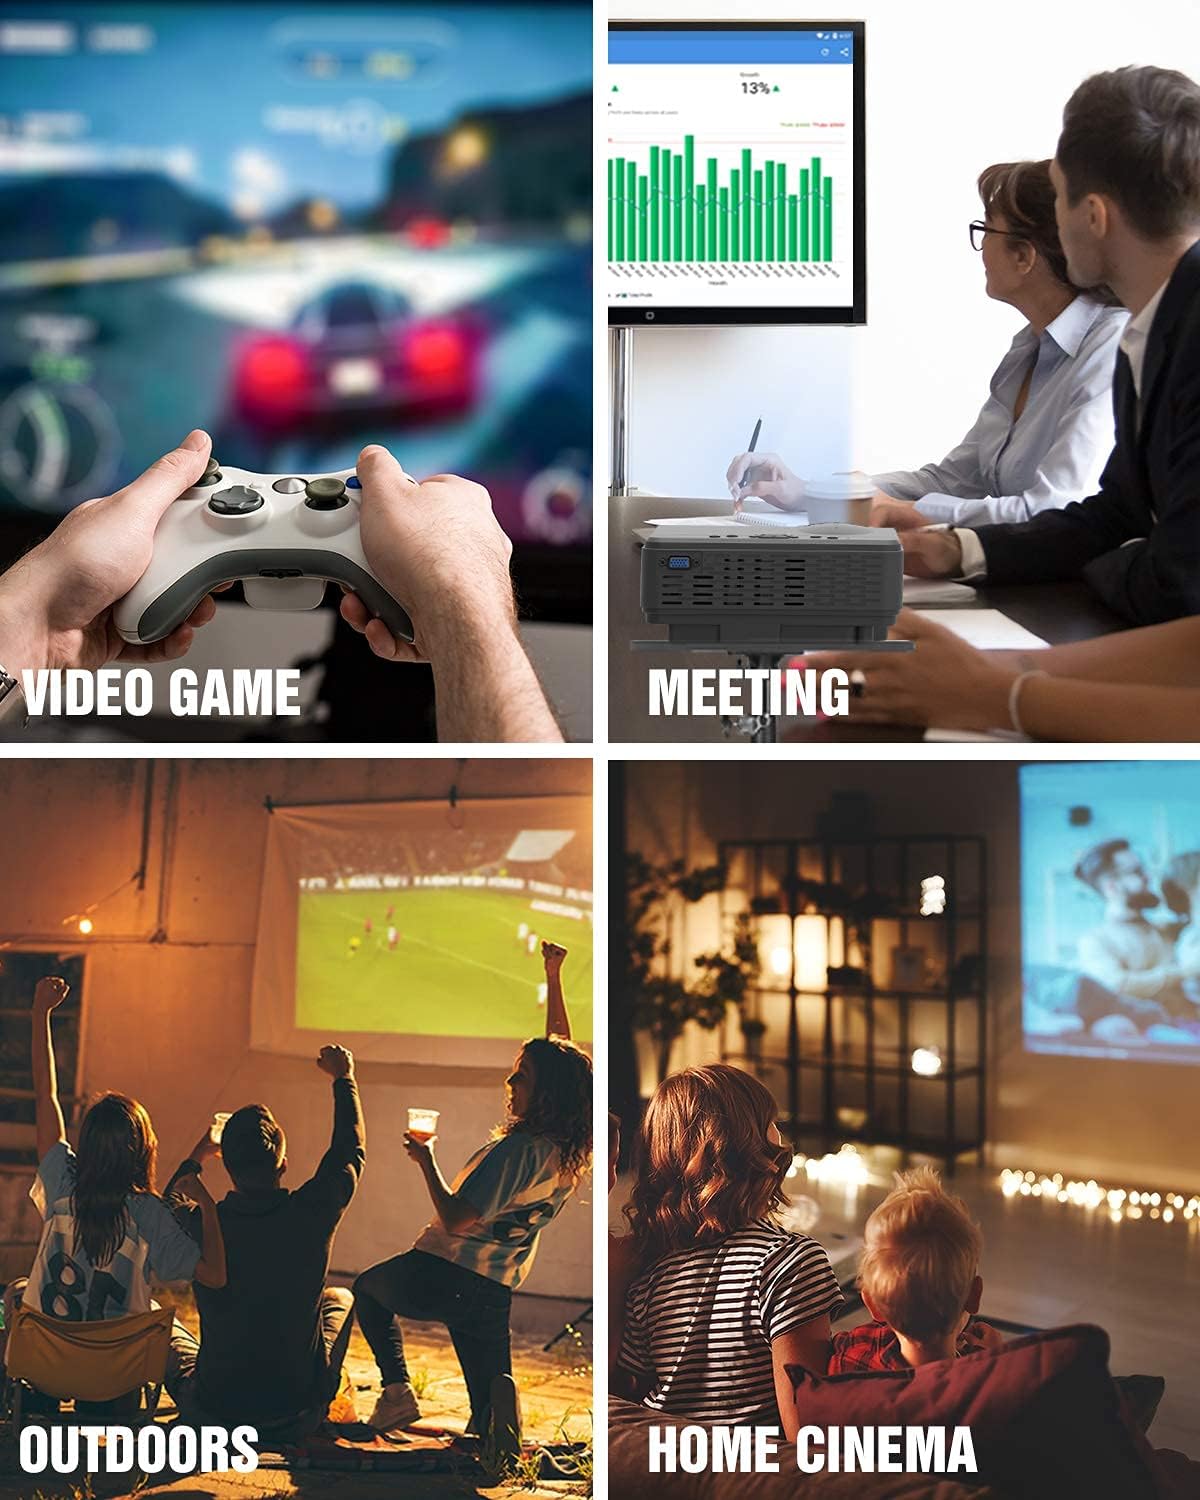
Figure 1.2: Examples of projector usage in different environments.
2. Package Contents
Please check the package carefully to ensure all items are present and in good condition.
- 1 x Asnish PJ-88BT HD Video Projector
- 1 x Remote Control
- 2 x AAA Batteries (for remote control)
- 1 x Power Cable
- 1 x 1.5M HDMI Cable
- 1 x Lens Cover
- 1 x User Manual (this document)
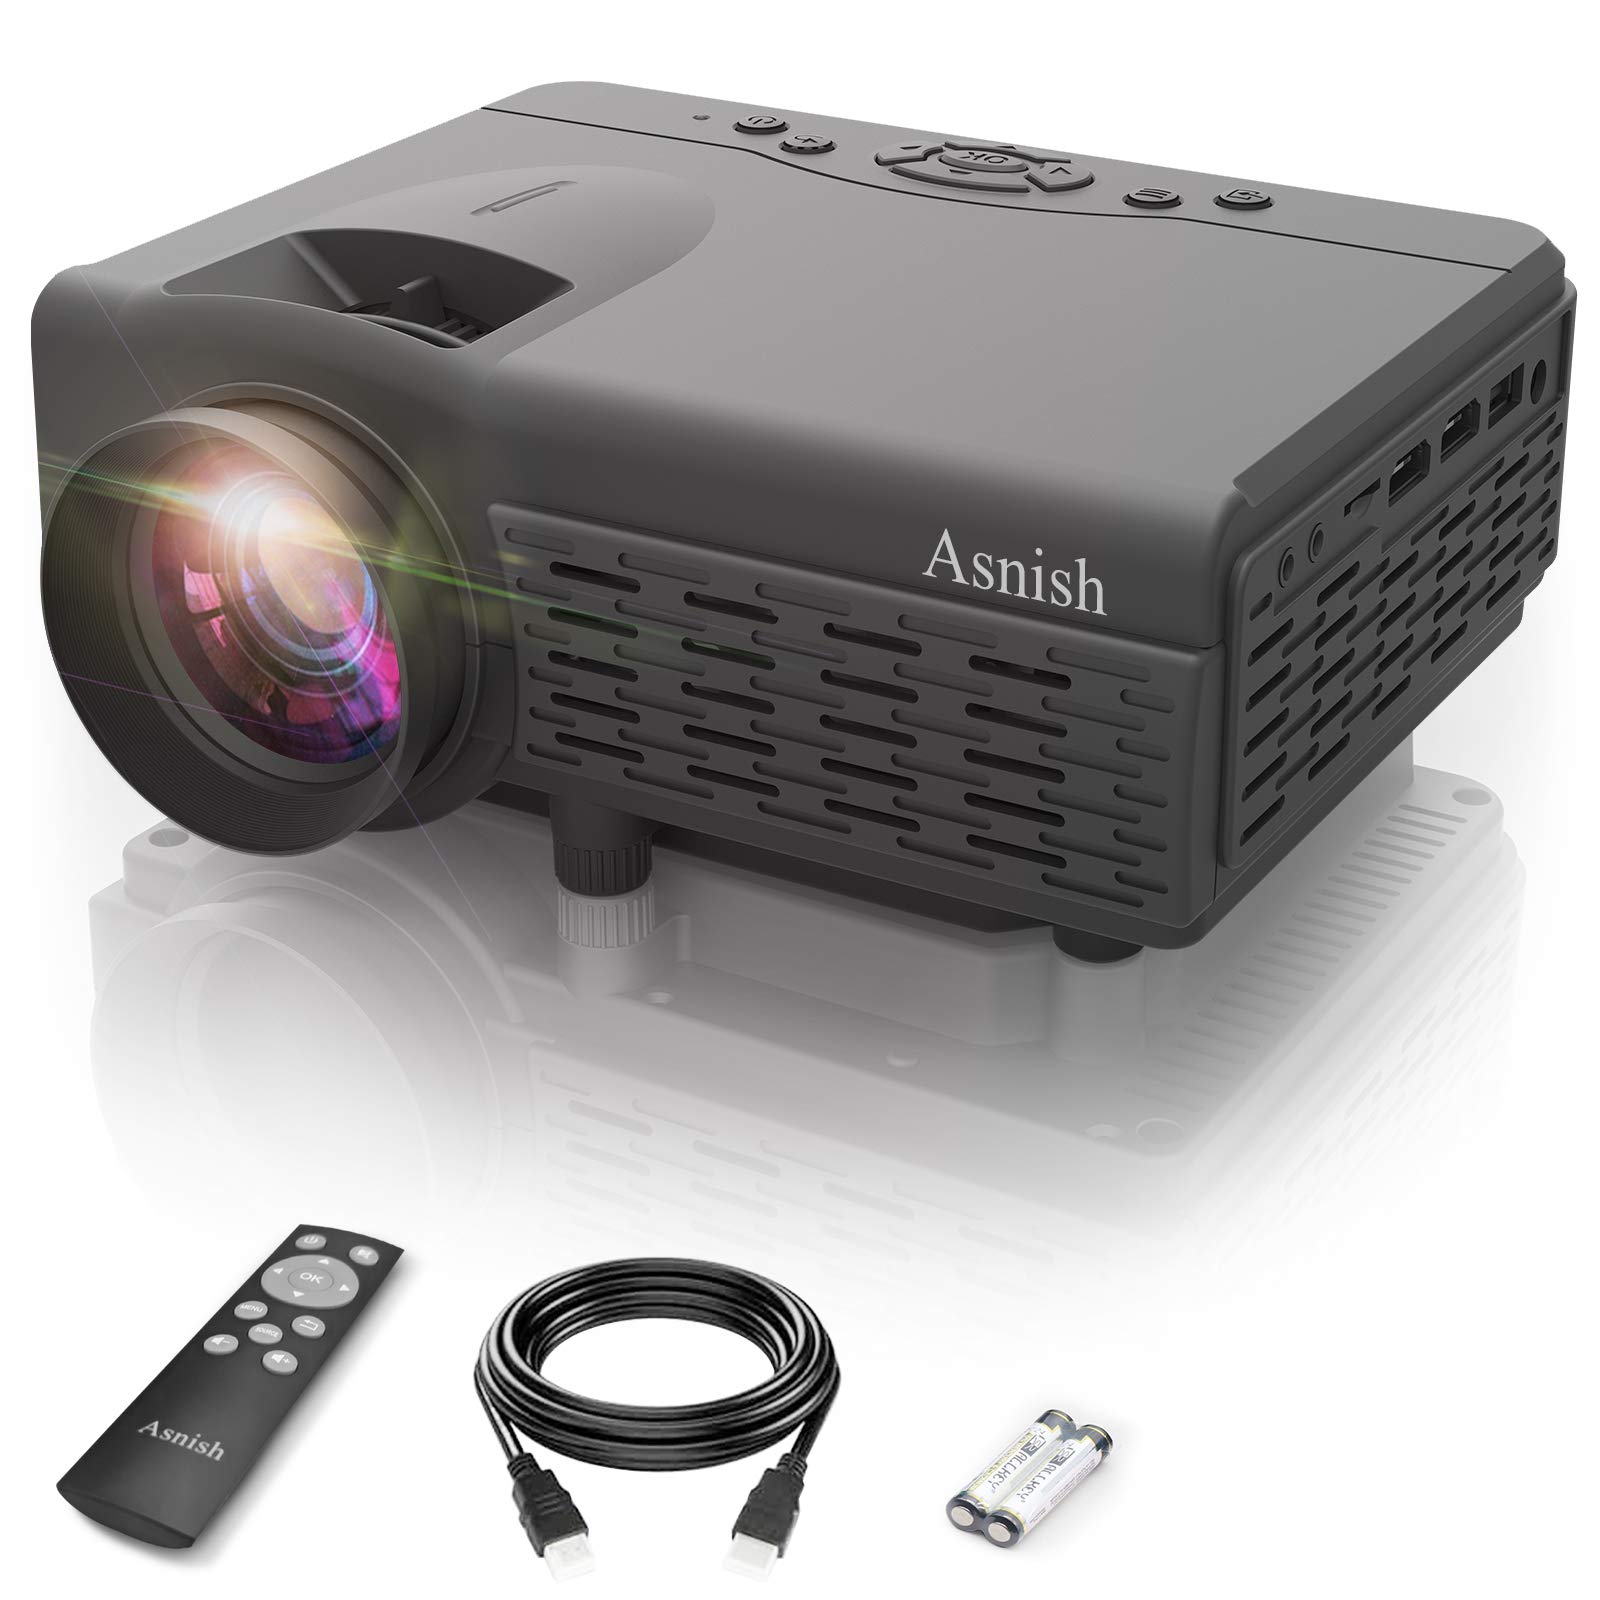
Figure 2.1: Contents included in the Asnish Mini Projector PJ-88BT package.
3. Product Overview
Familiarize yourself with the projector's physical layout and available ports.
Input/Output Ports:
The projector is equipped with various ports for connecting different devices:
- HDMI: For connecting devices like laptops, game consoles, TV boxes, and streaming sticks.
- VGA: For connecting older computers or laptops.
- AV: For connecting devices with composite video and stereo audio output.
- USB: For playing media directly from a USB flash drive.
- 3.5mm Audio-out: For connecting external speakers or headphones.

Figure 3.1: Projector interfaces and compatible devices.
4. Setup
4.1 Placement and Installation
Position the projector on a stable surface or mount it according to your preference. The optimal projection distance ranges from 1.16 meters to 4.4 meters, allowing for a screen size between 37 inches and 150 inches.
The projector supports multiple installation types:
- Front Projection: Projecting from the front of the screen.
- Rear Projection: Projecting from behind a translucent screen.
- Ceiling Projection: Mounting the projector upside down on the ceiling.
- Tripod Mount: Using a standard tripod for flexible positioning.
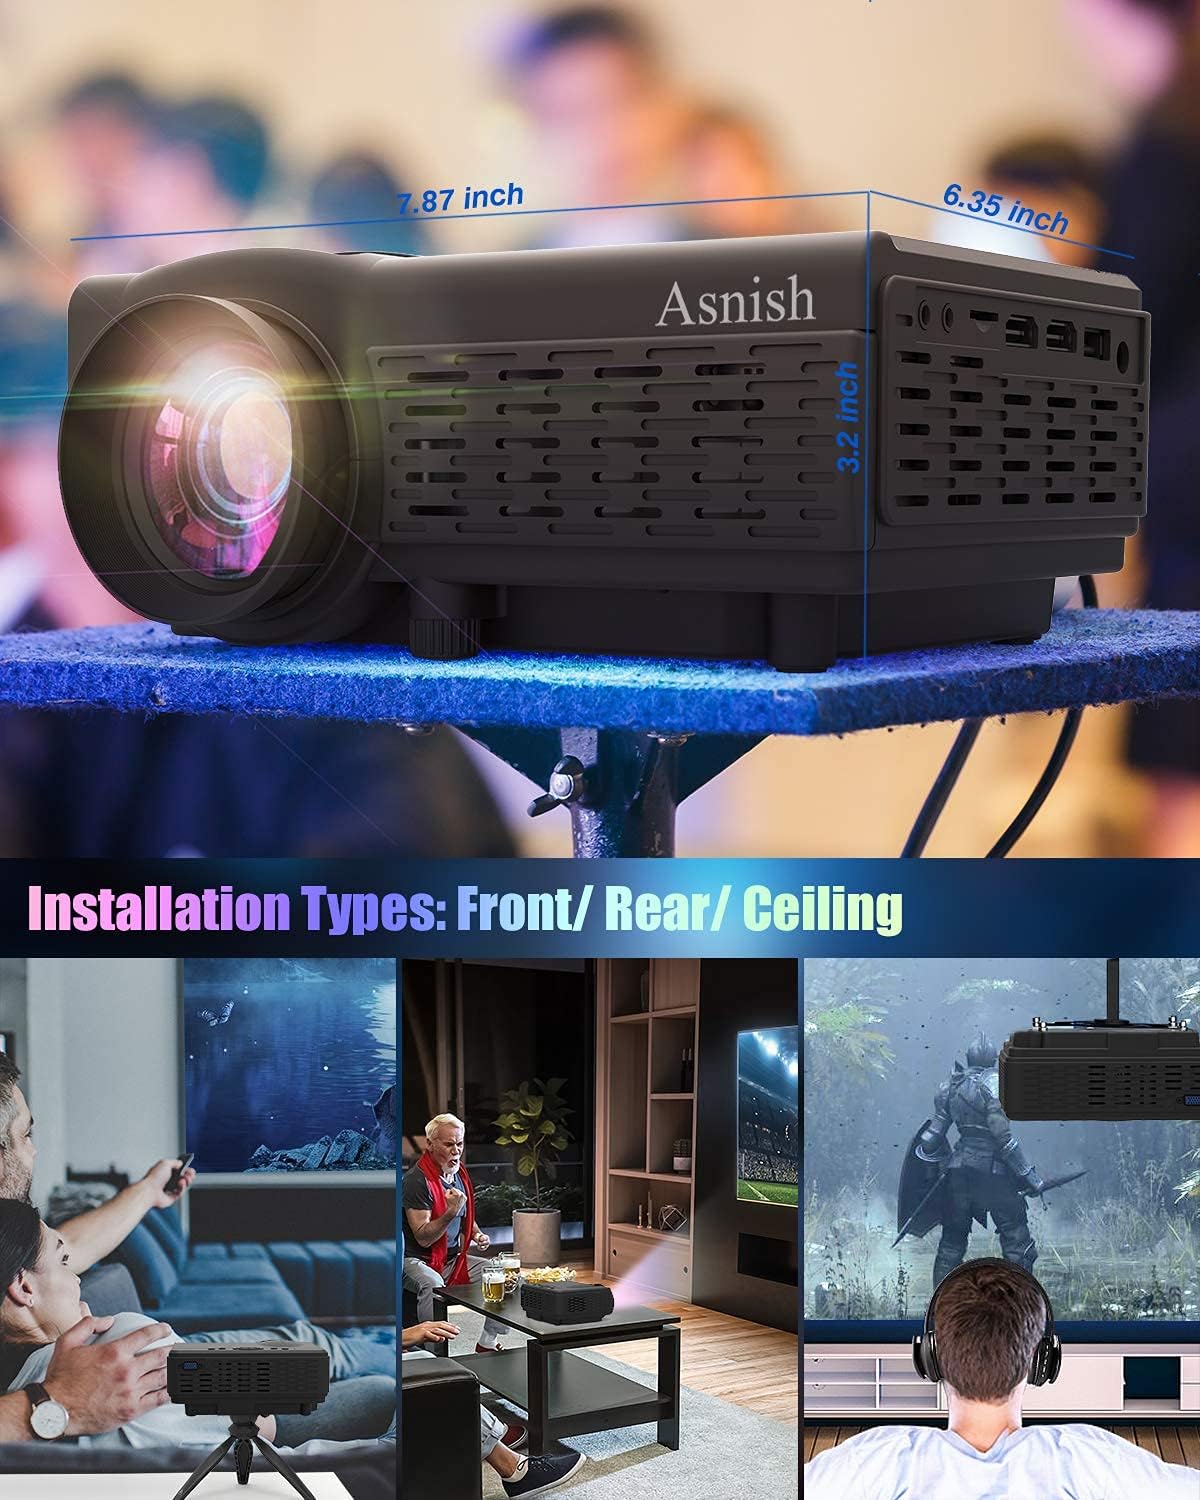
Figure 4.1: Projector dimensions and installation options.
4.2 Power Connection
- Connect the power cable to the projector's DC input port (DC12V, 4A).
- Plug the other end of the power cable into a standard electrical outlet (110-240V~50/60HZ).
- Press the power button on the projector or remote control to turn on the device.
4.3 Screen Adjustment
After powering on, adjust the image for clarity and correct geometry.
- Focus Adjustment: Rotate the focus ring on the projector lens until the image appears sharp and clear.
- Keystone Correction: Use the keystone correction dial or setting to adjust the image's vertical distortion, ensuring a rectangular projection. The projector supports up to 15 degrees of manual keystone correction.

Figure 4.2: Screen size range and keystone correction.
5. Operating Instructions
5.1 Connecting External Devices
The projector offers multiple input options for various devices:
- HDMI: Connect your laptop, PC, DVD player, game console (PS5, Switch), TV box, or streaming stick using an HDMI cable. Select the HDMI input source on the projector.
- VGA: Connect older computers or laptops using a VGA cable. Select the VGA input source.
- AV: Connect devices with composite video output using an AV cable. Select the AV input source.
- USB: Insert a USB flash drive (up to 128GB) into the USB port. The projector will automatically detect the drive, allowing you to browse and play supported media files.
5.2 Smartphone Connection
To connect your smartphone, an additional adapter is required (not included):
- For iPhone/iPad: A Lightning to HDMI cable adapter is required.
- For Android Devices (Android 10.0 or later): An MHL / Type-C to HDMI adapter or a micro USB to HDMI adapter is required. Ensure your Android phone supports screen mirroring/casting functionality.

Figure 5.1: Smartphone connection methods.
5.3 Audio Connections
The projector has a built-in stereo speaker. For enhanced audio, you can connect external audio devices:
- Bluetooth Speakers/Headphones: The projector supports Bluetooth connectivity. Navigate to the Bluetooth settings in the projector's menu, enable Bluetooth, and pair with your desired Bluetooth speaker or headphones.
- 3.5mm Audio-out: Connect external wired speakers or headphones to the 3.5mm audio-out jack.

Figure 5.2: Connecting to Bluetooth audio devices.
5.4 Supported Media Formats
The projector supports playback of various media formats from a USB flash drive:
- Video Formats: MPEG1, MPEG2, MPEG4, RM, AVI, RMVB, MOV, MKV, DIVX, VOB
- Audio Formats: MP3, WMA, ASF, OGG, AAC, WAV
- Picture Formats: JPEG, BMP, PNG
6. Maintenance
Proper maintenance ensures the longevity and optimal performance of your projector.
6.1 Lens Cleaning
- Always use a soft, lint-free cloth specifically designed for optical lenses.
- Gently wipe the lens in a circular motion to remove dust or smudges.
- Avoid using abrasive cleaners or excessive force, as this can damage the lens coating.
- Keep the lens cover on when the projector is not in use to prevent dust accumulation.
6.2 General Care
- Keep the projector in a clean, dry environment away from excessive dust, moisture, and extreme temperatures.
- Ensure proper ventilation around the projector to prevent overheating. Do not block the ventilation openings.
- Unplug the projector from the power outlet when not in use for extended periods.
7. Troubleshooting
If you encounter issues with your projector, refer to the following common problems and solutions:
- No Power: Ensure the power cable is securely connected to both the projector and the electrical outlet. Check if the power outlet is functional.
- No Image:
- Verify that the correct input source (HDMI, VGA, AV, USB) is selected on the projector.
- Check the connection cable (HDMI, VGA, AV) between the projector and the source device. Try a different cable if possible.
- Ensure the source device (laptop, game console) is powered on and outputting a signal.
- Blurry Image:
- Adjust the focus ring on the projector lens until the image is sharp.
- Adjust the keystone correction to ensure the image is rectangular.
- Ensure the projection distance is within the recommended range (1.16m - 4.4m).
- No Sound:
- Check the volume settings on both the projector and the source device.
- If using external speakers/headphones, ensure they are properly connected and powered on. For Bluetooth, confirm successful pairing.
- If using an HDMI connection, ensure the audio is being sent through HDMI from the source device.
- Smartphone Connection Issues:
- Confirm you are using the correct HDMI adapter for your specific smartphone model (Lightning to HDMI for iPhone/iPad, MHL/Type-C to HDMI for Android).
- Ensure your Android phone supports screen mirroring/casting.
8. Specifications
Detailed technical specifications for the Asnish Mini Projector PJ-88BT.
| Feature | Specification |
|---|---|
| Model | PJ-88BT |
| Display Technology | LCD |
| Standard Resolution | 800 x 480P |
| Compatible Resolution | Full HD 1080P |
| Contrast Ratio | 2000:1 |
| Image Brightness | 3000 Lumens |
| Keystone Correction | Manual ±15 degrees |
| Projection Mode | Front, Rear, Ceiling, Tripod Mount |
| Projection Distance | 1.16 - 4.4 meters |
| Projection Size | 37 - 150 inches |
| Aspect Ratio | 16:9 |
| Connectivity Technology | Bluetooth, HDMI, USB, VGA |
| Hardware Interface | USB, VGA, HDMI, AV, 3.5mm Audio-out |
| Compatible Devices | Laptop/PC, DVD player, Game Consoles (PS5, Switch), TV Box, Smartphone, Tablet, TV Stick |
| Speaker | Built-in Stereo Speaker |
| Power Input | 110-240V~50/60HZ |
| DC Output | DC12V, 4A |
| Product Dimensions | 7.87 x 6.35 x 3.2 inches (20 x 16.1 x 8.1 cm) |
| Product Weight | 1.96 pounds (890 g) |
| LED Lamp Life | 50,000 hours |
9. Warranty and Support
Asnish is committed to providing customer satisfaction. If you encounter any issues or have questions regarding your PJ-88BT Mini Projector, please contact our support team for assistance.
