
Important Safety Information
Please read this entire manual before assembly and use of your Royal Gourmet GA5401T propane gas grill. Failure to follow these instructions could result in property damage, bodily injury, or death. Keep this manual for future reference.
- For outdoor use only. Do not operate this appliance inside any enclosed area.
- Keep children and pets away from the grill at all times.
- Do not store or use gasoline or other flammable liquids or vapors in the vicinity of this or any other appliance.
- Always ensure the grill is on a level, stable surface.
- Never leave a lit grill unattended.
- Ensure proper ventilation and clearance from combustible materials.
Product Overview
The Royal Gourmet GA5401T is a versatile 5-burner propane gas grill designed for outdoor cooking. It features ample cooking space, multiple burners for varied cooking needs, and durable construction for extended use.

Image: The Royal Gourmet GA5401T 5-Burner Propane Gas Grill, showcasing its main body, side shelves, and control panel.
Key Features:
- Ample Cooking Space: 632 sq. in. total cooking area, including 483 sq. in. porcelain-enameled cast iron cooking grates and a 149 sq. in. chrome-plated steel warming rack.
- Powerful Burners: Five main burners (10,000 BTU each) and one lidded side burner (10,000 BTU), providing a total of 60,000 BTU output.
- Convenient Side Burner: Ideal for preparing side dishes or sauces.
- Hassle-free Cleanup: Equipped with a removable grease tray and grease cup.
- Durable Construction: Made of heavy stainless steel with a double-layer lid and built-in thermometer.

Image: The Royal Gourmet GA5401T grill in use, with burgers, corn, and other items cooking on the grates and warming rack.

Image: An illustration detailing the total cooking area capacity, showing it can accommodate 20 burgers, 45 chicken drumsticks, 24 steaks, 2 racks of ribs, or 77 sausages.
Setup and Assembly
The Royal Gourmet GA5401T grill requires assembly. It is recommended to carefully follow the instructions provided in the separate assembly guide that accompanies your product. Ensure all parts are present before beginning assembly.
- Unpack all components and verify against the parts list.
- Assemble the main cart structure, ensuring all fasteners are securely tightened.
- Attach the main burner box, side shelves, and lid.
- Install the cooking grates, warming rack, and heat tents.
- Connect the propane tank regulator and hose according to the instructions. Perform a leak test before first use.
Note: Assembly can be complex. If you encounter difficulties, refer to the detailed assembly manual or seek assistance.

Image: A diagram illustrating the overall dimensions of the grill and the specific measurements of the cooking grates and warming rack.
Operating Instructions
Pre-Operation Checks:
- Ensure the propane tank is full and securely connected.
- Check for any gas leaks using a soapy water solution on connections.
- Ensure the grill is clean and free of debris.
- Open the grill lid before lighting any burner.
Lighting Instructions:
- Open the grill lid.
- Turn the gas supply ON at the propane tank.
- Push and turn one main burner control knob to the "HIGH" position.
- Press the electronic igniter button repeatedly until the burner lights.
- Once lit, turn on adjacent burners by rotating their control knobs to "HIGH".
- If a burner does not light within 5 seconds, turn off the gas, wait 5 minutes, and repeat the lighting procedure.
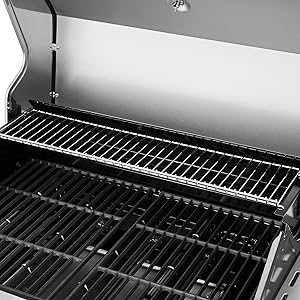
Image: A close-up view of the grill's control knob, showing the "OFF", "LOW", and "HIGH" settings, along with the electronic igniter button.
Cooking with Main Burners:
- Preheat the grill with the lid closed for 10-15 minutes on high heat.
- Adjust burner settings to achieve desired cooking temperature. The built-in thermometer on the lid indicates the internal grill temperature.
- Place food on the cooking grates.

Image: A detailed view of the porcelain-enameled cast iron cooking grates and the chrome-plated steel warming rack inside the grill.
Using the Side Burner:
The lidded side burner provides an additional 10,000 BTU for preparing sauces, boiling water, or cooking side dishes.
- Open the side burner lid.
- Push and turn the side burner control knob to "HIGH".
- Press the electronic igniter button until the burner lights.
- Adjust heat as needed. Close the lid when not in use to protect the burner and use it as a side shelf.

Image: The grill's lidded side burner in operation, with a small pot placed on top, demonstrating its use for cooking side dishes.
Using the Sear Burner:
The sear burner is designed to create a high-heat zone for searing meats, locking in juices and flavor.
- Locate the dedicated sear burner control knob.
- Follow the lighting instructions for main burners to ignite the sear burner.
- Allow the sear burner to preheat to a very high temperature before placing meat on it.
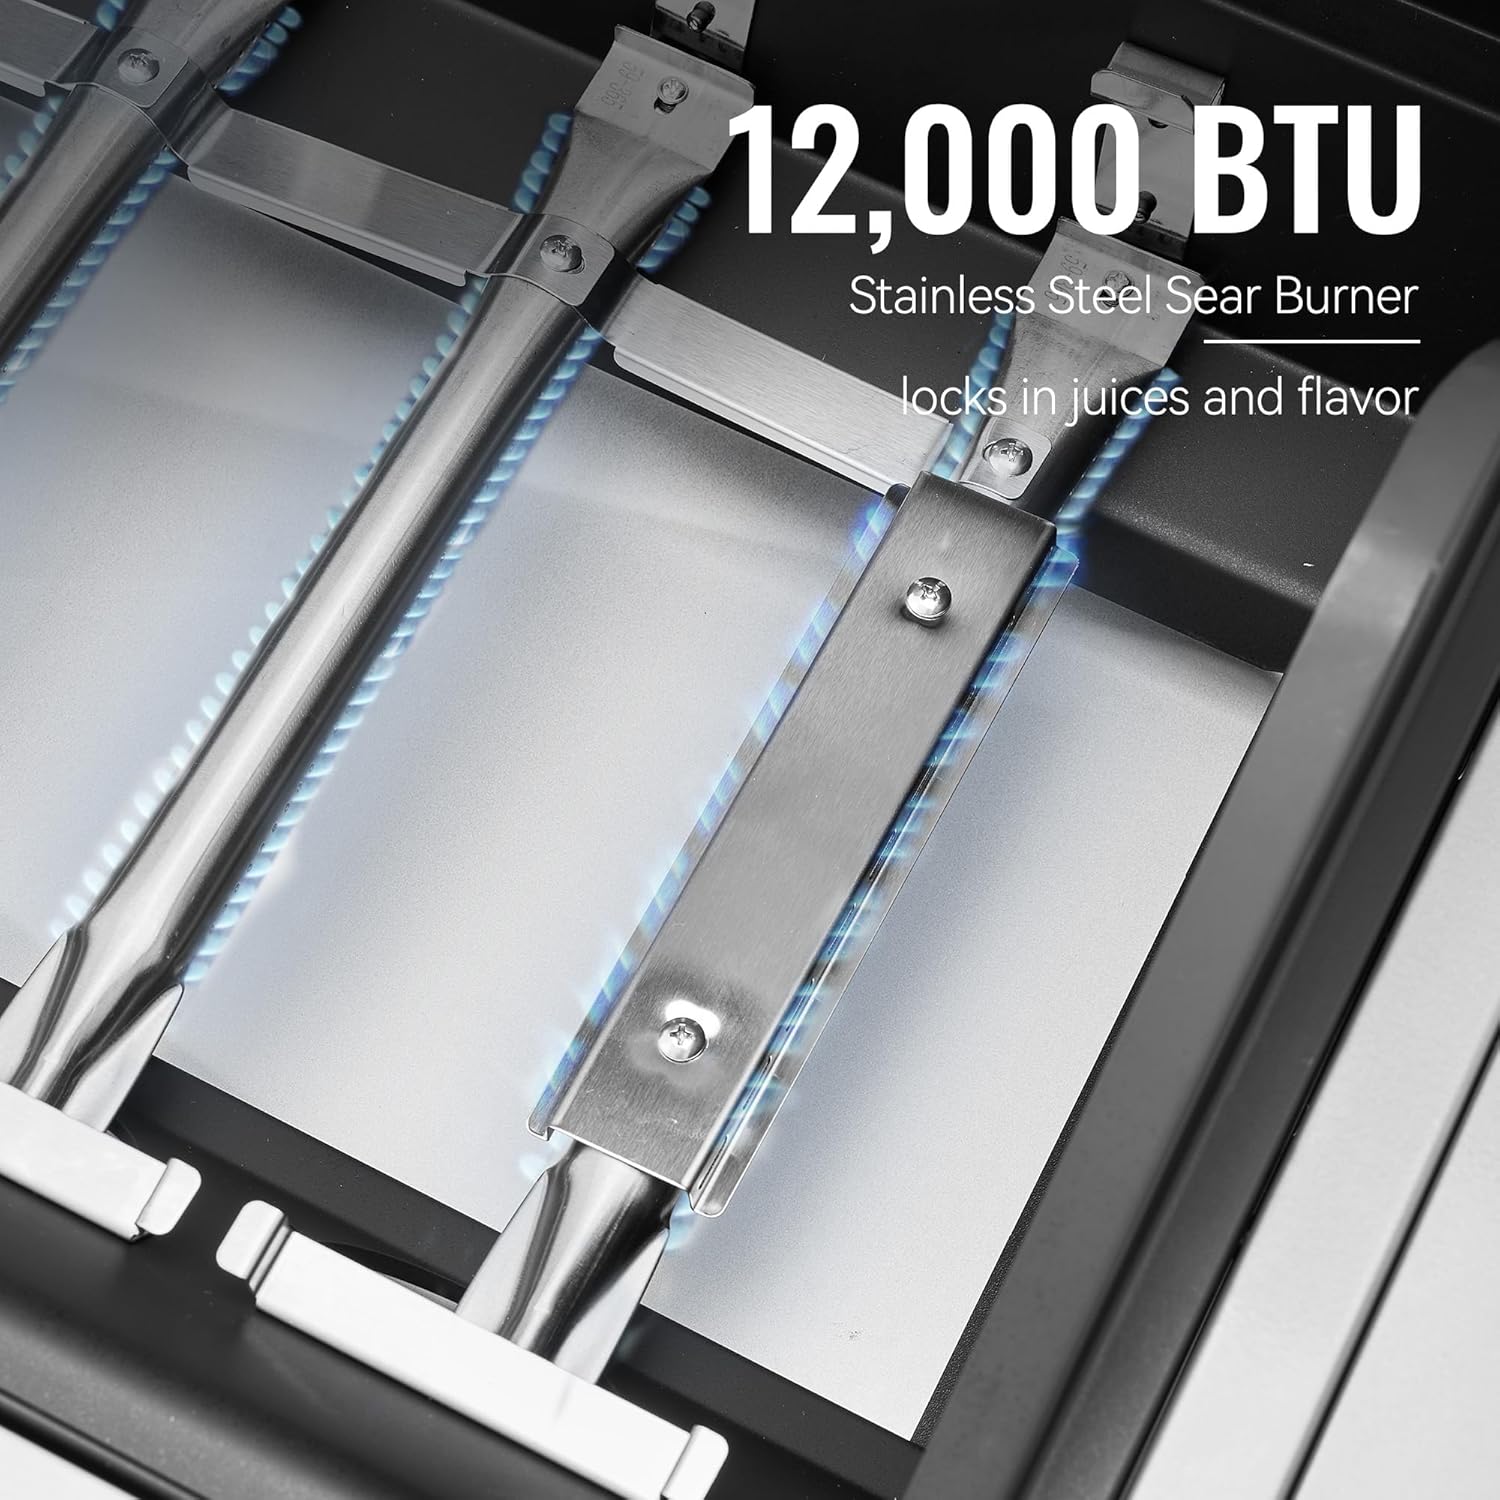
Image: A view of the stainless steel sear burner, highlighting its design for intense heat to lock in flavors.
Temperature Control:
The built-in thermometer on the lid allows you to monitor the internal temperature of the grill. Adjust the main burner control knobs to increase or decrease heat as required for different cooking methods.
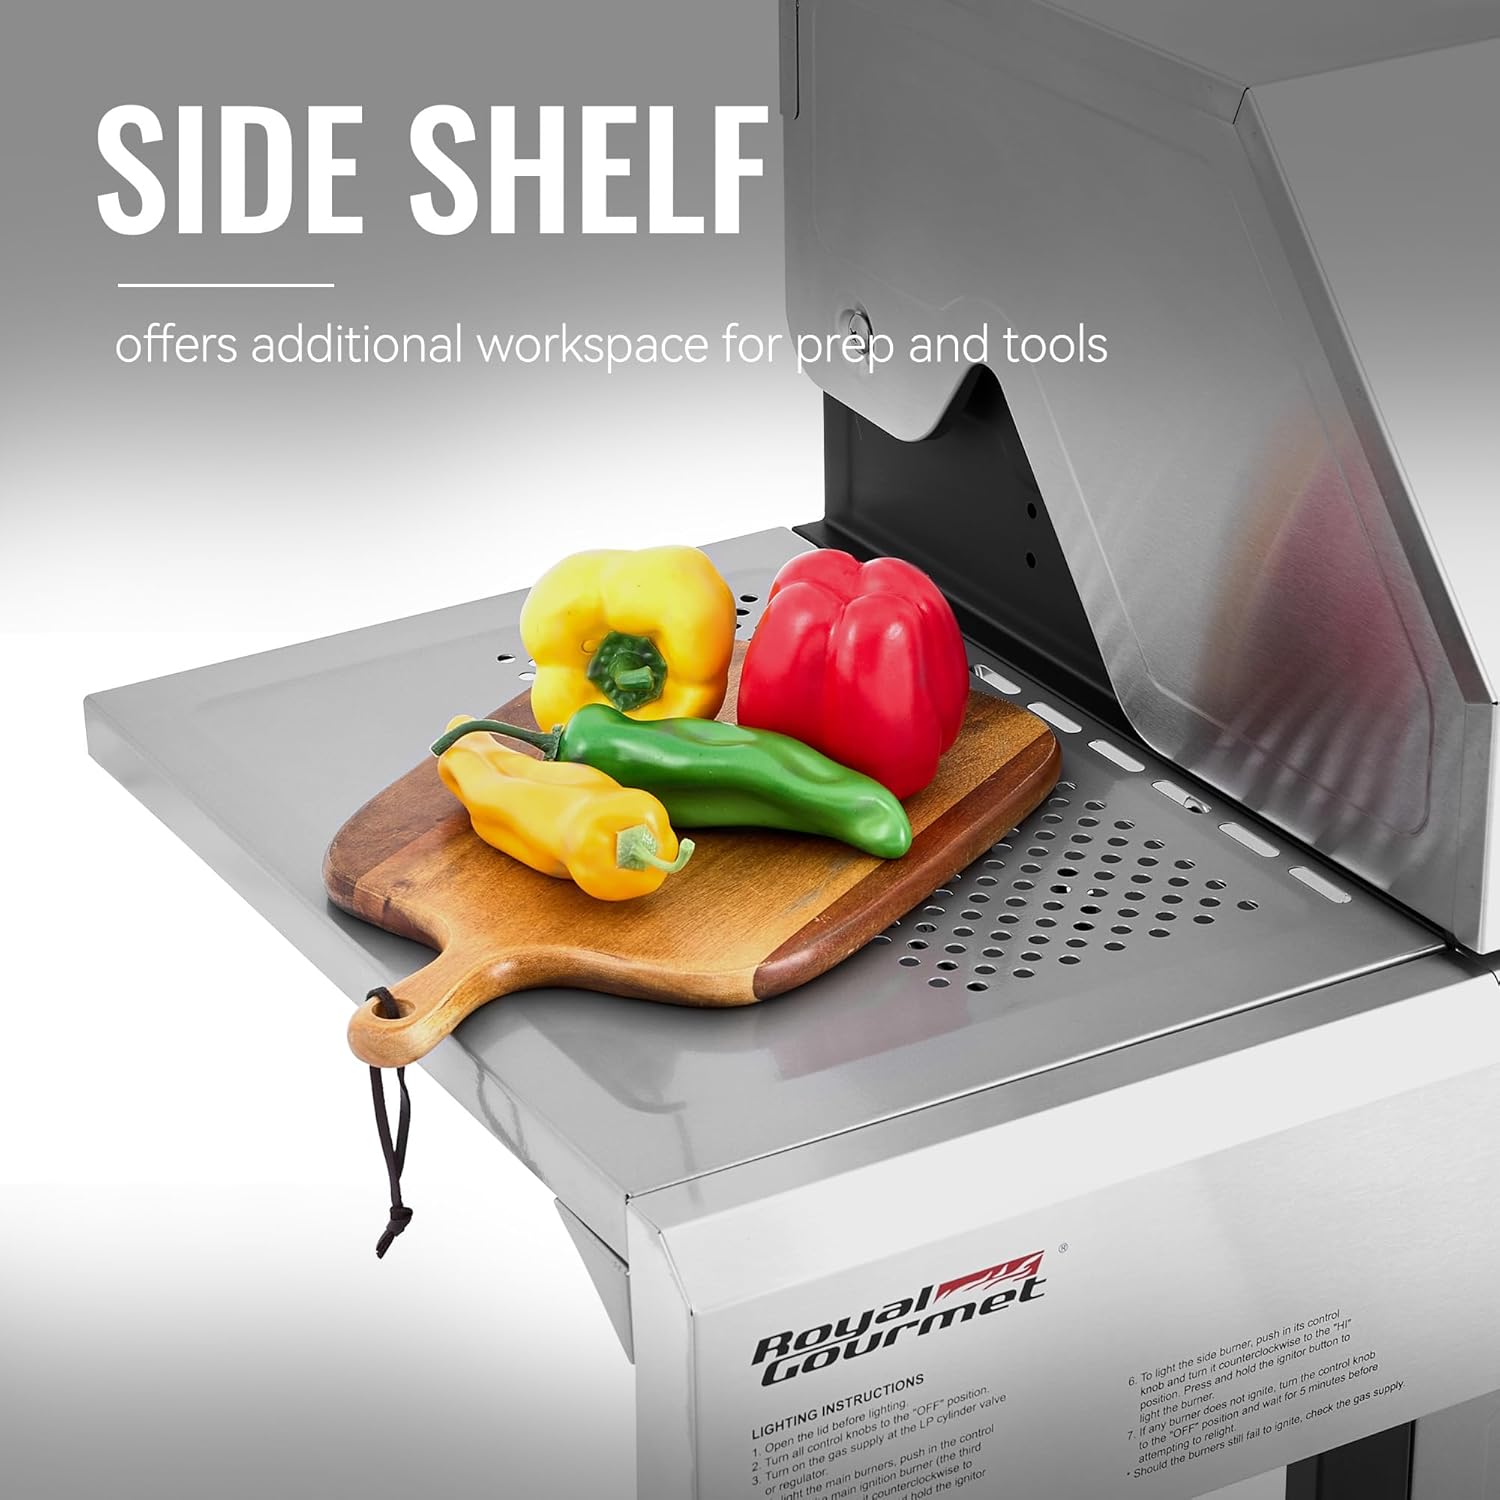
Image: The stainless steel lid of the grill, featuring a built-in thermometer for temperature monitoring and a heat-resistant handle.

Image: The side shelf of the grill, providing additional workspace for food preparation, shown with a cutting board and vegetables.
Maintenance and Care
Cleaning:
- Cooking Grates: Clean after each use with a grill brush while the grates are still warm. For stubborn residue, use warm soapy water after the grill has cooled.
- Grease Tray and Cup: Regularly remove and empty the grease tray and cup to prevent flare-ups and maintain hygiene. Wash with warm soapy water.
- Exterior Surfaces: Wipe down stainless steel surfaces with a soft cloth and a stainless steel cleaner. Avoid abrasive cleaners.
- Burners: Periodically inspect burner ports for blockages and clean with a wire brush if necessary.

Image: A hand removing the grease tray and cup from the bottom of the grill, illustrating the ease of cleaning this component.
Storage:
- When not in use, store the grill in a dry, protected area.
- Disconnect the propane tank and store it upright in a well-ventilated area, away from direct sunlight or heat sources.
- Consider using a grill cover to protect the appliance from weather elements.
Troubleshooting
| Problem | Possible Cause | Solution |
|---|---|---|
| Burner fails to light | No gas flow, clogged burner port, faulty igniter. | Check propane tank connection and gas level. Clean burner ports. Check igniter electrode and wire. |
| Low flame or uneven heat | Low gas pressure, clogged burner ports, regulator issue. | Ensure tank valve is fully open. Clean burner ports. Reset regulator by disconnecting and reconnecting. |
| Flare-ups | Excess grease buildup, high heat setting, fatty foods. | Clean grease tray and cooking grates regularly. Reduce heat. Trim excess fat from food. |
| Gas odor | Gas leak. | Immediately turn off gas supply. Perform a leak test with soapy water. Do not operate if a leak is detected. Contact qualified service personnel. |
Specifications
- Model Name: GA5401T
- Brand: Royal Gourmet
- Product Dimensions: 52.95"D x 25.2"W x 45.67"H
- Fuel Type: Propane Gas
- Total BTU Output: 60,000 BTU (5 x 10,000 BTU Main Burners + 1 x 10,000 BTU Side Burner)
- Cooking Surface Area: 632 sq. in. (483 sq. in. Primary, 149 sq. in. Warming Rack)
- Cooking Grate Material: Porcelain-enameled Cast Iron
- Warming Rack Material: Chrome-plated Steel Wire
- Main Body Material: Stainless Steel/Steel
- Special Features: Built-In Thermometer, Removable Grease Tray, Tool Holder, Warming Rack
- Item Weight: 69.5 Pounds
- Assembly Required: Yes
- Batteries Required: 1 AA battery (for igniter)
Warranty Information
The Royal Gourmet GA5401T grill comes with a one-year limited warranty for all parts. Please retain your proof of purchase for warranty claims. For specific terms and conditions, refer to the warranty documentation included with your product or contact Royal Gourmet customer support.
Customer Support
For assistance with assembly, operation, parts, or warranty claims, please contact Royal Gourmet customer support. You can often find contact information on the manufacturer's website or in the packaging materials.
Visit the Royal Gourmet Store on Amazon for more information and products.
Note: No official product videos with relevant creator type or preview status were provided in the product data to embed in this manual.


