1. Introduction
This manual provides detailed instructions for the assembly, operation, and maintenance of your WANLIAN Self-Assembly Acrylic Display Case (Model CBA-01, 10x6x6 inch). Designed for displaying collectibles, figurines, models, and other items, this dustproof showcase offers high transparency and easy assembly. Please read these instructions carefully before beginning assembly to ensure proper setup and longevity of your display case.
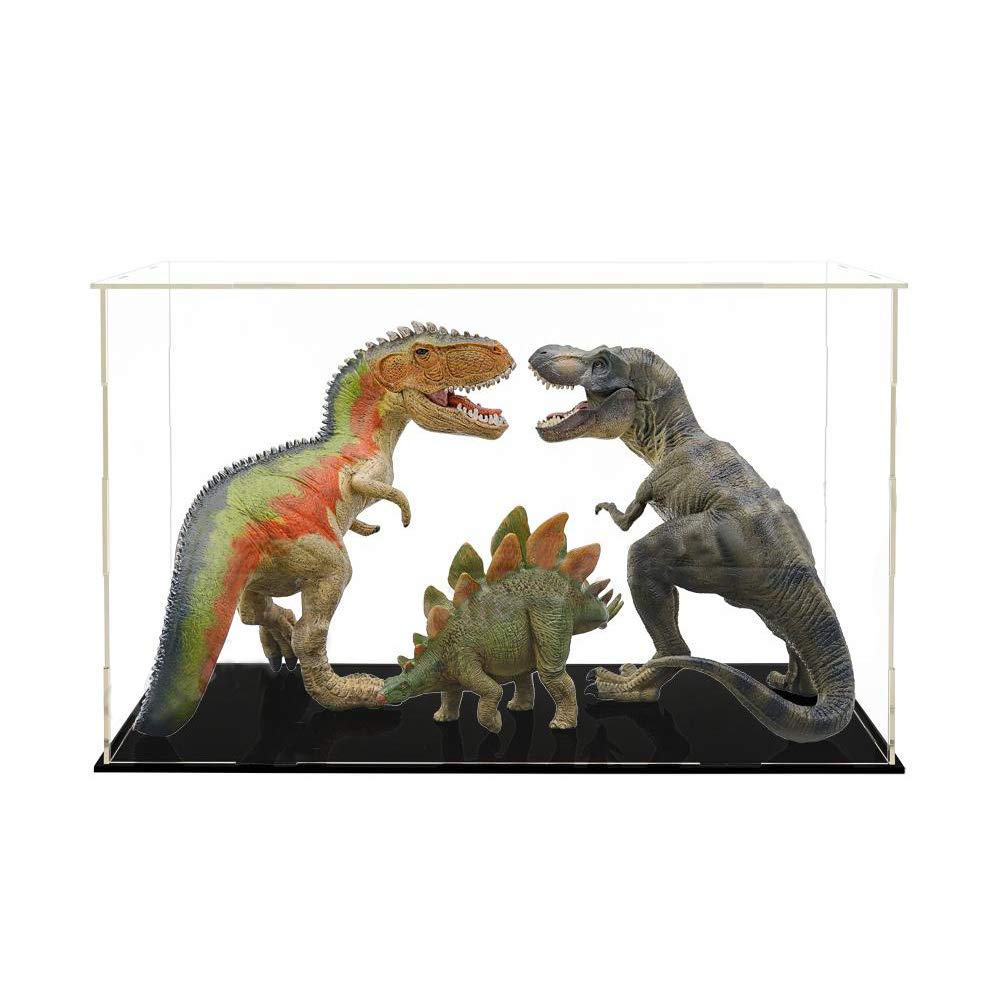
Figure 1: Assembled WANLIAN Acrylic Display Case with a model car.
2. Package Contents
Before assembly, verify that all components listed below are present in your package. If any parts are missing or damaged, please contact customer support.
- Acrylic Panels (6 pieces: 1 base, 4 side panels, 1 top panel)
- Rubber Bands (for securing panels)
- Cleaning Cloth
- White Tool (for protective film removal)
- Assembly Instructions (this manual)

Video 1: Overview of package contents.
3. Assembly Instructions
The WANLIAN Acrylic Display Case is designed for self-assembly without the need for glue or screws. Follow these steps carefully:
3.1. Remove Protective Films
Each acrylic panel is covered with a protective film on both sides to prevent scratches during transit. Carefully peel off these films from all six panels before assembly. A white tool is provided to assist in lifting the film edges.

Figure 2: Removing the protective film from an acrylic panel.
3.2. Assemble Side Panels
Identify the four side panels. Each panel has a narrow angle and a convex angle. For the standard assembly, position the narrow angle upwards and the convex angle downwards. Interlock the side panels by sliding their edges into the corresponding slots. Ensure a snug fit.

Figure 3: Interlocking side panels during assembly.
3.3. Secure with Rubber Bands
Once the four side panels are interlocked, use the provided rubber bands to secure the connections. Place the rubber bands around the interlocking tabs at the top and bottom of each corner to ensure stability.

Figure 4: Securing side panels with rubber bands.
3.4. Attach Base and Top Panels
Place the assembled side structure onto the base panel, aligning the slots. Secure the base to the side panels using additional rubber bands if necessary. Finally, place the top panel onto the assembled structure, aligning its slots with the top edges of the side panels. The top panel can be secured with rubber bands or left removable for easy access, depending on your preference.

Figure 5: Exploded view of display case components and assembly points.
3.5. Assembly Options
The display case can be assembled in two ways: with a removable top panel or with the entire case removable from the base. This choice depends on how you intend to access your displayed items. Refer to the video below for a visual guide on both methods.
Video 2: Demonstrates two methods for assembling the display case, allowing for either a removable top or a removable entire case from the base.
4. Operating Instructions
Once assembled, your WANLIAN Acrylic Display Case is ready for use. Simply place your desired collectibles, models, or other items onto the base. If you chose the removable top assembly, lift the top panel to access the interior. If the entire case is removable from the base, lift the entire acrylic enclosure to place or remove items.

Figure 6: Display case in use with a model car.
5. Maintenance
To maintain the clarity and appearance of your acrylic display case, follow these cleaning guidelines:
- Cleaning: Use the provided soft cleaning cloth to gently wipe down the acrylic surfaces. For stubborn smudges, dampen the cloth with water or a mild, non-abrasive acrylic cleaner.
- Avoid: Do not use ammonia-based cleaners (like window cleaner), abrasive pads, or harsh chemicals, as these can scratch or damage the acrylic.
- Dusting: Regular dusting with the soft cloth will help prevent dust buildup and maintain transparency.
6. Troubleshooting
If you encounter any issues with your display case, refer to the following common solutions:
| Problem | Possible Cause | Solution |
|---|---|---|
| Panels do not fit together easily | Protective film not fully removed; incorrect panel orientation. | Ensure all protective films are completely removed. Verify that narrow angles are consistently up or down as per instructions. |
| Case feels unstable | Rubber bands not properly applied or missing. | Ensure all rubber bands are securely placed around the interlocking tabs at each corner. |
| Scratches on acrylic panels | Improper cleaning materials used; rough handling. | Use only the provided soft cloth or a non-abrasive acrylic cleaner. Handle panels with care. |
| Dust accumulation inside | Small gaps in assembly. | While designed to be dustproof, ensure all panels are tightly interlocked and secured. Regular cleaning is recommended. |
If your product arrived damaged during transportation, please contact customer service for a satisfactory solution.
7. Specifications
Key technical details for the WANLIAN Self-Assembly Acrylic Display Case:
| Feature | Detail |
|---|---|
| Model Number | CBA-01 |
| Product Dimensions | 10 x 6 x 6 inches (25 x 15 x 15 cm) |
| Material | Acrylic / Crystal Clear Polystyrene |
| Color | Clear (panels), Black (base) |
| Item Weight | 1.1 pounds |
| Assembly Required | Yes |
| Mounting Type | Countertop (can be wall-mounted with appropriate hardware, not included) |

Figure 7: Product dimensions.
8. Warranty & Support
WANLIAN is committed to providing high-quality products. If you experience any issues with your display case, please contact our customer support team.
- Product Damage: If the product you received is damaged during transportation, please contact us immediately for assistance.
- General Inquiries: For any questions regarding assembly, maintenance, or product features, please reach out to our support team.
Contact information for support can typically be found on the product packaging or through your retailer's customer service portal.