MOWFILL 20 083 02
MOWFILL Air Filter and Pre-Filter Instruction Manual
Model: 20 083 02
For Kohler SV470S-SV620 Lawn Tractor Engines and Compatible Models
1. Product Overview
This manual provides instructions for the installation and maintenance of the MOWFILL 20 083 02 Air Filter and 20 083 03 Pre-Filter. This product is designed as a replacement for various lawn tractor engines, ensuring optimal engine performance and longevity by filtering air intake.
Key Features:
- Direct replacement for Kohler 20 083 02, 20 083 06 Air Filters and 20 083 03 Pre-Filters.
- Compatible with Kohler SV470, SV471, SV480, SV530, SV540, SV541, SV590, SV591, SV600, SV601, SV610, SV620, SV470S, SV480S, SV530S, SV540S, SV590S, SV600S, SV610S Series engines.
- Also fits various Craftsman, Cub Cadet, Husqvarna, and Toro lawn tractor models.
- Constructed with high-quality filter paper and foam for effective air filtration.
2. Compatibility
This air filter and pre-filter combination is compatible with the following OEM part numbers and engine series:
- Air Filter Replacement For Kohler: 20 083 02, 20 083 02-S, 20 083 06, 20 083 06-S
- Pre-Filter Replacement For Kohler: 20 083 03, 20 083 03-S, 20 083 04-S
- Fits Kohler SV Series Engines: SV470, SV471, SV480, SV530, SV540, SV541, SV590, SV591, SV600, SV601, SV610, SV620, SV470S, SV480S, SV530S, SV540S, SV590S, SV600S, SV610S
- Compatible with Lawn Mower Models:
- LT1042, LT1045, LT1040, LTX1040, LTX1042, RZT42, I1046, I1042, LTX1045
- Toro 74360, 74363, 74370, 74380, 74391, LX420, LX460, 13AX60RG744, 13AX60RH744
- Cross-Reference Part Numbers:
- Ariens 21541600
- Craftsman 24642
- Cub Cadet KH-20 883 02-S1, OCC-20 083 02
- Husqvarna 577513401
- Toro 98018
3. Installation Instructions
Always ensure the engine is turned off and cool before performing any maintenance. Refer to your equipment's specific service manual for detailed instructions on accessing the air filter housing.
- Locate the Air Filter Housing: The air filter housing is typically located on the side of the engine. It may be secured with clips, screws, or wing nuts.
- Open the Housing: Carefully open or remove the cover of the air filter housing.
- Remove Old Filter: Gently pull out the old air filter and pre-filter. Note their orientation for correct installation of the new filter.
- Clean Housing: Wipe the inside of the air filter housing with a clean, damp cloth to remove any dust or debris. Ensure no debris falls into the carburetor or engine intake.
- Install New Pre-Filter: Slide the new foam pre-filter (the green component) over the new paper air filter. Ensure it fits snugly.
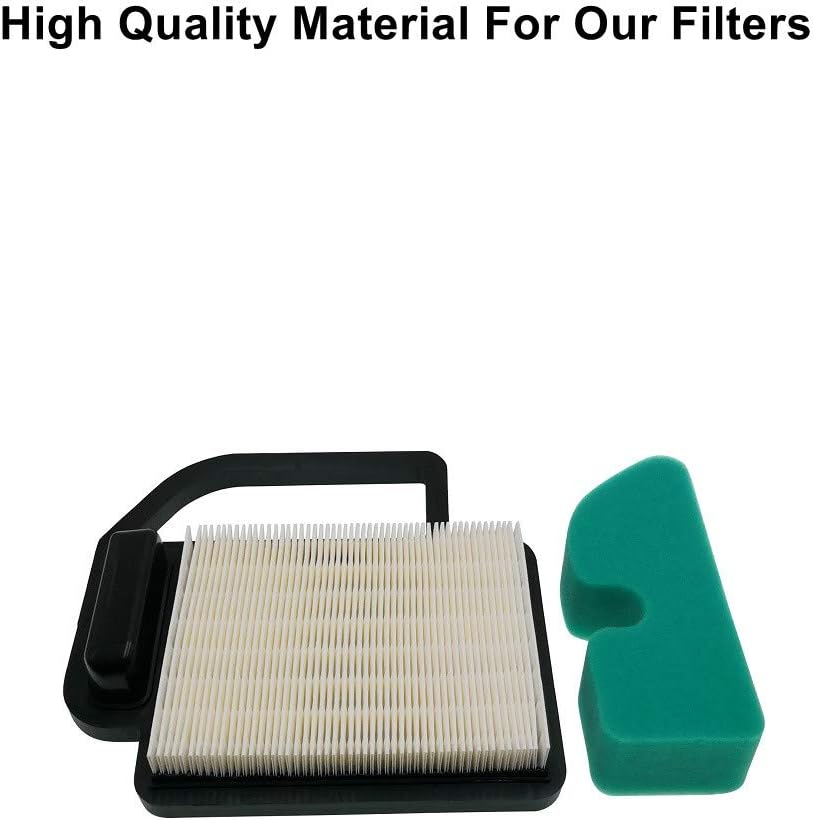
Image 1: The new air filter (paper element) with the foam pre-filter (green) installed over it. This shows the combined unit ready for insertion into the housing.
- Insert New Filter Assembly: Insert the new air filter and pre-filter assembly into the housing, ensuring it is seated correctly and securely.

Image 2: A top-down view of the air filter and pre-filter, highlighting the precise dimensions and construction that ensure a perfect fit within the engine's air filter housing.
- Close Housing: Replace the air filter housing cover and secure it with the clips, screws, or wing nuts removed earlier. Ensure it is tightly sealed to prevent unfiltered air from entering the engine.

Image 3: A side view of the air filter and pre-filter, demonstrating the exact size and form factor designed to match OEM specifications for seamless replacement.
4. Maintenance
Regular inspection and replacement of your air filter are crucial for maintaining engine health and performance.
- Inspection: Inspect the air filter every 25 hours of operation or annually, whichever comes first. In dusty conditions, inspect more frequently.
- Cleaning (Pre-Filter Only): The foam pre-filter can be gently cleaned with warm, soapy water. Rinse thoroughly and allow it to air dry completely before re-installing. Do not attempt to clean the paper air filter; it should be replaced when dirty.
- Replacement: Replace the air filter and pre-filter every 100-200 hours of operation or annually, or sooner if it appears heavily soiled or damaged. A dirty air filter restricts airflow, leading to reduced engine power, increased fuel consumption, and potential engine damage.
5. Troubleshooting
If you experience issues after air filter replacement, consider the following:
| Symptom | Possible Cause | Solution |
|---|---|---|
| Engine runs rough or lacks power | Air filter not seated correctly, or housing not sealed. | Re-check filter installation and housing seal. Ensure no gaps. |
| Engine smokes excessively | Extremely dirty air filter (if not replaced). | Replace the air filter immediately. |
| Filter does not fit | Incorrect filter model for your engine/equipment. | Verify your engine's OEM part number against the compatibility list. |
If issues persist, consult a qualified service technician or your equipment's specific service manual.
6. Specifications
| Attribute | Detail |
|---|---|
| Brand | MOWFILL |
| Model Number | 20 083 02 |
| OEM Part Number | 20 083 02 |
| Dimensions (L x W x H) | 6.75" x 5.3" x 1.3" (approximate) |
| Item Weight | 7 ounces |
| UPC | 737655504781 |
7. Warranty and Support
MOWFILL products are manufactured to high standards. For specific warranty information or technical support, please refer to the product packaging or contact MOWFILL customer service directly. Keep your purchase receipt for warranty claims.
For general inquiries or assistance, you may visit the MOWFILL brand page on Amazon or contact Amazon customer support.
Ask a question about this manual
Ask about setup, troubleshooting, compatibility, parts, safety, or missing instructions. Manuals+ will review the question and use this page’s manual context to help answer it.