1. Safety Instructions
Please read and understand all safety instructions before operating the Scheppach NTS20 wet and dry electric vacuum cleaner. Failure to follow these instructions may result in electric shock, fire, and/or serious injury.
- Electrical Safety: Always ensure the power supply matches the voltage specified on the rating label. Do not operate the vacuum cleaner with a damaged cord or plug. Keep the power cord away from heat, oil, sharp edges, or moving parts.
- Wet Vacuuming: When wet vacuuming, ensure the foam filter is correctly installed and the paper filter bag is removed. Do not vacuum flammable or explosive liquids.
- Dry Vacuuming: When dry vacuuming, ensure the paper filter bag is correctly installed. Do not vacuum hot ashes, glowing embers, or sharp objects that could damage the filter bag.
- General Use: This appliance is not intended for use by persons (including children) with reduced physical, sensory, or mental capabilities, or lack of experience and knowledge, unless they have been given supervision or instruction concerning use of the appliance by a person responsible for their safety. Children should be supervised to ensure that they do not play with the appliance.
- Maintenance: Disconnect the plug from the power socket before carrying out any cleaning or maintenance work.
2. Product Overview and Components
The Scheppach NTS20 is a versatile wet and dry electric vacuum cleaner designed for various cleaning tasks. It features a robust stainless steel container and a powerful 1200W motor.

Figure 2.1: Scheppach NTS20 Wet and Dry Vacuum Cleaner and its included accessories. This image displays the main unit, flexible hose, extension tubes, floor nozzle, crevice nozzle, foam filter, and paper filter bag.
Key Components:
- Motor Head: Contains the motor, switch, and power cord connection.
- Stainless Steel Container: 20-liter capacity for collecting dust and liquids.
- Flexible Hose: For connecting various nozzles and attachments.
- Extension Tubes: For extended reach during cleaning.
- Floor Nozzle: For general dry and wet cleaning of floors.
- Crevice Nozzle: For cleaning narrow spaces and corners.
- Foam Filter: Essential for wet vacuuming.
- Paper Filter Bag: Essential for dry vacuuming.
- Wheels: For easy maneuverability.
3. Setup and Assembly
Before first use, assemble the vacuum cleaner according to the following steps:
- Attach Wheels: Turn the container upside down. Insert the wheels into the designated slots on the base until they click into place.
- Install Filter (Dry Vacuuming): For dry vacuuming, place the paper filter bag over the inlet inside the container and secure it. Ensure the foam filter is removed.
- Install Filter (Wet Vacuuming): For wet vacuuming, remove the paper filter bag. Place the foam filter over the motor head's filter cage. Ensure it is seated correctly to prevent water from entering the motor.
- Attach Motor Head: Place the motor head onto the container and secure it with the quick-release clamps on both sides.
- Connect Hose: Insert the flexible hose into the suction port on the front of the container. For the blowing function, insert the hose into the exhaust port on the motor head.
- Attach Accessories: Connect the desired extension tubes and nozzle (floor nozzle or crevice nozzle) to the end of the flexible hose.
4. Operating Instructions
The Scheppach NTS20 offers three primary functions: wet vacuuming, dry vacuuming, and blowing.

Figure 4.1: Visual representation of the three main functions: wet vacuuming (Nasssaugen), dry vacuuming (Saugen), and blowing (Ausblasen).
4.1 Dry Vacuuming
- Ensure the paper filter bag is installed and the foam filter is removed.
- Connect the hose and desired nozzle.
- Plug the power cord into a suitable electrical outlet.
- Turn the vacuum cleaner ON using the switch on the motor head.
- Vacuum dry debris such as dust, dirt, wood shavings, and sawdust.
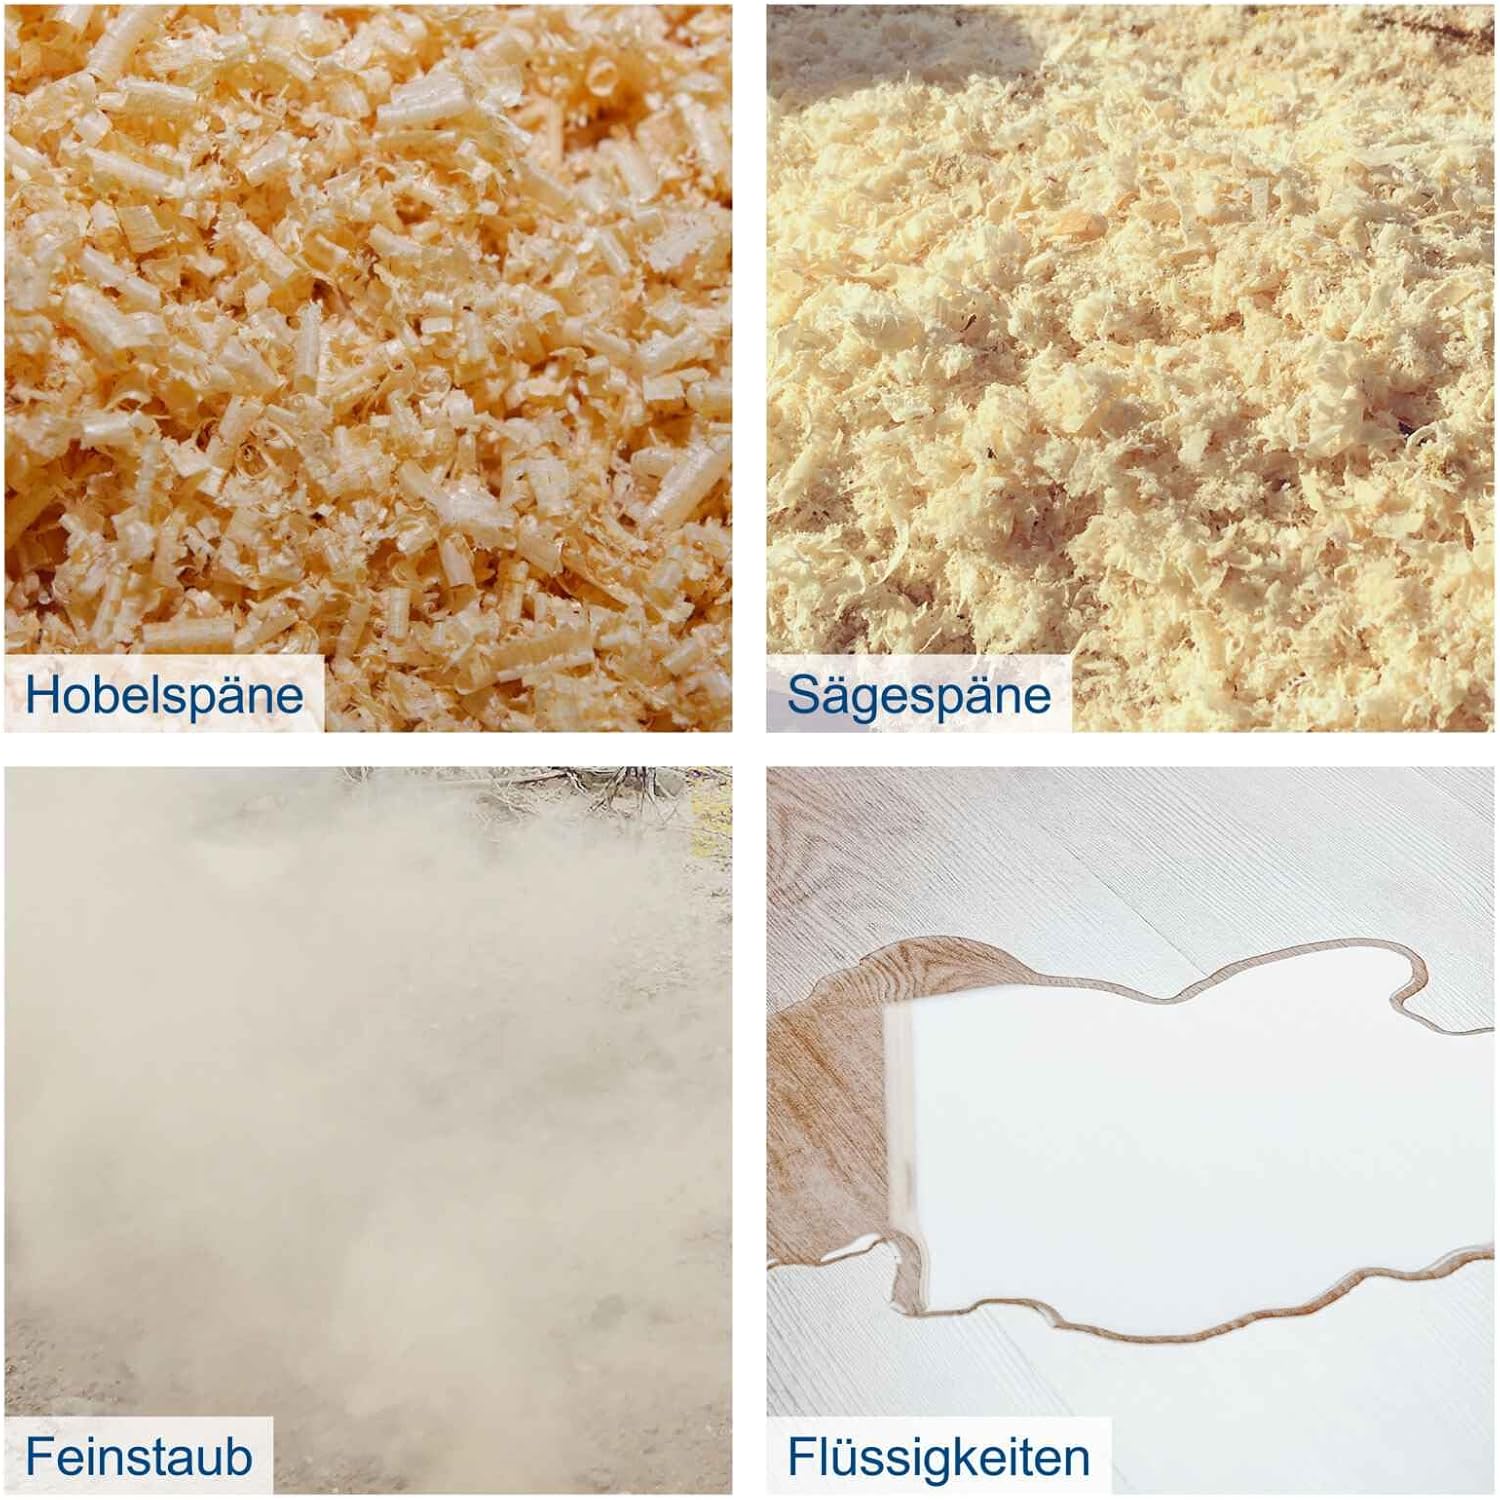
Figure 4.2: Examples of materials that can be cleaned: wood shavings (Hobelspäne), sawdust (Sägespäne), fine dust (Feinstaub), and liquids (Flüssigkeiten).
4.2 Wet Vacuuming
- Remove the paper filter bag and install the foam filter.
- Connect the hose and desired nozzle.
- Plug the power cord into a suitable electrical outlet.
- Turn the vacuum cleaner ON.
- Vacuum liquids. The vacuum cleaner has a float valve that will automatically stop suction when the container is full to prevent overflow. Turn off the vacuum and empty the container immediately when this occurs.
4.3 Blowing Function
- Disconnect the flexible hose from the suction port.
- Insert the flexible hose into the exhaust port located on the motor head.
- Turn the vacuum cleaner ON. The air will now blow out from the hose, useful for clearing debris from hard-to-reach areas or drying surfaces.

Figure 4.3: The flexible 2-meter hose connected to the vacuum cleaner, demonstrating its maneuverability.

Figure 4.4: Included crevice nozzle and large combi nozzle for carpets and smooth floors.
5. Maintenance
Regular maintenance ensures optimal performance and extends the life of your Scheppach NTS20 vacuum cleaner. Always disconnect the power plug before performing any maintenance.
5.1 Emptying the Container
- Release the quick-release clamps on the motor head.
- Lift the motor head off the container.
- Carefully empty the contents of the container into a suitable waste receptacle.
- Clean the inside of the container with a damp cloth if necessary.
- Reattach the motor head and secure the clamps.
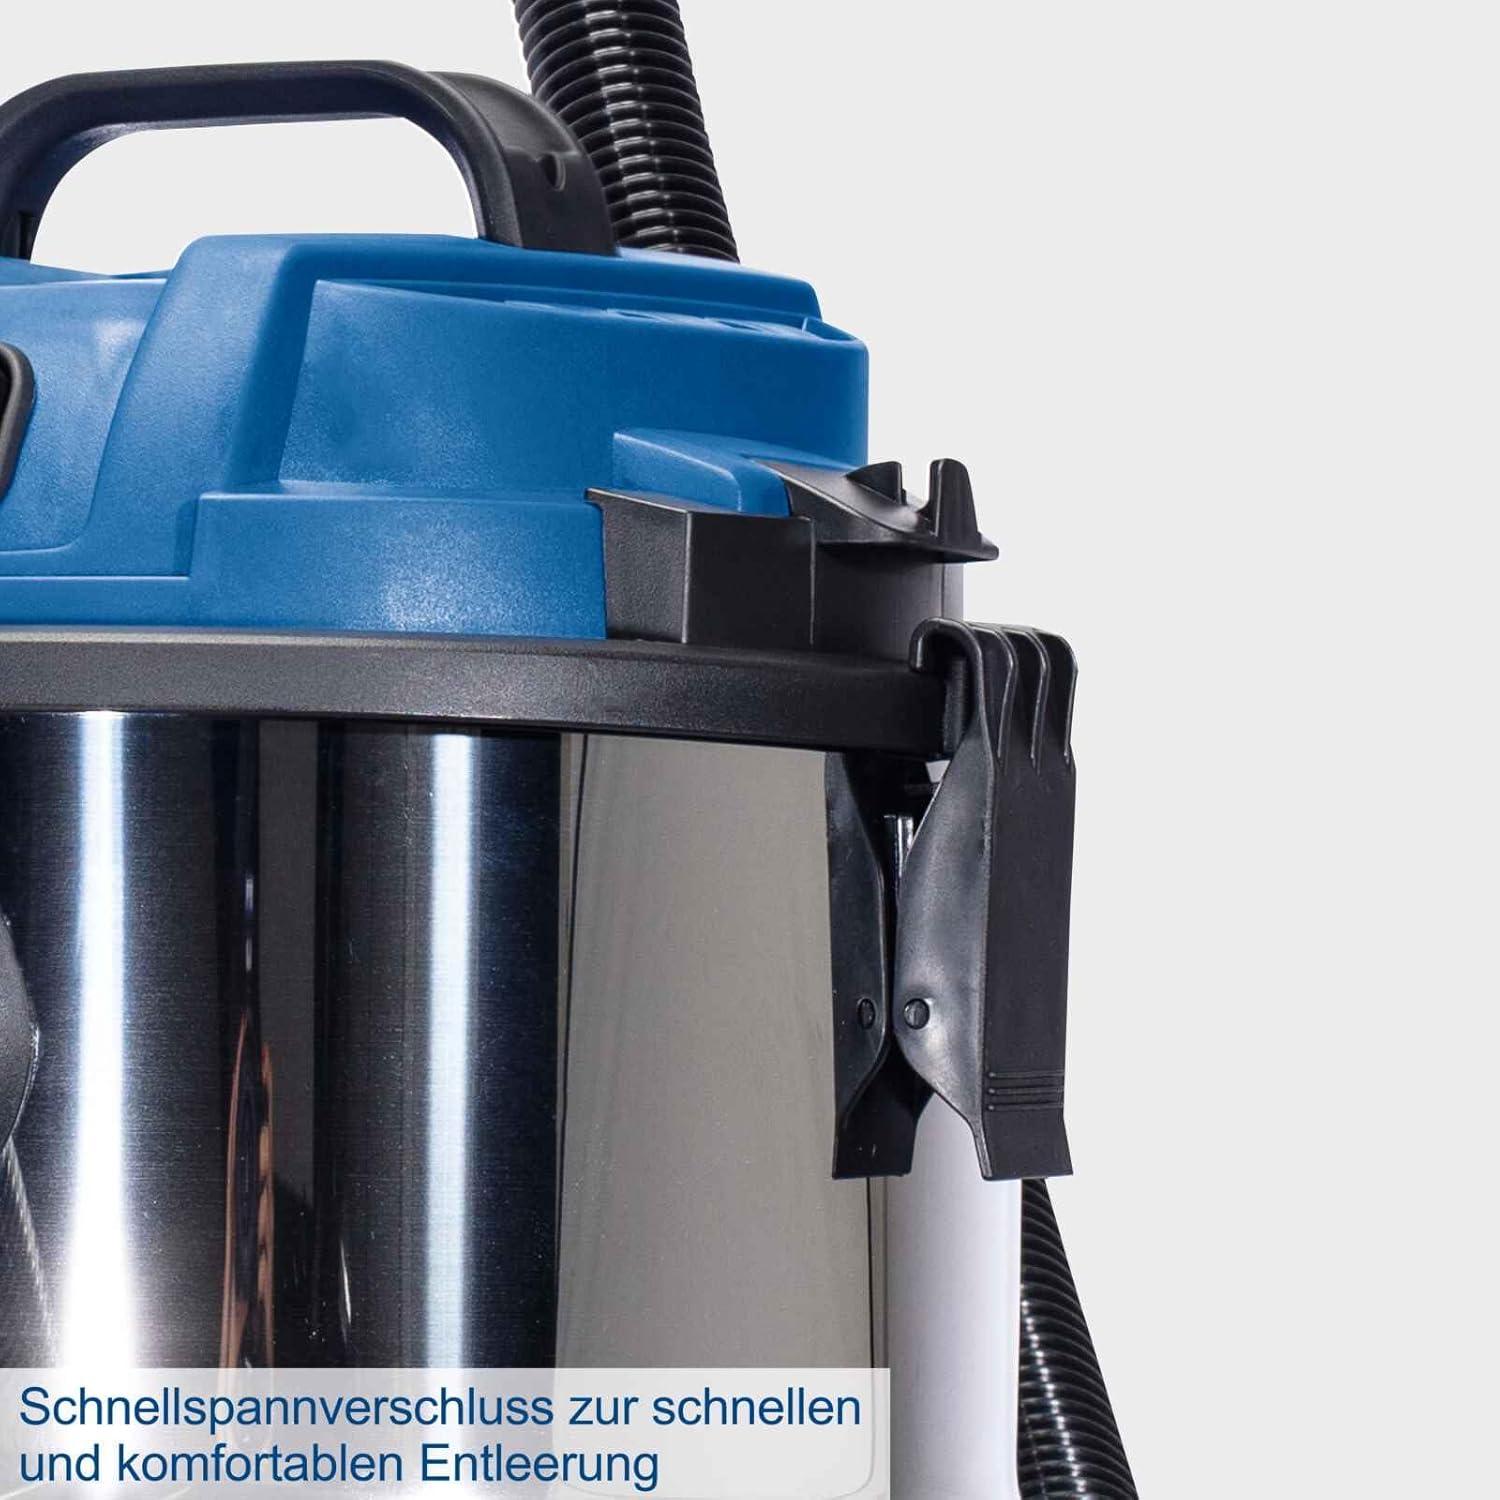
Figure 5.1: Quick-release clamps for fast and convenient emptying of the container.
5.2 Filter Cleaning and Replacement
- Foam Filter (Wet Vacuuming): After wet vacuuming, remove the foam filter and rinse it thoroughly with water. Allow it to air dry completely before reinstallation or storage.
- Paper Filter Bag (Dry Vacuuming): Replace the paper filter bag when it is full or when suction power decreases significantly. Do not attempt to clean and reuse paper filter bags.
5.3 Cleaning Accessories
- Clean the hose, extension tubes, and nozzles with water and mild detergent. Ensure they are dry before storage.
5.4 Storage
- Store the vacuum cleaner and its accessories in a dry, frost-free place, out of reach of children.
- Utilize the integrated cable and accessory holders for tidy storage.

Figure 5.2: Integrated cable and accessory holders for convenient storage directly on the machine.
6. Troubleshooting
Refer to the table below for common issues and their solutions.
| Problem | Possible Cause | Solution |
|---|---|---|
| Vacuum cleaner does not start | No power supply; Power switch OFF; Damaged power cord/plug | Check power connection; Turn switch ON; Inspect cord/plug for damage (do not use if damaged) |
| Low suction power | Container full; Filter clogged; Hose/nozzle blocked; Leaks in hose/connections | Empty container; Clean/replace filter; Clear blockages; Check all connections for tightness |
| Water leakage (wet vacuuming) | Foam filter incorrectly installed or damaged; Container overfilled | Ensure foam filter is correctly seated; Empty container (float valve should stop suction before overflow) |
| Unusual noise/vibration | Foreign object in impeller; Motor damage | Disconnect power and check for foreign objects (if safe); Contact customer support if motor damage is suspected |
7. Technical Specifications
Detailed specifications for the Scheppach NTS20 Wet and Dry Electric Vacuum Cleaner.
| Feature | Specification |
|---|---|
| Brand | Scheppach |
| Model Name | NTS20 |
| Item Model Number | 5907721901 |
| Power Source | Corded Electric |
| Wattage | 1200 watts |
| Motor Horsepower | 1.61 horsepower |
| Capacity | 20 Liters |
| Suction Power | 20 kPa |
| Noise Level | 80 Decibels |
| Cable Length | 78.74 Inches (approx. 2 meters) |
| Hose Length | 2 meters |
| Filter Type | Foam (wet), Paper Bag (dry) |
| Item Weight | 8.8 pounds |
| Form Factor | Canister |
| Color | Blue |
| Indoor/Outdoor Usage | Indoor |
| Assembly Required | Yes |
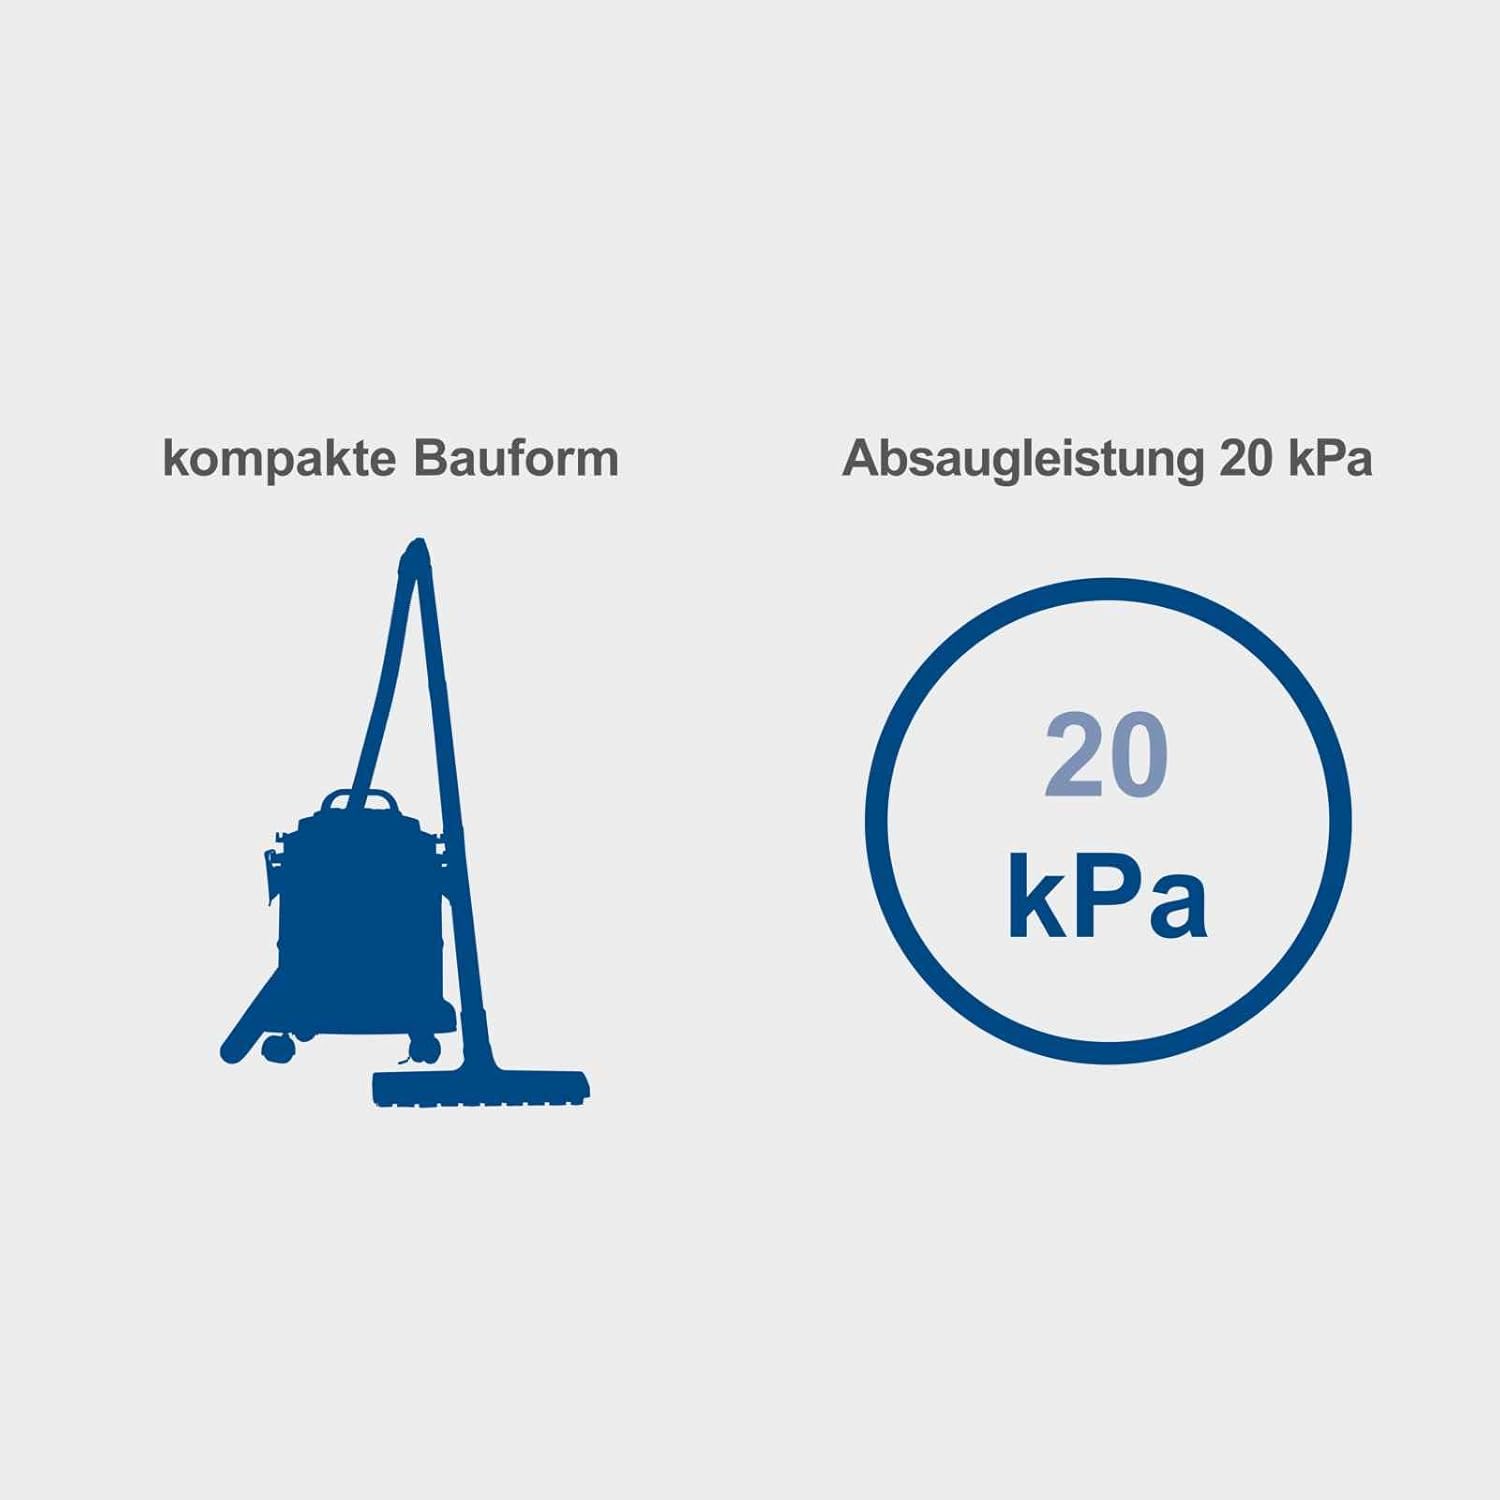
Figure 7.1: Key dimensions and capacities: 20 L container volume, 0.40 m² filter area, 4 m connection cable, and 2 m hose.
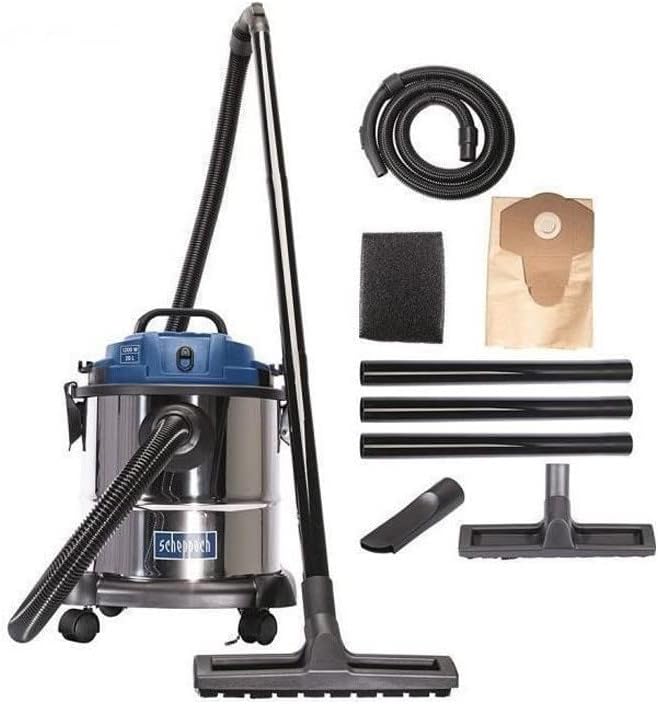
Figure 7.2: Illustration of the compact design and the suction power of 20 kPa.
8. Warranty and Support
For warranty information, please refer to the documentation provided with your purchase or contact Scheppach customer service directly. Keep your proof of purchase for any warranty claims.
Customer Support:
If you encounter any issues not covered in this manual or require further assistance, please contact Scheppach customer support. Contact details can typically be found on the manufacturer's official website or on your product packaging.


