1. Introduction
This manual provides detailed instructions for the setup, operation, and maintenance of your Maxcio Programmable Digital Timer Outlet, model ETF-68A. This device is designed to automate the power supply to your electrical appliances, offering convenience and energy efficiency through scheduled ON/OFF cycles, countdown functions, and a random mode.
Please read this manual thoroughly before using the product to ensure correct operation and to maximize its benefits.

Image 1.1: Examples of household appliances that can be automated using the Maxcio Programmable Digital Timer Outlet, such as televisions, coffee machines, and lighting.
2. Product Overview
2.1. Components
The Maxcio Programmable Digital Timer Outlet features a compact design with an integrated display and control buttons. Key components include:
- LCD Display: Shows current time, program status, and settings.
- Control Buttons:
- CLOCK: Sets current time and day.
- SET: Enters programming mode or confirms settings.
- UP/DOWN (or UP/CLEAR): Adjusts values or navigates menus.
- PROG: Accesses program settings.
- RESET: Clears all settings and resets the device.
- OK/MD: Confirms settings or changes operating mode.
- Power Outlet: For connecting your appliance.
- Power Plug: For connecting the timer to a wall socket.

Image 2.1: Front and side view of the Maxcio Programmable Digital Timer Outlet, showing the LCD display, control buttons, and power outlet.
2.2. Key Features
- Up to 16 ON/OFF programs per day.
- 2 Countdown ON/OFF programs per day.
- 24-hour / 7-day programmable cycles.
- Anti-theft random function.
- Standard time and Daylight Saving Time (DST) conversion.
- Silent operation.
- Built-in rechargeable battery for settings retention during power outages.

Image 2.2: Visual representation of the timer's key features, including multiple programs, countdown, 24/7 programming, random function, and DST.
3. Setup
3.1. Initial Charge and Reset
Before first use, plug the timer into a live wall socket for approximately 5-10 minutes to charge its internal battery. This battery maintains your settings during power interruptions or when the timer is unplugged.
After charging, use a pointed object (like a pen tip) to press the RESET button. This clears all previous settings and ensures a fresh start.
3.2. Setting Current Time and Day
- Press and hold the CLOCK button.
- While holding CLOCK, press the UP or DOWN button to set the current day (MO, TU, WE, TH, FR, SA, SU).
- Continue holding CLOCK, then press UP or DOWN to set the current hour.
- Continue holding CLOCK, then press UP or DOWN to set the current minute.
- Release the CLOCK button. The time is now set.
- To switch between 12-hour (AM/PM) and 24-hour format, press the CLOCK and MD buttons simultaneously.
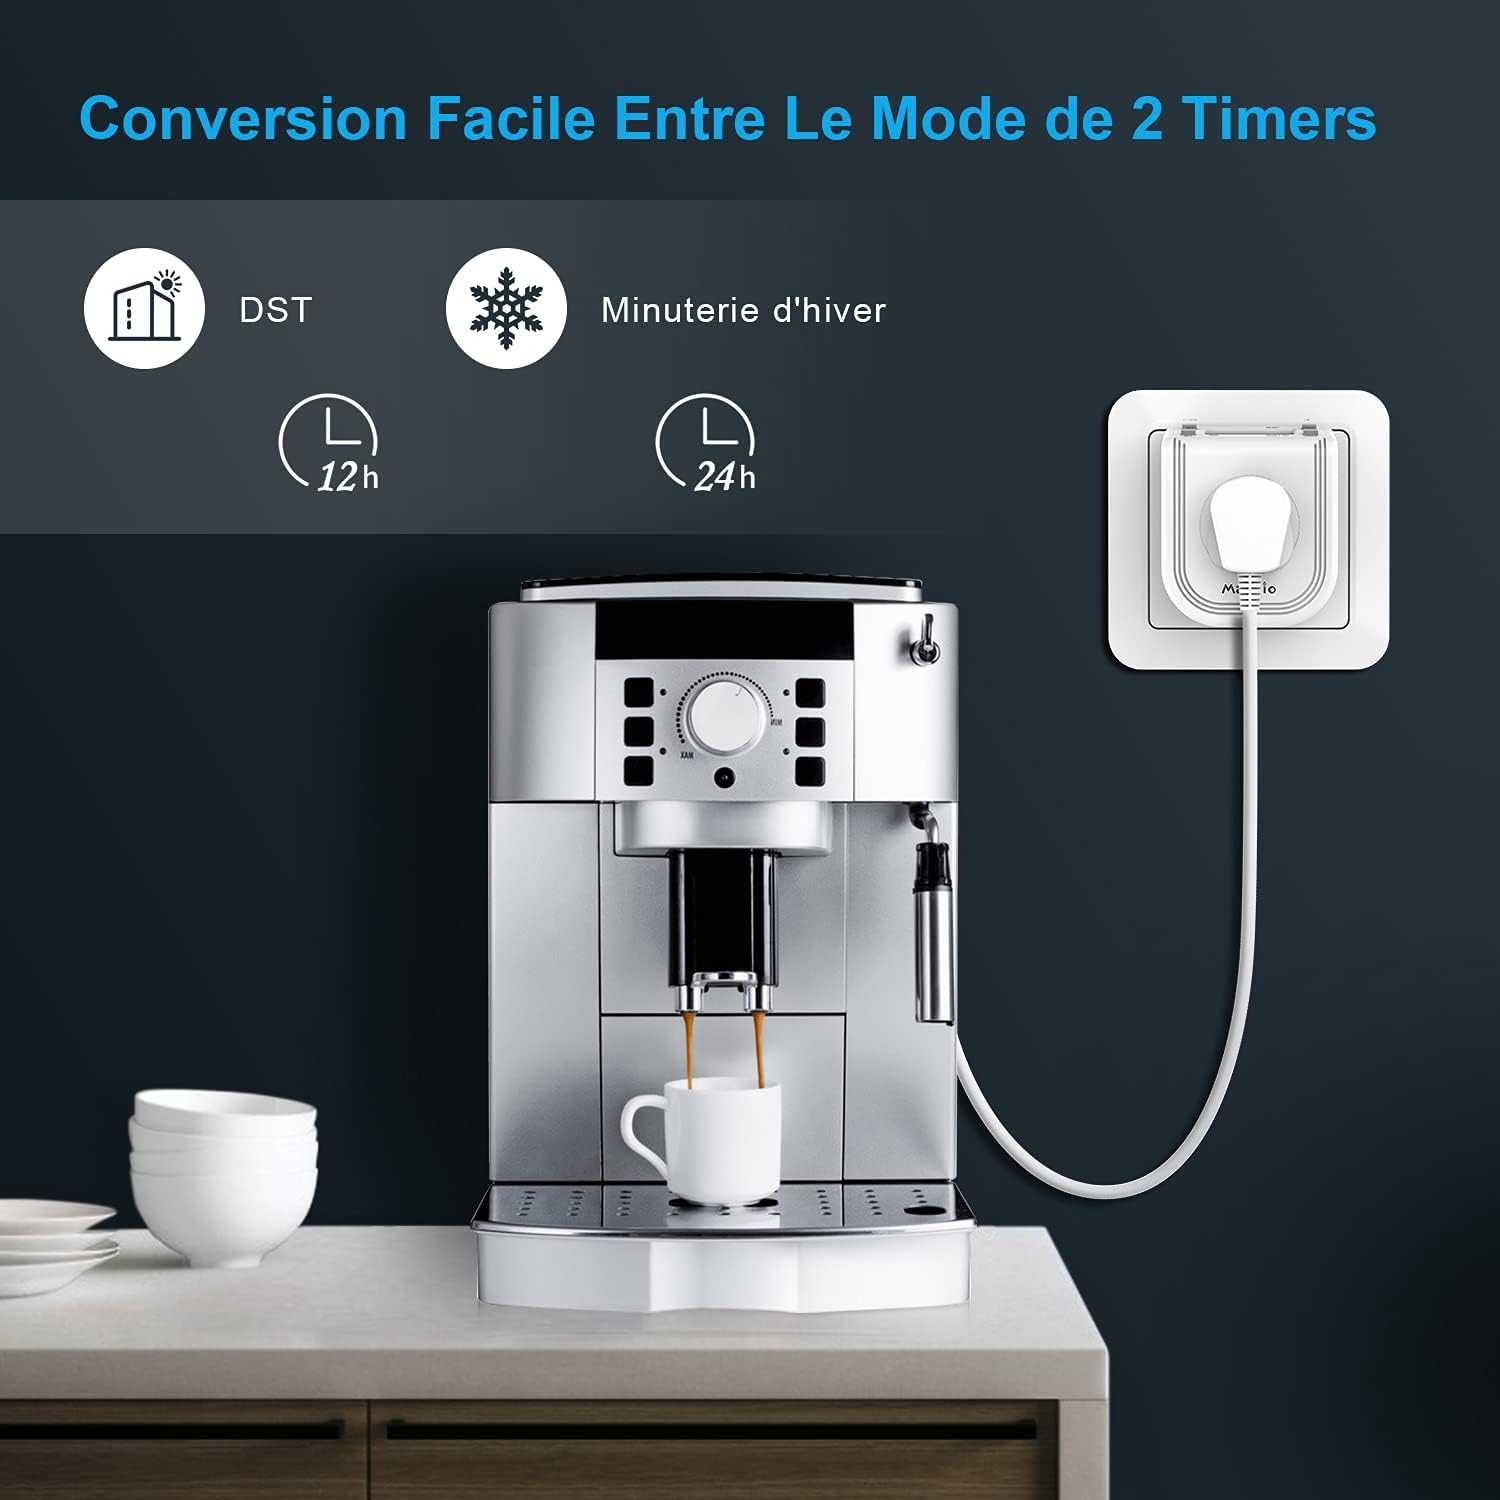
Image 3.1: Display indicating options for 12-hour and 24-hour time formats, along with DST settings.
4. Operating Instructions
4.1. Setting ON/OFF Programs
The timer allows for up to 16 distinct ON/OFF programs. Each program consists of an ON time and an OFF time.
- Press the PROG button once. "1 ON" will appear on the display.
- Press UP or DOWN to select the desired day(s) for this program. Options include individual days, weekdays, weekends, or all 7 days.
- Press SET to confirm the day selection.
- Press UP or DOWN to set the desired hour for the "ON" time.
- Press SET to confirm the hour.
- Press UP or DOWN to set the desired minute for the "ON" time.
- Press SET to confirm the minute. "1 OFF" will now appear.
- Repeat steps 2-6 to set the "OFF" time for the first program.
- After setting the "OFF" time, press PROG to move to the next program ("2 ON").
- Repeat the process for all desired programs (up to 16).
- To exit programming mode, press the CLOCK button.

Image 4.1: Example of the display showing an ON time (15:00) and an OFF time (22:00) for a programmed cycle.
4.2. Operating Modes (AUTO, ON, OFF)
Press the MD button repeatedly to cycle through the operating modes:
- AUTO: The timer operates according to your programmed ON/OFF schedules. This is the standard operating mode.
- ON: The outlet is continuously ON, overriding all programs.
- OFF: The outlet is continuously OFF, overriding all programs.
Ensure the timer is set to AUTO mode for your programs to execute.
4.3. Countdown Function
The countdown function allows you to turn an appliance ON or OFF after a specified duration.
- Press the PROG button until "CD ON" or "CD OFF" appears.
- Press UP or DOWN to set the desired countdown hour.
- Press SET to confirm the hour.
- Press UP or DOWN to set the desired countdown minute.
- Press SET to confirm the minute.
- Press MD to start the countdown. The display will show the remaining time.
- To cancel the countdown, press MD again.
4.4. Random Function (Anti-Theft)
The random function is designed to simulate occupancy by turning connected lights or appliances ON and OFF at irregular intervals. This can be useful for security when you are away.
- Press the MD button until "RANDOM" appears on the display.
- In RANDOM mode, the timer will randomly turn the connected appliance ON and OFF within a specified time window (e.g., 6 PM to 6 AM). Refer to the specific product manual for exact random intervals.
- To deactivate, press the MD button again to return to AUTO, ON, or OFF mode.
4.5. Daylight Saving Time (DST)
To adjust for Daylight Saving Time:
- Press and hold the CLOCK button.
- While holding CLOCK, press the UP button once. The display will show "+1h" or a similar indicator, and the time will advance by one hour.
- To revert, repeat the process.

Image 4.2: Visual comparison of standard time (winter) and daylight saving time (summer), illustrating the time adjustment feature.
5. Maintenance
- Cleaning: Wipe the timer with a dry, soft cloth. Do not use liquid cleaners or immerse the device in water.
- Storage: Store the timer in a cool, dry place when not in use.
- Battery: The internal battery is designed for long-term use. If the display becomes dim or settings are frequently lost, ensure the timer is plugged in for a sufficient period to recharge the battery.
- Environmental Conditions: Avoid exposing the timer to extreme temperatures, direct sunlight, or high humidity.
6. Troubleshooting
| Problem | Possible Cause | Solution |
|---|---|---|
| Timer does not turn ON/OFF at programmed times. |
|
|
| Display is blank or dim. |
|
|
| Settings are lost after unplugging. | Internal battery is not sufficiently charged. | Plug the timer into a wall socket for at least 10-15 minutes to ensure the internal battery is fully charged. |
| Difficulty setting time/programs. | Unfamiliarity with button functions or sequence. | Refer to Section 3.2 and 4.1. Press RESET and start over if necessary. Ensure each step is confirmed with SET or PROG as indicated. |
7. Specifications
| Model Number | ETF-68A |
| Installation Type | Plug-in |
| Max Power | 3680W Max. |
| Rated Value | 16A 230V |
| Frequency | 50 Hz |
| Operating Temperature | -10°C ~ 40°C |
| Dimensions (L x W x H) | 5 x 7 x 6 cm |
| Weight | 360 g |
| Material | Plastic |

Image 7.1: Diagram illustrating the product parameters and installation type.
8. Warranty and Support
Maxcio products are designed for reliability and performance. For specific warranty information, please refer to the documentation included with your purchase or contact Maxcio customer support directly. General support inquiries can often be resolved by reviewing this manual or visiting the manufacturer's website.