1. Introduction
Thank you for choosing the Cisa Astral 0A310 European Profile Cylinder. This high-quality security cylinder is designed for reliable performance and durability. This manual provides essential information for the correct installation, operation, and maintenance of your new cylinder. Please read these instructions carefully before proceeding.
The Cisa Astral cylinder features a nickel-plated brass construction and is supplied with 3 keys and a code card for key duplication. It complies with European standard EN 1303:2005.
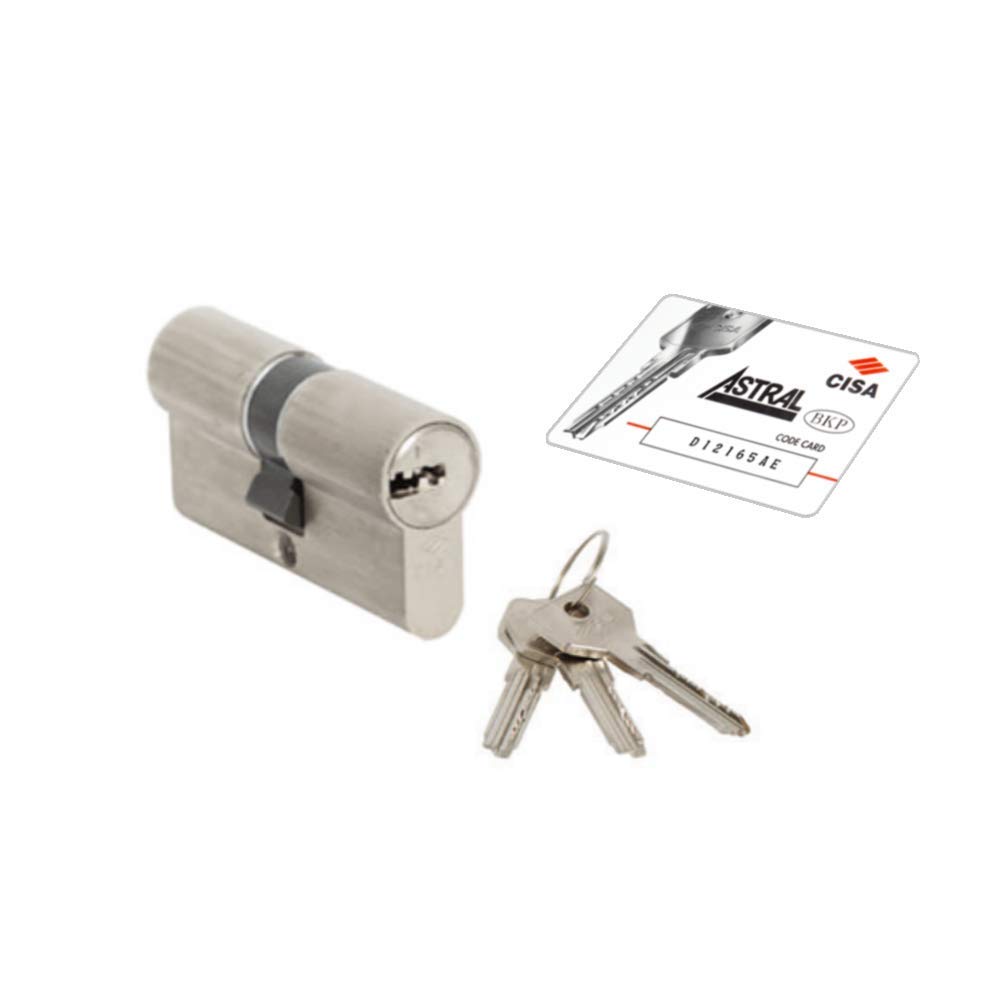
Image 1: Cisa Astral 0A310 European Profile Cylinder. This image shows the nickel-plated brass cylinder with its keyhole and the cam mechanism.
2. Safety Information
- Always wear appropriate personal protective equipment (e.g., gloves, eye protection) when handling tools and installing the cylinder.
- Ensure the door is stable and properly supported during installation to prevent accidental movement or injury.
- Keep keys and the code card in a secure location, separate from the cylinder, to maintain security.
- If you are unsure about any step of the installation process, consult a qualified locksmith or professional installer.
- Do not attempt to modify the cylinder or its components, as this may compromise its security and void the warranty.
3. Package Contents
Verify that all items are present in the package:
- 1 x Cisa Astral European Profile Cylinder (Model 0A310)
- 3 x Reversible Keys
- 1 x Code Card for key duplication
- 1 x Fixing Screw
4. Specifications
| Feature | Description |
|---|---|
| Model | Astral 0A310 (75 mm (30+45)) |
| System | 10 pins |
| Body Material | Brass |
| Cylinder Material | Anti-wear bronze, carbon-treated steel (first position) |
| Counter-pins Material | Brass, carbon-treated steel (first position) |
| Springs Material | Phosphor bronze and steel |
| Cam | DIN sintered self-lubricating steel |
| Keys | Flat, reversible, long neck, nickel-plated brass, code on head |
| Finish | Nickel-plated (fin. 12) |
| Standard Compliance | EN 1303:2005 |
| Attack Resistance | Grade 0 |
| Key Related Security | Level 6 |
| Durability | Level 6 |
5. Setup and Installation
This section outlines the general steps for replacing an existing European profile cylinder. Ensure you have the correct cylinder size (75 mm (30+45)) for your door before beginning.
- Measure Your Existing Cylinder: Before purchasing, measure your existing cylinder from the center of the fixing screw hole to each end (e.g., 30mm + 45mm). The Cisa Astral 0A310 is a 75mm cylinder (30mm internal, 45mm external).
- Remove the Old Cylinder:
- Open the door and locate the fixing screw on the door edge, usually below the latch bolt.
- Unscrew and remove this fixing screw.
- Insert a key into the existing cylinder and turn it slightly (about 15-20 degrees) in either direction. This will align the cam with the cylinder body, allowing it to slide out.
- Gently pull the cylinder out of the door. If it's stiff, try wiggling it slightly while turning the key.
- Insert the New Cisa Astral Cylinder:
- Insert one of the new keys into the Cisa Astral cylinder.
- Turn the key slightly to align the cam with the cylinder body.
- Slide the new cylinder into the door, ensuring it is centered and flush with the door handles on both sides.
- Secure the Cylinder:
- Reinsert the fixing screw through the door edge and into the threaded hole in the cylinder.
- Tighten the screw firmly, but do not overtighten, as this can damage the cylinder or door.
- Test Operation:
- With the door open, insert a key from both the inside and outside.
- Turn the key to ensure the cam rotates smoothly and the locking mechanism engages and disengages without obstruction.
- Close the door and test the locking mechanism again to ensure proper function.
If you encounter any difficulties during installation, it is recommended to seek assistance from a professional locksmith.
6. Operation
The Cisa Astral 0A310 cylinder operates with a traditional key mechanism:
- Locking: Insert the key fully into the keyway. Turn the key clockwise (or counter-clockwise, depending on the lock mechanism) until the door is securely locked. Remove the key.
- Unlocking: Insert the key fully into the keyway. Turn the key counter-clockwise (or clockwise) until the door is unlocked. Remove the key.
The reversible keys can be inserted into the cylinder in either orientation, providing convenience.
7. Maintenance
Proper maintenance ensures the longevity and smooth operation of your Cisa Astral cylinder:
- Cleaning: Periodically wipe the visible parts of the cylinder with a soft, dry cloth to remove dust and grime. Avoid using abrasive cleaners or solvents, as these can damage the finish.
- Lubrication: If the key becomes stiff or difficult to turn, apply a small amount of graphite-based lubricant or a specialized lock lubricant into the keyway. Avoid using oil-based lubricants, as they can attract dust and cause clogging over time. Insert the key and turn it several times to distribute the lubricant.
- Key Care: Do not use bent or damaged keys, as they can damage the internal mechanism of the cylinder. Keep the code card in a safe place for future key duplication.
8. Troubleshooting
If you experience issues with your Cisa Astral cylinder, consider the following:
- Key is Stiff or Hard to Turn:
- Apply a graphite-based lock lubricant into the keyway.
- Check if the key is bent or damaged. Use an original, undamaged key.
- Ensure the fixing screw is not overtightened, which can cause binding. Loosen it slightly and retest.
- Cylinder Does Not Turn:
- Ensure the key is fully inserted into the keyway.
- Verify that the door is not warped or misaligned, putting pressure on the lock mechanism.
- If the cylinder was recently installed, check that it is correctly aligned and the fixing screw is not causing obstruction.
- Key Cannot Be Removed:
- Ensure the cylinder is in the fully locked or unlocked position. The key can only be removed when the cam is aligned correctly.
- Apply lubricant if the key is stuck due to friction.
For persistent issues, it is advisable to contact a professional locksmith.
9. Warranty and Support
Cisa products are manufactured to high standards and are designed for durability. For specific warranty information, please refer to the documentation provided at the time of purchase or contact your retailer. Keep your proof of purchase for warranty claims.
For technical support or further assistance, please contact Cisa customer service or your authorized Cisa dealer. When contacting support, please have your product model (0A310) and any relevant purchase details ready.
You can find more information about Cisa products and support on the official Cisa website.


