
Butylux BL-ML-02
Butylux LED Lighted Bathroom Mirror User Manual
Model: BL-ML-02 | Brand: Butylux
Introduction
Thank you for choosing the Butylux LED Lighted Bathroom Mirror. This premium mirror is designed to enhance your bathroom experience with its advanced features and elegant design. It features a 5MM HD environmental friendly copper-free silver mirror, an oxidation-treated aluminum alloy frame, and a high-quality constant voltage power supply for durability and safety. Key functionalities include adjustable lighting, anti-fog, and smart touch controls.
This manual provides detailed instructions for installation, operation, maintenance, and troubleshooting to ensure optimal performance and longevity of your mirror.

Image: The Butylux LED Lighted Bathroom Mirror, showcasing its illuminated frame and touch controls.
Safety Information
- Always disconnect power before installation, maintenance, or cleaning.
- Installation should be performed by a qualified electrician if hardwiring is chosen.
- The mirror's electrical components are built into a waterproof box (IP44 rated) and operate on a safe DC12V voltage, ensuring safety in wet bathroom environments.
- The back of the vanity mirror is covered with a protective film to prevent chipping and falling, enhancing safety.
- Handle the mirror with care during installation as it can be heavy (approx. 23 pounds for the 28"L x 36"W model). Two people are recommended for mounting.
- Ensure the mounting surface is sturdy and capable of supporting the mirror's weight.
Package Contents
Please verify that all components are present before beginning installation:
- LED Lighted Bathroom Mirror
- Screws (x4)
- Expansion Bolts (x4)
- Installation Manual

Image: Illustration of included accessories: four screws, four expansion bolts, and the LED mirror installation instruction manual.
Setup and Installation
The Butylux LED Bathroom Mirror can be installed horizontally or vertically and offers both plug-in and hardwired options.
Installation Steps:
Step 1: Read the Manual and Check Accessories
Before starting, thoroughly read this manual and ensure all listed accessories are present in the package.
Image: Visual representation of checking the manual and included screws/expansion bolts.
Step 2: Mark Drilling Positions
Determine the desired mounting height and orientation (horizontal or vertical). Use a level to mark the drilling points on the wall. The distance 'S' between the two main mounting points varies by mirror size:
- For 32"L x 24"W: S = 9.68"
- For 36"L x 28"W: S = 13.62"
Drill holes with an aperture of 0.24 inches at the marked positions.

Image: Diagram showing how to use a level and drill to mark precise mounting points on the wall, with a table indicating 'S' distances for different mirror sizes.
Step 3: Insert Expansion Bolts and Set Screws
Insert the expansion bolts into the drilled holes. Then, screw the mounting screws into the expansion bolts, leaving a small gap for the mirror's hanging brackets.

Image: Illustration of inserting expansion bolts and partially screwing in the mounting screws.
Step 4: Power Connection
Choose your preferred power connection method:
Plug-In:
The mirror is equipped with a US 3-prong plug and a 6-foot long wire for convenient use with wall sockets. Ensure the outlet is within reach and properly grounded.

Image: Diagram showing the mirror connected via a standard 3-prong plug to a wall outlet.
Hardwired (Wall Switch Control):
To hardwire, cut off the plug and connect the mirror's wires to the wall switch's wires. Connect Live (L), Neutral (N), and Ground (G) wires appropriately. It is strongly recommended that this job be performed by a professional, licensed electrician.
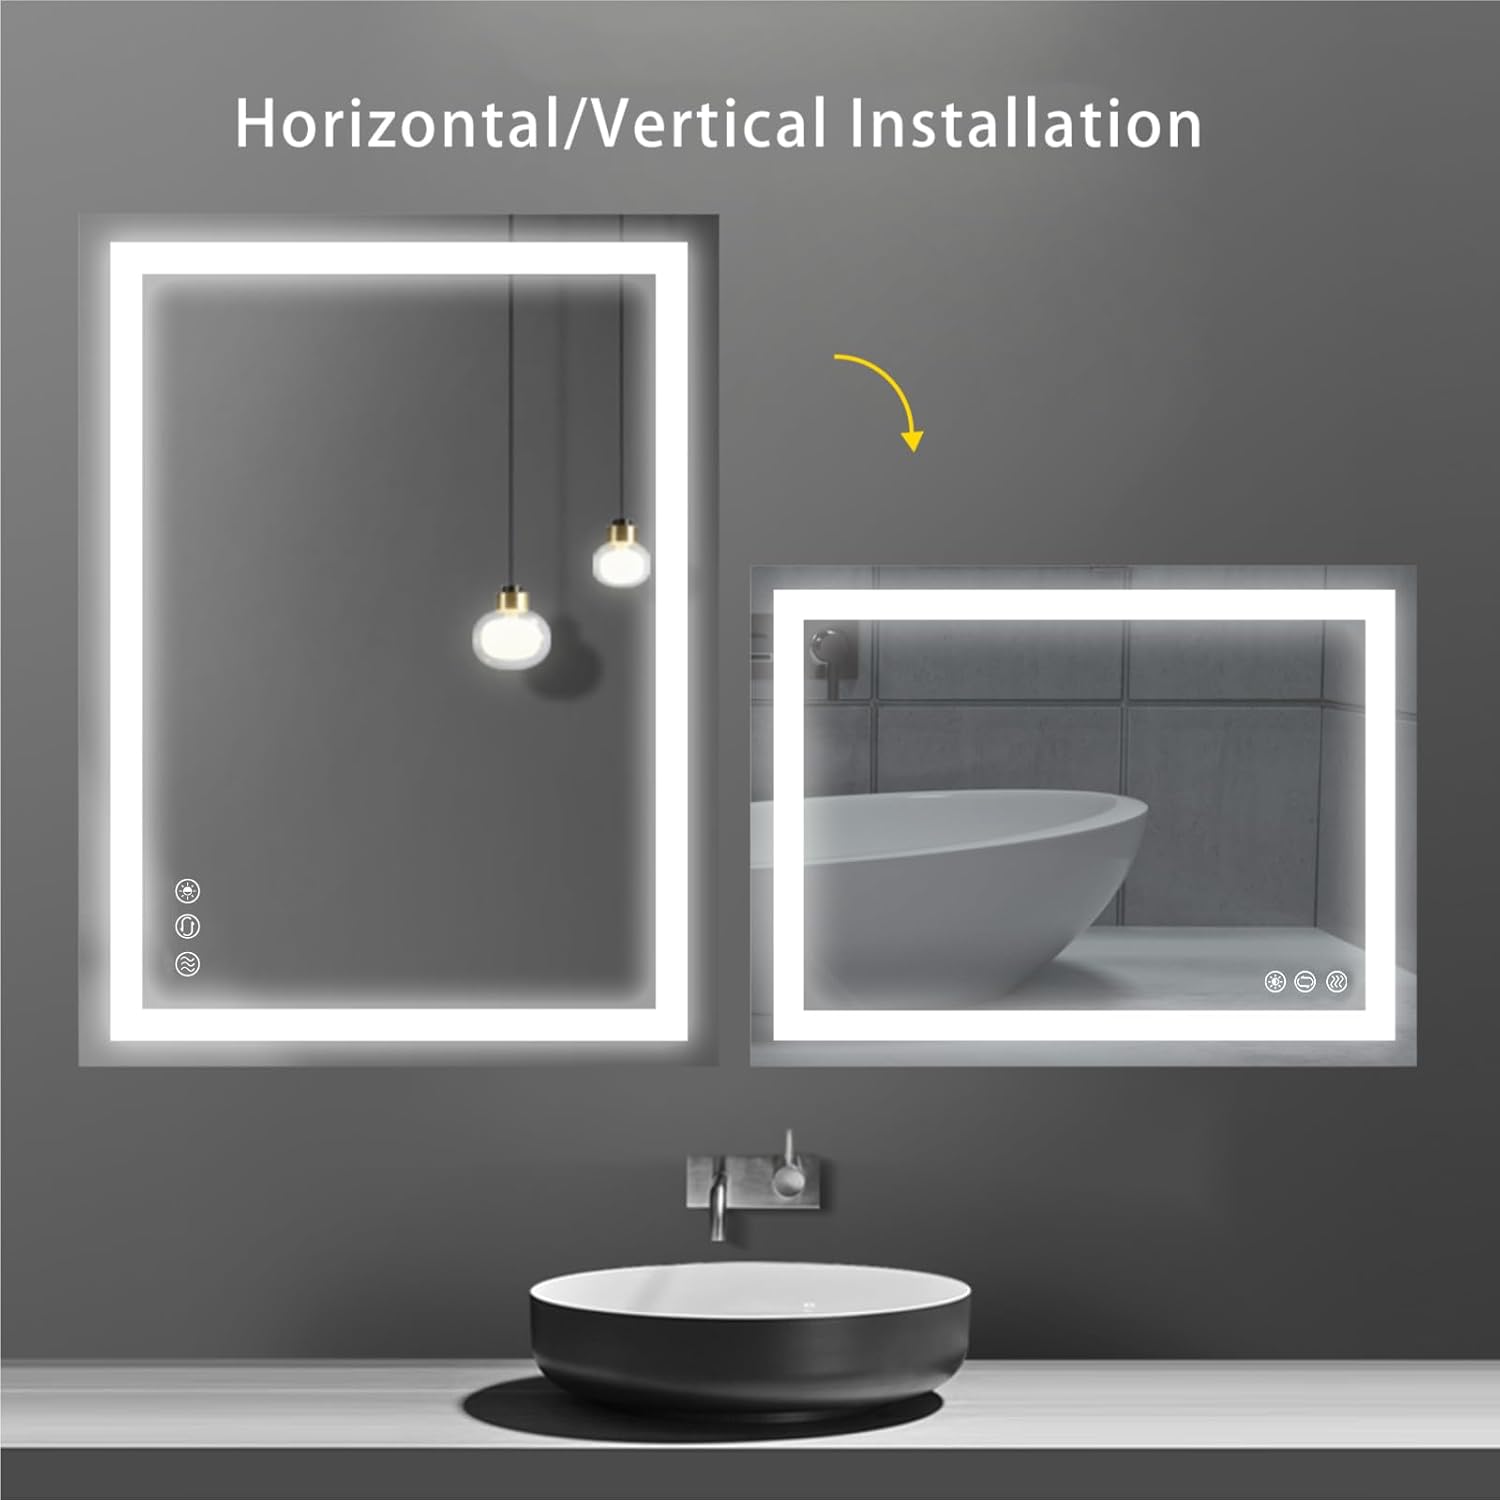
Image: Diagram illustrating how to cut the plug and hardwire the mirror to a wall switch, showing wire connections (L-L, N-N, G-G).
Step 5: Hang the Mirror
Carefully lift the mirror and align its hanging brackets with the screws on the wall. Gently lower the mirror until it is securely seated on the screws. Ensure it is level and stable.

Image: Illustration showing the mirror being hung onto the wall-mounted screws.
Operating Instructions
Your Butylux LED Bathroom Mirror features smart touch controls for easy operation of its various functions.
Touch Button Functions:
Power On/Off & Color Temperature Adjustment:
Tap the power button to turn the LED lights on or off. When the light is on, short press the power button to cycle through color temperatures: 3000K (Warm White), 4000K (Neutral Light), and 6000K (Daylight).

Image: Visual guide demonstrating the three color temperature options: 6000K (White light), 4000K (Neutral light), and 3000K (Warm light).
Brightness Dimming:
When the light is on, press and hold the power button to adjust the brightness continuously from 10% to 100%. Release the button when the desired brightness level is reached. The mirror has a memory function that retains your last brightness setting.

Image: Illustration showing the dimming range from 10% to 100% brightness, with examples at 10%, 50%, and 100% illumination.
Anti-Fog Function:
Tap the dedicated anti-fog button to activate the anti-fog function. This will automatically clear condensation from the mirror surface, providing a clear reflection. The anti-fog function typically clears the mirror in under 2 minutes.

Image: A split image demonstrating the mirror's surface "Before" and "After" the anti-fog function is activated, showing a clear reflection.
Maintenance
Proper maintenance will ensure the longevity and optimal performance of your Butylux LED Bathroom Mirror.
Cleaning the Mirror Surface:
Use a soft, lint-free cloth and a non-abrasive glass cleaner. Spray the cleaner onto the cloth, not directly onto the mirror, to avoid liquid seeping into the electrical components. Wipe gently to remove smudges and dirt. Avoid using harsh chemicals or abrasive materials that could scratch the mirror or damage the frame.
Frame Care:
The aluminum alloy frame is oxidation-treated for durability. Clean the frame with a soft, damp cloth. Do not use abrasive cleaners or solvents.
Electrical Components:
The electrical part is built in a waterproof box. However, avoid direct water spray onto the back of the mirror or into any openings. Ensure power is disconnected before any cleaning near electrical connections.
Troubleshooting
If you encounter issues with your Butylux LED Bathroom Mirror, please refer to the following common problems and solutions:
| Problem | Possible Cause | Solution |
|---|---|---|
| Mirror arrived broken. | Shipping damage. | Contact Amazon or Butylux support email for a refund or replacement. |
| Mirror has power, but buttons/lights don't work. | Internal wiring issue or component malfunction. | Email Butylux support for troubleshooting assistance. |
| Light is too dim. | Brightness setting is low. | Press and hold the power button to adjust brightness to a higher level. |
| Anti-fog not working. | Anti-fog function not activated or malfunction. | Ensure the anti-fog button is tapped to activate. If still not working, contact support. |
Video: Butylux Bathroom Mirror Quick Q&A. This video addresses common questions regarding broken mirrors, return windows, non-functional lights/buttons, hardwiring, dim lights, and information needed for support.
Specifications
| Feature | Detail |
|---|---|
| Brand | Butylux |
| Model Number | BL-ML-02 |
| Product Dimensions | 28"L x 36"W |
| Item Weight | 23 Pounds |
| Frame Material | Aluminum |
| Mirror Material | 5mm High Quality Glass with Silver Coating |
| Mounting Type | Wall Mount (Horizontal/Vertical) |
| Light Color Temperature | 3000K (Warm White) to 6000K (Daylight) adjustable |
| Brightness | 10% - 100% Dimmable |
| Special Features | Anti-Fog, Smart Touch Button, Memory Function |
| Waterproof Rating | IP44 |
| Power Supply | DC12V |
Warranty and Support
Butylux is committed to your satisfaction. Your LED Bathroom Mirror comes with a 2-year assurance from the date of purchase.
If you encounter any issues, have questions, or require assistance, please do not hesitate to contact our customer support team. When contacting support, please provide your order number, photos or video of the issue (if applicable), and a short description of the problem to help us assist you more efficiently.
For support, please refer to the contact information provided with your purchase or on the official Butylux website.
Ask a question about this manual
Ask about setup, troubleshooting, compatibility, parts, safety, or missing instructions. Manuals+ will review the question and use this page’s manual context to help answer it.