
1. Introduction
This manual provides essential information for the safe and effective operation of your BLACK+DECKER BCRT8IK-XJ Rotary Multifunction Tool. Please read these instructions carefully before using the tool and retain them for future reference. This cordless tool is designed for various DIY and creative applications, offering versatility and portability.
2. Safety Information
Always observe basic safety precautions to reduce the risk of fire, electric shock, and personal injury.
- Work Area Safety: Keep your work area clean and well-lit. Cluttered or dark areas invite accidents.
- Electrical Safety: Do not expose power tools to rain or wet conditions. Water entering a power tool will increase the risk of electric shock.
- Personal Safety: Always wear eye protection. Use hearing protection when operating for extended periods. Dress properly; avoid loose clothing or jewelry that can get caught in moving parts.
- Tool Use and Care: Do not force the power tool. Use the correct power tool for your application. Disconnect the battery pack from the power tool before making any adjustments, changing accessories, or storing power tools.
- Battery Safety: Do not incinerate the battery pack even if it is severely damaged. Batteries can explode in a fire.
3. Package Contents
Verify that all items listed below are present in your package:
- BLACK+DECKER BCRT8IK-XJ Rotary Multifunction Tool
- 53 Assorted Accessories
- USB Charging Cable
- Storage Case

Image 1: The BLACK+DECKER BCRT8IK-XJ Rotary Multifunction Tool, its 53 accessories, and the included storage case.
4. Product Overview
Familiarize yourself with the components of your rotary tool.

Image 2: Side view of the rotary tool, showing its ergonomic design and branding.
- Power Button: ON/OFF switch for tool operation.
- Spindle Lock Button: Used to lock the spindle for accessory changes.
- Speed Control Dial/LED Indicators: Adjusts the rotational speed and displays the current speed setting.
- Collet Nut: Secures the accessory in place.
- Collet: Holds the accessory shank.
- USB Charging Port: For recharging the internal battery.

Image 3: Close-up view of the speed adjustment mechanism and the 5 LED speed indicators.
5. Setup
Before first use, ensure the tool is fully charged. Refer to the 'Charging' section for instructions.
5.1 Attaching Accessories
- Ensure the tool is turned OFF.
- Press and hold the spindle lock button.
- Loosen the collet nut using the provided wrench or by hand if loose enough.
- Insert the shank of the desired accessory fully into the collet.
- Tighten the collet nut securely with the wrench while still holding the spindle lock button. Do not overtighten.
- Release the spindle lock button.

Image 4: A hand demonstrating the process of changing an accessory using the provided wrench.
6. Operating Instructions
6.1 Powering On/Off
Press the ON/OFF button to start the tool. Press it again to turn the tool off. The tool features a one-hand operated ON/OFF and Spindle Lock for ease of use.
6.2 Speed Control
The tool features 5 LED speed indicators for intuitive speed control. Rotate the speed control dial to select the appropriate speed for your application. Higher speeds are generally used for harder materials and finer work, while lower speeds are suitable for softer materials or polishing.
6.3 Applications
The BLACK+DECKER BCRT8IK-XJ is designed for a wide range of tasks:
- Drilling: Use appropriate drill bits for small holes in various materials.
- Sanding: Utilize sanding bands or discs for smoothing surfaces.

Image 5: The rotary tool with a sanding accessory, used for intricate sanding work inside a wooden birdhouse.
- Polishing: Attach polishing wheels or buffs to restore shine to metal or plastic.

Image 6: The rotary tool with a polishing accessory, used to polish a detailed metal piece.
- Cutting/Chamfering/Adjusting: Use cutting wheels for light cutting tasks.
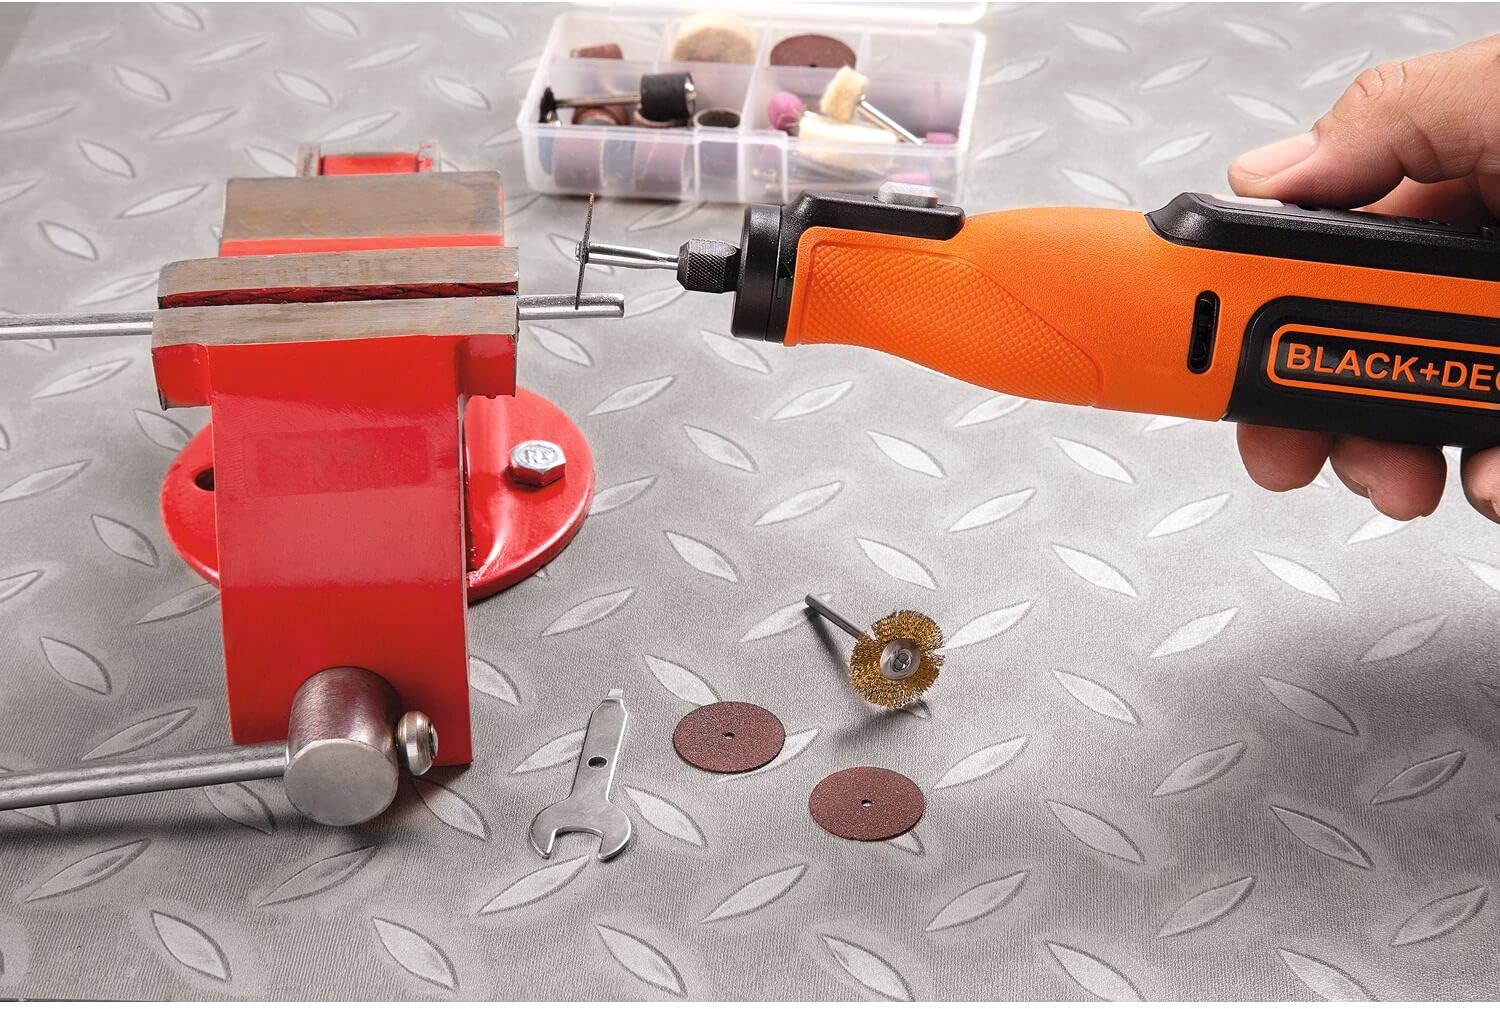
Image 7: The rotary tool with a cutting disc, performing a precise cut on a metal component secured in a vise.
- Shaping/Carving/Decorating/Engraving: Utilize various grinding stones and engraving bits for detailed work on wood, plastic, or soft metals.

Image 8: The rotary tool with an engraving bit, creating a detailed soccer ball pattern on a wooden surface.

Image 9: The rotary tool with a grinding stone, precisely shaping the edge of a plastic channel.
- Sharpening Knives: Use specific sharpening stones for maintaining blade edges.

Image 10: The rotary tool with a sharpening stone, carefully sharpening the edge of a knife.
- Pet Nail Trimming: With appropriate accessories and caution, the tool can be used for pet nail care.

Image 11: The rotary tool being used carefully to trim the nails of a dog, demonstrating a specialized application.
7. Charging
The tool is equipped with a built-in 7.2V Lithium 1.5Ah battery. To charge:
- Connect the USB charging cable to the tool's USB port.
- Plug the other end of the USB cable into a compatible USB power adapter (not included) or a computer USB port.
- The LED indicators will show the charging status. A full charge is indicated when all LEDs are lit and steady.

Image 12: The rotary tool connected via its USB cable to a wall charger, indicating the charging process.
8. Maintenance
Regular maintenance ensures optimal performance and extends the tool's lifespan.
- Cleaning: Keep the tool's ventilation openings clean and free of debris. Use a soft, damp cloth for cleaning the housing. Do not use harsh chemicals or abrasive cleaners.
- Accessory Care: Inspect accessories before each use. Replace worn or damaged accessories immediately. Store accessories in the provided case to prevent damage.
- Battery Storage: For long-term storage, charge the battery to approximately 50% and store the tool in a cool, dry place. Recharge every 3-6 months to maintain battery health.
9. Troubleshooting
If you encounter issues with your tool, refer to the following common problems and solutions:
| Problem | Possible Cause | Solution |
|---|---|---|
| Tool does not turn on. | Battery is depleted. | Charge the battery fully. |
| Tool stops during operation. | Overload or low battery. | Reduce pressure on the tool or recharge the battery. |
| Accessory wobbles or is loose. | Collet nut not tightened or incorrect collet size. | Ensure collet nut is securely tightened. Use the correct collet for the accessory shank size. |
If the problem persists, contact BLACK+DECKER customer support.
10. Specifications
| Feature | Specification |
|---|---|
| Model Number | BCRT8IK-XJ |
| Voltage | 7.2 Volts |
| Battery Type | Lithium Ion (1.5Ah) |
| Power Source | Battery Powered |
| Maximum Rotational Speed | 28000 RPM |
| Minimum Speed | 2950 RPM |
| Item Weight | 1.02 Kilograms (2.24 pounds) |
| Product Dimensions (L x W x H) | 10.71 x 2.6 x 8.03 inches |
| Included Components | 53 Accessories, USB Cable, Case |
| Special Feature | Multi Use |
11. Warranty and Support
For warranty information, service, or technical support, please refer to the warranty card included with your product or visit the official BLACK+DECKER website. Keep your purchase receipt as proof of purchase.