
1. Important Safety Instructions
Please read all instructions carefully before using this appliance. Keep this manual for future reference.
- Always unplug the vacuum cleaner from the power outlet before cleaning or performing maintenance.
- Do not use the vacuum cleaner on wet surfaces or to pick up liquids.
- Do not pick up flammable or combustible materials, hot ashes, or sharp objects.
- Keep hair, loose clothing, fingers, and all parts of the body away from openings and moving parts.
- Do not operate the vacuum cleaner with a damaged cord or plug. If the cord is damaged, it must be replaced by the manufacturer or a qualified service agent.
- This appliance is for household use only.
2. Product Components
Familiarize yourself with the parts of your Deerma DX115C vacuum cleaner.
Main Vacuum Unit (Handheld)
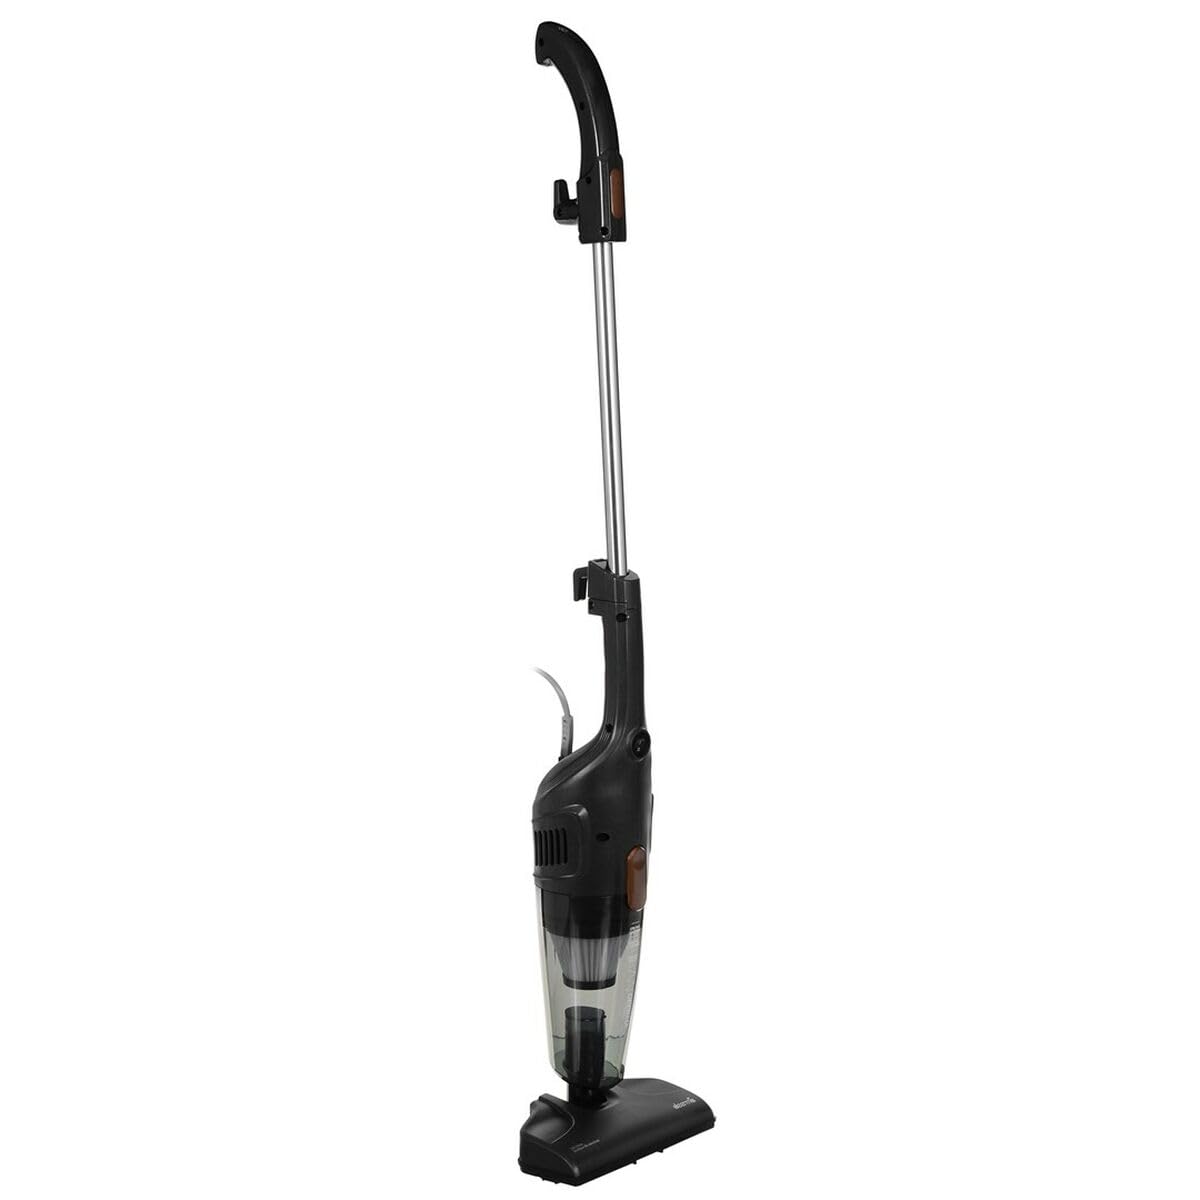
This image shows the compact main body of the Deerma DX115C vacuum cleaner, ready for handheld use. It includes the motor, dust cup, and power switch.
Crevice Tool and Brush Attachment

These are two essential attachments: a narrow crevice tool for reaching tight spaces and a brush attachment for delicate surfaces or stubborn dirt.
HEPA Filter

The high-efficiency particulate air (HEPA) filter captures fine dust and allergens, ensuring cleaner exhaust air. Regular cleaning is recommended.
Dust Cup

This transparent dust cup collects debris and is easily detachable for emptying. It connects to the main vacuum body.
Handle for Stick Mode

An ergonomic handle designed for comfortable use when the vacuum is assembled in stick mode.
Extension Tube/Wand

The extension tube connects the main unit to the floor nozzle or other attachments, allowing for upright cleaning.
Power Switch

A simple on/off switch located on the main unit for easy operation.
3. Setup and Assembly
Your Deerma DX115C vacuum cleaner can be assembled in two configurations: handheld or stick mode.
3.1 Handheld Configuration
- Ensure the dust cup and HEPA filter are correctly installed in the main vacuum unit.
- Attach the desired nozzle (e.g., crevice tool or brush attachment) directly to the main vacuum unit's intake opening.
- Plug the power cord into a suitable electrical outlet.
3.2 Stick (Upright) Configuration
- Attach the extension tube to the main vacuum unit's intake opening. Ensure it clicks securely into place.
- Connect the floor nozzle (not explicitly pictured but implied for stick mode) to the other end of the extension tube.
- Attach the handle to the top of the extension tube.
- Plug the power cord into a suitable electrical outlet.
4. Operating Instructions
Using your Deerma DX115C vacuum cleaner is straightforward.
- Power On: Once assembled and plugged in, press the power switch located on the main unit to turn the vacuum cleaner on.
- Cleaning: Move the vacuum cleaner over the surface you wish to clean. The 600W motor provides 12,000 Pa of suction for effective dirt and dust removal.
- Using Attachments: Select the appropriate attachment for the task. The crevice tool is ideal for corners and narrow gaps, while the brush attachment is suitable for upholstery or delicate surfaces.
- Power Off: After cleaning, press the power switch again to turn the vacuum cleaner off. Unplug the appliance from the power outlet.
5. Maintenance
Regular maintenance ensures optimal performance and extends the life of your vacuum cleaner.
5.1 Emptying the Dust Cup
- Ensure the vacuum cleaner is unplugged.
- Detach the dust cup from the main unit.
- Empty the collected debris into a waste bin.
- Reattach the dust cup securely to the main unit.
5.2 Cleaning the HEPA Filter
- Unplug the vacuum cleaner and remove the dust cup.
- Carefully remove the HEPA filter from the dust cup.
- Tap the filter gently over a waste bin to dislodge loose dust.
- If necessary, rinse the filter under cool running water. Ensure it is completely dry before reinserting. Do not use detergents or hot water.
- Reinsert the dry HEPA filter into the dust cup, then reattach the dust cup to the main unit.
5.3 General Cleaning
- Wipe the exterior of the vacuum cleaner with a soft, damp cloth.
- Do not use abrasive cleaners or solvents.
- Check the intake opening and attachments for any blockages and clear them if found.
6. Troubleshooting
If you encounter issues with your vacuum cleaner, refer to the following table:
| Problem | Possible Cause | Solution |
|---|---|---|
| Vacuum cleaner does not turn on. | Not plugged in; Power outlet malfunction; Power switch off. | Ensure plug is firmly in outlet; Test outlet with another appliance; Press power switch to ON position. |
| Low suction power. | Dust cup full; Filter clogged; Blockage in nozzle/hose. | Empty dust cup; Clean or replace HEPA filter; Check and clear any blockages. |
| Unusual noise. | Blockage; Filter incorrectly installed. | Check for and remove any blockages; Ensure filter is correctly seated. |
7. Specifications
Technical details of the Deerma DX115C Portable Vacuum Cleaner.
- Brand: Deerma
- Model Numbers: 55859596, 7984830
- Power: 600 Watts
- Suction Power: 12,000 Pa
- Dust Cup Capacity: 1.2 Liters
- Noise Level: 75 Decibels
- Weight: 1.86 Kilograms
- Dimensions (L x W x H): 2.79 x 24.64 x 16.51 cm
- Filter Type: HEPA Filter
- Special Feature: Portable (2-in-1 Handheld & Stick)
- Power Source: AC/DC
8. Warranty and Support
For warranty information or technical support, please refer to the documentation provided at the time of purchase or contact your retailer. Keep your proof of purchase for any warranty claims.


