1. Product Overview
The PlayGo Make-a-Braid Workshop (Model 6017) is a creative craft kit designed for children aged 6 and above. This workshop allows users to design and create their own handmade braided bracelets, necklaces, and anklets using colorful threads and beads. It provides an engaging activity that helps improve fine motor skills, hand-eye coordination, and fosters imagination and manual dexterity.
The kit includes a specialized braiding machine and various accessories to facilitate the braiding process, making it easy and fun to craft personalized wearable art.
2. Safety Information
Please read and understand all safety instructions before using this product. Keep this manual for future reference.
- WARNING: CHOKING HAZARD – This product contains small parts. Not suitable for children under 3 years of age. Adult supervision is recommended for all users.
- Keep all components away from open flames or direct heat sources to prevent damage or injury.
- Do not put threads or beads in the mouth.
- Ensure all parts are securely attached before use.
- Dispose of packaging materials properly and keep them away from children.
3. Package Contents
Verify that all items listed below are present in your package:
- 1 x Braiding Machine Unit
- Assorted Colorful Threads
- Assorted Decorative Beads
- Instruction Manual (this document)
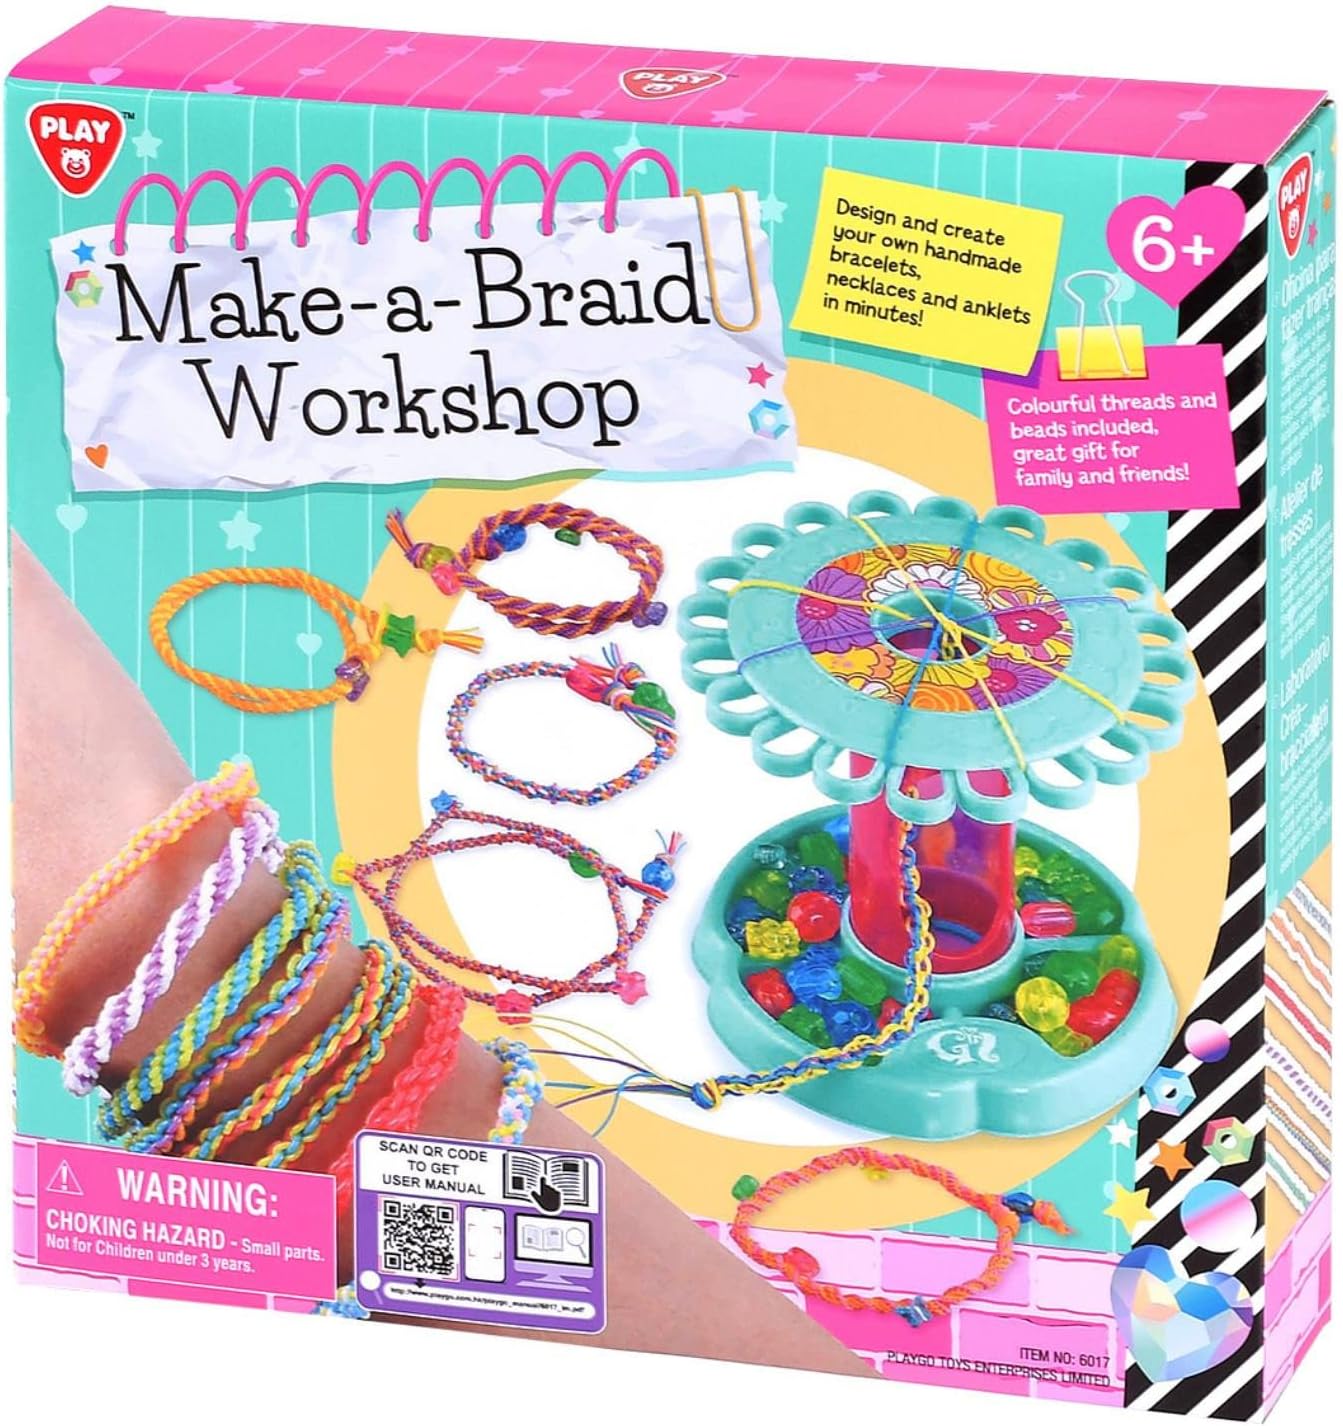
Figure 3.1: The PlayGo Make-a-Braid Workshop packaging, illustrating the contents and potential creations.
4. Setup
Follow these steps to set up your Make-a-Braid Workshop:
- Unpack Components: Carefully remove all items from the packaging.
- Place Braiding Machine: Position the braiding machine on a flat, stable surface.
- Organize Threads and Beads: Separate the colorful threads and beads. The base of the braiding machine often has compartments for organizing beads.

Figure 4.1: The braiding machine ready for use, with threads and beads arranged.
5. Operating Instructions: Creating Braids
This section guides you through the process of creating braided accessories using your PlayGo Make-a-Braid Workshop.
5.1. Preparing the Threads
- Select 3 or more threads of your desired colors and length. The length will determine the final size of your accessory.
- Tie a knot at one end of the selected threads, leaving a small loop. This loop will be used to secure the braid.
5.2. Using the Braiding Machine
- Attach Threads: Place the knotted end of your threads into the central opening of the braiding machine. Distribute the individual threads into the designated slots around the circular top plate. Ensure the threads are taut.
- Start Braiding: Follow the specific braiding pattern indicated on the machine or in the detailed instructions provided in the official manual (see Section 8 for external resources). Typically, this involves moving threads from one slot to another in a specific sequence while rotating the top plate.
- Add Beads (Optional): To incorporate beads, slide a bead onto one of the threads before moving it to its next position in the braiding sequence. Ensure the bead is positioned correctly within the braid.
- Continue Braiding: Repeat the braiding steps until your accessory reaches the desired length.
5.3. Finishing the Braid
- Once the braid is complete, carefully remove the threads from the braiding machine slots.
- Tie another knot at the end of the braid to secure it.
- Trim any excess thread. You can use the initial loop and the final knot to tie the braid into a bracelet, necklace, or anklet.
6. Maintenance and Care
Proper care will ensure the longevity of your PlayGo Make-a-Braid Workshop.
- Cleaning: Wipe the braiding machine with a soft, dry cloth. For stubborn dirt, a slightly damp cloth can be used, followed by immediate drying. Do not immerse the unit in water.
- Storage: Store the workshop and its components in a cool, dry place, away from direct sunlight and extreme temperatures. Keep threads and beads organized to prevent tangling and loss.
- Inspection: Periodically inspect the braiding machine for any signs of wear or damage. Discontinue use if any parts are broken or compromised.
7. Troubleshooting
| Problem | Possible Cause | Solution |
|---|---|---|
| Threads get tangled easily. | Threads are not taut enough or are too long. | Ensure threads are pulled taut before starting. Use appropriate thread lengths for your project. |
| Braid appears uneven. | Inconsistent tension or incorrect braiding sequence. | Maintain consistent tension on all threads. Double-check the braiding steps and sequence. Practice helps improve consistency. |
| Beads do not sit correctly in the braid. | Bead placed at the wrong step or thread not properly secured. | Ensure beads are slid into position just before the thread is moved into its braiding slot. Secure the thread firmly. |
8. Specifications
- Model Number: 6017 (also identified as RXZER23)
- Brand: PlayGo
- Material: Plastic
- Product Dimensions (L x W x H): Approximately 13 x 13 x 13 cm (5.1 x 5.1 x 5.1 inches)
- Item Weight: Approximately 4.54 kg (10 lbs) - Note: This weight may include packaging. Actual product weight may vary.
- Recommended Age: 6+ years
9. Warranty and Support
While specific warranty details are not provided, PlayGo products are manufactured to high-quality standards. If you encounter any issues or have questions regarding your Make-a-Braid Workshop, please contact the retailer or manufacturer directly for assistance.
For additional detailed instructions and support, you may refer to the official product manual available online: