
Mingrui test S2000 AP1 AP2 S2K
Mingrui test OEM Side Marker Light for Honda S2000 S2K AP1 AP2 (2000-2009)
Installation and Operation Manual
1. Introduction
This manual provides comprehensive instructions for the proper installation, operation, and maintenance of your new Mingrui test OEM Side Marker Lights. These lights are designed as a direct replacement for the original side markers on compatible Honda vehicles, enhancing visibility and aesthetics.
1.1. Compatibility
These smoke lens front side marker lamps are compatible with the following Honda models:
- Honda S2000 AP1 AP2 S2K (Model Years: 2000-2009)
- Honda Prelude (Model Years: 1997-2001)
- Honda CRX (Model Years: 1988-1991)
- Honda Civic (Model Years: 1985-2011)
- Honda Accord (Model Years: 1985-2010)
- Honda Fit (Model Years: 2007-2010)
OEM Part Numbers: 33801-S2A-J02 / 33851-S2A-J02
2. Product Features
- LED Illumination: Equipped with white LED bulbs for bright and efficient lighting.
- Smoke Lens Design: Features a stylish smoke lens for a modern aesthetic.
- Waterproof Construction: Ultrasonically sealed with an IP67 waterproof rating to prevent moisture ingress.
- Durable Materials: Constructed with ABS/PC lens and housing to resist scratches and fading from prolonged exposure.
- Direct Fit: Designed for a direct replacement of original side marker moldings without modifications.
- Easy Installation: Plug-and-play design for simple and secure installation.
3. Package Contents
The package includes the following items:
- 2 x Smoke Lens Side Marker Light Housings (for Honda S2000 compatible models)
- 2 x White Halogen Bulbs (included for installation)
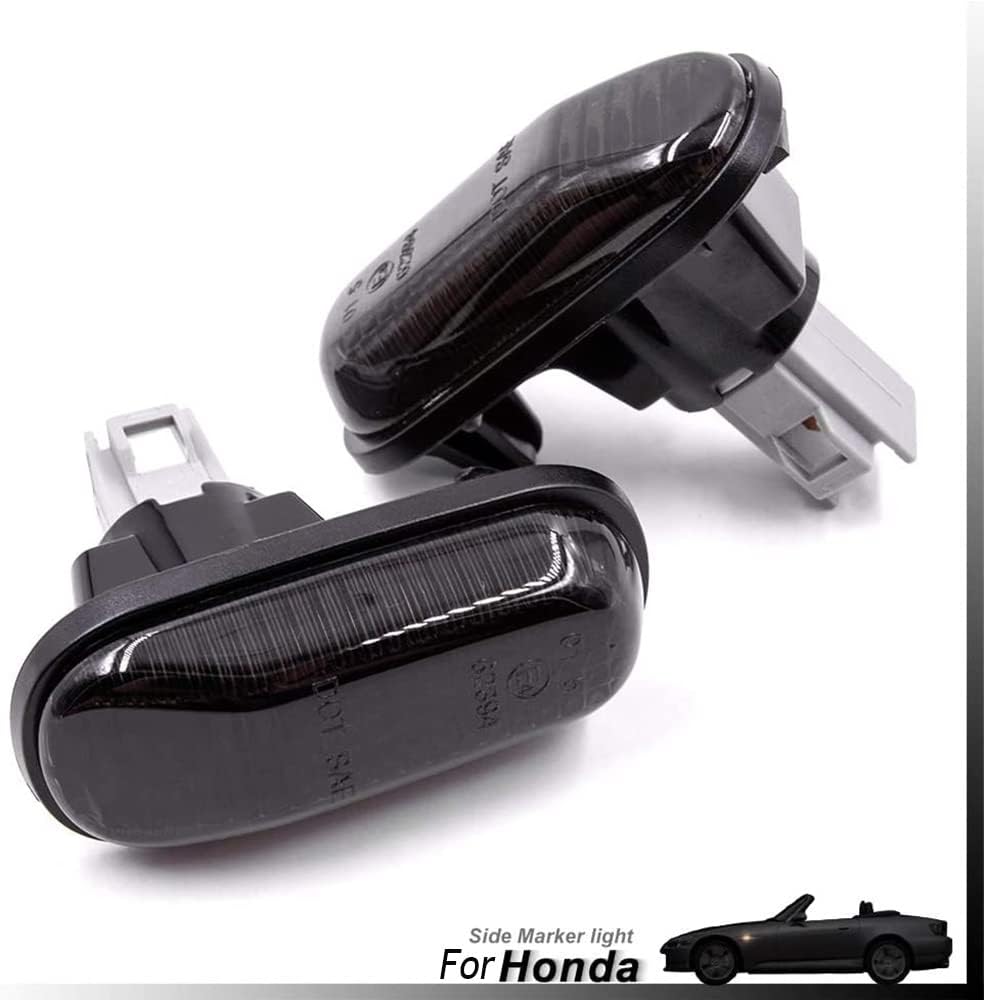
Image: This image displays the two smoke lens side marker light housings as they are included in the product package.
4. Specifications
| Brand | Mingrui test |
| Light Source Type | LED |
| Lens Color | Smoke |
| Lens Material | Polycarbonate |
| Waterproof Rating | IP67 |
| Placement on Vehicle | Front |
| OEM Part Numbers | 33801-S2A-J02, 33851-S2A-J02 |

Image: This image displays the dimensions of the side marker light. The length is approximately 2.72 inches (69mm), width is 1.22 inches (31mm), and height including the connector is 2.32 inches (59mm).
5. Installation Instructions
The installation process for these side marker lights is designed to be straightforward. No modifications to your vehicle's wiring or body are typically required.
5.1. Tools Required
- Flathead screwdriver or plastic trim removal tool (to gently pry off old markers)
- Gloves (optional, for clean handling)
5.2. Installation Steps
- Preparation: Ensure your vehicle's ignition is off and the parking brake is engaged.
- Locate Existing Side Markers: Identify the side marker lights on the front fenders of your vehicle.
- Remove Old Side Markers:

Image: This image shows the underside of two side marker lights, highlighting the electrical connectors. These connectors are designed for a direct plug-and-play fit into the vehicle's existing wiring harness.
Gently pry the existing side marker light from its housing on the fender using a flathead screwdriver or a plastic trim removal tool. Be careful not to scratch the paint. Once partially dislodged, carefully pull it out.
- Disconnect Wiring: Twist the bulb socket counter-clockwise to remove the old incandescent bulb from the housing. Disconnect any electrical connectors if present.
- Connect New Side Markers:

Image: A close-up view of the side marker light's electrical connector, demonstrating its design for secure attachment to the vehicle's wiring.
Insert the new white halogen bulb (provided) into the socket of the new smoke lens side marker housing. Connect the new side marker light's electrical connector to the vehicle's wiring harness. Ensure a secure connection.
- Test Functionality: Before fully securing the new light, turn on your vehicle's ignition and activate the turn signals or parking lights to ensure the new LED side marker functions correctly.
- Secure New Side Markers: Carefully push the new side marker light into the fender opening until it clicks securely into place. Ensure it sits flush with the vehicle's body.
- Repeat for Other Side: Follow the same steps for the other side marker light.
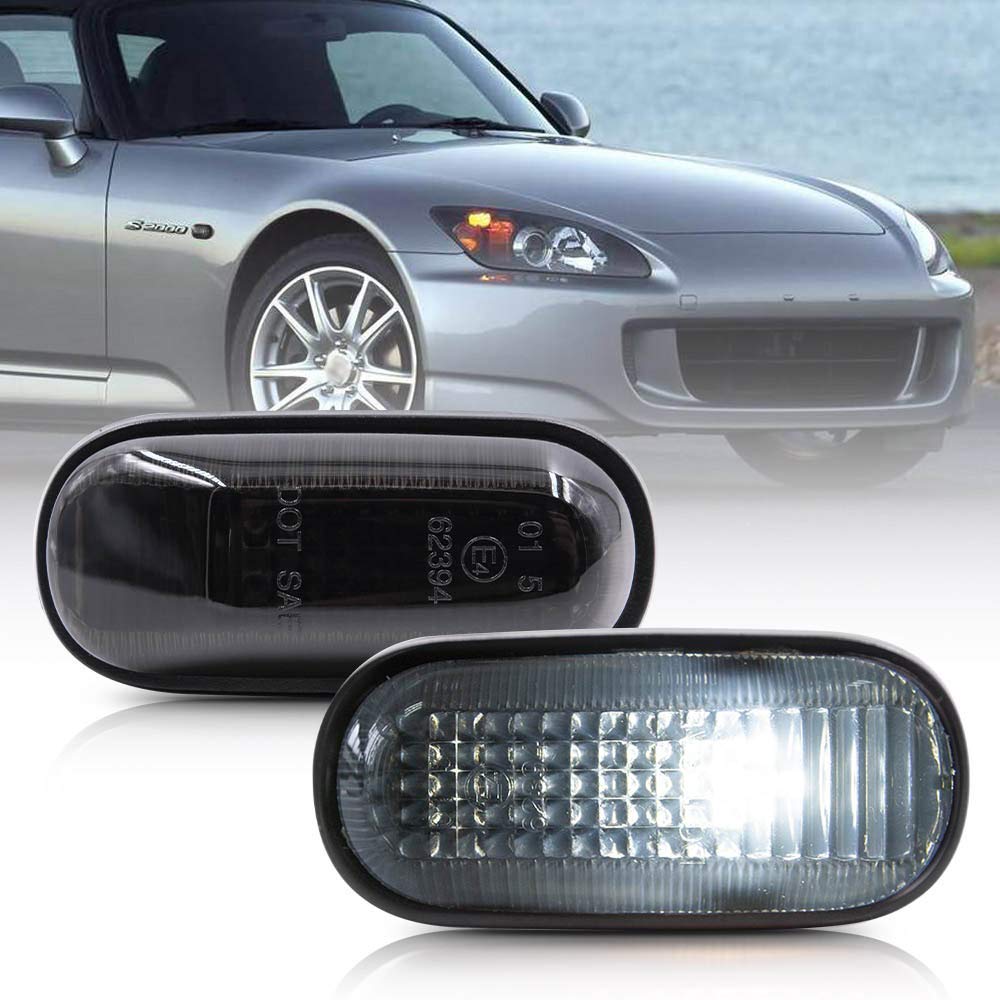
Image: This image shows the Mingrui test side marker light installed and illuminated on the fender of a red Honda S2000, demonstrating its appearance and light output.
6. Operation
These side marker lights operate automatically with your vehicle's existing lighting system. They will illuminate when your parking lights or headlights are on, or when your turn signals are activated, depending on your vehicle's specific wiring configuration.
- Parking Lights: When parking lights are engaged, the side markers will illuminate.
- Headlights: When headlights are on, the side markers will illuminate.
- Turn Signals: The side markers may flash in conjunction with your turn signals, depending on the vehicle's original wiring.
7. Maintenance
The Mingrui test side marker lights are designed for minimal maintenance due to their durable construction and LED technology.
- Cleaning: Clean the lens with a soft cloth and mild automotive cleaning solution. Avoid abrasive cleaners or harsh chemicals that could damage the lens material.
- Inspection: Periodically inspect the lights for any signs of damage, cracks, or loose connections.
- Waterproof Seal: The IP67 waterproof rating ensures protection against water. However, avoid directing high-pressure water jets directly at the light housing during car washes to prevent potential seal degradation over time.
8. Troubleshooting
| Problem | Possible Cause | Solution |
|---|---|---|
| Light does not illuminate |
|
|
| Moisture inside the lens |
|
|
| Light flickers or is dim |
|
|
9. Warranty and Support
For warranty information or technical support, please refer to the retailer or manufacturer's official website where the product was purchased. Keep your proof of purchase for any warranty claims.
Ask a question about this manual
Ask about setup, troubleshooting, compatibility, parts, safety, or missing instructions. Manuals+ will review the question and use this page’s manual context to help answer it.