1. Introduction
Thank you for choosing the Novellini Fixed Panel Bottom Horizontal Seal. This product is designed to provide an effective water barrier at the bottom edge of your fixed shower panel, preventing leaks and ensuring a dry bathroom floor. This manual provides detailed instructions for proper installation, usage, and maintenance to ensure optimal performance and longevity of your seal.
2. Safety Information
- Always handle the seal and glass panel with care to avoid injury.
- Use appropriate tools for cutting the seal, such as a sharp utility knife or fine-toothed saw, and wear protective gloves.
- Ensure the glass panel is clean and dry before installation to achieve a secure fit.
- If you are unsure about any step of the installation process, it is recommended to consult a professional installer.
3. Package Contents
Please verify that all components are present and undamaged before proceeding with installation.
- 1 x Novellini Fixed Panel Bottom Horizontal Seal (165 cm length, cut-to-size)
4. Setup (Installation)
Follow these steps for a correct and secure installation of your bottom seal:
- Measure the Glass Panel: Carefully measure the exact width of the fixed glass shower panel where the seal will be installed.
- Cut the Seal to Size: Using a sharp utility knife or fine-toothed saw, cut the Novellini seal to the measured length. Ensure a clean, straight cut for a professional finish.
- Clean the Glass Edge: Thoroughly clean the bottom edge of the glass panel where the seal will be applied. Ensure it is free from soap scum, dirt, and any residues. Dry the surface completely.
- Install the Seal: Starting from one end, carefully slide the cut seal onto the bottom edge of the fixed glass panel. Apply gentle, even pressure to ensure the seal slides on smoothly and completely.
- Adjust and Secure: Once the seal is fully in place, ensure it is centered and sits snugly against the glass. The fins of the seal should point towards the inside of the shower to direct water back into the enclosure.
- Test for Leaks: After installation, run water in the shower and observe the bottom edge of the fixed panel to confirm there are no leaks. Adjust the seal if necessary.
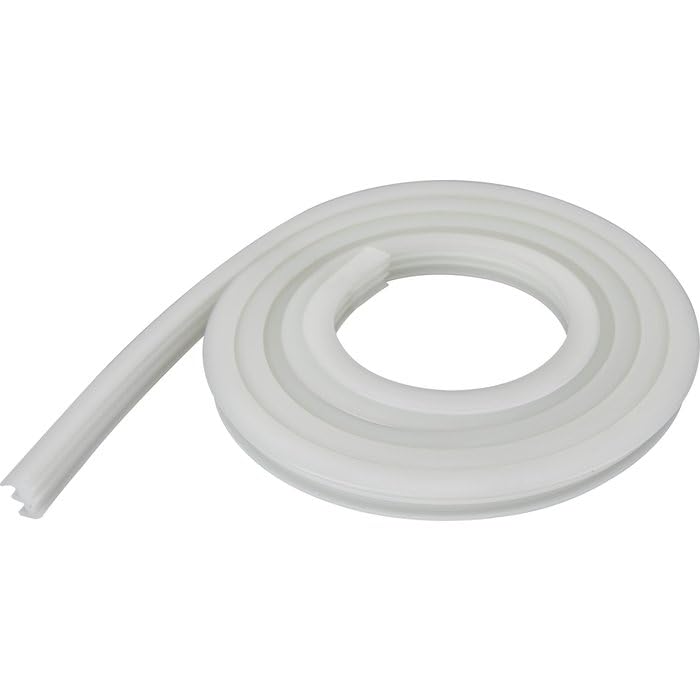
Image showing the Novellini fixed panel bottom horizontal seal, designed to prevent water leakage from the shower enclosure.
5. Operating (Usage)
Once correctly installed, the Novellini Fixed Panel Bottom Horizontal Seal operates passively to prevent water from escaping the shower enclosure. No specific operational steps are required from the user beyond normal shower use. To maximize the seal's effectiveness, avoid directing high-pressure water jets directly at the bottom edge of the fixed panel for extended periods.
6. Maintenance
Regular maintenance will extend the life of your seal and ensure continued performance.
- Cleaning: Clean the seal regularly with a soft cloth and mild, non-abrasive soap or shower cleaner. Avoid harsh chemicals, abrasive pads, or solvents, as these can damage the material.
- Inspection: Periodically inspect the seal for signs of wear, cracking, discoloration, or hardening. Over time, seals can degrade due to exposure to water, soap, and temperature changes.
- Replacement: If the seal shows significant signs of wear or if you notice water leakage, it is time to replace it. Replacement seals can be purchased from your retailer or Novellini authorized dealers.
7. Troubleshooting
Here are some common issues and their solutions:
- Issue: Water is leaking from under the fixed panel.
Solution: Check if the seal is properly seated on the glass panel. Ensure the fins are pointing towards the inside of the shower. Inspect the seal for any damage or gaps. If damaged, replace the seal. - Issue: The seal does not fit snugly on the glass.
Solution: Ensure the seal was cut to the correct length. If it's too short, it may not provide a complete barrier. If it's too loose, the glass thickness might be incompatible, or the seal may be worn. Consider replacing with a new, correctly sized seal. - Issue: The seal appears discolored or brittle.
Solution: This indicates material degradation, likely due to age or exposure to harsh cleaning agents. The seal should be replaced to maintain effective waterproofing.
8. Specifications
| Brand | Novellini |
| Model Number | R51KUAH1-TR |
| Length | 165 cm (cut-to-size) |
| Package Dimensions | 15 x 13 x 1 cm |
| Item Weight | 69 grams |
9. Warranty Information
This product is covered by a manufacturer's warranty. Please refer to the warranty documentation provided at the time of purchase or contact your retailer for specific details regarding warranty terms and conditions. Keep your proof of purchase for any warranty claims.
10. Support
For further assistance, technical support, or to inquire about replacement parts, please contact Novellini customer service or your authorized Novellini retailer. You can typically find contact information on the Novellini official website or on your purchase receipt.
When contacting support, please have your product model number (R51KUAH1-TR) and date of purchase readily available.


