1. Important Safety Information
Read User Guide before installing and using the product. Strangulation Hazard: Children can become entangled in cords. Power cords should be kept more than 3 feet away from the crib and baby's reach at all times. Baby monitors and cameras with power cords should never be hung on or near the crib. This product is not a toy and should be kept out of children's reach. This product contains small parts. Exercise care when unpacking and assembling the product.
2. Package Contents
Please check the package contents upon opening. If any items are missing or damaged, contact customer support.
- Baby Unit (Camera) x 1
- Power Adapter (Input 100-240V) x 1
- Wall mount screw pack x 1
Note: The main parent monitor unit is sold separately and is required for operation.
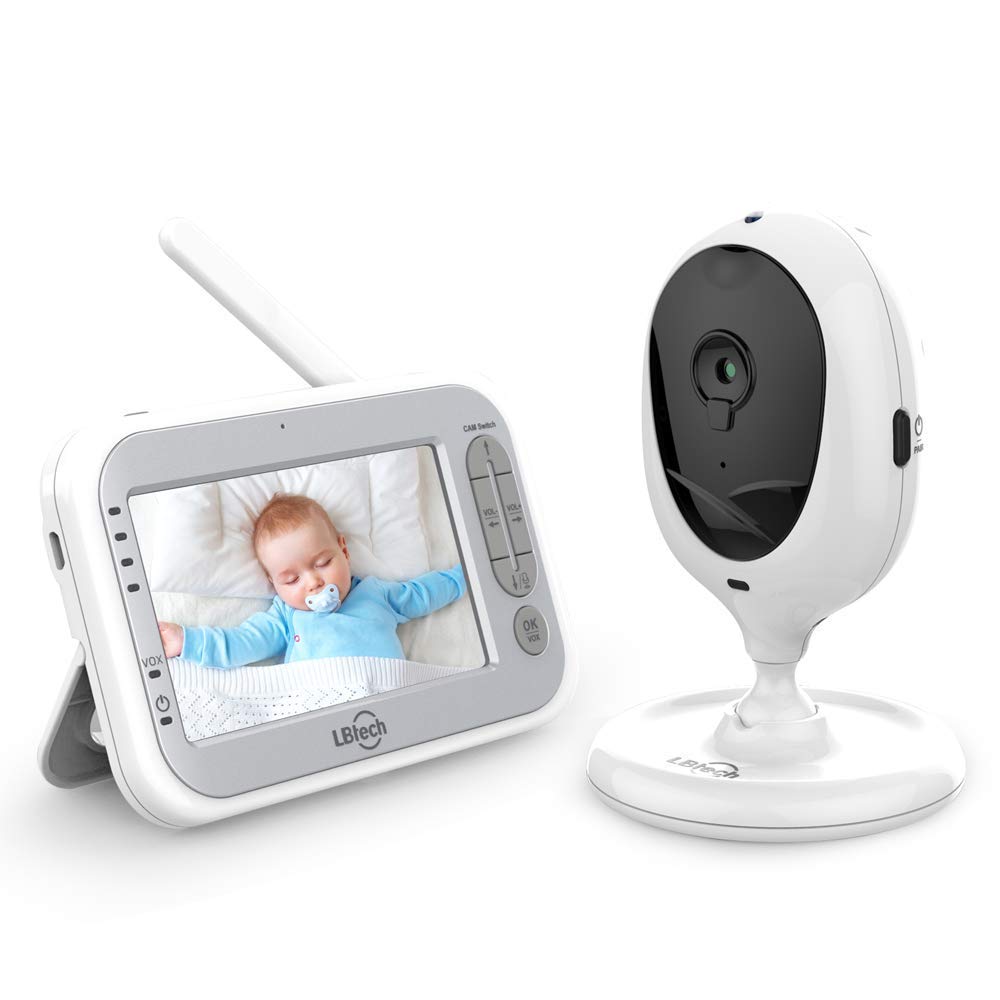
Image: An additional camera unit shown alongside a compatible baby monitor. This illustrates the camera unit and the type of monitor it connects to.
3. Product Features
The JLB7tech Additional Camera Unit offers the following key features:
- Two-Way Talk-Back Communication: Allows you to speak to your baby through the camera.
- 2x Digital Zoom: Magnify the image for a closer view of your baby.
- Room Temperature Display: Monitors and displays the room temperature.
- High / Low Temperature Alarm: Alerts you if the room temperature goes outside a set range.
- Multi-Camera Expandability: The parent unit can connect with up to 4 camera units.
- 2.4GHz Secure Signal Transmission: Ensures a private and stable connection.
- Built-in Infrared Night Vision: Provides clear visibility in dark conditions without visible red light.
- Extended Transmission Range: Up to 1000ft in open sight conditions.
- Out Of Range Warning: Notifies you if the camera loses connection with the parent unit.
- Portable Design: Compact and easy to position.
- Adjustable View Angle: Manually rotatable for optimal viewing.
4. Setup Guide
4.1. Compatibility Check
Ensure your existing LBtech or JLB7tech baby monitor is one of the compatible models: 953-1T, 953-2T, 953B-1T, 953B-2T, 953S-1T, 953S-2T, 955S-1T, 955S-2T. The model number is typically found on a sticker on the bottom of your monitor unit or its original packaging.
4.2. Powering On the Camera Unit
- Connect the provided power adapter to the camera unit's power jack.
- Plug the power adapter into a standard electrical outlet. The camera unit will power on automatically.
4.3. Pairing Additional Cameras
This camera unit is designed for plug-and-play operation with compatible LBtech/JLB7tech monitors. Typically, no complex setup is required. Your parent unit can support up to 4 camera units.
- Ensure both the parent monitor unit and the new camera unit are powered on.
- The monitor should automatically detect and connect to the new camera.
- If the camera does not appear, consult your main monitor's user manual for specific instructions on adding or switching camera channels.

Image: A baby monitor screen displaying a baby, with four camera units shown below. This illustrates the multi-camera expandability feature.
4.4. Camera Placement
Position the camera unit in a location that provides a clear view of your baby. Remember the safety warning regarding power cords.
- Place the camera on a flat, stable surface or use the included wall mount screw pack for secure installation.
- Adjust the camera's angle manually. The camera offers 100° vertical and 360° horizontal rotation for optimal viewing.
- Ensure the camera is within the transmission range of the parent unit for a stable connection.

Image: A diagram showing the camera unit's manual rotation capabilities (100° vertical and 360° horizontal) and an example of camera placement in a nursery.
5. Operating Instructions
Once the camera is set up and paired, you can utilize its features through your parent monitor unit.
- Switching Cameras: If you have multiple cameras, use the 'CAM Switch' button on your parent unit to cycle through the connected cameras.
- Two-Way Talk: Press and hold the talk button on your parent unit to speak through the camera's speaker. Release the button to listen.
- Digital Zoom: Refer to your parent unit's manual for specific buttons to activate and adjust the 2x digital zoom feature.
- Night Vision: The infrared night vision activates automatically in low-light conditions, providing a clear black and white image.
- Temperature Monitoring: The current room temperature is displayed on your parent unit. An alarm will sound if the temperature exceeds 90°F (32°C) or drops below 55°F (13°C).
6. Maintenance
Proper care ensures the longevity of your camera unit.
- Cleaning: Use a soft, dry cloth to clean the camera lens and body. Do not use abrasive cleaners or solvents.
- Storage: If storing the unit for an extended period, disconnect it from power and store it in a cool, dry place.
- Power Adapter: Only use the provided power adapter. Using unauthorized adapters may damage the unit and void the warranty.
7. Troubleshooting
If you encounter issues with your additional camera unit, try the following steps:
- No Picture/Signal:
- Ensure the camera unit is properly powered on and the power adapter is securely connected.
- Check that the camera is within range of the parent monitor unit.
- Try re-pairing the camera with the parent unit (refer to your main monitor's manual).
- Move the camera or monitor away from other electronic devices that might cause interference.
- Poor Picture Quality:
- Clean the camera lens with a soft cloth.
- Ensure there are no obstructions between the camera and the parent unit.
- Adjust the camera's position for better lighting.
- No Audio/Poor Audio:
- Check the volume settings on your parent unit.
- Ensure there are no obstructions blocking the camera's microphone or speaker.
- Temperature Alarm Issues:
- Verify the camera is not placed near a heat source or air vent that could affect readings.
8. Specifications
| Feature | Specification |
|---|---|
| Model Number | 953T |
| Photo Sensor Technology | CMOS |
| Effective Pixel (H/V) | H:640, V:480 |
| Image Resolution | VGA |
| Lens | 1/6", Diagonal 59 degree |
| IR LED | 8 pcs, 940nm |
| Night Vision Range | Clearly see baby face in 2m |
| Night Vision Activation | Active at least 3 Lux |
| Power Source | DC 5V 1A (Corded Electric) |
| Power Jack | Micro USB |
| Connectivity Protocol | Wi-Fi (2.4GHz) |
| Material | Plastic |
| Item Weight | 8.8 ounces |
| Package Dimensions | 5.59 x 4.8 x 3.7 inches |
| Indoor/Outdoor Usage | Indoor |
9. Warranty and Support
JLB7tech provides the following support for this product:
- 90-Day Money-Back Warranty: For returns or refunds within 90 days of purchase.
- 365-Day Quality Guarantee: Covers manufacturing defects for one year.
- Lifetime Technical Support: Assistance with product setup, operation, and troubleshooting.
For any queries or assistance, please contact JLB7tech customer service or the retailer where the product was purchased.