
1. Important Safety Information
Read all instructions carefully before using the appliance. Keep this manual for future reference. Improper installation, adjustment, alteration, service, or maintenance can cause injury or property damage. Refer to this manual. For assistance or additional information, consult a qualified installer, service agency, or the gas supplier.
- Gas Leaks: If you smell gas, immediately turn off the gas supply, open windows for ventilation, and do not operate any electrical switches or appliances. Contact your gas supplier or a qualified technician.
- Ventilation: Ensure adequate ventilation in the kitchen area during operation.
- Children and Pets: Keep children and pets away from the appliance during operation and when it is hot.
- Flammable Materials: Do not store or use flammable materials near the gas stove.
- Hot Surfaces: Burners and pan supports become hot during use. Avoid touching them until they have cooled down.
- Installation: Installation must be performed by a qualified technician in accordance with local regulations and standards.
2. Product Overview
The Elica Slimmest 4 Burner Auto Ignition Gas Stove is designed for efficient and convenient cooking. It features a toughened glass top, forged brass burners, and auto-ignition for ease of use.
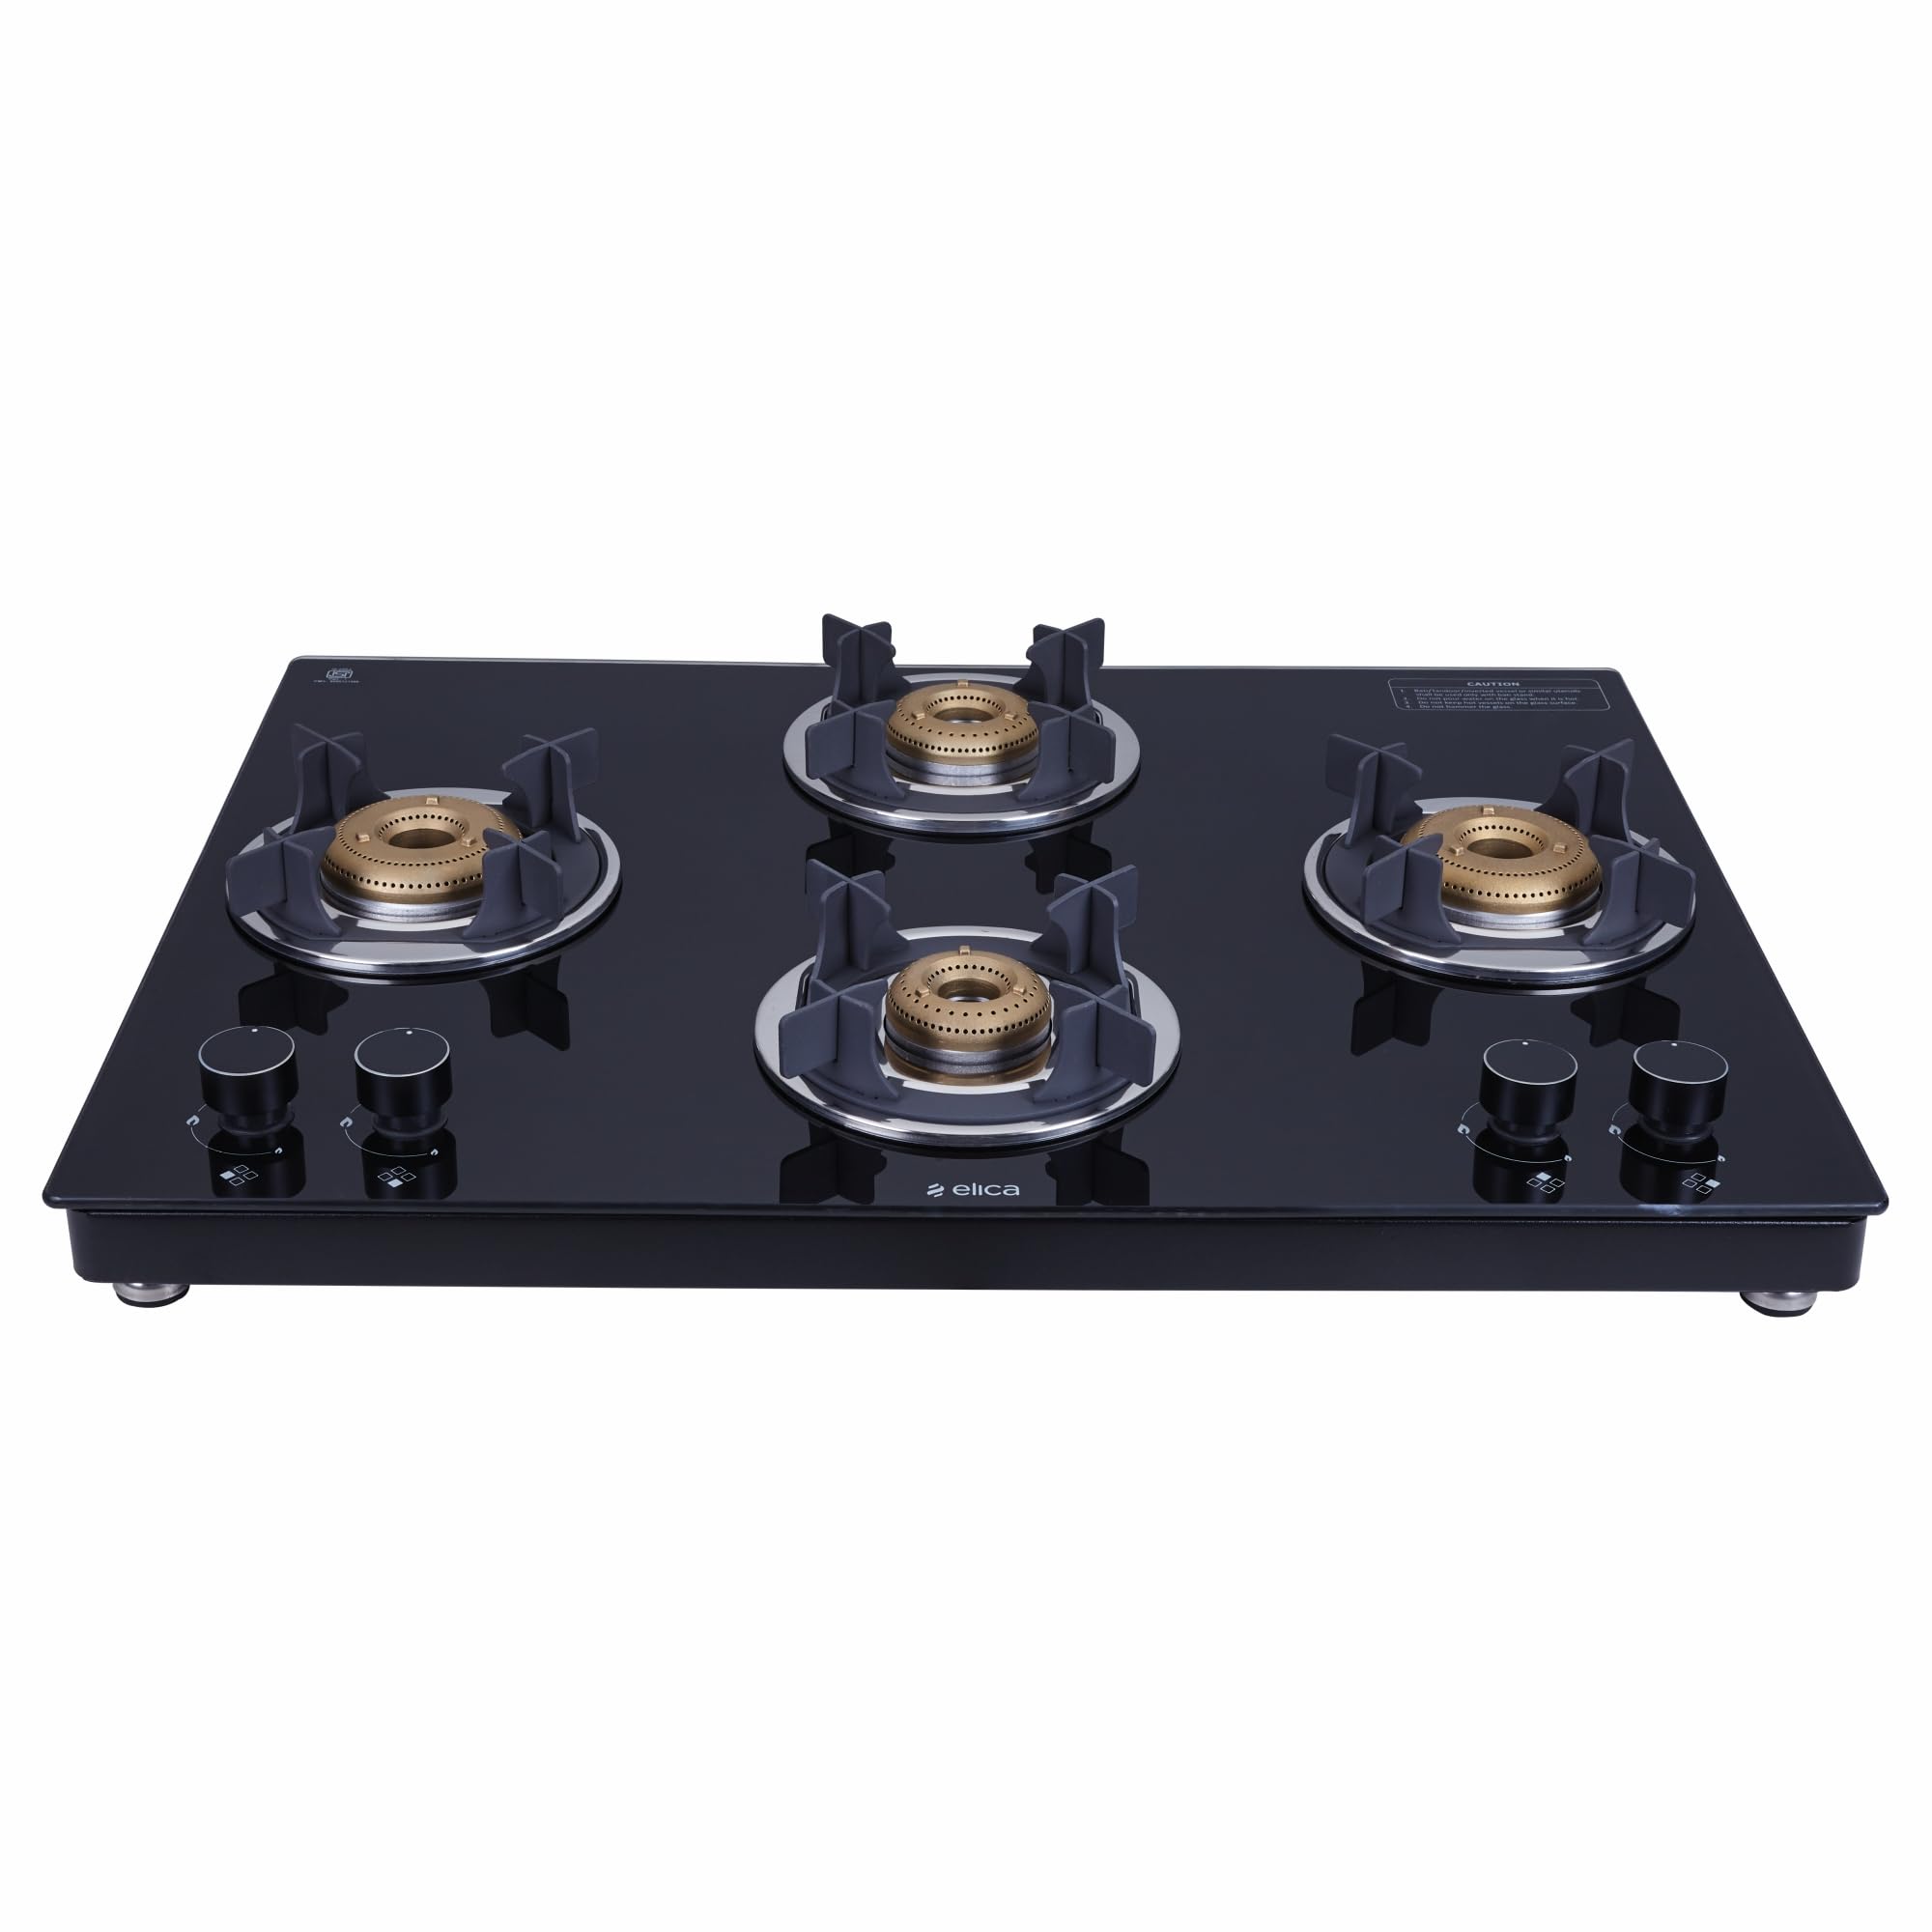
Image: Elica Slimmest 4 Burner Auto Ignition Gas Stove with all four burners ignited.
Key Features:
- Forged Brass Burners: High-durability burners for uniform heat distribution. Includes 2 Jumbo, 1 Medium, and 1 Small burner.
- Toughened Glass Top: Heat- and stain-resistant surface for durability and easy cleaning.
- Auto Ignition: Integrated ignition system for quick and safe flame start-up.
- Double Drip Trays: Removable trays to catch spills, simplifying cleaning.
- Crown-Shaped Euro-Coated Pan Supports: Provides stable support for various cookware sizes.
- Ultra-Slim Frame: Compact design suitable for modern kitchens.

Image: Illustration highlighting the ultra-slim frame design of the gas stove.
3. Setup and Installation
Proper installation is crucial for the safe and efficient operation of your gas stove. It is recommended to have the appliance installed by a certified technician.
3.1 Unpacking
- Carefully remove the gas stove from its packaging.
- Check for any damage during transit. If damaged, do not install and contact customer service.
- Ensure all components listed in the 'What's in the Box' section are present.
3.2 Placement
- Place the gas stove on a stable, level, and non-combustible surface.
- Ensure adequate clearance from walls and overhead cabinets for proper ventilation.
- The product dimensions are approximately 70cm (W) x 56cm (D) x 10.6cm (H).
Image: Elica gas stove with its width, depth, and height dimensions indicated.
3.3 Gas Connection
- Connect the gas stove to the gas supply using a certified gas hose and regulator.
- Ensure all connections are tight and leak-free. Use soapy water to check for leaks (bubbles indicate a leak).
- This appliance is designed for use with LPG (Liquefied Petroleum Gas) or PNG (Piped Natural Gas) depending on the model and nozzle configuration. Consult a technician for PNG conversion if necessary.
3.4 Battery Installation for Auto Ignition
- Locate the battery compartment, usually at the bottom or side of the stove.
- Insert the required battery (typically a D-cell) ensuring correct polarity.
- Close the battery compartment securely.

Image: Diagram illustrating the auto electric ignition device integrated into a burner.
3.5 Burner Assembly
- Place the forged brass burners onto their respective gas outlets. Ensure they are seated correctly.
- Position the crown-shaped Euro-coated pan supports over the burners.

Image: Close-up of a forged brass burner with its components.
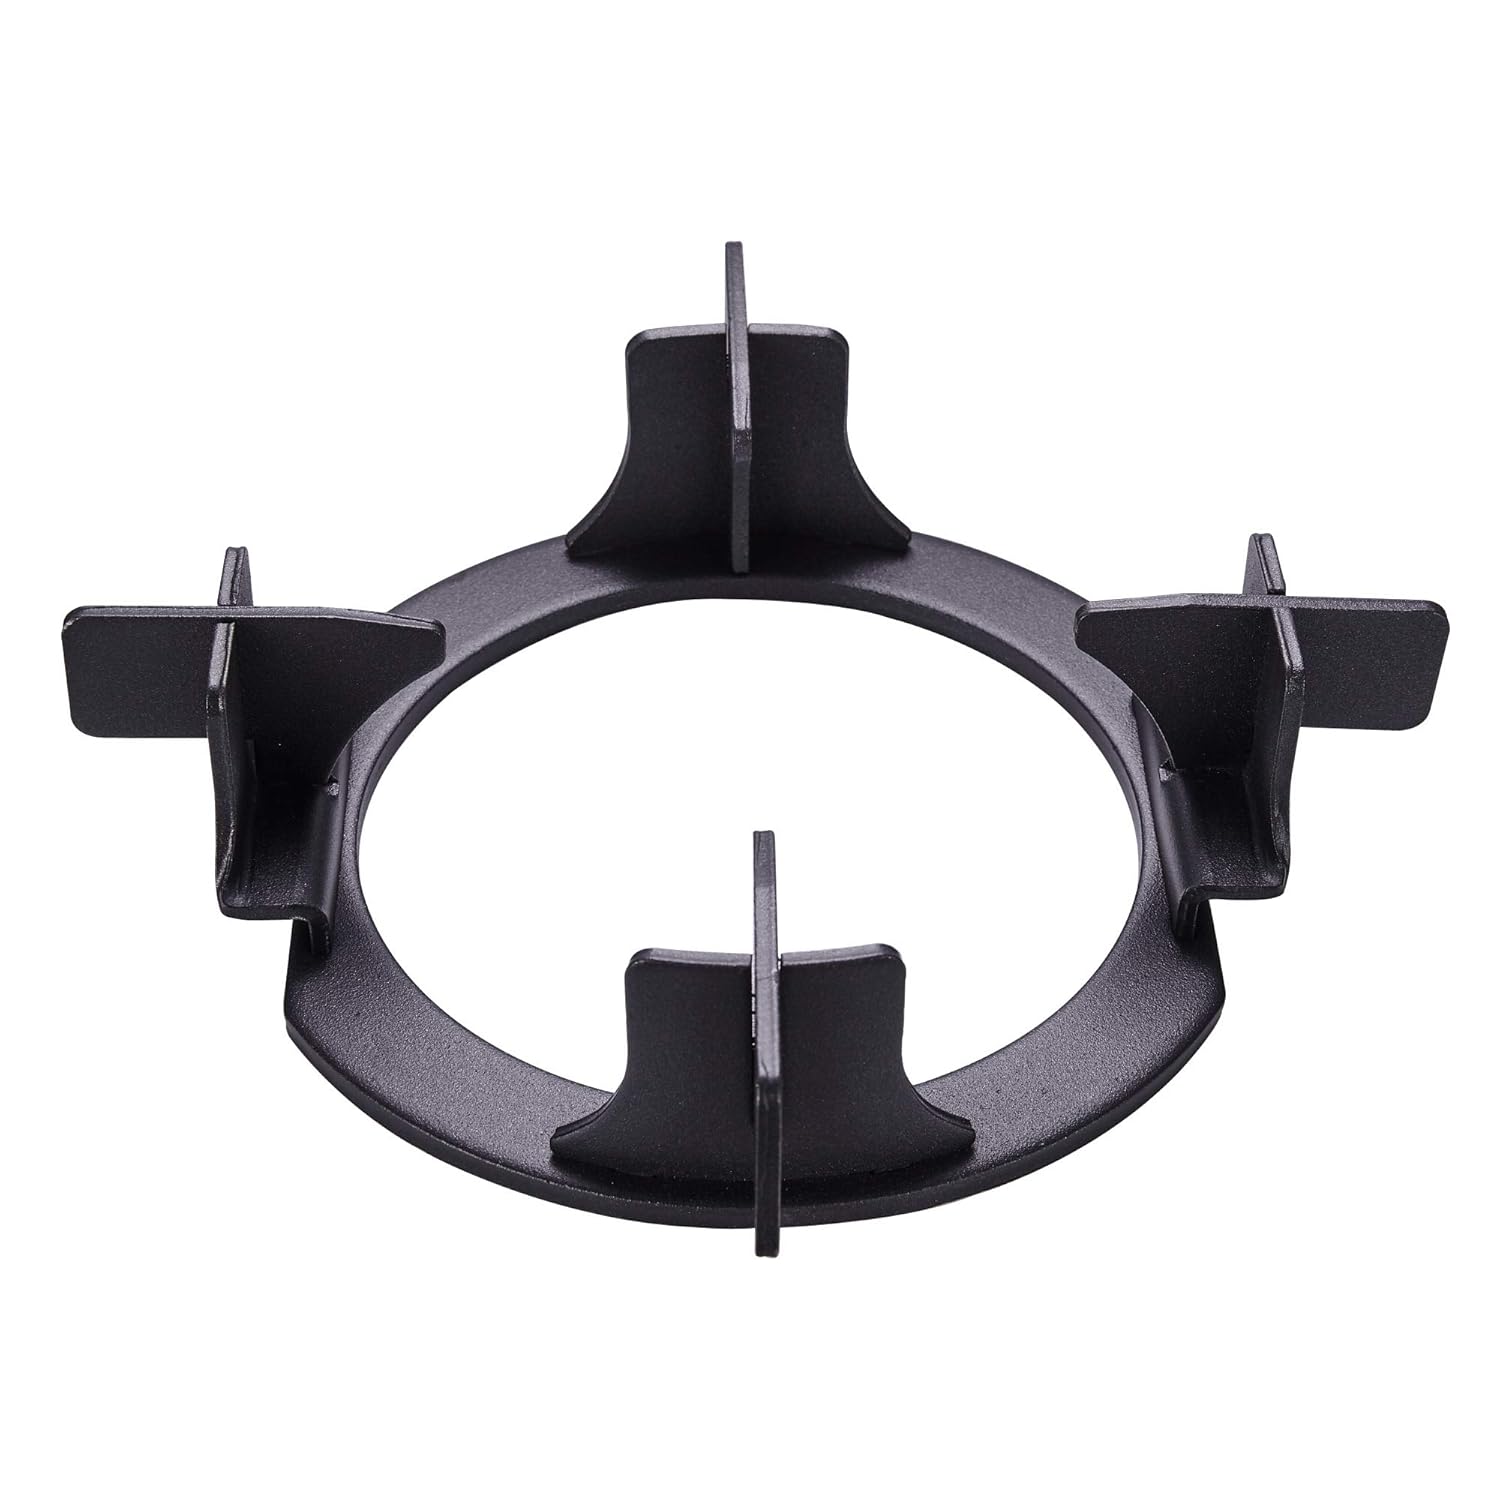
Image: A single crown-shaped Euro-coated pan support.
4. Operating Instructions
This section details how to safely operate your Elica gas stove.
4.1 Using Auto Ignition
- Ensure the gas supply is open.
- Push down and turn the desired burner knob counter-clockwise to the 'Ignite' position. You will hear a clicking sound as the auto-ignition sparks.
- Once the flame ignites, release the knob.
- If the burner does not ignite within 5 seconds, turn the knob back to the 'OFF' position, wait for a minute, and try again.
4.2 Adjusting Flame
- After ignition, rotate the knob to adjust the flame intensity. Turn clockwise for a lower flame and counter-clockwise for a higher flame.
- Always ensure the flame is stable and blue. An orange or yellow flame may indicate improper combustion or a dirty burner.

Image: Close-up of the Bakelite control knobs, used for ignition and flame adjustment.
4.3 Turning Off a Burner
To turn off a burner, rotate the knob clockwise until it clicks into the 'OFF' position.
5. Maintenance and Cleaning
Regular cleaning and maintenance will ensure the longevity and optimal performance of your gas stove.
5.1 General Cleaning Guidelines
- Always ensure the gas stove is cool before cleaning.
- Do not use abrasive cleaners, steel wool, or harsh chemicals as they can damage the surface.
- Use a soft cloth or sponge with mild detergent and warm water.
5.2 Cleaning the Toughened Glass Top
- Wipe the glass surface with a damp cloth and mild soap.
- For stubborn stains, use a non-abrasive glass cleaner.
- Dry thoroughly with a clean, soft cloth to prevent water spots.

Image: Exploded view diagram illustrating the robust construction of the toughened glass top.
5.3 Cleaning Forged Brass Burners and Pan Supports
- Remove the pan supports and burners.
- Wash them with warm soapy water. For clogged burner holes, use a thin wire or brush to clear them.
- Ensure burners are completely dry before reassembling to prevent ignition issues.
5.4 Cleaning Double Drip Trays
- The gas stove features double drip trays (fixed and removable). Lift the removable trays to clean.
- Wash the trays with warm soapy water to remove food spills and grease.
- Ensure they are dry before placing them back.

Image: Exploded view diagram showing the components of the double drip tray system for easy cleaning.
6. Troubleshooting
This section provides solutions to common issues you might encounter with your gas stove.
| Problem | Possible Cause | Solution |
|---|---|---|
| Burner does not ignite |
|
|
| Low flame or uneven flame |
|
|
| Smell of gas |
|
|
7. Specifications
Detailed technical specifications for the Elica Slimmest 4 Burner Auto Ignition Gas Stove.
| Feature | Description |
|---|---|
| Model Number | 694 CT VETRO 2J (TKN CROWN DT AI) |
| Colour | Black |
| Material | Stainless Steel (base), Toughened Glass (top) |
| Heating Elements | 4 (Forged Brass Burners: 2 Jumbo, 1 Medium, 1 Small) |
| Controls Type | Knob |
| Power Source Type | Gas Powered |
| Item Dimensions (D x W x H) | 56D x 70W x 10.6H Centimeters |
| Item Weight | 11.05 Kilograms |
| Included Components | 1 Gas Stove, 1 User Manual |
| Country of Origin | India |
8. Warranty and Support
Your Elica gas stove comes with a comprehensive warranty and dedicated customer support.
8.1 Warranty Information
- 5 Years Warranty: On burners and glass.
- 2 Years Comprehensive Warranty: From the date of purchase.
- The warranty remains valid and unaffected if the product is self-installed. However, visit charges may apply for service calls if not installed by an authorized provider.
8.2 Customer Support
For any queries, installation requests, or service needs, please contact Elica customer care:

Image: Elica Customer Care contact information.
- Toll-Free Number: 18002330007
- Mobile Numbers: 7447440983, 7447440984, 7447440985
- Manufacturer: Elica