
1. Introduction
This manual provides essential information for the safe and efficient use of your Elica Slimmest 3 Burner Gas Stove, Model 773 CT VETRO. Please read these instructions carefully before installation and operation, and retain them for future reference. This appliance is designed for domestic use only.

Image 1.1: Elica 773 CT VETRO 3-Burner Gas Stove
2. Safety Information
Always prioritize safety when operating gas appliances. Failure to follow these instructions may result in fire, explosion, electric shock, or other hazards, causing property damage, personal injury, or death.
- Ensure proper ventilation in the kitchen area during use.
- Do not store flammable materials near the gas stove.
- Keep children and pets away from the appliance during operation.
- Never leave cooking unattended.
- If you smell gas, immediately turn off the gas supply, open windows, and do not operate any electrical switches or appliances. Contact your gas supplier or a qualified technician.
- Use only appropriate cookware for gas stoves.
- Do not use the appliance for space heating.
3. Product Overview
The Elica 773 CT VETRO gas stove is designed for efficient and convenient cooking. Key features include:
- Forged Brass Burners: High-performance burners for even heat distribution.
- Toughened Glass Top: Heat and stain-resistant surface for durability and easy cleaning.
- Double Drip Trays: Removable trays for easy cleanup of spills.
- Crown-Shaped Euro Coated Pan Supports: Stable support for various cookware sizes.
- Manual Ignition: Convenient lighting with a gas lighter.

Image 3.1: Key Features Overview
3.1 Components

Image 3.2: Forged Brass Burner
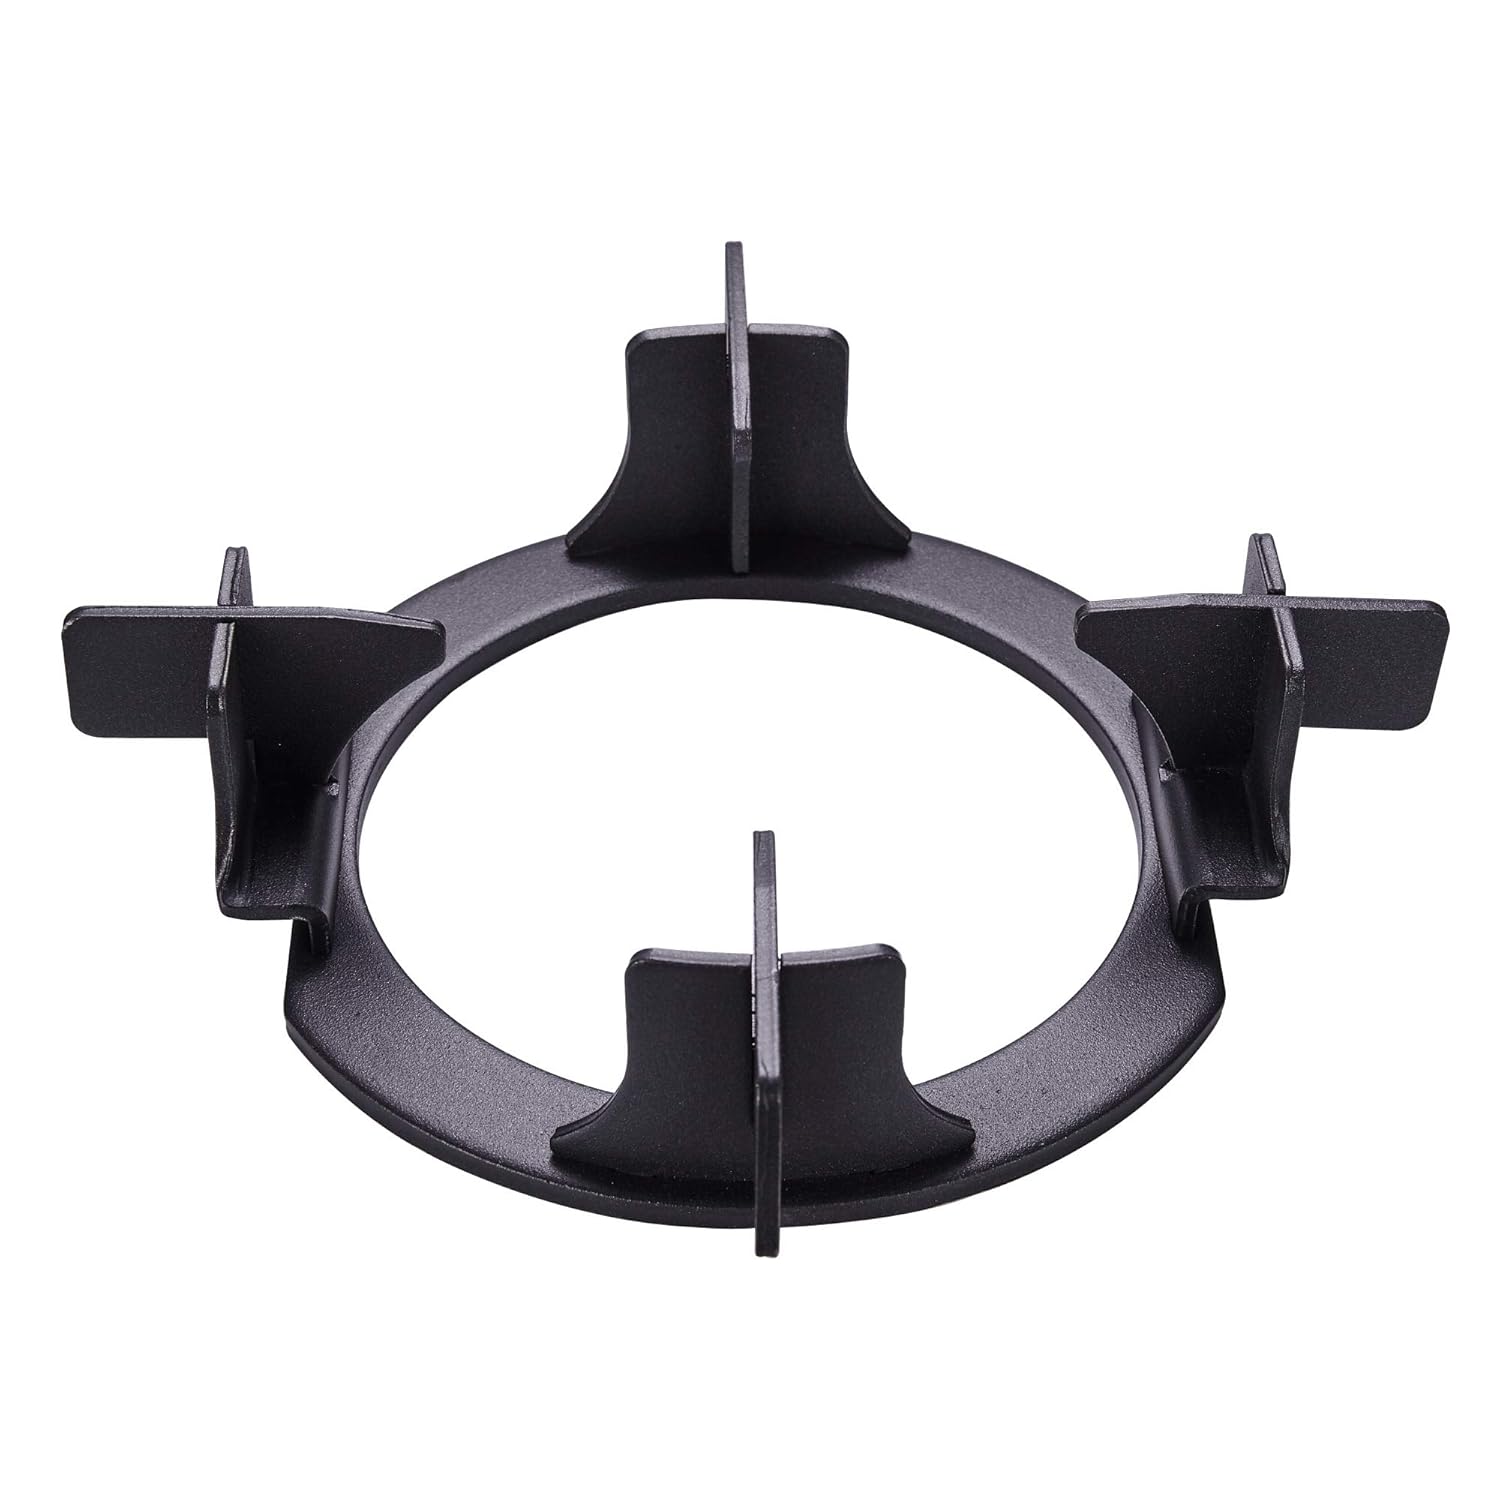
Image 3.3: Crown-Shaped Pan Support

Image 3.4: Control Knobs

Image 3.5: Double Drip Tray System

Image 3.6: Toughened Glass Edge

Image 3.7: Burner Assembly Components
4. Setup and Installation
For safety and optimal performance, it is highly recommended to have the gas stove installed by a qualified technician. Improper installation can lead to gas leaks or other hazards.
4.1 Unpacking
- Carefully remove the appliance from its packaging.
- Check for any damage during transit. If damaged, do not install and contact customer support.
- Ensure all components are present: gas stove unit, burners, pan supports, and drip trays.
4.2 Placement
- Place the gas stove on a stable, level, and heat-resistant surface.
- Ensure adequate clearance from walls and overhead cabinets for proper ventilation.
- Avoid placing the stove near flammable materials or curtains.
4.3 Gas Connection
- Connect the gas stove to a suitable gas supply (LPG or PNG, as per model compatibility) using an approved gas hose and regulator.
- Ensure all connections are tight and leak-free. Use soapy water to check for leaks; bubbles indicate a leak.
4.4 Burner Assembly
- Place the double drip trays into their respective slots on the stove top.
- Position the forged brass burners correctly over the gas outlets. Ensure they sit flush.
- Place the crown-shaped pan supports securely over the burners.
5. Operating Instructions
5.1 Lighting a Burner (Manual Ignition)
- Ensure the gas supply is open.
- Push down and turn the desired burner knob counter-clockwise to the 'ON' position (usually indicated by a large flame symbol).
- Immediately bring a lit gas lighter or match to the burner. The burner should ignite within a few seconds.
- Once lit, release the knob. If the flame extinguishes, repeat the process.
5.2 Adjusting Flame
- To increase the flame, turn the knob further counter-clockwise towards the large flame symbol.
- To decrease the flame, turn the knob clockwise towards the small flame symbol.
- For simmering, adjust the flame to its lowest stable setting.
5.3 Turning Off
- Turn the burner knob clockwise until it clicks into the 'OFF' position.
- Ensure the flame is completely extinguished.
- It is recommended to turn off the main gas supply when the stove is not in use for extended periods.
6. Care and Maintenance
Regular cleaning and maintenance will ensure the longevity and efficient performance of your gas stove.
6.1 Cleaning the Glass Top
- Allow the stove to cool completely before cleaning.
- Wipe the toughened glass surface with a soft cloth dampened with mild soap and water.
- For stubborn stains, use a non-abrasive glass cleaner.
- Avoid using harsh chemicals, abrasive pads, or sharp objects that can scratch the glass.
6.2 Cleaning Burners and Pan Supports
- Remove the pan supports and burners.
- Wash them with warm soapy water. For heavily soiled parts, soak them for a while.
- Use a soft brush to remove food residue. Ensure burner holes are clear of blockages.
- Rinse thoroughly and dry completely before reassembling. Moisture can affect ignition.
6.3 Cleaning Drip Trays
- The double drip trays are removable for easy cleaning.
- Lift out the trays and wash them with warm soapy water.
- Rinse and dry thoroughly before placing them back.
7. Troubleshooting
If you encounter any issues, refer to the following common problems and solutions. If the problem persists, contact customer support.
| Problem | Possible Cause | Solution |
|---|---|---|
| Burner not lighting | Gas supply off, burner wet, burner holes blocked, faulty lighter. | Check gas supply, dry burner, clean burner holes, use a working lighter. |
| Uneven flame | Burner not seated correctly, burner holes blocked. | Reseat burner, clean burner holes. |
| Smell of gas | Gas leak. | Immediately turn off gas supply, ventilate area, do not operate electrical switches, contact technician. |
| Knob is stiff | Food residue or dirt accumulation. | Clean around the knob base. Do not force. |
8. Specifications
| Feature | Detail |
|---|---|
| Model Number | 773 CT VETRO (TKN CROWN DT) |
| Colour | Black |
| Material | Brass, Tempered Glass |
| Number of Heating Elements | 3 |
| Controls Type | Knob |
| Power Source Type | Gas |
| Item Dimensions (D x W x H) | 45D x 75W x 11H Centimeters |
| Item Weight | 10.99 Kilograms |
| Included Components | Burner |
| Country of Origin | India |
9. Warranty and Customer Support
9.1 Warranty Information
- 5 years warranty on burners and glass.
- 2 years comprehensive warranty from the date of purchase.
- The warranty remains valid and unaffected if the product is self-installed, provided installation guidelines are followed.
9.2 Customer Care
For any queries, service requests, or assistance, please contact Elica customer care:

Image 9.1: Elica Customer Care Contact Information
Toll-Free: 1800 233 0007
Mobile: 7447440983 / 7447440984 / 7447440985
Additional installation charges may apply for professional installation services.