1. Introduction
The Inkbird WiFi ITC-308 Digital Temperature Controller is designed to precisely control the temperature in various environments, particularly aquariums. It features simultaneous control of both heating and cooling devices, a waterproof sensor, and Wi-Fi connectivity for remote monitoring and control via a mobile application. This manual provides detailed instructions for the proper setup, operation, and maintenance of your device.

2. Product Overview
2.1 Key Features
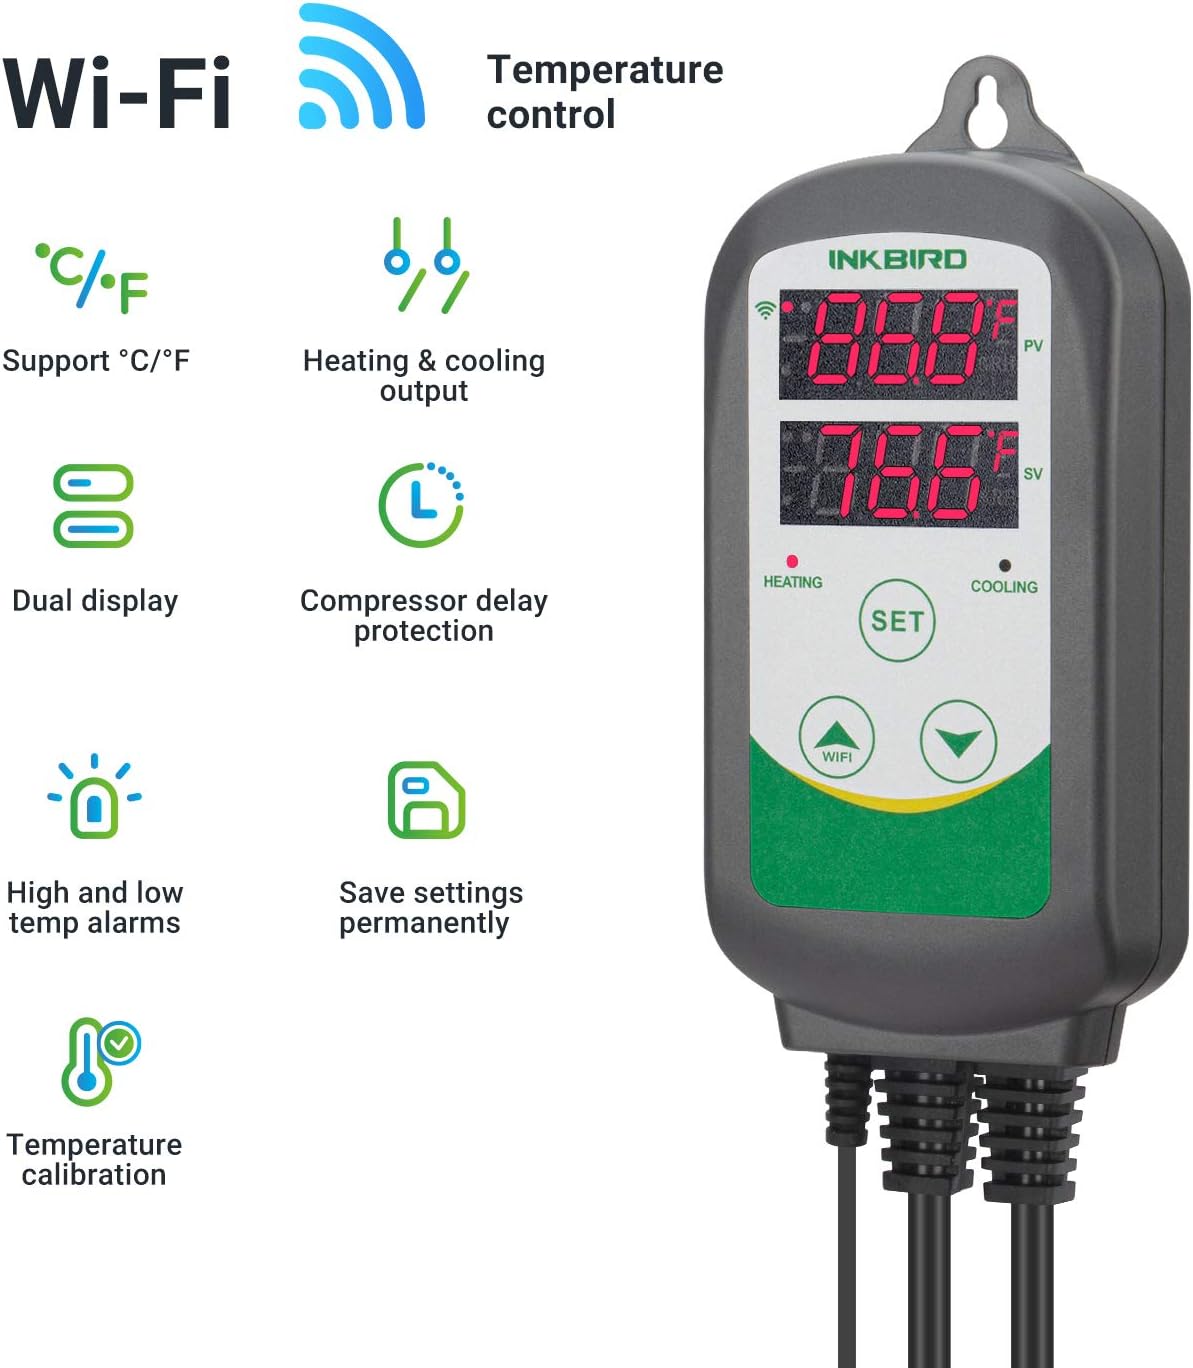
- Heating and Cooling Control: Manages both heating and cooling devices simultaneously or individually.
- Dual Display Window: Shows measured temperature (PV) and set temperature (SV) concurrently.
- Temperature Unit Selection: Supports display in Celsius (°C) or Fahrenheit (°F).
- High and Low Temperature Alarms: Alerts users to temperature deviations.
- Sensor Failure Alarm: Notifies of issues with the temperature probe.
- Compressor Delay Protection: Protects cooling equipment from rapid cycling.
- Wi-Fi Connectivity: Enables remote monitoring and control via the InkbirdSmart app (2.4GHz Wi-Fi only).
- Permanent Settings Save: Retains settings even after power loss.
- Waterproof Sensor: Suitable for use in aquatic environments.
2.2 Components
The Inkbird ITC-308 package includes the main controller unit, a waterproof temperature sensor, and a power outlet strip with dedicated heating and cooling sockets.

3. Setup
3.1 Physical Connection
- Connect the waterproof temperature sensor to the designated port on the main controller unit.
- Plug your heating device into the 'HEATING' outlet and your cooling device into the 'COOLING' outlet on the power strip.
- Plug the main controller unit into a standard 110V power outlet. The display will illuminate.
- Position the temperature sensor in your aquarium or desired environment, ensuring it is fully submerged or properly placed to accurately measure the temperature.
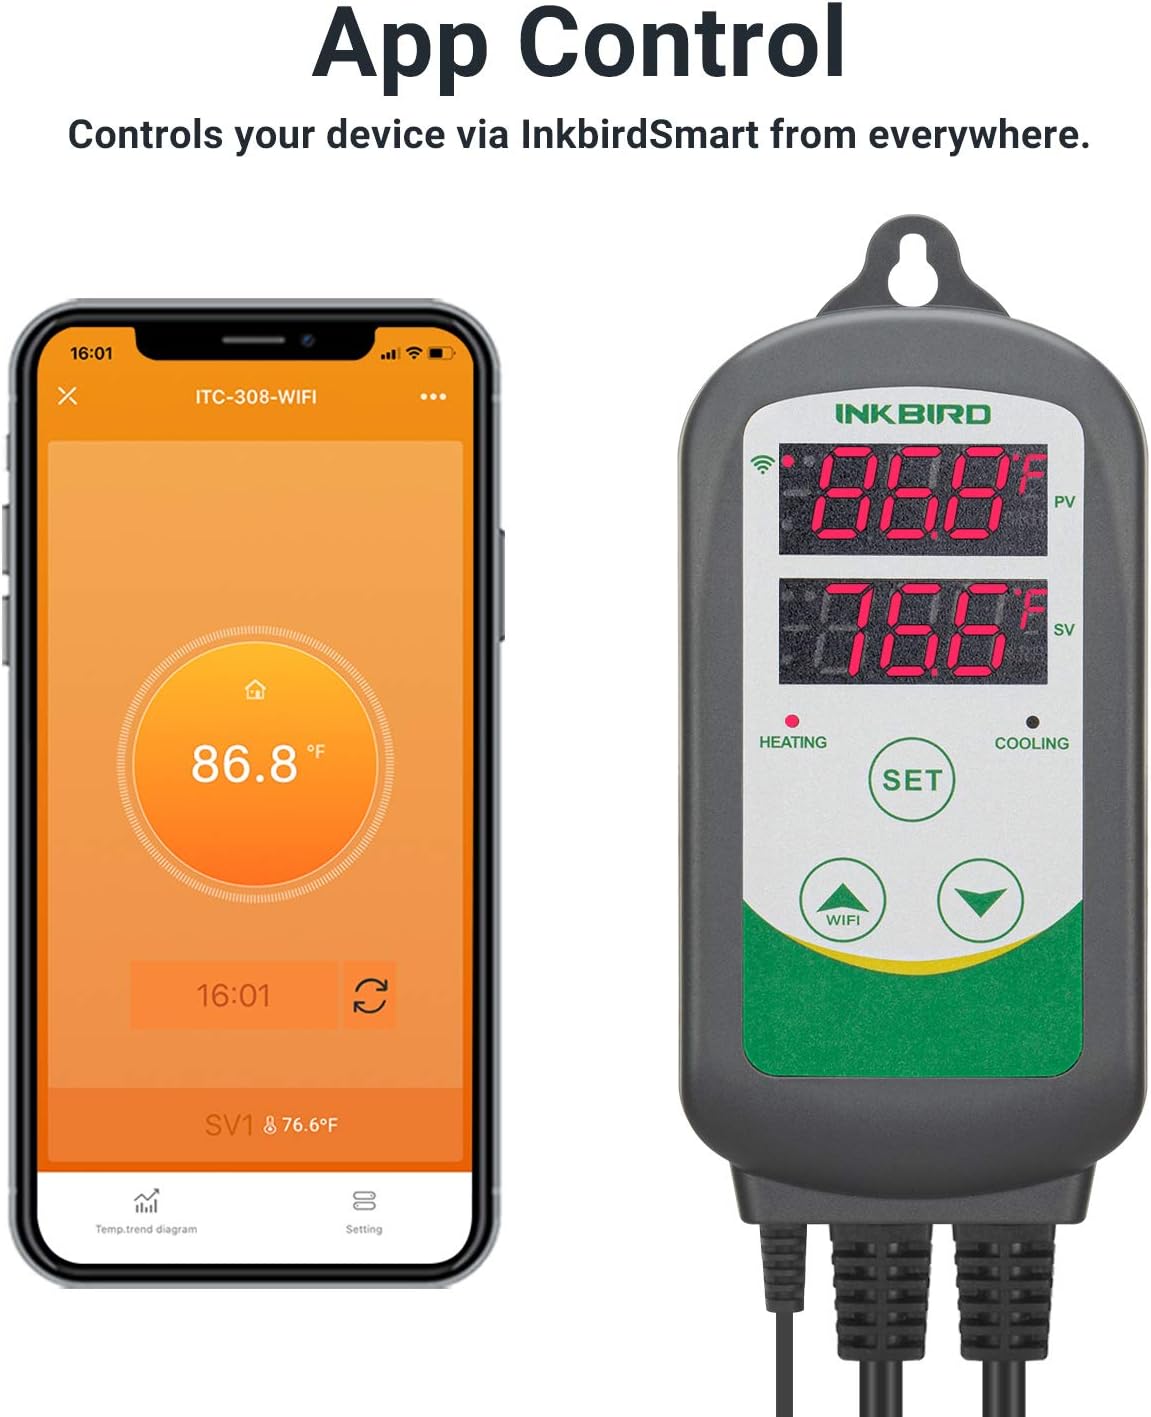
3.2 Wi-Fi Pairing and App Setup
To utilize the remote monitoring and control features, download the InkbirdSmart app from the Google Play Store or Apple App Store.
- Ensure your mobile device is connected to a 2.4GHz Wi-Fi network. The ITC-308 does not support 5GHz networks.
- Plug the ITC-308 into a power socket. Hold the 'WIFI' button for 3 seconds until 'APP' is shown on the PV screen and the Wi-Fi LED symbol flashes slowly.
- Open the InkbirdSmart app and click the '+' icon to add a new device.
- Follow the in-app instructions to select your Wi-Fi network and enter the password. Confirm the indicator light is flashing rapidly as prompted by the app.
- Once connected, the Wi-Fi symbol on the controller's display will become solid, indicating a successful connection.

4. Operating Instructions
4.1 Basic Operation
The controller features a dual display: the upper display (PV) shows the current measured temperature, and the lower display (SV) shows the set target temperature.

- Setting Temperature: Press the 'SET' button once. The SV display will flash. Use the 'Up' or 'Down' arrows to adjust the desired temperature. Press 'SET' again to confirm.
- Switching Temperature Units (°C/°F): With the device powered on, press and hold the 'Up' arrow button for 3 seconds to toggle between Celsius and Fahrenheit.
- Heating/Cooling Indicators: The 'HEATING' LED illuminates when the heating device is active. The 'COOLING' LED illuminates when the cooling device is active.
4.2 Advanced Settings (via App)
The InkbirdSmart app provides access to advanced settings and remote control functionalities:
- Remote Monitoring: View current temperature (PV) and set temperature (SV) from anywhere.
- Remote Control: Adjust set temperatures and other parameters directly from your smartphone.
- Alarm Management: Configure high/low temperature alarm thresholds and receive notifications.
- Calibration: Fine-tune temperature readings for accuracy.
- Data Logging: Access historical temperature data and trends.
5. Maintenance
- Sensor Cleaning: Regularly clean the temperature sensor to prevent buildup that could affect accuracy. Use a soft cloth and fresh water. For saltwater environments, rinse the sensor frequently to prevent corrosion, especially if it is a stainless steel type.
- Unit Cleaning: Wipe the main controller unit with a dry or slightly damp cloth. Do not immerse the unit in water or use abrasive cleaners.
- Cable Inspection: Periodically check all cables and connections for any signs of wear or damage.
6. Troubleshooting
- Inaccurate Temperature Readings: Ensure the sensor is clean and properly positioned. Check for any physical damage to the sensor cable. If calibration was performed, verify the settings in the app. A power outage might reset calibration settings on some units, requiring re-calibration.
- Wi-Fi Connection Issues: Confirm your router is operating on a 2.4GHz frequency. Ensure the controller is within range of your Wi-Fi signal. Restart both the controller and your router. Re-attempt the Wi-Fi pairing process as described in Section 3.2.
- Heating/Cooling Device Not Activating: Verify that the heating/cooling devices are properly plugged into the correct outlets on the power strip and are functioning independently. Check the set temperature (SV) and the current temperature (PV) to ensure the conditions for activation are met.
- Alarm Triggered: Check the current temperature against your set high and low alarm thresholds. Address the cause of the temperature deviation. If a sensor failure alarm is triggered, inspect the sensor and its connection.
7. Specifications
| Brand | Inkbird |
| Model Name | 308WIFI |
| Product Dimensions | 1.2"D x 2.6"W x 6.7"H (3.2cm D x 6.8cm W x 17cm H) |
| Controller Type | APP Control |
| Special Feature | Programmable, Temperature Display, Waterproof Probe |
| Voltage | 110 Volts |
| Material | Plastic |
| Display Type | LCD |
| Connectivity Technology | Wi-Fi (2.4GHz) |
| Maximum Output Load | 1200 W (110 V) |

8. Warranty and Support
For warranty information and technical support, please contact Inkbird customer service directly. Refer to the product packaging or the official Inkbird website for the most current contact details and warranty policies.


