1. Product Overview
This manual provides essential information for the installation, care, and maintenance of your AlveyTech replacement seat for the Coleman BT200X Mini Bike. This seat is designed as a direct replacement, ensuring a perfect fit and restoring the aesthetic and functional integrity of your mini bike.
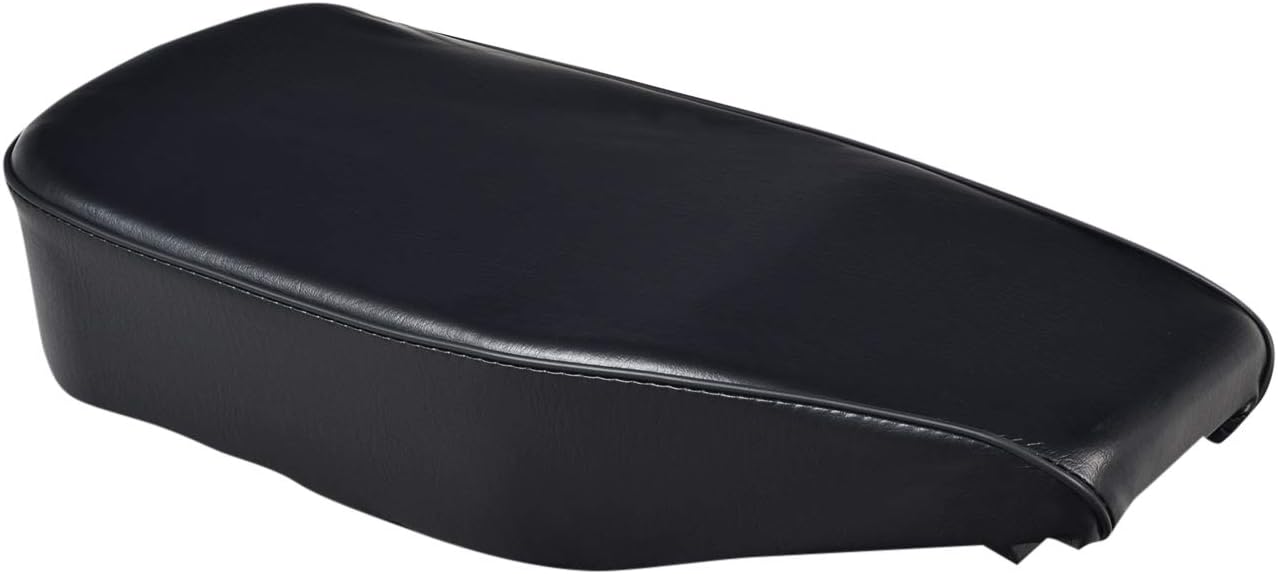
Figure 1.1: Top view of the AlveyTech replacement seat, showcasing its black vinyl finish and contoured shape.
2. Specifications
| Brand | AlveyTech |
| Model Number | E41-0104 |
| UPC | 810070310400 |
| Vehicle Service Type | Mini Bike (Coleman BT200X specific) |
| Fit Type | Vehicle Specific Fit |
| Orientation | Rear |
| Material | High-quality material suitable for vehicle seat (durable vinyl) |
| Item Weight | 1.73 pounds (0.78 kg) |
| Product Dimensions | 18 x 9 x 4 inches (45.7 x 22.9 x 10.2 cm) |
| Date First Available | January 25, 2021 |
3. Installation Instructions
The AlveyTech replacement seat is designed for straightforward installation on your Coleman BT200X Mini Bike. Ensure the mini bike is stable and turned off before beginning any work.
- Preparation: Gather necessary tools, which typically include a wrench or socket set to remove the existing seat's mounting hardware.
- Remove Old Seat: Locate the bolts or fasteners securing the old seat to the mini bike frame. Carefully loosen and remove these fasteners. Lift the old seat away from the frame.
- Inspect Mounting Area: Clean any debris or rust from the seat mounting area on the mini bike frame. Ensure the mounting points are clear and undamaged.
- Position New Seat: Align the mounting holes on the underside of the new AlveyTech seat with the corresponding mounting points on the mini bike frame.
- Secure New Seat: Insert the original fasteners (or new, compatible hardware if provided or necessary) through the seat's mounting holes and into the frame. Hand-tighten all fasteners first to ensure proper alignment.
- Final Tightening: Once all fasteners are in place and aligned, use your wrench or socket to securely tighten them. Do not overtighten, as this can damage the seat base or frame. Ensure the seat is firmly attached and does not wobble.
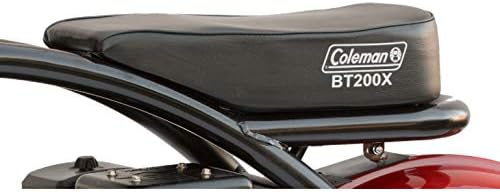
Figure 3.1: The AlveyTech seat properly installed on a Coleman BT200X Mini Bike, showing its seamless integration.

Figure 3.2: Underside of the AlveyTech seat, highlighting the pre-drilled mounting points for easy installation.
4. Care and Maintenance
Proper care will extend the life and maintain the appearance of your AlveyTech mini bike seat.
- Cleaning: Wipe the seat surface regularly with a damp cloth to remove dust and dirt. For stubborn grime, use a mild soap solution and a soft brush, then wipe clean with a damp cloth and dry thoroughly. Avoid harsh chemicals or abrasive cleaners, as these can damage the vinyl.
- Protection: If the mini bike is stored outdoors, consider using a cover to protect the seat from prolonged exposure to direct sunlight, rain, and extreme temperatures, which can cause fading or cracking over time.
- Inspection: Periodically check the seat's mounting hardware for tightness. Vibrations from riding can sometimes cause fasteners to loosen. Tighten as necessary.
- Avoid Punctures: Be mindful of sharp objects that could puncture or tear the seat's vinyl cover.
5. Troubleshooting
While the AlveyTech seat is designed for a precise fit, minor issues can sometimes arise during installation or use.
- Seat Does Not Align with Mounting Holes:
Ensure you have the correct seat model for your Coleman BT200X. Double-check the orientation of the seat. If the holes are slightly off, gently adjust the seat's position or the frame's mounting points if possible, without forcing. Do not attempt to modify the seat's base.
- Seat Feels Loose After Installation:
Re-check all mounting bolts. Ensure they are fully tightened. If the issue persists, inspect the bolts and the mounting points on the frame for any damage or wear that might prevent a secure fit. Ensure no washers or spacers were omitted during reassembly.
- Visible Damage or Defects Upon Arrival:
If the seat arrives with any manufacturing defects or shipping damage, do not attempt to install it. Refer to the Warranty and Support section for instructions on how to contact customer service for a replacement.
6. Warranty and Support
AlveyTech stands behind the quality of its products. For specific warranty details, including coverage period and terms, please refer to the documentation included with your purchase or visit the official AlveyTech website.
If you encounter any issues not covered in this manual, require replacement parts, or have questions regarding your AlveyTech seat, please contact AlveyTech customer support.
- Manufacturer: AlveyTech
- Contact Information: Please refer to the packaging or the official AlveyTech website for the most current customer service contact details.