CANDY CSTG 28TMVE/1-47
CANDY CSTG 28TMVE/1-47 Top-Load Washing Machine User Manual
Model: CSTG 28TMVE/1-47
1. Introduction and Safety Information
Thank you for choosing the CANDY CSTG 28TMVE/1-47 Top-Load Washing Machine. This manual provides essential information for the safe and efficient use of your appliance. Please read these instructions carefully before installation and use, and keep them for future reference.
General Safety Warnings
- Ensure the appliance is properly earthed.
- Do not allow children to play with or operate the washing machine.
- Always unplug the appliance before cleaning or maintenance.
- Do not open the detergent drawer during a wash cycle.
- Never force the door open.
- Ensure all transport bolts are removed before first use to prevent damage and excessive vibration.
2. What's in the Box
Upon unpacking your CANDY CSTG 28TMVE/1-47 washing machine, please ensure all the following components are present:
- Washing Machine Unit
- Power Cord
- Water Inlet Hose
- Drain Hose
- User Manual (this document)
3. Setup and Installation
3.1 Unpacking and Positioning
Carefully remove all packaging materials. Position the washing machine on a firm, level surface, away from direct sunlight or heat sources. Ensure there is adequate space around the machine for ventilation and maintenance.

Image 3.1: Front view of the CANDY CSTG 28TMVE/1-47 Top-Load Washing Machine.
3.2 Removing Transport Bolts
IMPORTANT: Before using the washing machine, you must remove the transport bolts located at the rear of the appliance. These bolts secure the drum during transit and must be removed to prevent severe damage and excessive vibration during operation. Typically, there are 2 to 4 bolts with rubber and plastic cylinders. Use an appropriate wrench to loosen and remove them. Keep the bolts for future transport if needed.
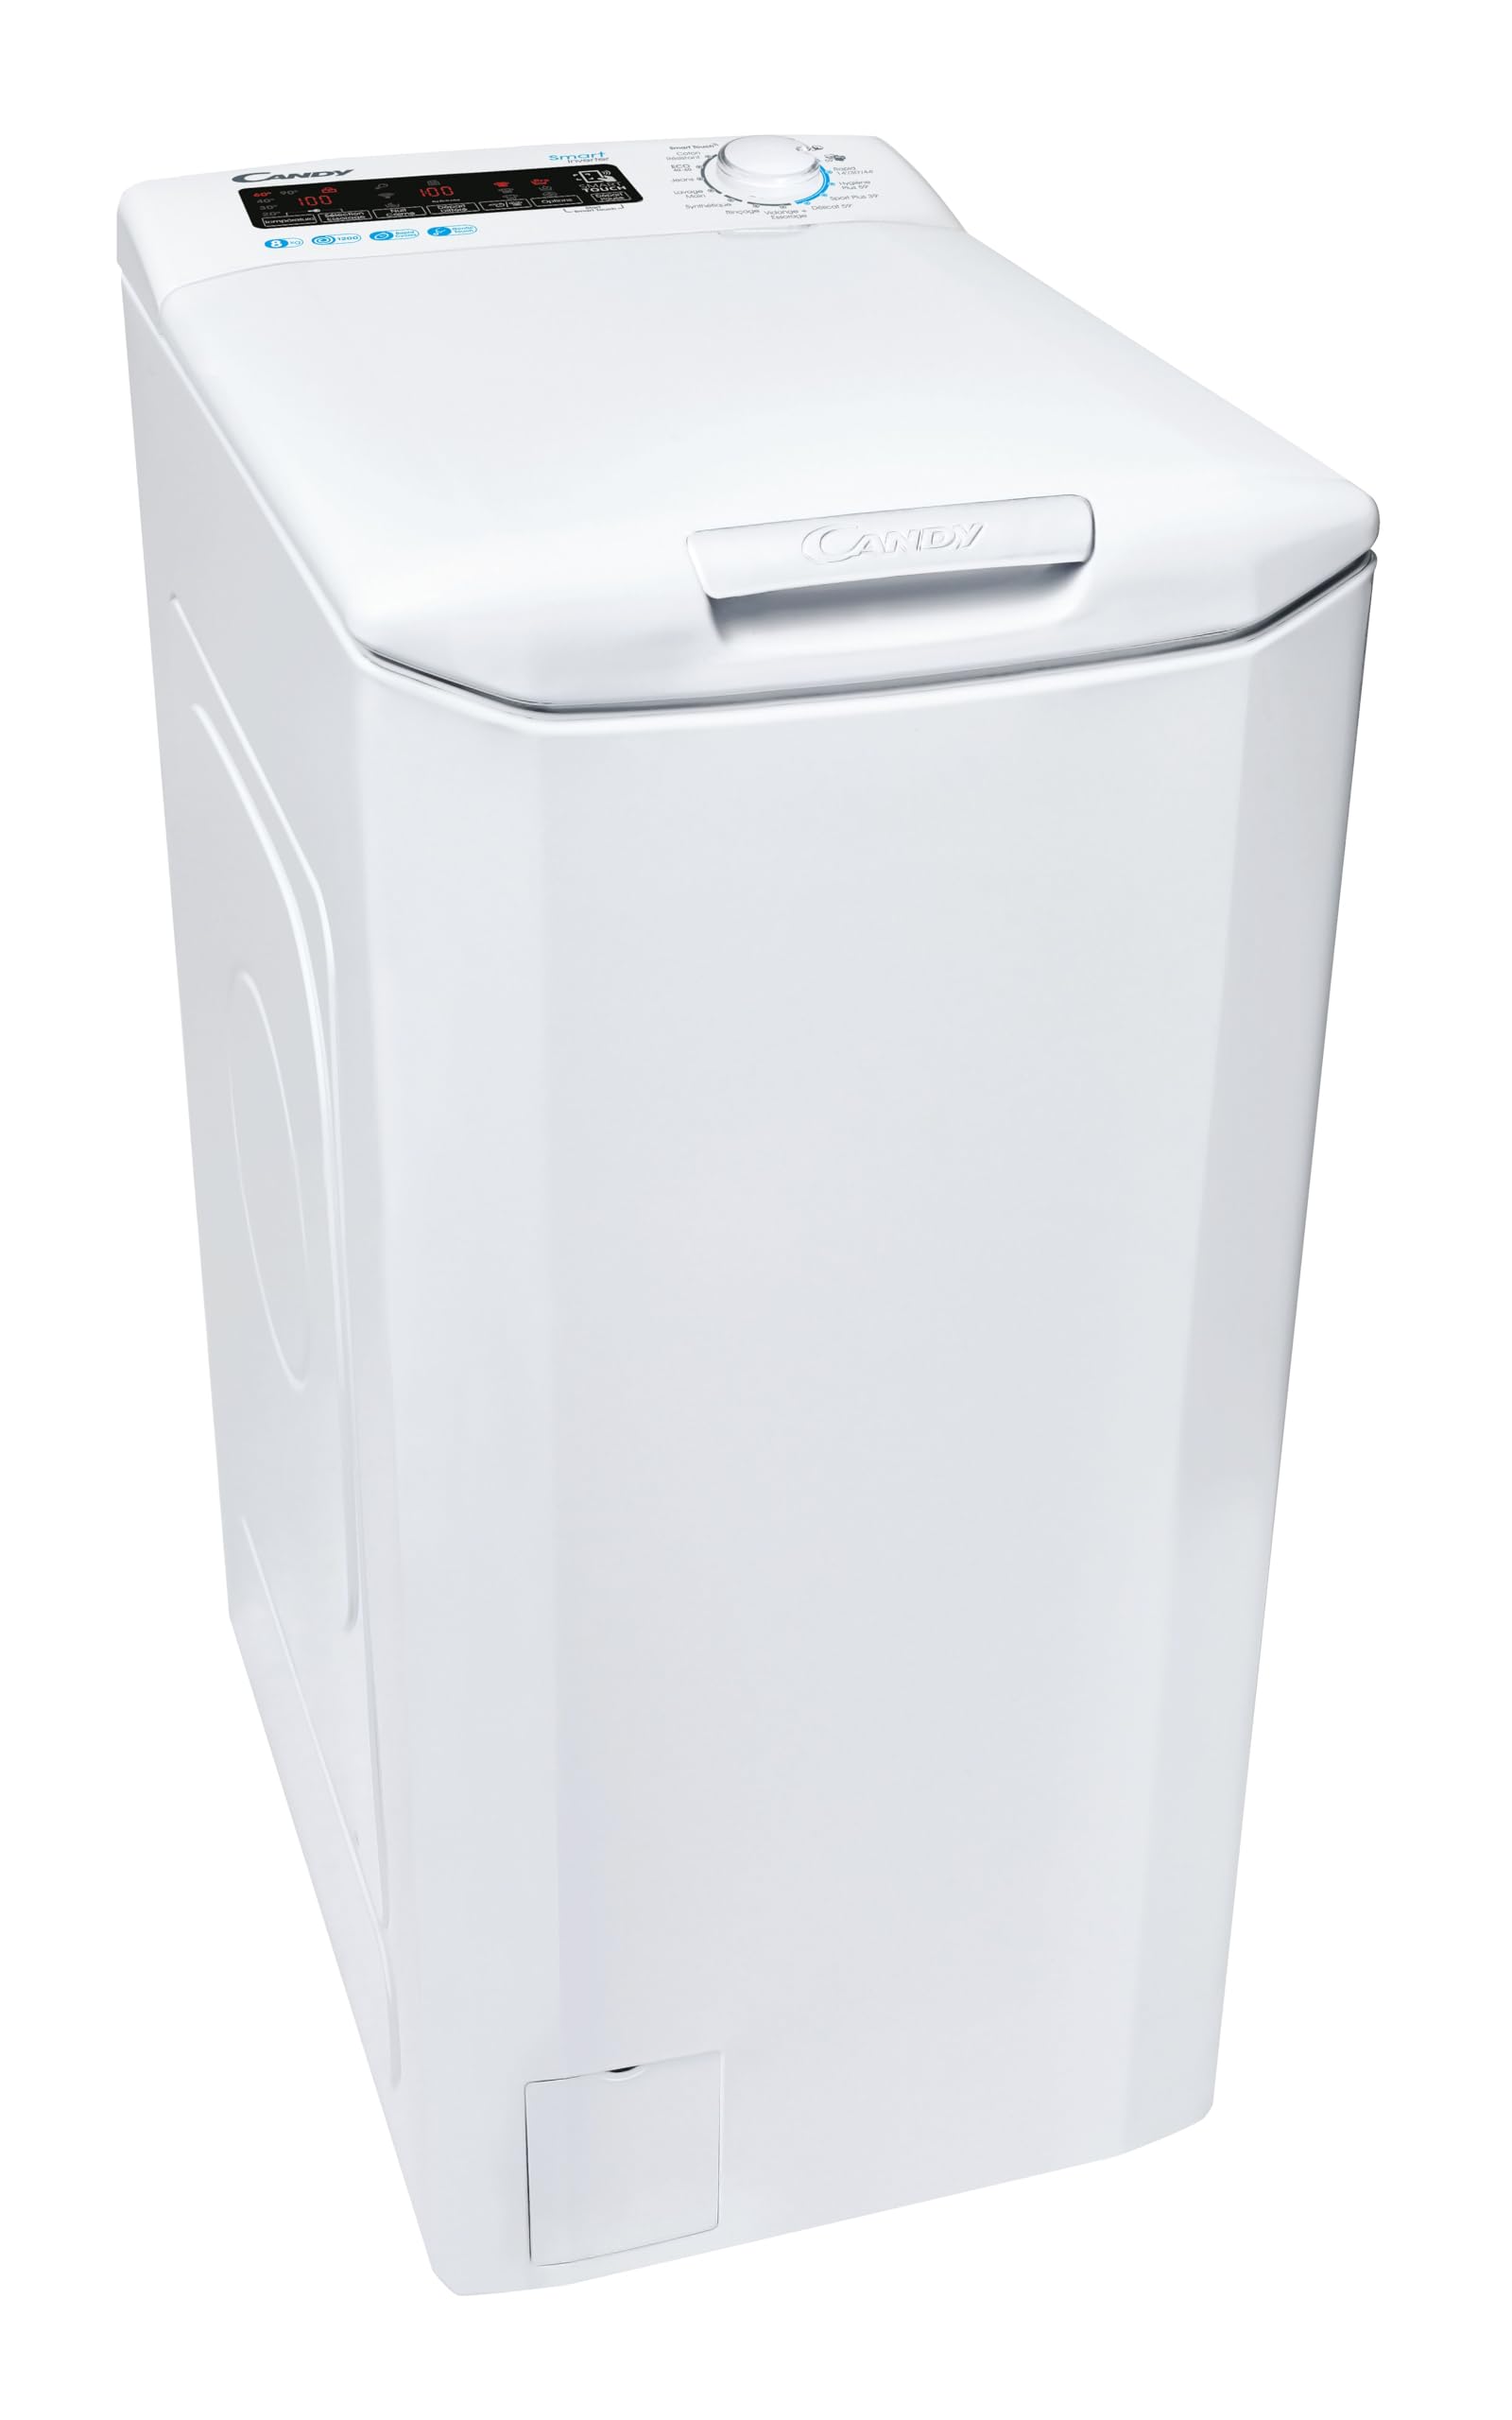
Image 3.2: Illustration of transport bolts at the rear of a washing machine (example image, actual location may vary).
3.3 Leveling the Machine
Adjust the adjustable feet at the bottom of the washing machine to ensure it is perfectly level. Use a spirit level to verify. A level machine reduces vibration and noise during operation.
3.4 Water Connection
Connect the water inlet hose to a cold water tap with a 3/4" thread. Ensure the connection is tight to prevent leaks. Position the drain hose into a suitable drain pipe or sink, ensuring it is securely fixed and not kinked.
3.5 Electrical Connection
Plug the power cord into a grounded electrical outlet. Ensure the voltage and frequency match the specifications of your appliance (220 Volts).
4. Operating Instructions
4.1 Control Panel Overview
The control panel features a program selector knob, function buttons, and an LED display. Use the knob to select your desired wash program and the buttons to choose additional options.
4.2 Loading Laundry
Open the top lid and the drum door using the Gentle Touch mechanism. Load laundry into the drum, ensuring not to overload the machine. The maximum capacity is 8 kg. Close the drum door and the top lid securely.
4.3 Adding Detergent
Pull out the detergent dispenser drawer. Add the appropriate amount of detergent to the main wash compartment. For liquid detergents, use the provided dispenser. Close the drawer gently.
4.4 Program Selection
Turn the program selector knob to choose one of the 15 available wash cycles. Common cycles include:
- Cotton: For durable cotton items.
- Delicate: For fragile garments.
- Hand Wash: For very delicate items requiring gentle care.
- Eco: Energy-efficient wash cycle.
- Spin: To remove excess water from laundry.
- Rinse: For additional rinsing.
- Drain: To empty water from the drum.
The machine features a Mix Power System+ which mixes water and detergent for effective cleaning, and a Kg Detector function to adapt consumption and duration based on load size.
4.5 Additional Options
Press the function buttons to select options such as:
- Delayed Start: Postpone the start of the wash cycle.
- Spin Speed: Adjust the spin speed up to 1200 RPM.
- Other specific options like Hygiene Plus or Aqua Plus (if available on your model).
4.6 Starting a Wash Cycle
Once the program and options are selected, press the Start/Pause button to begin the cycle. The LED display will show the remaining time.
5. Maintenance and Care
Regular maintenance ensures the longevity and optimal performance of your washing machine.
5.1 Cleaning the Exterior
Wipe the exterior surfaces with a soft, damp cloth. Do not use abrasive cleaners or solvents.
5.2 Cleaning the Detergent Dispenser
Periodically remove the detergent dispenser drawer and rinse it under running water to remove any detergent residue. Clean the housing of the drawer with a brush.
5.3 Cleaning the Filter
The washing machine has a filter that collects lint and small objects. Locate the filter cover at the bottom front of the machine. Place a shallow container underneath to catch any water. Unscrew the filter cap, clean the filter, and then screw it back on tightly.
5.4 Drum Care
To prevent odors and mold, leave the top lid slightly ajar after each wash to allow the drum to air dry. You can also run a maintenance wash cycle (e.g., a hot wash with no laundry and a descaling agent) periodically.
6. Troubleshooting
Before contacting customer service, please refer to the following common issues and solutions:
| Problem | Possible Cause | Solution |
|---|---|---|
| Machine does not start | No power supply; Door not closed; Program not selected. | Check power plug and fuse; Ensure door is firmly closed; Select a wash program. |
| Excessive vibration/noise | Transport bolts not removed; Machine not level; Uneven load. | Remove transport bolts (see Section 3.2); Adjust feet to level machine; Redistribute laundry evenly. |
| Water not filling | Water tap closed; Inlet hose kinked; Water pressure too low. | Open water tap; Straighten hose; Check water supply. |
| Water not draining | Drain hose kinked or blocked; Filter blocked. | Check and clear drain hose; Clean the filter (see Section 5.3). |
| Poor washing results | Too little detergent; Overloading; Incorrect program. | Use correct detergent amount; Do not overload; Select appropriate program for fabric type. |
7. Technical Specifications
Detailed specifications for the CANDY CSTG 28TMVE/1-47 washing machine:
| Feature | Specification |
|---|---|
| Model Name | CSTG 28TMVE/1-47 |
| Capacity | 8 Kilograms |
| Maximum Spin Speed | 1200 RPM |
| Product Dimensions (D x W x H) | 60 cm x 41 cm x 86 cm |
| Weight | 58 Kilograms |
| Loading Type | Top-Load |
| Control Type | Button (Rotary Knob and Push Buttons) |
| Display Type | LED |
| Number of Standard Cycles | 15 |
| Noise Level (Spin) | 77 Decibels |
| Voltage | 220 Volts |
| Drum Material | Stainless Steel |
| Special Features | Mix Power System+, Delayed Start, Kg Detector |

Image 7.1: Dimensions of the CANDY CSTG 28TMVE/1-47 Top-Load Washing Machine (Height: 86cm, Depth: 60cm, Width: 41cm).
8. Warranty and Support
8.1 Warranty Information
This CANDY CSTG 28TMVE/1-47 washing machine comes with a 2-year manufacturer warranty. Please retain your proof of purchase for warranty claims. The warranty covers manufacturing defects under normal household use. It does not cover damage caused by improper installation, misuse, or failure to remove transport bolts.
8.2 Customer Support
For technical assistance, spare parts, or warranty service, please contact CANDY customer support. Refer to the contact information provided in your purchase documentation or visit the official CANDY website for your region.
Related Documents - CSTG 28TMVE/1-47
 |
Candy CSTG282DE/1-S 8kg Smart Top-Load Washing Machine Discover the Candy CSTG282DE/1-S, an 8kg top-load washing machine with 1200 RPM spin speed and Class D energy efficiency. Features Smart Touch NFC technology, Mix Power System+, Gentle Touch Opening, and 16 versatile programs for optimal laundry care. |
 |
Candy GVW 364TC Washer Dryer: Features and Specifications Discover the Candy GVW 364TC, a space-saving washer dryer with a 6kg wash capacity, 4kg drying capacity, and 1300 RPM spin speed. This guide details its features, programs, performances, and technical specifications. |
 |
Candy Smart Washing Machine User Guide and Features A comprehensive guide to using the Candy Smart washing machine, detailing its features, programs, and smart touch functionality. Learn how to connect to the Candy simply-Fi app for enhanced control and information. |
 |
Candy Washing Machine User Manual: Installation, Operation, and Maintenance Comprehensive user manual for Candy washing machines, covering installation, safety guidelines, program descriptions, troubleshooting, and maintenance for optimal performance and longevity. |
 |
CANDY CATL 6108 GVSI Fully Automatic Washing Machine Instruction Manual Instruction manual for the CANDY CATL 6108 GVSI fully automatic washing machine, covering important safeguards, installation, usage advice, operation methods, maintenance, troubleshooting, specifications, and program timetable. |
 |
Manuale d'uso Lavatrice Candy Questo manuale fornisce istruzioni dettagliate per l'installazione, l'uso, la manutenzione e la risoluzione dei problemi della lavatrice Candy. |
Ask a question about this manual
Ask about setup, troubleshooting, compatibility, parts, safety, or missing instructions. Manuals+ will review the question and use this page’s manual context to help answer it.