1. Product Overview
This document provides essential information for the sparefixd 3-sided oven door seal, designed as a replacement part for various Bosch integrated double oven models. This seal is equivalent to Bosch part number 00263095. It is crucial for maintaining the oven's energy efficiency and cooking performance by ensuring a tight seal around the oven door, preventing heat loss.
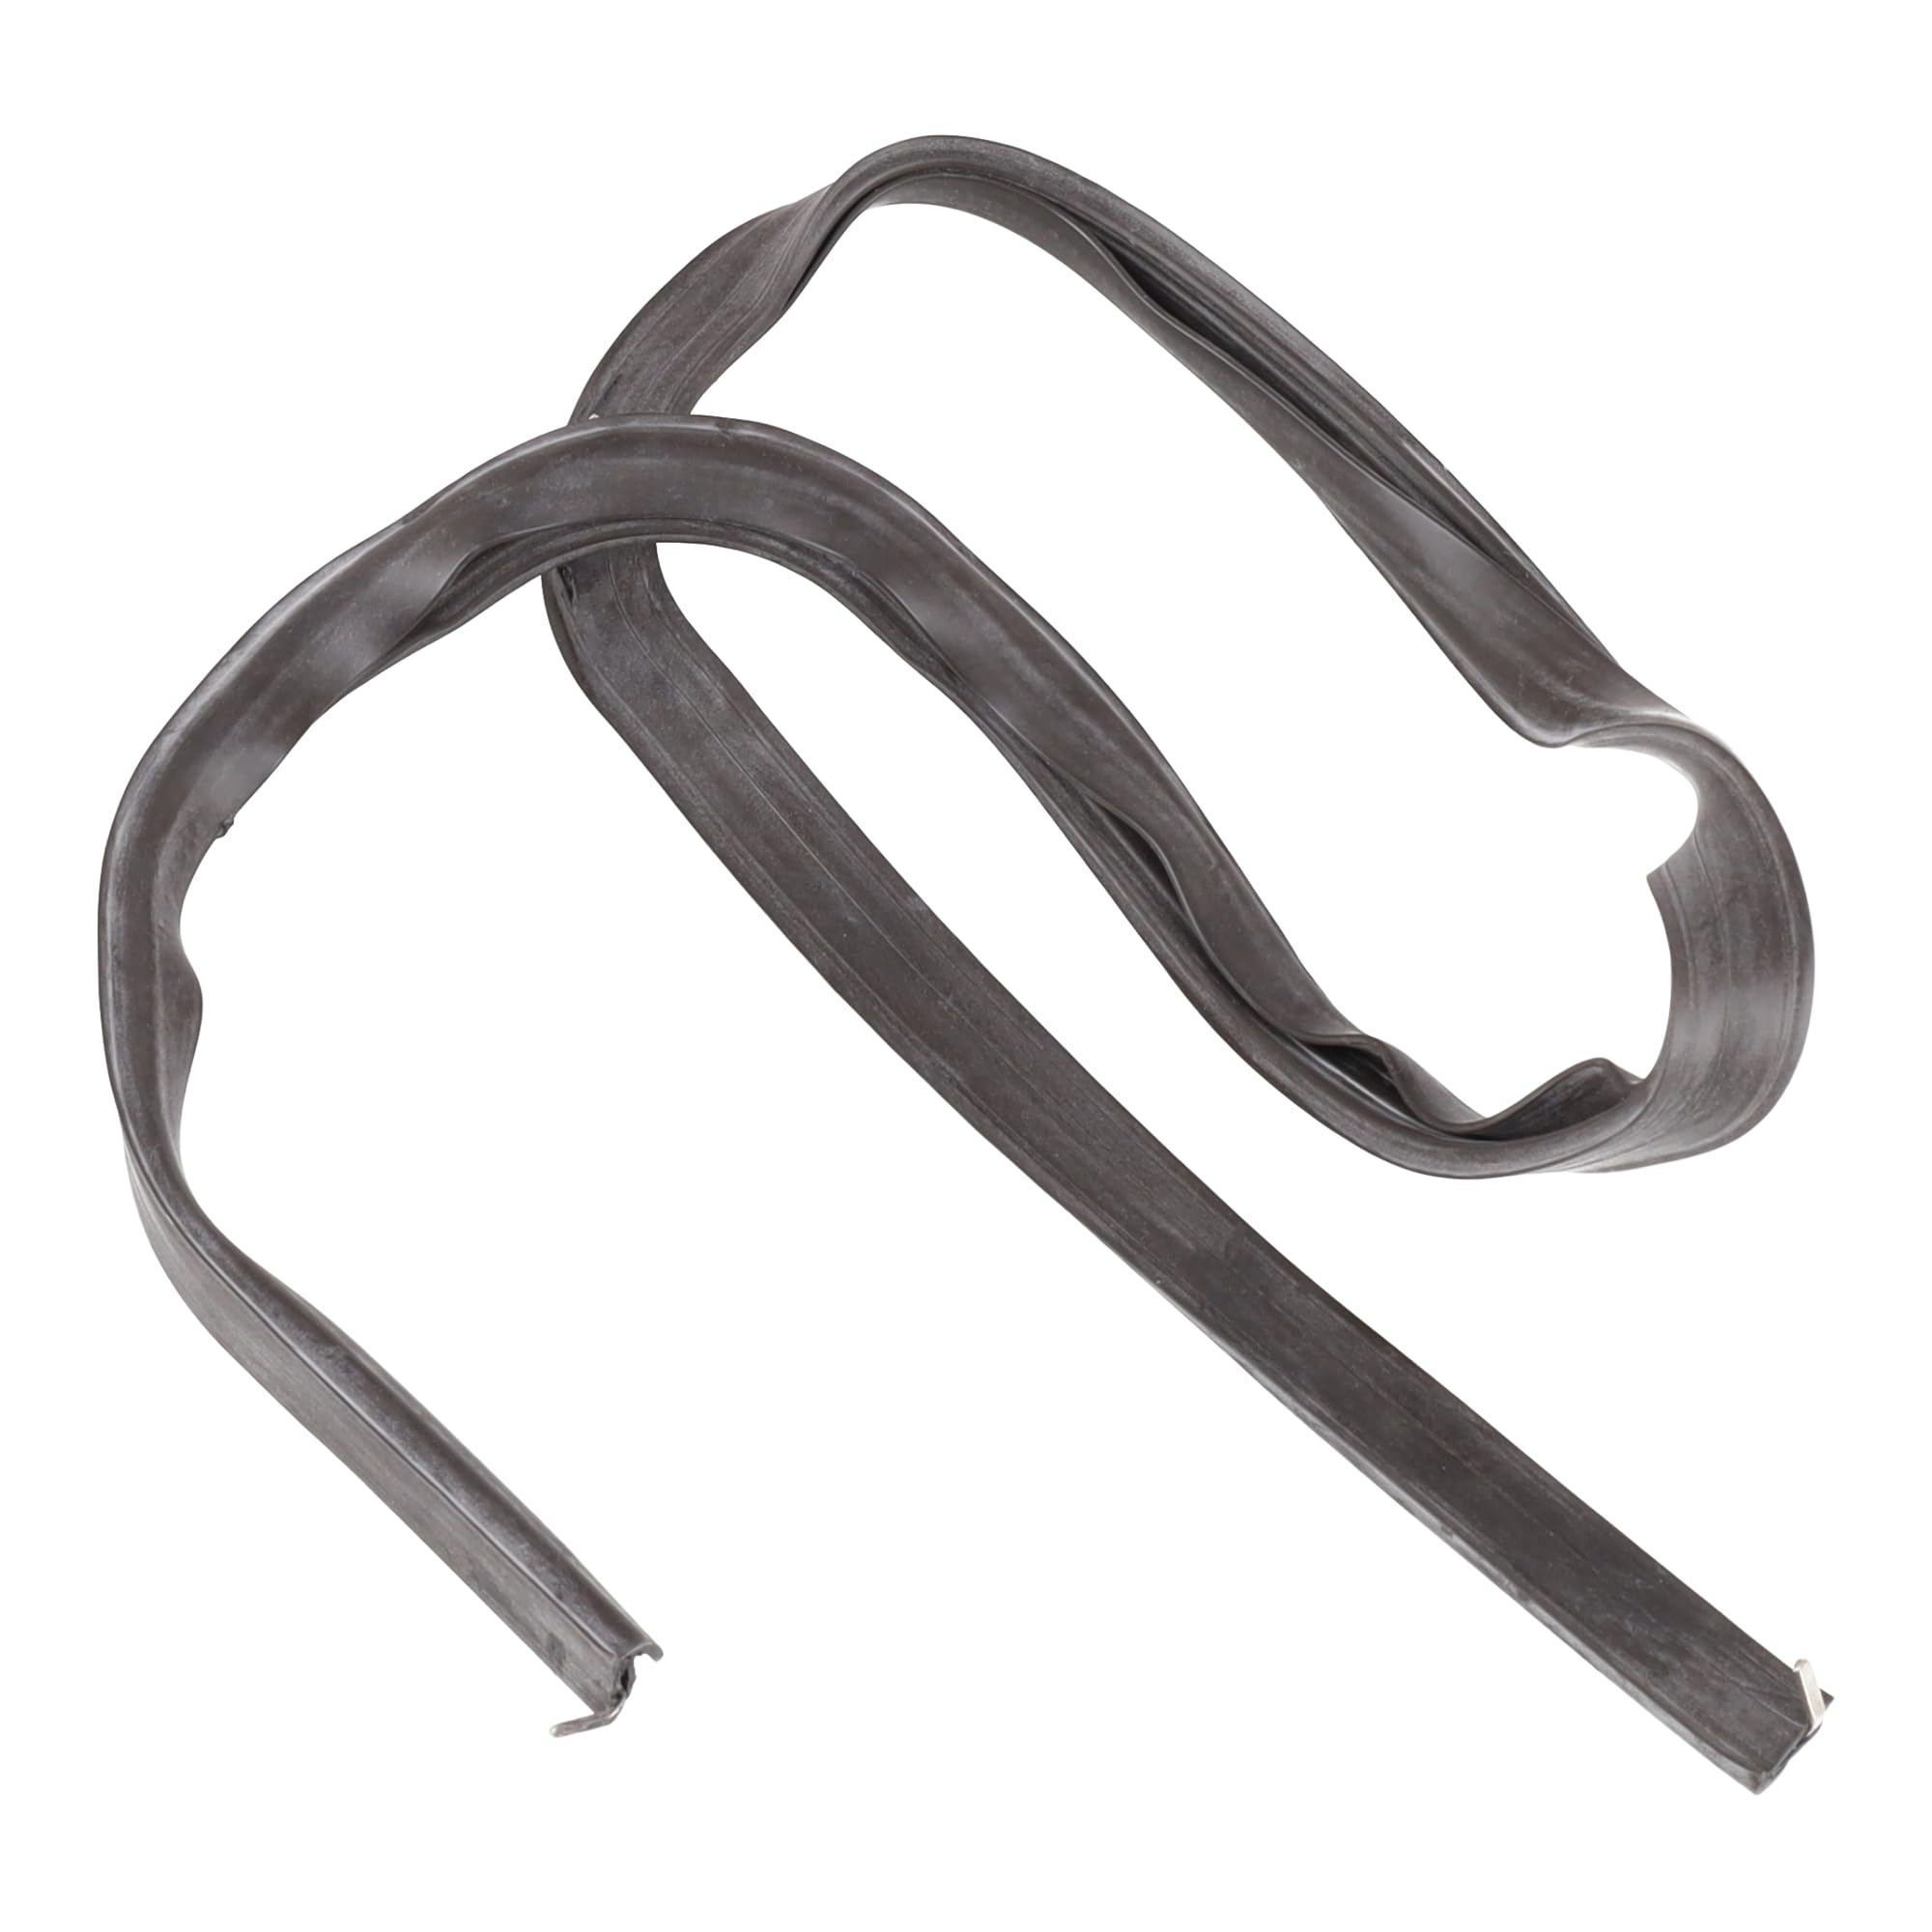
Image 1: The sparefixd 3-sided oven door seal, shown in its coiled state, ready for installation.
2. Product Identification and Compatibility
To ensure this part is compatible with your appliance, verify your oven's model number against the list below. The model number is typically located inside the oven door on the main body of the cooker, sometimes hidden behind the existing door seal, usually towards the bottom. For separate hobs, the model number is often on the underside, accessible by removing the oven from its unit if integrated.
- Brand: sparefixd
- Model Number: 00263095
- Equivalent to OEM Part Number: 00263095
- Compatible Bosch Oven Models:
- HBN410AGB/01, HBN410AGB/02, HBN410AGB/06
- HBN412AGB/01, HBN412AGB/02, HBN412AGB/06
- HBN430AGB/01
- HBN432AGB/01
- HBN435AGB/01
- HBN450AGB/01
- HBN450BGB/01
- HBN452AGB/01
- HBN452BGB/01
- HBN455BGB/01
- HBN456AGB/01
- HBN456BGB/01
- HBN462AGB/01
- HBN466AGB/01
- HBN7020GB/01
- HBN7050GB/01
- HBN7060GB/01
- HBN9020GB/01
- HBN9050GB/01
- HBN9060GB/01
- HBN9100GB/01
- HBN9120GB/01
- HBN9121GB/06
- HBN9150GB/01
- HBN9151GB/06
- HBN9160GB/01
- HBN9161GB/06
- HBN9300GB/01, HBN9300GB/05
- HBN9320GB/01, HBN9320GB/05, HBN9320GB/06
- HBN9350AU/01, HBN9350AU/06
- HBN9350GB/01, HBN9350GB/06
- HBN9360GB/01, HBN9360GB/05, HBN9360GB/06
- HBN9370GB/06
- HBN9650/01, HBN9650/04, HBN9650/06
- HBN9720GB/01, HBN9720GB/04, HBN9720GB/06
- HBN9750GB/01, HBN9750GB/04, HBN9750GB/06
3. Installation Instructions
Replacing an oven door seal is a straightforward process, but always ensure the oven is disconnected from the power supply before beginning any work. Refer to your oven's specific service manual for detailed instructions if available.
- Safety First: Disconnect the oven from the main power supply.
- Remove Old Seal: Carefully pull the old door seal away from its mounting points. Most oven door seals are held in place by clips or hooks that fit into small holes around the oven frame. Note how the old seal was attached to aid in installing the new one.
- Clean Area: Clean the area around the oven door frame where the seal sits to remove any grease or debris.
- Install New Seal: Begin by aligning the corners of the new 3-sided seal with the corresponding corners of the oven door frame. Gently push the clips or hooks of the new seal into the mounting holes. Work your way around the perimeter, ensuring the seal is seated firmly and evenly. The seal should fit snugly without any gaps.
- Check Fit: Once installed, close the oven door gently and check for a proper seal. There should be no visible gaps, and the door should close securely.
- Reconnect Power: Reconnect the oven to the power supply.

Image 2: Close-up view of the oven door seal, highlighting the attachment clips for installation.

Image 3: The oven door seal demonstrating its flexibility, essential for a proper fit.
4. Maintenance
Proper maintenance of your oven door seal ensures its longevity and the continued efficiency of your oven.
- Regular Cleaning: Periodically wipe down the oven door seal with a damp cloth and mild detergent to remove food spills and grease. Avoid abrasive cleaners or harsh chemicals, as these can damage the seal material.
- Inspect for Damage: Regularly inspect the seal for any signs of wear, tears, hardening, or brittleness. A damaged seal will compromise your oven's performance.
- Avoid Pinching: Be careful not to pinch or snag the seal when closing the oven door or placing items in or out of the oven.
5. Troubleshooting
If you experience issues after installing the new oven door seal, consider the following:
- Oven Leaking Heat: If heat is escaping from the oven door, the seal may not be installed correctly, or it could be faulty. Re-check the installation to ensure it is seated snugly all around the door frame.
- Door Not Closing Properly: A new seal might initially feel stiff. Ensure all clips are fully engaged. If the door still doesn't close, check for any obstructions or if the seal is twisted.
- Seal Damage: If the seal appears damaged upon inspection, it may need to be replaced.
6. Specifications
| Brand | sparefixd |
| Model Number | 00263095 |
| Equivalent Part Number | 00263095 |
| Manufacturer | sparefixd |
| ASIN | B08THT6G71 |
| Date First Available | 20 January 2021 |
7. Warranty and Support
Information regarding specific warranty terms for this sparefixd product is not provided in the available data. For warranty claims, technical support, or further assistance, please refer to the retailer where the product was purchased or contact the manufacturer directly. Always retain your proof of purchase.
