Zomoss ZS01 SNL
Zomoss Keyless Electronic Deadbolt Lock
Model: ZS01 SNL
1. Product Overview
The Zomoss Keyless Electronic Deadbolt Lock offers a secure and convenient way to access your home without traditional keys. Featuring a keypad for personalized code entry, auto-locking functionality, and a sleek matte black finish, this deadbolt is designed for residential doors, providing enhanced security and ease of use.
Specifications:
- Brand: Zomoss
- Special Feature: Keyless, Auto-Lock
- Lock Type: Keypad
- Dimensions (L x W x H): 5.31 x 2.76 x 1.38 inches
- Material: Metal
- Recommended Use: Home, Residential Doors
- Color: Matte Black
- Power Source: 4 AA alkaline batteries (not included)
2. Package Contents
Please verify that all components are present before beginning installation:
- Exterior Keypad Assembly
- Interior Assembly (with battery compartment)
- Deadbolt Latch
- Mounting Plate
- Strike Plate
- Mounting Screws and Bolts
- Traditional Keys (for manual override)
- Installation Guide & Template
3. Installation Guide
The Zomoss Keyless Electronic Deadbolt is designed for easy installation on most standard doors, requiring only a few minutes and a screwdriver. No locksmith is typically required.
Preparation:
- Ensure your door thickness is between 1-3/8" to 2" (35mm-50mm).
- Confirm the backset is either 2-3/8" (60mm) or 2-3/4" (70mm).
- Remove any existing deadbolt hardware.
Installation Steps:
- Install the Deadbolt Latch: Insert the deadbolt latch into the door edge. Ensure the 'TOP' marking on the latch is facing upwards. Adjust the backset if necessary by twisting the latch mechanism.
- Install the Exterior Keypad Assembly: Feed the cable from the exterior keypad through the hole in the door and under the deadbolt latch. Align the keypad with the door and ensure the spindle passes through the center hole of the latch.
- Install the Mounting Plate: Position the mounting plate on the interior side of the door, aligning it over the deadbolt latch and the keypad cable. Secure it with the provided screws.
- Connect the Interior Assembly: Connect the cable from the exterior keypad to the port on the interior assembly. Ensure the connection is secure.
- Attach the Interior Assembly: Mount the interior assembly onto the mounting plate, ensuring the thumb turn spindle engages correctly with the deadbolt latch. Secure it with the remaining screws.
- Install the Strike Plate: Install the strike plate on the door frame, aligning it with the deadbolt latch. Secure it with screws.
- Insert Batteries: Open the battery cover on the interior assembly and insert 4 new AA alkaline batteries. Close the cover.

Figure 1: Deadbolt Latch Installation Diagram

Figure 2: Interior Assembly View
4. Programming
The lock comes with a default master code (12345678). It is highly recommended to change this code immediately after installation.
Changing the Master Code:
- Press the '*' button twice.
- Enter the default master code (12345678).
- Press the '#' button.
- Press '1' (for master code change).
- Enter your new 8-digit master code.
- Press the '#' button.
- Re-enter your new 8-digit master code.
- Press the '#' button.
- The lock will beep to confirm the new master code.
Adding User Codes:
You can program up to 20 individual user codes (4-10 digits long).
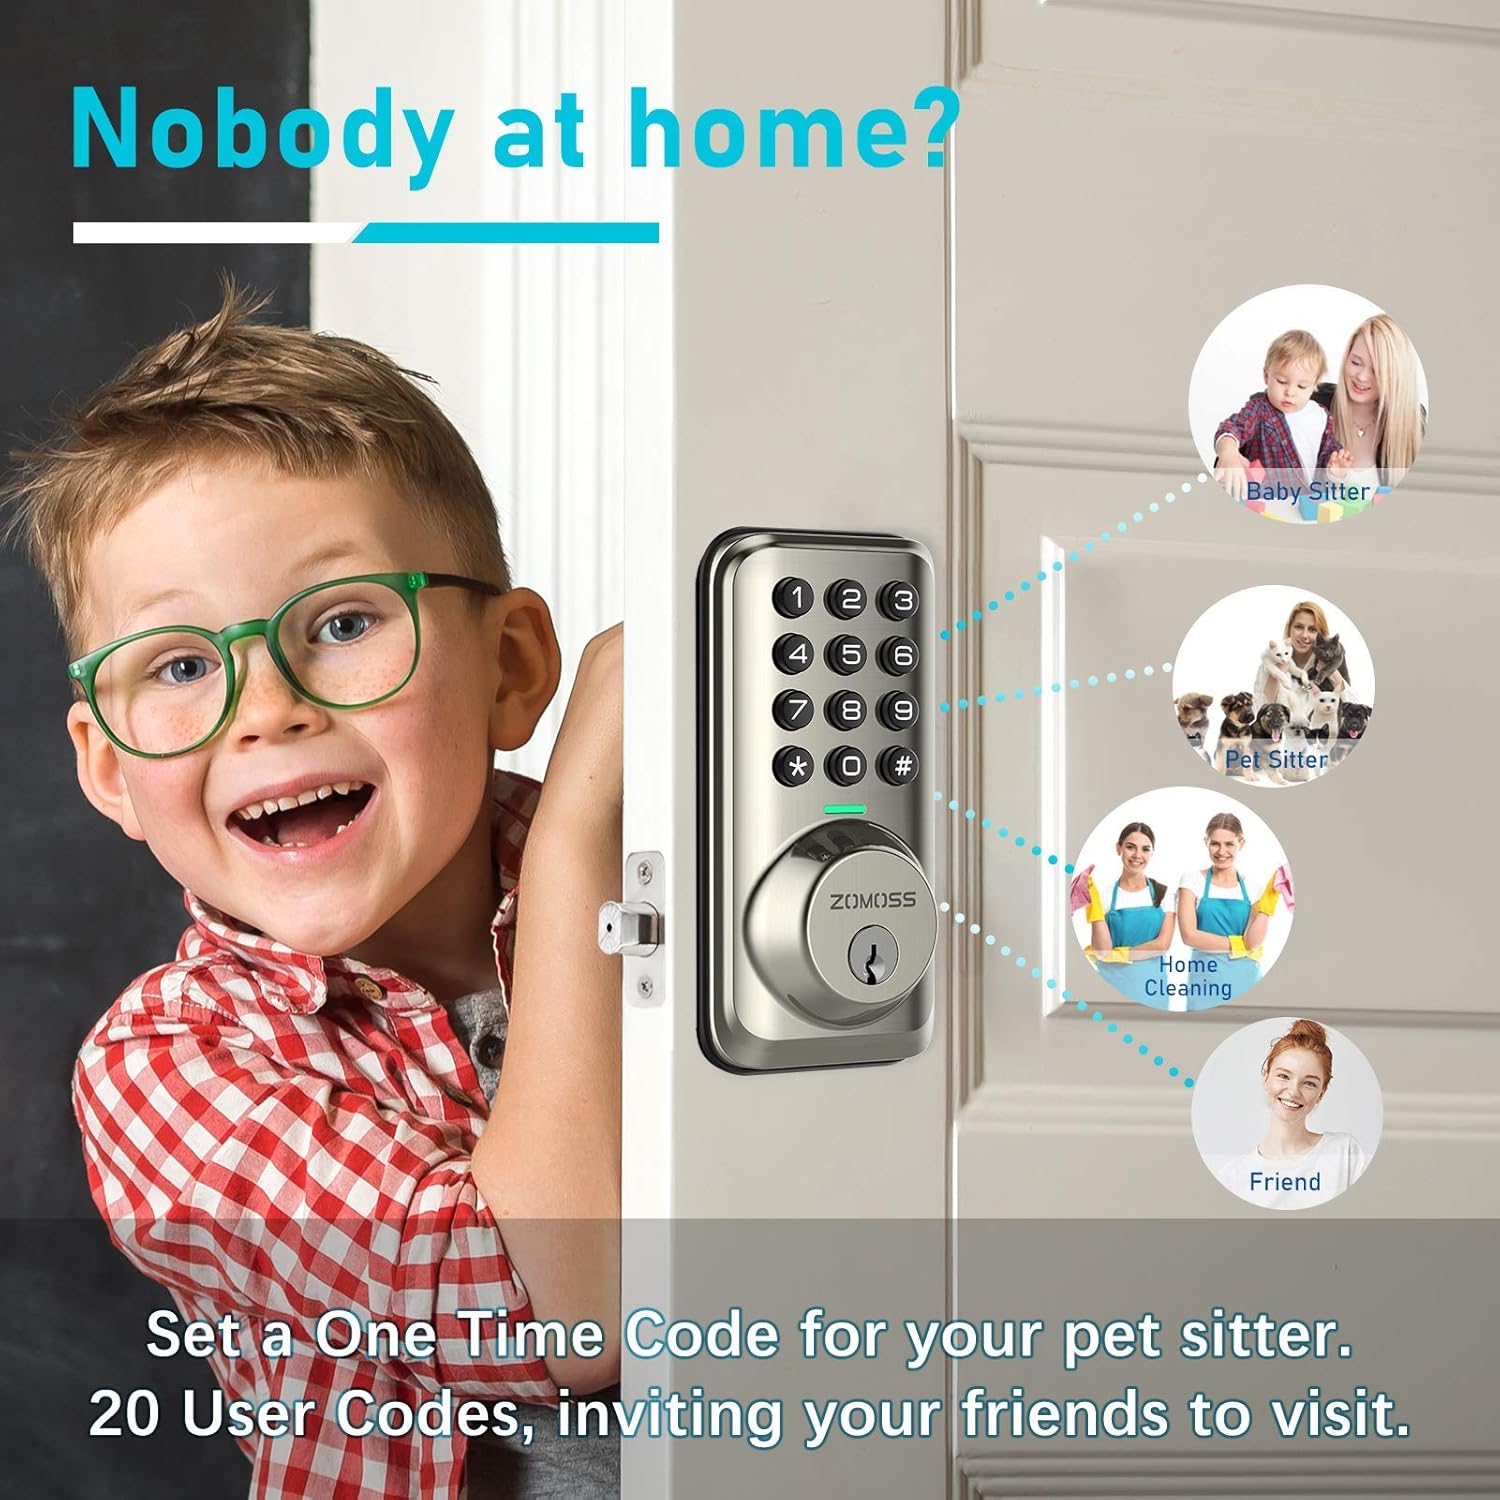
Figure 3: Multiple User Codes Feature
- Press the '*' button twice.
- Enter your master code.
- Press the '#' button.
- Press '2' (for adding user code).
- Enter your new user code (4-10 digits).
- Press the '#' button.
- Re-enter your new user code.
- Press the '#' button.
- The lock will beep to confirm the new user code.
5. Operation
Unlocking the Door:
- Enter your valid user code or master code on the keypad.
- The keypad will illuminate, and the deadbolt will retract.

Figure 4: Keyless Entry Convenience
Locking the Door:
- Auto-Lock: The deadbolt can be set to automatically lock after 30 seconds of being unlocked. This feature ensures your home is secure even if you forget to lock it.
- Manual Lock: Press and hold any button on the keypad for 3 seconds to manually lock the door.

Figure 5: Auto-Lock Functionality
Vacation Mode:
When enabled, vacation mode restricts all access except for the master code. This is ideal for extended periods away from home.
Low Battery Alert:
The keypad will flash red 10 times after pressing any button when the batteries are running low. Replace batteries promptly to ensure continuous operation.
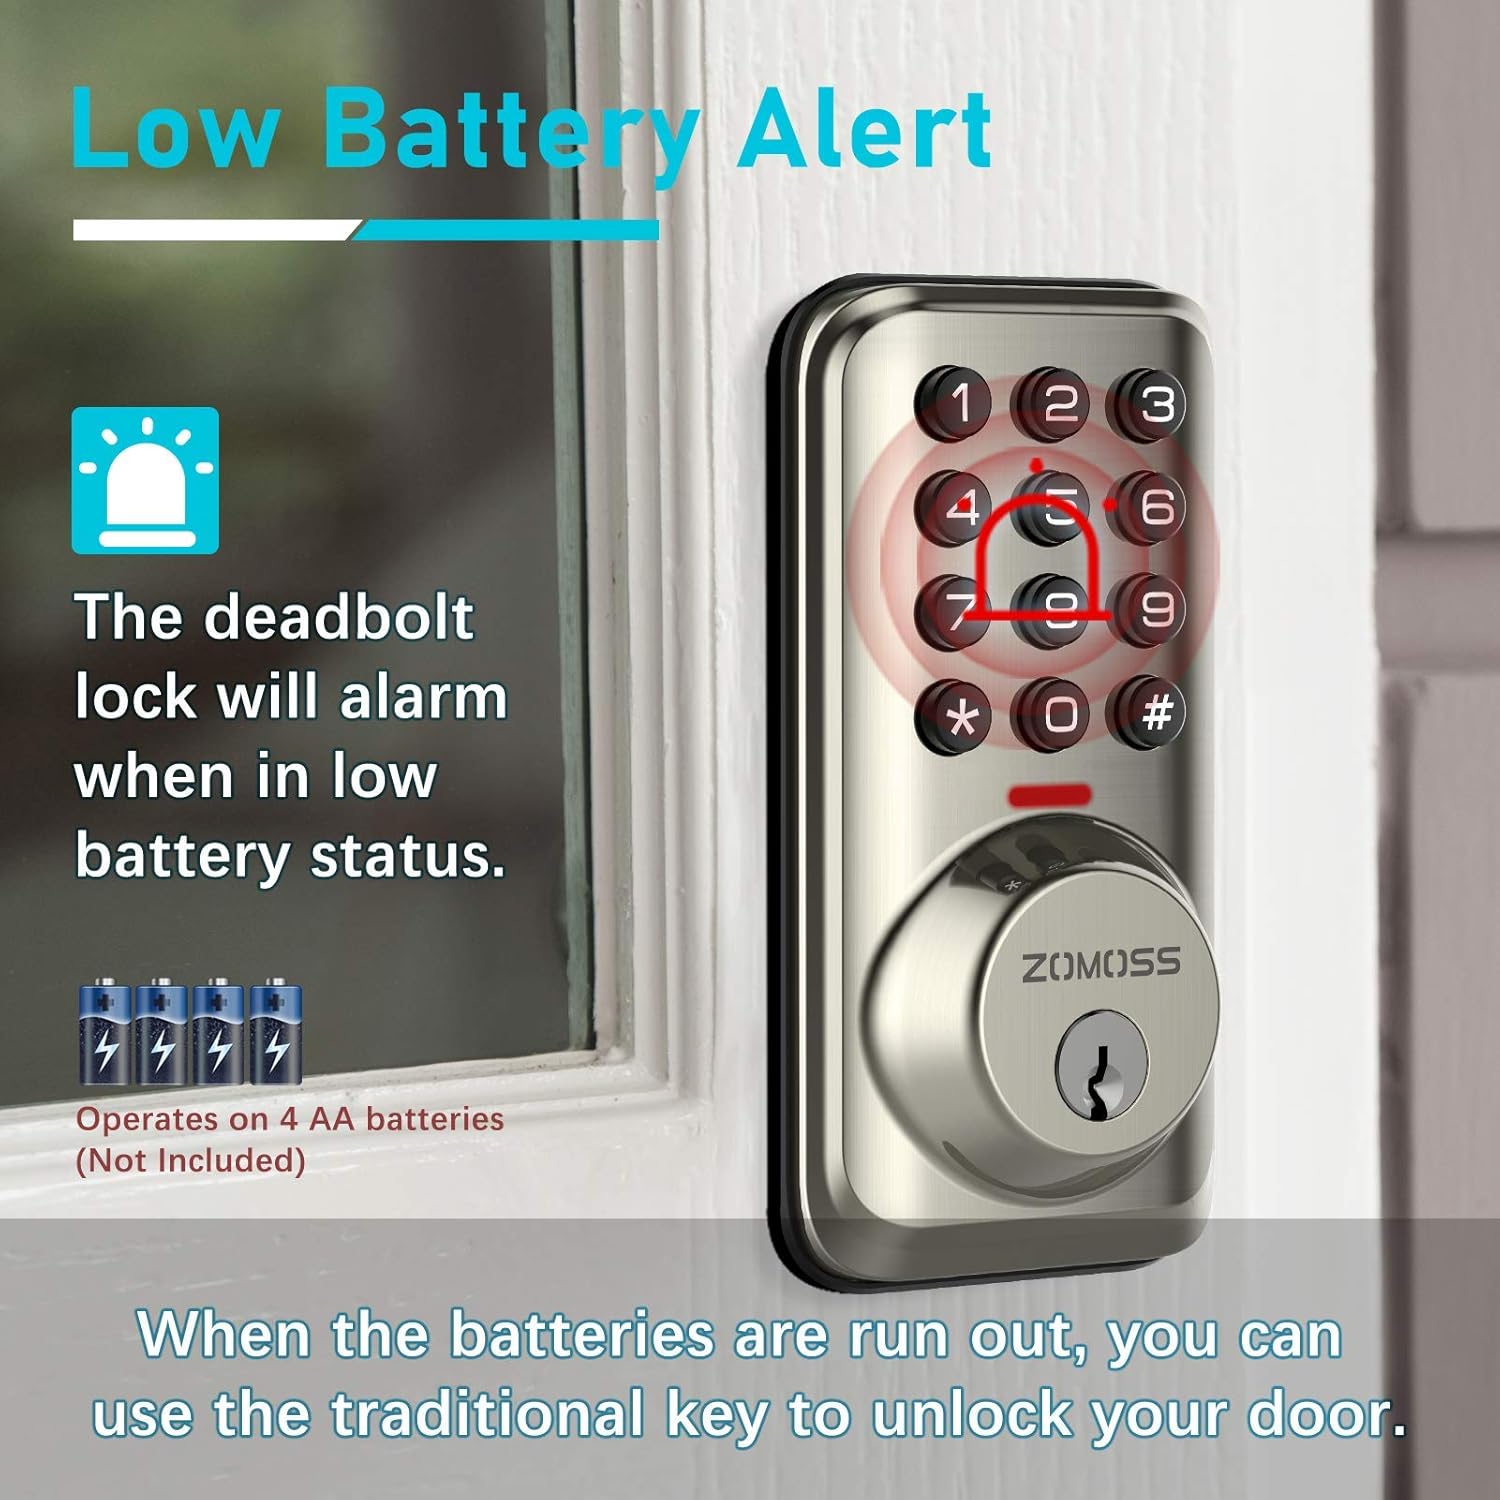
Figure 6: Low Battery Indication
6. Maintenance
- Battery Replacement: Replace all four AA alkaline batteries when the low battery alert is activated. Use only new, high-quality alkaline batteries.
- Cleaning: Clean the keypad and lock body with a soft, damp cloth. Avoid abrasive cleaners or solvents that could damage the finish or electronic components.
- Lubrication: Periodically lubricate the deadbolt latch mechanism with a silicone-based lubricant to ensure smooth operation.
7. Troubleshooting
- Lock Not Responding: Check battery levels. Ensure batteries are inserted correctly with proper polarity. If the issue persists, try removing and re-inserting batteries to reset the lock.
- Code Not Working: Verify that you are entering the correct master or user code. Ensure the keypad is clean and free from debris. If codes are forgotten, a factory reset may be necessary (refer to the full manual for detailed reset procedures).
- Deadbolt Not Extending/Retracting Fully: Check for any obstructions in the door frame or strike plate. Ensure the deadbolt latch is properly aligned and installed. Low batteries can also affect motor performance.
- Unexpected Locking/Unlocking: This could indicate an issue with the auto-lock setting or a malfunction. Ensure the auto-lock feature is set to your preference. If erratic behavior continues, contact customer support.
8. Warranty and Support
For warranty information, technical support, or further assistance, please refer to the official Zomoss website or contact their customer service department. Keep your purchase receipt for warranty claims.
Ask a question about this manual
Ask about setup, troubleshooting, compatibility, parts, safety, or missing instructions. Manuals+ will review the question and use this page’s manual context to help answer it.