
1. Product Overview
The Slime 10193 2-in-1 Tire and Tube Premium Sealant is designed to prevent and repair flat tires in non-highway vehicles. This sealant is formulated to work effectively in both tubeless tires and tires with inner tubes, providing continuous flat tire protection for up to two years.
It is suitable for a variety of applications including bicycles, dirt bikes, lawn mowers, small trailers, wheelbarrows, scooters, ATVs, UTVs, golf carts, and tractors. The formula is non-toxic, non-corrosive, non-hazardous, non-flammable, and water soluble, making it environmentally friendly and easy to clean.
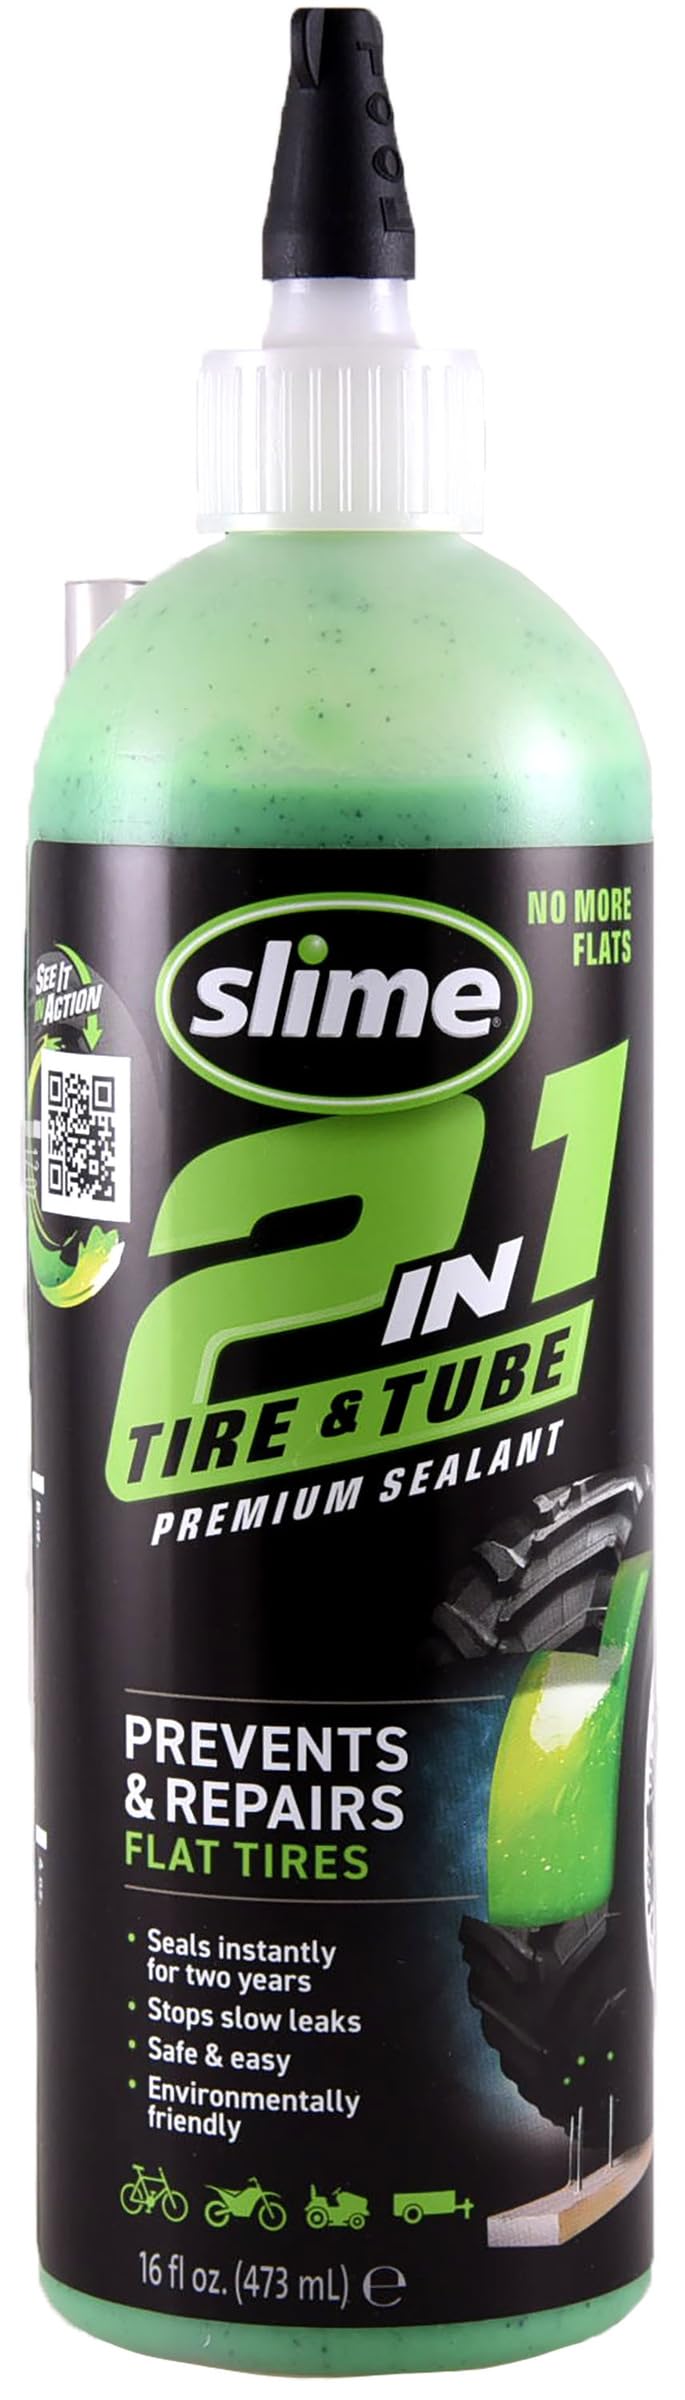
Image: Slime 10193 2-in-1 Tire and Tube Sealant 16 oz bottle.
Key Features:
- Puncture Prevention and Repair: Instantly seals tread area punctures up to 1/4 inch in tires and up to 1/8 inch in tubes.
- Long-lasting Protection: Provides two years of continuous flat tire protection when pre-installed.
- Versatile Application: Compatible with all non-highway tires and tubes.
- Eco-Friendly Formula: Non-toxic, non-corrosive, non-hazardous, non-flammable, and water soluble.
- Easy Installation: Includes a valve core removal tool and an installation hose.
Video: This video demonstrates how Slime sealant works inside a tire to seal punctures.
2. Setup and Installation
Proper installation ensures optimal performance of the Slime 2-in-1 Tire and Tube Sealant. Follow these steps carefully:
- Position Valve: Rotate the tire so the valve stem is in the upper half of the tire, ideally at the 12 o'clock position. This helps prevent sealant from spilling during valve core removal.
- Shake Bottle: Vigorously shake the Slime sealant bottle for at least 30 seconds to ensure the formula is well mixed.
- Remove Valve Core: Use the valve core removal tool (located in the cap of the Slime bottle) to slowly remove the valve core from the valve stem. Allow the tire to deflate completely.
- Remove Puncturing Object (if applicable): If a puncturing object (nail, thorn, etc.) is present, remove it at this stage.
- Attach Hose and Inject Sealant: Remove the bottle seal under the cap. Attach the clear installation hose to the valve stem and the bottle. Squeeze the recommended amount of Slime sealant into the tire. Refer to the quantity guide below for appropriate amounts.
- Reinstall Valve Core: Remove the hose and reinstall the valve core into the valve stem. Tighten securely.
- Inflate Tire: Inflate the tire to the manufacturer's recommended PSI.
- Distribute Sealant: Drive or ride the vehicle for at least 0.2 miles (0.32 km) to allow the sealant to distribute evenly inside the tire and seal any existing punctures.

Image: Step-by-step graphic for Slime sealant installation.

Image: Close-up of a hand removing a valve core from a tire valve stem.

Image: Slime sealant being injected into a bicycle tire.
Sealant Quantity Guide:

Image: Recommended sealant quantities for different tire applications.
| Application | Quantity |
|---|---|
| Bicycles | 4 oz |
| Dollies | 4 oz |
| Dirt Bikes | 8 oz |
| Wheelbarrows | 8 oz |
| Lawn Mowers | 8 oz |
| Small Trailers | 16 oz |
| Tractors | 20 oz |
| ATVs/UTVs | 24 oz |
| Golf Carts | 24 oz |
| Small Off-Road (e.g., Riding Mowers) | 16 oz |
| Large Off-Road (e.g., Riding Mowers) | 32 oz |
Video: Official guide on how to install Slime 2-in-1 Tire & Tube Sealant.
3. Operation
Once the Slime sealant is installed and the tire is reinflated, the product begins its function. The sealant is designed to continuously monitor for punctures as the tire rotates.
How the Sealant Works:
- When a puncture occurs, the escaping air pressure forces the Slime sealant directly into the hole.
- The unique particles within the sealant build up and intertwine, forming a durable, flexible plug that seals the puncture.
- This process is immediate, allowing for continuous use of the tire without significant air loss.

Image: Illustration of Slime sealant's action in both tubeless and tube tires.

Image: Examples of off-highway vehicles where Slime sealant can be used.
Video: A short preview demonstrating the Slime 2-in-1 Tire & Tube Sealant in action.
4. Maintenance
Slime 2-in-1 Tire and Tube Sealant provides continuous flat tire protection for up to two years. After this period, it is recommended to replace the sealant to maintain optimal performance.
General Care:
- Regularly check tire pressure to ensure it remains at the manufacturer's recommended PSI. While Slime seals punctures, it does not prevent natural air loss over time.
- Inspect tires periodically for large cuts or damage that may exceed the sealant's repair capabilities (over 1/4 inch for tires, 1/8 inch for tubes).
- The sealant is water soluble, making cleanup easy if any spills occur during installation or removal.

Image: Slime sealant provides instant sealing and lasts for two years.
5. Troubleshooting
If you encounter issues after installing Slime sealant, consider the following common scenarios:
Sealant Not Holding Air:
- Insufficient Sealant: Ensure the correct amount of sealant was added according to the quantity guide for your tire type. Adding too little may not provide adequate sealing.
- Large Puncture: The sealant is designed for punctures up to 1/4 inch in tires and 1/8 inch in tubes. Larger damages may require traditional patch repair or tire replacement.
- Improper Distribution: After installation, it is crucial to drive or ride the vehicle for a short distance (at least 0.2 miles) to allow the sealant to spread and effectively seal the puncture.
- Valve Core Issues: Ensure the valve core is securely reinstalled and not leaking. A loose or damaged valve core can cause air loss.
Difficulty Removing Valve Core:
- The valve core removal tool included in the cap is made of plastic. If it proves difficult to use or strips, a metal valve core removal tool can be purchased separately for better leverage and durability.
Sealant Appears Ineffective in Inner Tubes:
- While effective for tubes, some users report that initial sealing might require re-inflation and riding multiple times for the sealant to fully activate and hold pressure, especially for smaller punctures. Ensure the tube is not severely damaged beyond the sealant's capacity.
6. Product Specifications
| Attribute | Detail |
|---|---|
| Brand | Slime |
| Model Number | 10193 |
| Style/Size | 16 oz bottle |
| Item Weight | 16 ounces |
| Item Dimensions (L x W x H) | 2.5 x 2.5 x 9.25 inches |
| Material Type | Rubber (compatible material) |
| Item Form | Liquid |
| Water Resistance Level | Water Resistant |
| Included Components | 16oz bottle Sealant, valve core removal tool, installation hose |
| UPC | 716281510717 |
| GTIN | 00716281510717 |
7. Warranty Information
The Slime 10193 2-in-1 Tire and Tube Sealant comes with a warranty of two years from the date of purchase. This warranty covers defects in materials and workmanship under normal use. Please retain your proof of purchase for any warranty claims.
8. Support
For further assistance, product inquiries, or technical support regarding your Slime 10193 2-in-1 Tire and Tube Sealant, please visit the official Slime store or contact customer service.
Official Slime Store: Visit the Slime Store on Amazon
Additional resources and FAQs may be available on the manufacturer's website.


