Introduction
This manual provides comprehensive instructions for the setup, operation, and maintenance of your SoloGood Caddx FPV Micro Camera Ratel 2. Designed for FPV racing drones and quadcopters, the Ratel 2 offers a clear and wide field of view, even in challenging light conditions. Please read this manual thoroughly before use to ensure optimal performance and longevity of your camera.
What's in the Box

Image: The complete package contents of the Caddx Ratel 2 camera.
- Caddx Ratel 2 Camera x1
- Menu Board x1
- 2Pin Silicon Cable x1
- 3Pin Silicon Cable x1
- 1.5mm Allen Wrench x1
- Warranty Card x1
Specifications

Image: Detailed specifications of the Caddx Ratel 2 camera.
| Feature | Detail |
|---|---|
| Model | Ratel 2 |
| Sensor | 1/1.8'' Inch Starlight Sensor |
| Resolution | 1200TVL |
| FOV | 165° |
| Lens | 2.1mm |
| TV System | NTSC & PAL (Switchable) |
| Image | 4:3 & 16:9 (Switchable) |
| WDR | Super WDR |
| DNR | 3DNR |
| Min. Illumination | 0.0001LUX |
| Video Output | CVBS |
| Day/Night | Auto/Color/B&W/EXT |
| Shutter Speed | PAL:1/50~100,000; NTSC: 1/60~100,000 |
| Wide Power Input | 5-40V |
| Working Temperature | -20℃ ~ +60 ℃ |
| Weight | 5.9g |
| Dimension | 19*19*20mm |
Setup
The Caddx Ratel 2 is designed for easy integration into FPV systems. Follow these steps for proper connection:
- Power Connection: Connect the camera's power input to a stable 5-40V power source on your flight controller or PDB. Ensure correct polarity (red wire for positive, black for ground).
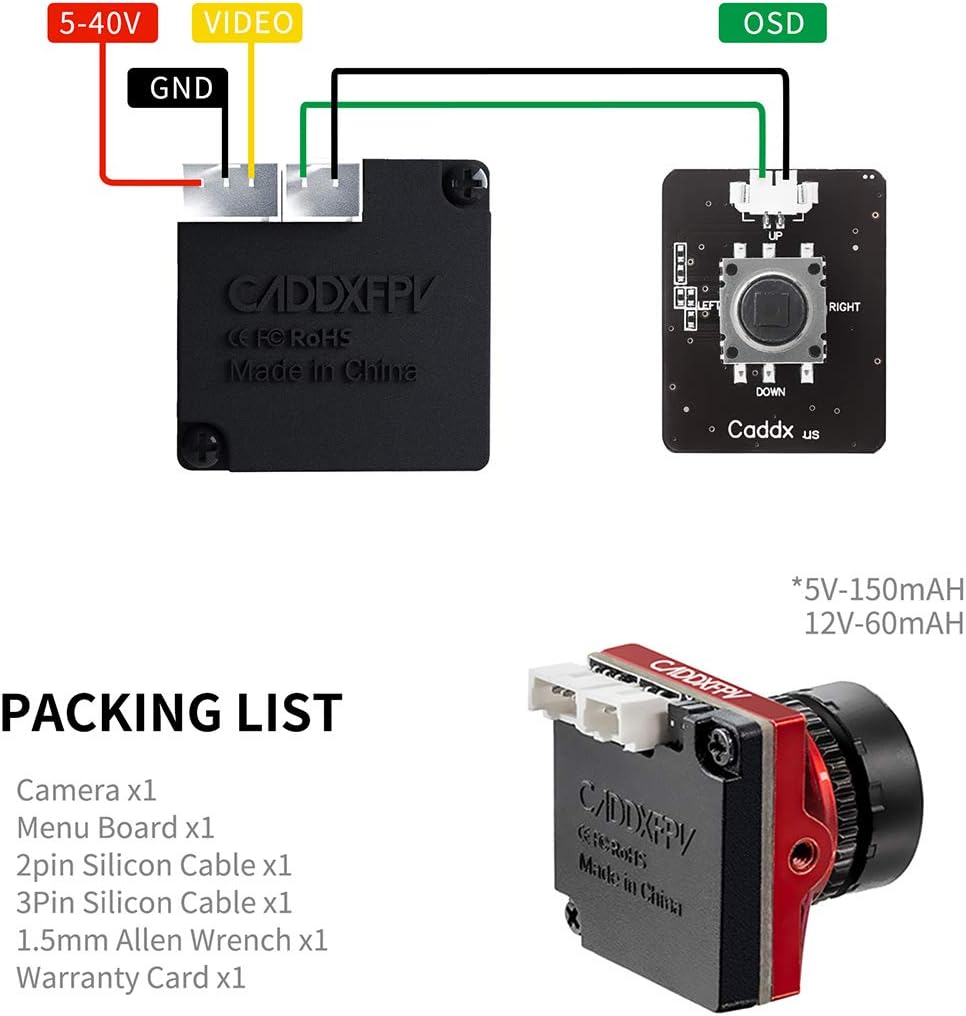
Image: Wiring diagram illustrating power, video, and OSD connections for the Caddx Ratel 2.
- Video Output: Connect the yellow video output wire from the camera to the video input (V_IN) on your video transmitter (VTX) or flight controller.
- OSD Connection (Optional): For On-Screen Display (OSD) functionality, connect the green OSD wire to the OSD pad on your flight controller or the dedicated OSD input on your VTX, if applicable. The included menu board can be used to configure OSD settings.
- Mounting: Securely mount the camera in your drone's frame using the provided screws and fixed frame. Ensure the lens is clear and unobstructed.

Image: The Caddx Ratel 2 FPV camera, ready for mounting.
Operating Instructions
The Caddx Ratel 2 offers versatile image settings to suit various flying conditions.
- TV System Switching (NTSC/PAL): The camera supports both NTSC and PAL TV systems. You can switch between these modes using the included menu board. Refer to your OSD or video receiver settings to match the camera's TV system for optimal display.
- Image Aspect Ratio (16:9/4:3): The camera allows switching between 16:9 and 4:3 aspect ratios. This can also be adjusted via the menu board to match your FPV goggles or monitor's native aspect ratio.
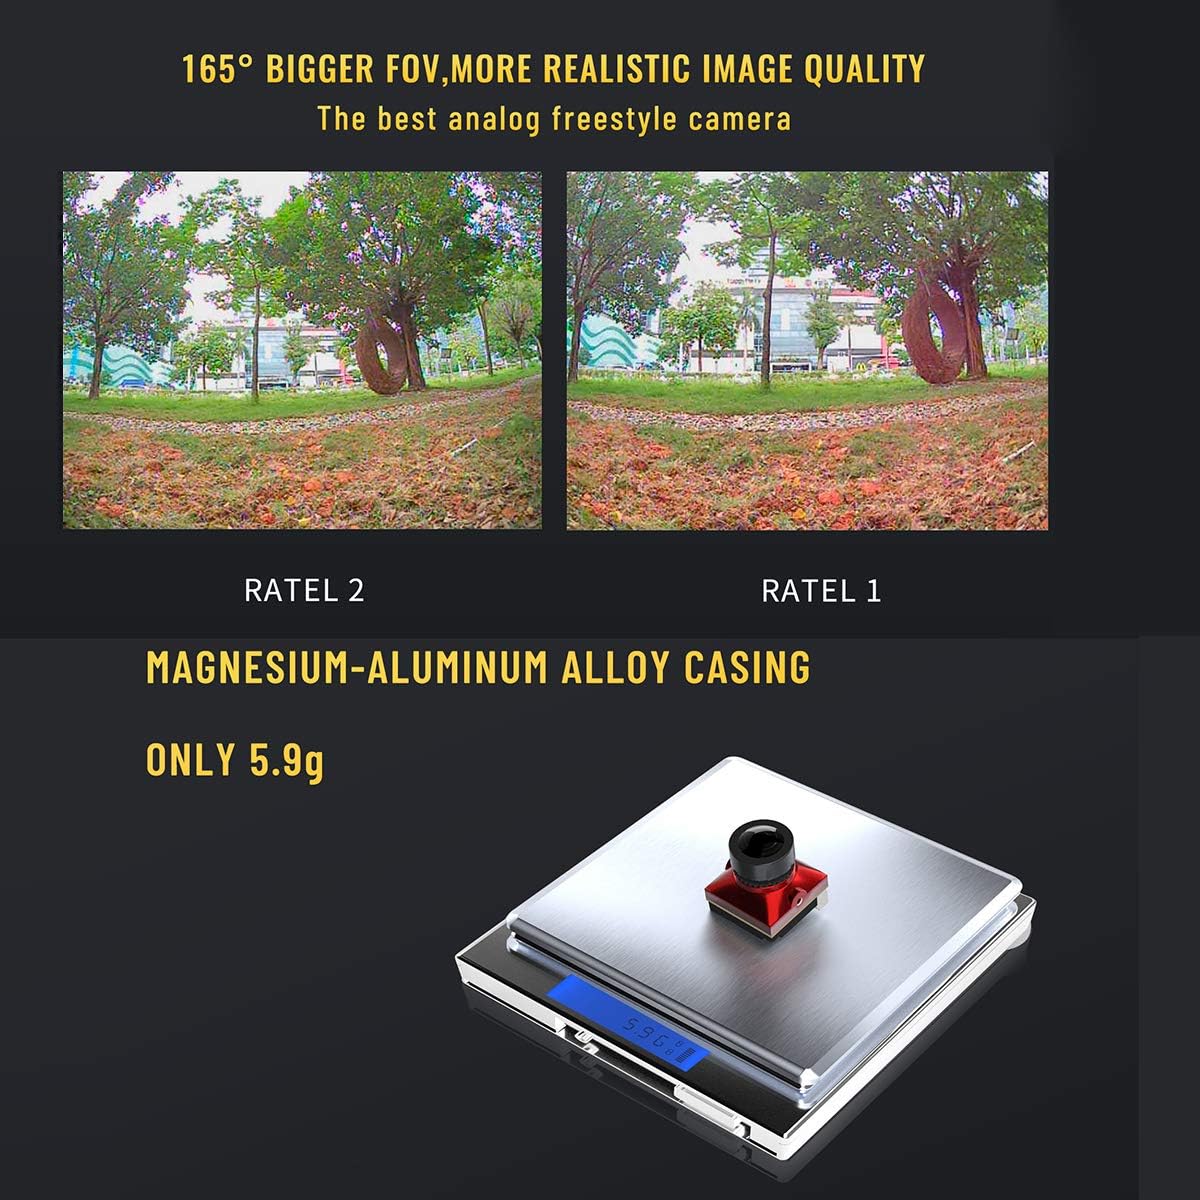
Image: Visual comparison demonstrating the wider field of view of the Ratel 2 compared to Ratel 1.
- Super WDR and Low Light Performance: The Ratel 2 features Super WDR (Wide Dynamic Range) and a 1/1.8'' Starlight sensor, providing excellent image quality in both bright daylight and very low light conditions.
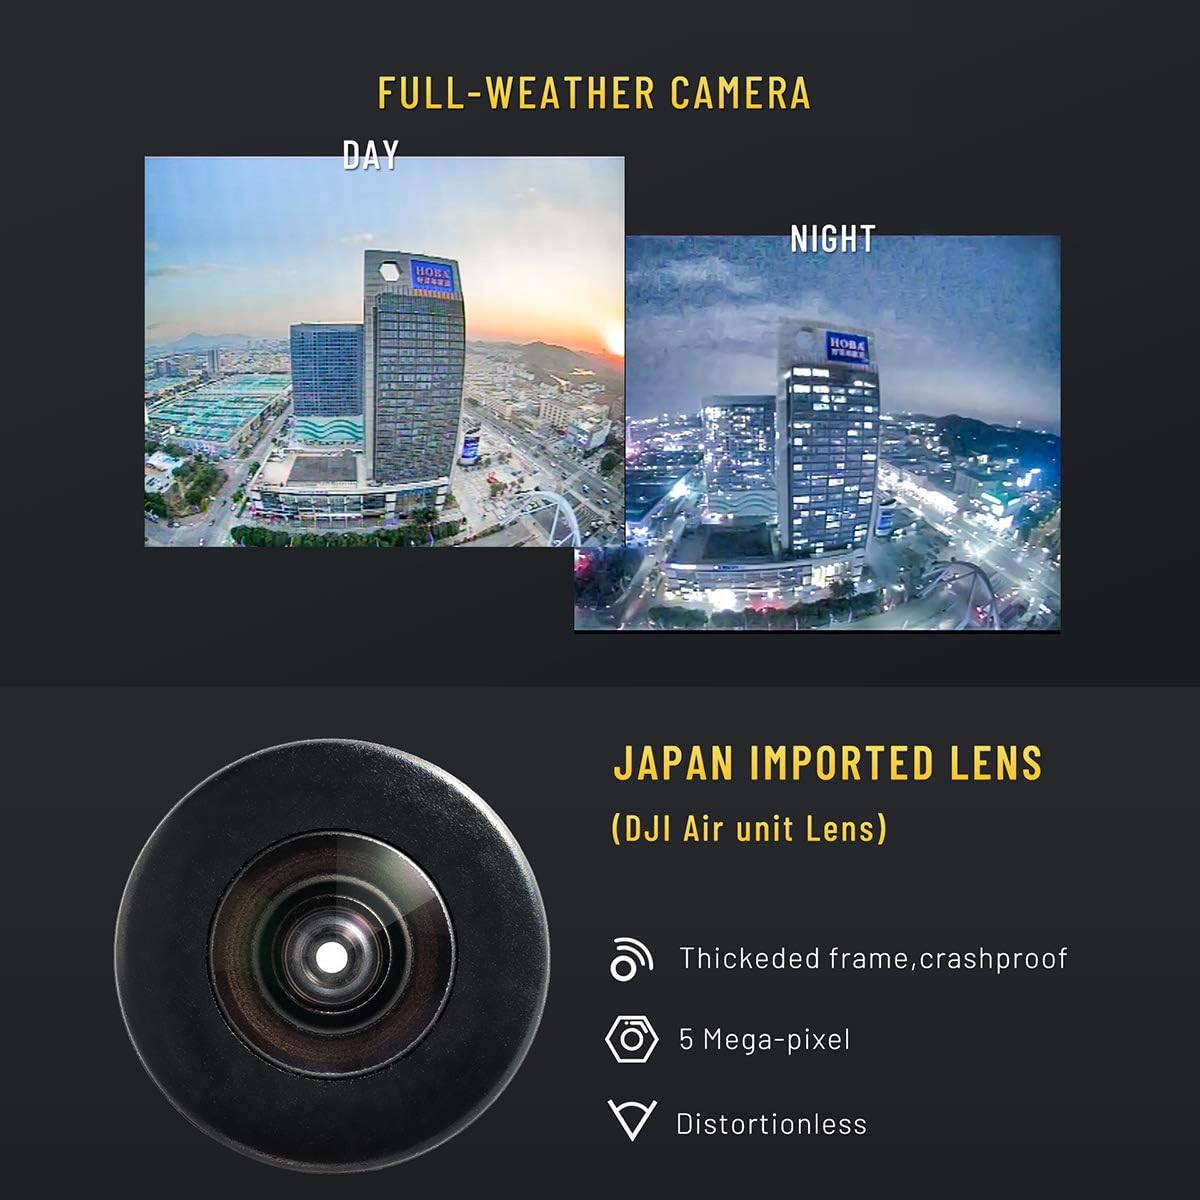
Image: Side-by-side comparison showing the camera's performance in day and night conditions.
- Menu Navigation: Use the included menu board to access and adjust various camera settings, including exposure, white balance, and image enhancements.
Product in Action
Video: FPV footage captured with the Caddx FPV Micro Camera Ratel 2, demonstrating its performance in various outdoor environments.
Maintenance
Proper maintenance ensures the longevity and performance of your Caddx Ratel 2 camera.
- Lens Cleaning: Regularly clean the camera lens with a soft, lint-free cloth. Avoid abrasive materials that could scratch the lens.
- Environmental Protection: While the camera features a metal case and is designed for durability, avoid prolonged exposure to extreme moisture, dust, or direct impact.
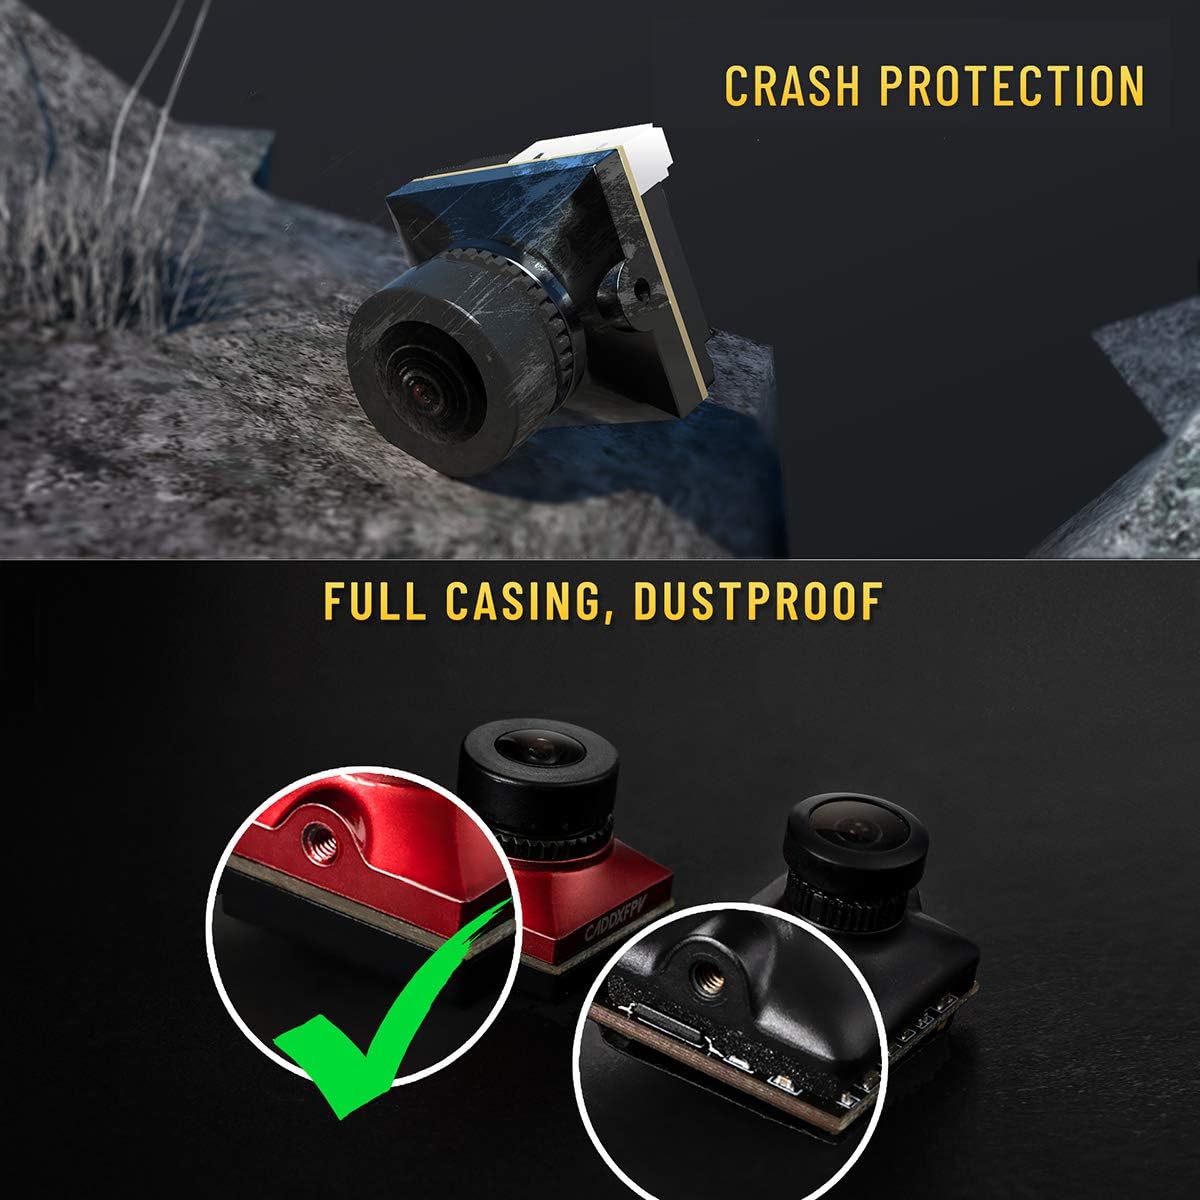
Image: The robust design of the Caddx Ratel 2, highlighting its crash protection and dustproof casing.
- Cable Inspection: Periodically check all connected cables for any signs of wear, fraying, or damage. Replace damaged cables immediately to prevent electrical issues.
Troubleshooting
If you encounter issues with your Caddx Ratel 2 camera, refer to the following common problems and solutions:
- No Image/Black Screen:
- Check power connections: Ensure the camera is receiving adequate power (5-40V) and that polarity is correct.
- Verify video connection: Confirm the yellow video wire is securely connected to the VTX video input.
- Check VTX and Goggle settings: Ensure your video transmitter and FPV goggles are powered on and set to the correct frequency and TV system (NTSC/PAL).
- Poor Image Quality (Fuzzy, Distorted, Lines):
- Clean the lens: Dust or smudges on the lens can significantly degrade image quality.
- Check for interference: Ensure the camera's wiring is not running too close to high-current wires or noisy components.
- Verify TV system and aspect ratio: Mismatched settings between the camera and your display can cause distortion. Adjust using the menu board.
- Inspect cables: Damaged video cables can lead to signal degradation.
- OSD Not Displaying:
- Confirm OSD wire connection: Ensure the green OSD wire is correctly connected to the OSD pad on your flight controller or VTX.
- Check OSD settings: Access the camera's menu via the menu board to ensure OSD is enabled and configured as desired.
Warranty and Support
For warranty information or technical support, please refer to the warranty card included in your product package or contact SoloGood customer service directly. Keep your proof of purchase for any warranty claims.