Introduction
This manual provides detailed instructions for the Fackelmann Tecno Digital Alarm Clock, Model 16402. This device offers time display, an alarm function, indoor temperature, and humidity readings, along with a convenient USB charging port. Please read these instructions carefully before use to ensure proper operation and longevity of your device.
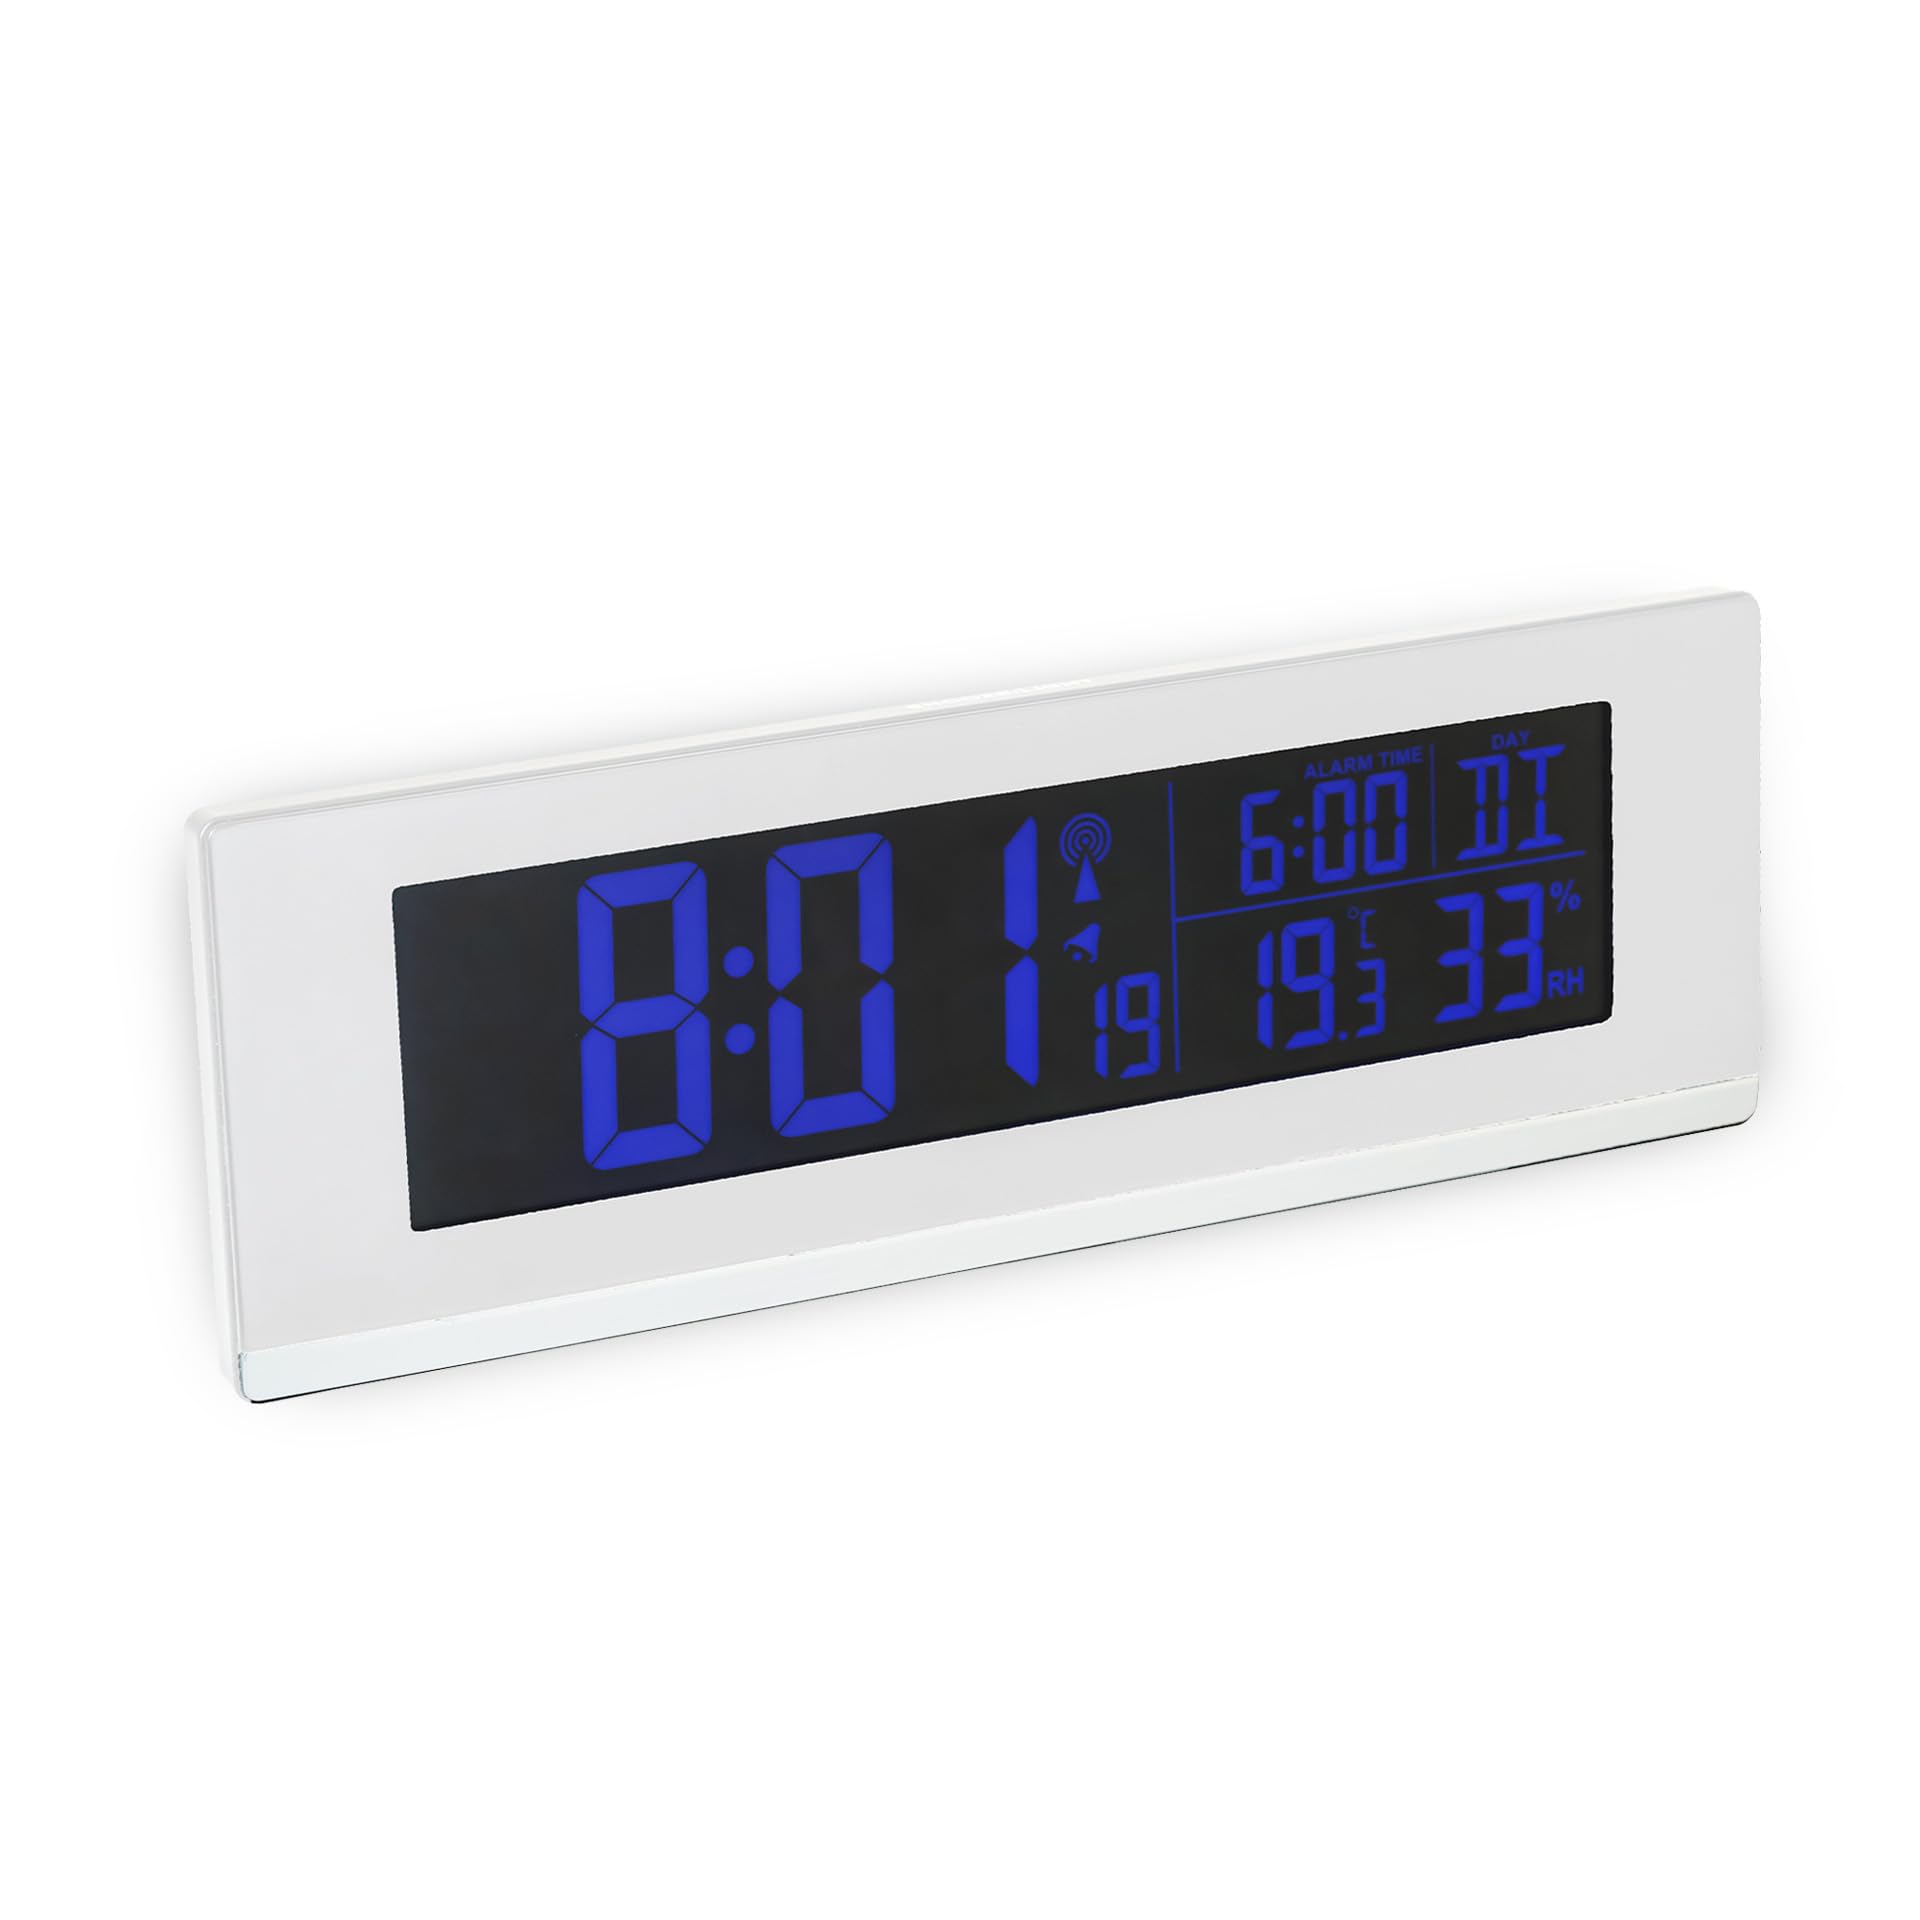
Image: The Fackelmann Tecno Digital Alarm Clock showing its main display with time, temperature, and humidity. The display is illuminated in green.
Package Contents
- Fackelmann Tecno Digital Alarm Clock (Model 16402)
- 2 AA Batteries
- Power Cord (for 230V connection)
Setup
1. Power Supply
The device can be powered by the included 2 AA batteries or via the provided power cord for 230V mains connection. For continuous operation and to utilize the USB charging function, mains power is recommended.
- Insert the 2 AA batteries into the battery compartment located on the back of the device, observing the correct polarity.
- Alternatively, connect the power cord to the device's power input and plug it into a 230V wall socket.
2. Initial Setup and Radio Control
Upon first power-up, the clock will automatically attempt to synchronize with the radio-controlled time signal. This process may take several minutes. Ensure the device is placed in an area with good signal reception, away from large metal objects or electronic interference.
- If the time does not set automatically after a reasonable period (e.g., 30 minutes), try repositioning the clock.
- Manual time setting is also possible if radio reception is consistently poor. Refer to the "Operating" section for manual adjustments.
3. Placement
Place the alarm clock on a stable, flat surface. For accurate temperature and humidity readings, avoid placing it near heat sources, direct sunlight, or in areas with extreme drafts.
Operating Instructions
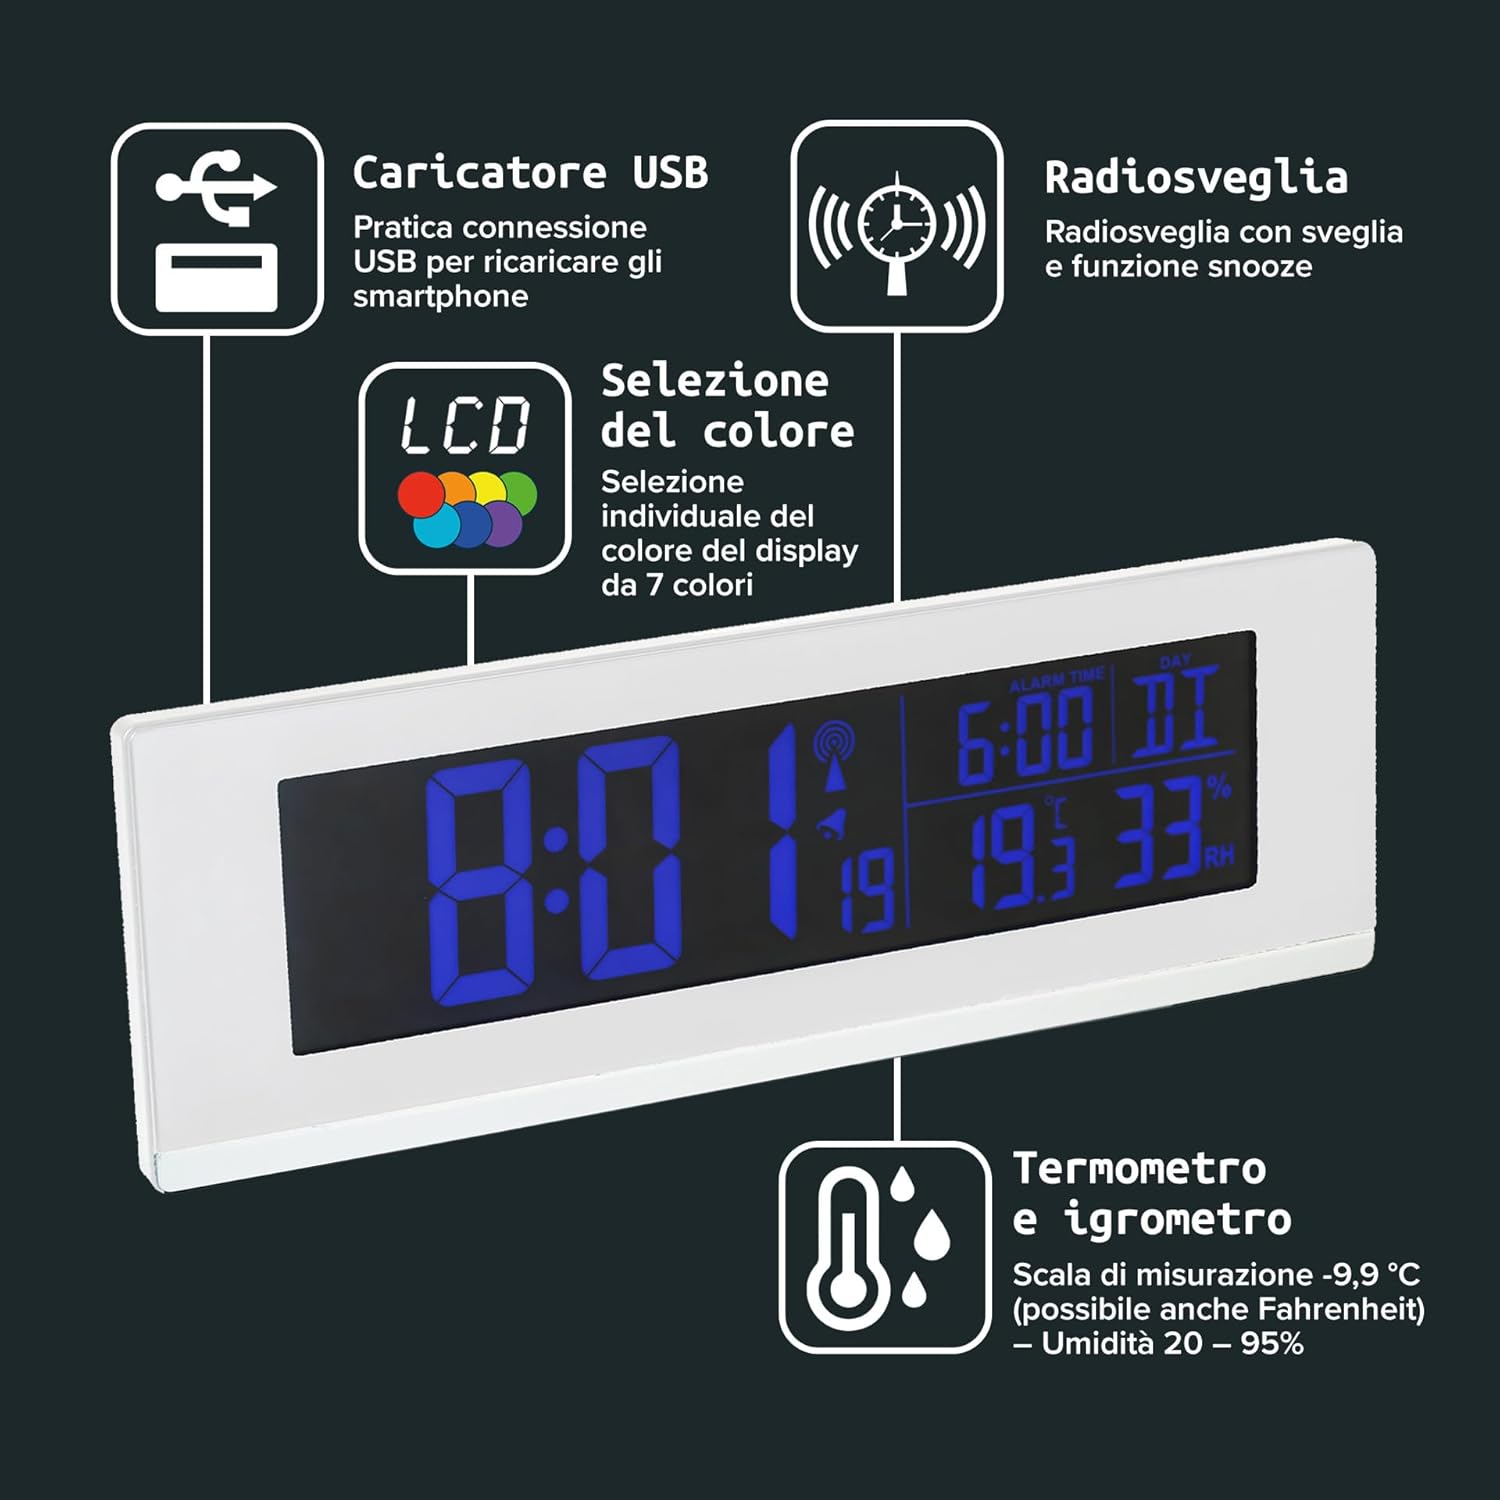
Image: An overview of the alarm clock's features, including the USB charging port, radio alarm with snooze, individual display color selection, and integrated thermometer and hygrometer.
1. Display Overview
The large digital display shows the following information:
- Time: Current time (radio-controlled).
- Indoor Temperature: Measured in Celsius (or Fahrenheit, if selected). Range: -9.9°C to 50°C.
- Indoor Humidity: Measured in relative humidity (RH%). Range: 20% to 95%.
- Alarm Status: Indication if the alarm is active.
- Day of the Week: Displayed alongside the time.
2. Setting the Alarm
- Locate the ALARM SET button (or similar, typically on the back or side).
- Press and hold the ALARM SET button until the alarm time digits begin to flash.
- Use the UP and DOWN buttons to adjust the hour.
- Press ALARM SET again to switch to minute adjustment, then use UP and DOWN buttons.
- Press ALARM SET once more to confirm and exit alarm setting mode.
- To activate or deactivate the alarm, use the dedicated ALARM ON/OFF switch or button. An alarm icon will appear on the display when active.
3. Snooze Function
When the alarm sounds, press the SNOOZE button (usually a large button on top) to temporarily silence the alarm. The alarm will sound again after a few minutes (typically 5-10 minutes). To turn off the alarm completely, press any other button or the ALARM ON/OFF switch.
4. USB Charging Port

Image: The alarm clock positioned on a bedside table, demonstrating the use of its USB port to charge a smartphone.
The alarm clock features a USB charging port, allowing you to conveniently charge your smartphone or other USB-powered devices. This function is only available when the clock is connected to mains power via the power cord.
- Connect your device's USB charging cable to the USB port on the alarm clock.
- Connect the other end of the cable to your smartphone or device.
- Ensure the alarm clock is plugged into a 230V power outlet.
5. Display Color Selection

Image: The alarm clock's display showing green illumination, illustrating the option for individual color selection.
The display offers 7 different color options. To change the display color:
- Press the COLOR button (or similar, refer to device markings) to cycle through the available colors.
- Stop at your desired color.
Note: If the color change function becomes unresponsive, refer to the Troubleshooting section.
6. Manual Time/Date Setting (if radio control fails)
If the radio-controlled time synchronization is unsuccessful, you can set the time and date manually.
- Press and hold the TIME SET or MODE button until the time digits flash.
- Use the UP and DOWN buttons to adjust the hour, then press TIME SET to move to minutes.
- Repeat for minutes, year, month, and day.
- Press TIME SET to confirm and exit.
Maintenance
1. Cleaning
To clean the device, gently wipe the surfaces with a soft, dry, or slightly damp cloth. Do not use abrasive cleaners, solvents, or chemical sprays, as these can damage the display or casing.
2. Battery Replacement
If using battery power, replace the 2 AA batteries when the display dims or the device stops functioning. Ensure correct polarity when inserting new batteries.
Troubleshooting
| Problem |
Possible Cause |
Solution |
| Clock does not display time or is incorrect. |
No power, weak batteries, poor radio signal, or radio control failure. |
- Check power cord connection or replace batteries.
- Relocate the clock to an area with better radio reception.
- Manually set the time as described in the "Operating Instructions" section.
|
| Alarm does not sound or cannot be set. |
Alarm not activated, incorrect alarm time, or button malfunction. |
- Ensure the alarm is switched ON (check for alarm icon on display).
- Verify the alarm time is set correctly.
- If buttons are unresponsive, try a soft reset by temporarily removing power (both batteries and power cord) for a few minutes, then reconnect.
|
| Display color cannot be changed. |
Button malfunction or internal error. |
- Ensure the device is connected to mains power, as some functions may be limited on battery power.
- Perform a soft reset by temporarily removing power (both batteries and power cord) for a few minutes, then reconnect.
|
| Temperature or humidity readings appear inaccurate. |
Improper placement or environmental factors. |
- Move the device away from direct sunlight, heat sources, or drafts.
- Allow the device to stabilize in its new location for at least 30 minutes.
|
| USB charging port not working. |
Not connected to mains power, faulty cable, or device. |
- Ensure the alarm clock is connected to a 230V power outlet.
- Try a different USB cable and/or a different device to charge.
|
Specifications

Image: A visual representation of the alarm clock's dimensions, indicating its length, height, and depth.
- Model Number: 16402
- Dimensions: 15 x 4.3 x 9.5 cm (Length x Depth x Height)
- Material: Plastic
- Display Type: Digital, Color Display (7 selectable colors)
- Power Source: 2 AA batteries (included) or 230V Power Cord (included)
- Temperature Measurement Range: -9.9°C to 50°C (14.2°F to 122°F)
- Humidity Measurement Range: 20% to 95% RH
- Special Features: Radio-controlled time, Alarm function, Snooze function, USB charging port, Calendar display.
- Connectivity: USB
Warranty and Support
Fackelmann offers a quality promise for this product. If you are not satisfied with the product, you may be eligible for a refund up to 2 years from the date of purchase. For support or warranty claims, please contact your retailer or the Fackelmann customer service directly. Keep your proof of purchase for warranty purposes.
For further assistance, please visit the official Fackelmann website or contact their customer support channels.


