1. Product Overview
The FACKELMANN Tecno Wireless Weather Station provides accurate indoor and outdoor temperature readings, along with a digital clock and alarm function. It features a modern design with a large, backlit display for easy readability. The system includes a main display unit and a wireless outdoor sensor.
- Measures outdoor temperature from -40°C to 70°C.
- Measures indoor temperature from 0°C to 50°C.
- Integrated alarm clock and calendar function.
- Wireless outdoor sensor with a range of up to 60 meters.
- Can be wall-mounted or stand freely.
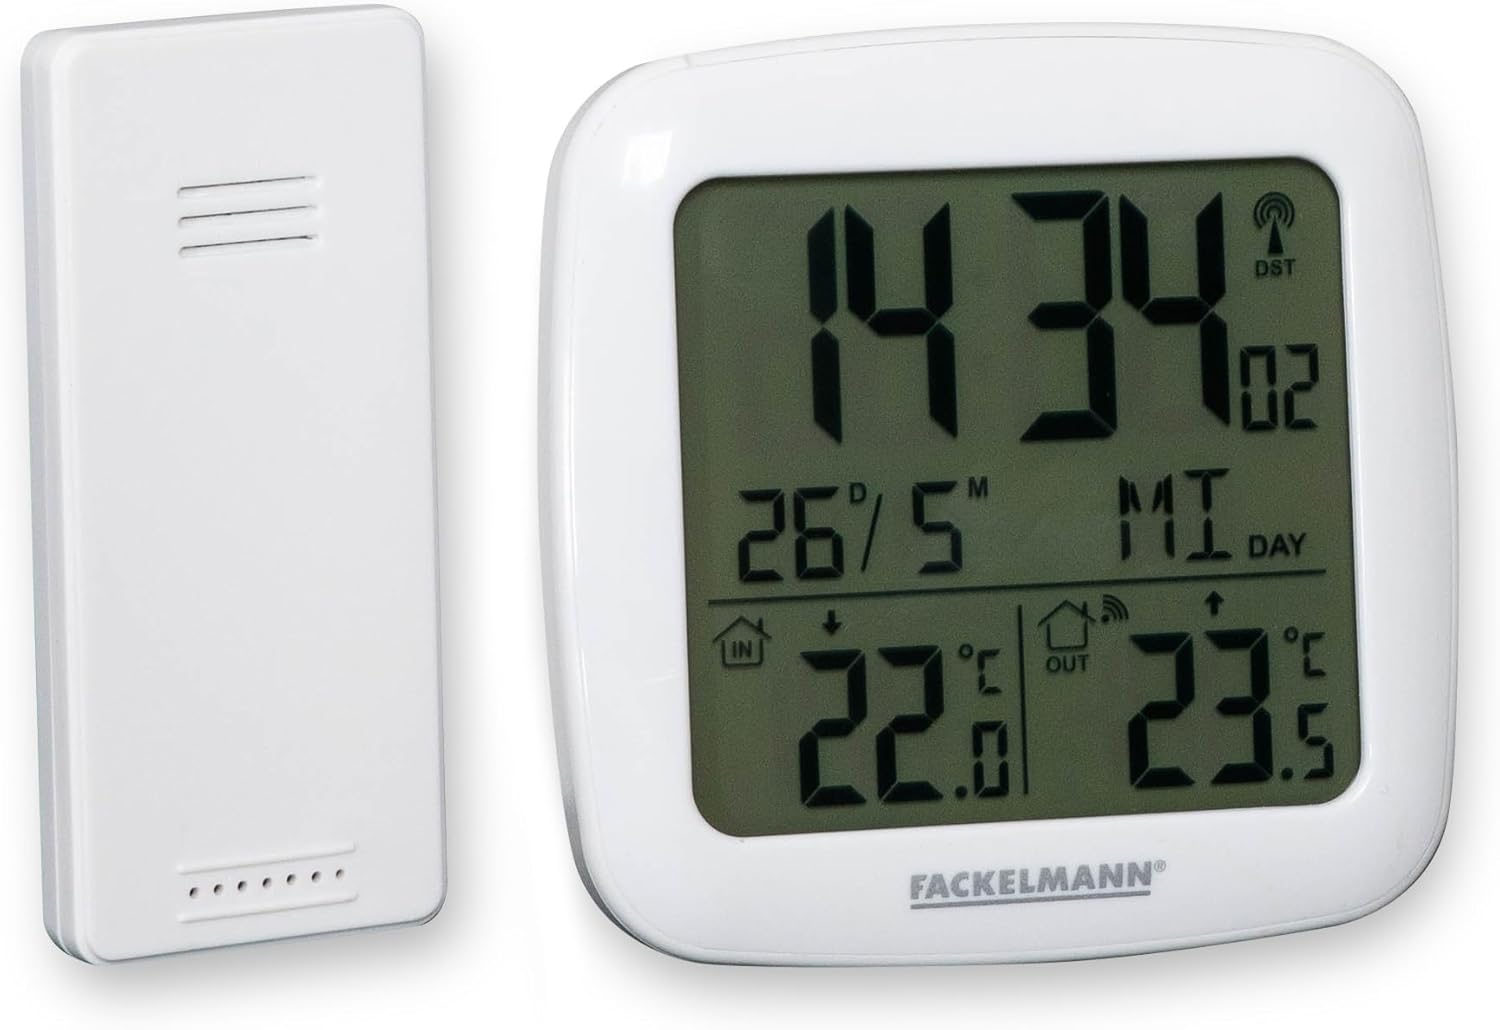
Image 1.1: The FACKELMANN Tecno Wireless Weather Station, showing the main display unit and the separate wireless outdoor sensor.
2. Setup
2.1. Battery Installation
- Main Unit: Open the battery compartment on the back of the main display unit. Insert 2 AAA batteries, ensuring correct polarity (+/-). Close the compartment.
- Outdoor Sensor: Open the battery compartment on the back of the wireless outdoor sensor. Insert 2 AAA batteries, ensuring correct polarity (+/-). Close the compartment.
The main unit and outdoor sensor are typically pre-paired at the factory. Once batteries are inserted, the main unit should automatically display the outdoor temperature within a few minutes. If not, proceed to section 2.3 for manual pairing.
2.2. Sensor Placement
Place the wireless outdoor sensor in a shaded, dry location away from direct sunlight and rain to ensure accurate temperature readings and prolong its lifespan. Avoid placing it near large metal objects or electronic devices that could interfere with the wireless signal. The maximum effective range is 60 meters in open air.
2.3. Manual Pairing (if needed)
If the outdoor temperature is not displayed after battery installation:
- Ensure both units have fresh batteries.
- Press and hold the "CHANNEL" or "SEARCH" button (refer to the specific button layout on your device, usually on the back or side) for a few seconds until it starts searching for the sensor.
- Press the "RESET" button inside the battery compartment of the outdoor sensor (you may need a paperclip).
- The main unit should now detect the outdoor sensor and display the temperature.
3. Operating Instructions
3.1. Display Overview

Image 3.1: The main display unit showing current time, date, indoor temperature, and outdoor temperature.
The large LCD screen displays the following information:
- Time: Current time (radio-controlled for accuracy).
- Date/Day: Current date and day of the week.
- Indoor Temperature: Temperature measured by the main unit.
- Outdoor Temperature: Temperature measured by the wireless sensor.
- DST Indicator: Daylight Saving Time indicator.
- Signal Strength: Indicator for the wireless sensor connection.
3.2. Setting Time and Date
The weather station automatically synchronizes its time via radio signal. Manual adjustment is usually not required. If manual setting is necessary (e.g., in areas with poor radio reception):
- Press and hold the "MODE" or "SET" button (location varies by model) until the time display starts flashing.
- Use the "+" or "-" buttons to adjust the hour, then press "MODE" or "SET" to confirm and move to minutes.
- Repeat for minutes, year, month, and day.
- Press "MODE" or "SET" again to exit setting mode.
3.3. Alarm Clock Function

Image 3.2: The display unit highlighting the radio clock and alarm feature.
To set the alarm:
- Press the "ALARM" button once to display the current alarm time.
- Press and hold the "ALARM" button until the alarm time starts flashing.
- Use the "+" or "-" buttons to adjust the hour, then press "ALARM" to confirm and move to minutes.
- Repeat for minutes.
- Press "ALARM" again to exit setting mode.
To activate/deactivate the alarm, press the "ALARM" button briefly when the alarm time is displayed. An alarm icon will appear/disappear on the screen.
To use the snooze function, press any button (except "ALARM OFF") when the alarm sounds. The alarm will sound again after a few minutes (duration may vary by model).
3.4. Backlight Function

Image 3.3: The weather station display with its high-quality backlight activated for enhanced visibility.
The display features a high-quality backlight for improved visibility in low-light conditions. To activate the backlight, press the designated backlight button (often labeled "LIGHT" or integrated with another button). The backlight will typically stay on for a few seconds before turning off automatically to conserve battery power.
4. Maintenance
4.1. Cleaning
To clean the weather station and outdoor sensor, use a soft, dry cloth. For stubborn dirt, a slightly damp cloth with mild soap can be used, followed by drying with a clean cloth. Do not use abrasive cleaners, solvents, or chemical agents, as these can damage the display or casing.
4.2. Battery Replacement
When the battery indicator appears on the display, replace the batteries in both the main unit and the outdoor sensor. Always replace all batteries at the same time with new, high-quality AAA batteries to ensure optimal performance and prevent issues with pairing or inaccurate readings. Dispose of old batteries responsibly.
5. Troubleshooting
- No outdoor temperature displayed:
- Check if batteries are correctly inserted and not depleted in both units.
- Ensure the outdoor sensor is within the 60-meter range of the main unit and not obstructed by thick walls or large metal objects.
- Perform manual pairing as described in Section 2.3.
- Relocate the outdoor sensor to a different position to avoid interference.
- Inaccurate temperature readings:
- Ensure the outdoor sensor is placed in a shaded area, away from direct sunlight, heat sources, or reflective surfaces.
- Verify that the main unit is not placed near heat-emitting appliances (e.g., TV, refrigerator).
- Replace batteries in both units.
- Time not synchronizing:
- Ensure the main unit is placed in an area with good radio signal reception (e.g., near a window, away from electronic interference).
- Allow up to 24 hours for initial synchronization.
- If necessary, set the time manually (refer to Section 3.2).
- Outdoor sensor stopped working (as per customer feedback):
- The outdoor sensor is designed to be weather-resistant, but not fully waterproof. Prolonged exposure to heavy rain or moisture can damage it. Ensure it is placed under shelter.
- Check for any visible damage or water ingress in the battery compartment.
- Replace batteries. If the issue persists, the sensor may need replacement.
6. Specifications

Image 6.1: Dimensions and feature summary of the FACKELMANN Tecno Weather Station.
| Feature | Detail |
|---|---|
| Model Number | 16394 |
| Product Dimensions (Main Unit) | 9 x 9 x 3 cm |
| Product Weight | 220 grams |
| Material | Acrylonitrile Butadiene Styrene (ABS) |
| Color | White |
| Indoor Temperature Range | 0°C to 50°C |
| Outdoor Temperature Range | -40°C to 70°C |
| Wireless Sensor Range | Up to 60 meters (open field) |
| Connectivity Technology | 433 MHz, 868 MHz |
| Display Type | Digital, Backlit LCD |
| Power Source | 2 x AAA batteries (main unit), 2 x AAA batteries (sensor) - included |
| Special Features | Humidity display, Radio-controlled clock, Alarm function, Calendar (up to 2099) |
7. Warranty and Support
This FACKELMANN product comes with a 2-year warranty from the date of purchase. This warranty covers manufacturing defects and material faults under normal use. It does not cover damage caused by misuse, accident, unauthorized modification, or improper installation.
For technical support, warranty claims, or further assistance, please contact Fackelmann customer service through their official website or the retailer where the product was purchased. Please have your model number (16394) and proof of purchase ready.
You can visit the Fackelmann brand store for more information: Fackelmann Official Store