1. Safety Information
Please read all instructions carefully before installation and use. Retain this manual for future reference.
- Do not disassemble or modify the product. Unauthorized modifications may void the warranty and pose safety risks.
- Avoid direct eye exposure to the LED light.
- Ensure the installation surface is stable and can support the weight of the light.
- Keep the solar panel clean to ensure optimal charging efficiency.
- This product is IP65 waterproof, designed to withstand rain and harsh weather conditions. However, do not submerge it in water.
2. Product Overview
The Aigostar Solar Wireless Motion Sensor Security Light is designed for outdoor use, providing illumination and security with its motion-sensing capabilities and solar-powered operation.
Key Features:
- Solar Powered: Charges during the day using sunlight.
- Motion Sensor: Detects movement up to 27 feet with a 120° angle.
- 3 Lighting Modes: Adaptable to various lighting needs.
- IP65 Waterproof: Durable and weather-resistant for outdoor environments.
- Wide Illumination: 270° wide-angle lighting with LED beads reflector.
Components:
- Solar Panel: Converts sunlight into electricity.
- LED Lights: Provide illumination.
- Motion Sensor: Detects movement.
- Power Button/Mode Switch: Controls the light's operation.

Image 2.1: Front view of the Aigostar Solar Wireless Motion Sensor Security Light, showing the solar panel, LED array, and motion sensor.
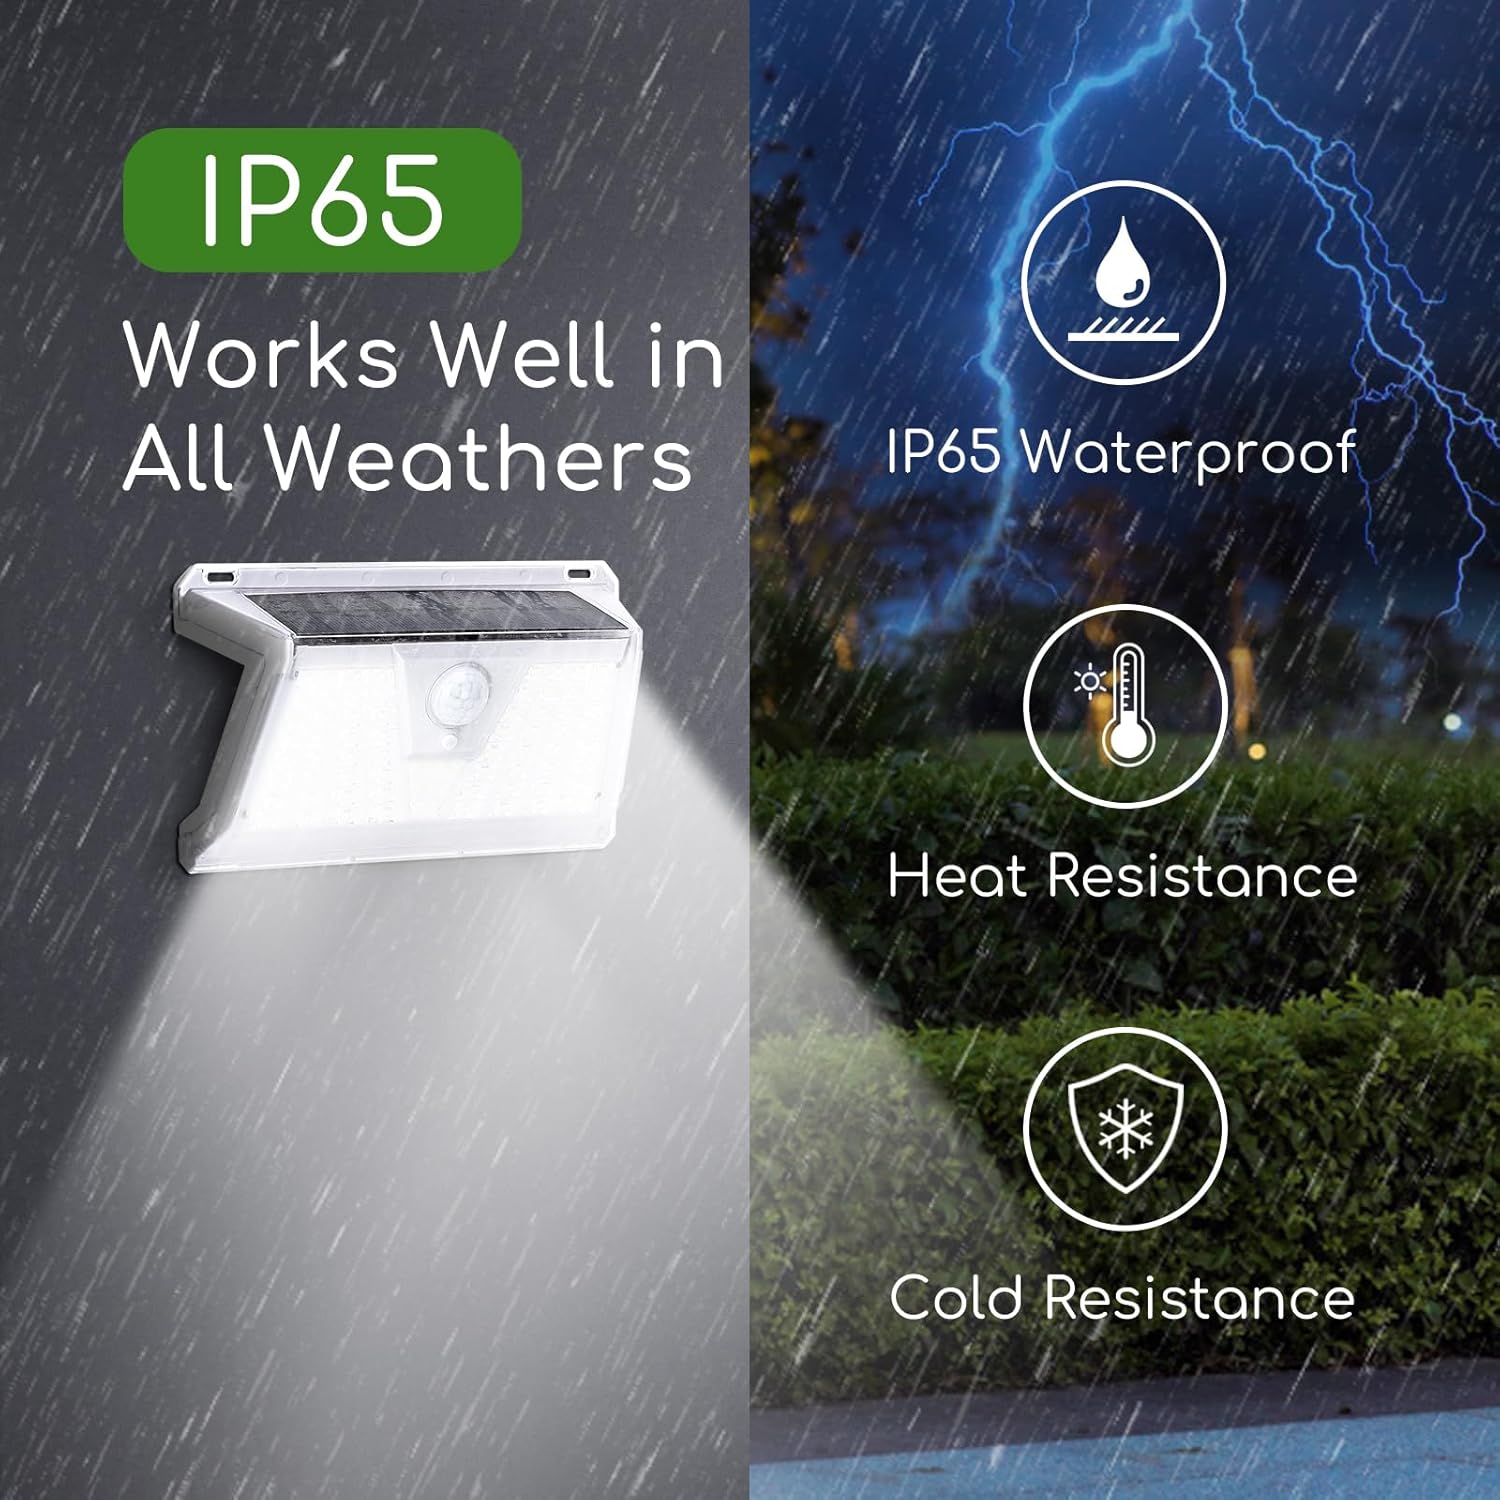
Image 2.2: Illustration of the light's IP65 waterproof rating, heat resistance, and cold resistance, demonstrating its ability to work in various weather conditions.
3. Setup and Installation
3.1 Initial Activation
Before first use, ensure the light is activated. Locate the power button, usually on the back or bottom of the unit, and press it to turn the light on. The light will then be ready to charge and operate.
3.2 Charging
Place the solar light in a location where the solar panel receives direct sunlight for 6-8 hours daily. This ensures the internal battery is fully charged for optimal night-time performance.

Image 3.1: Diagram showing the solar panel charging the internal battery during daylight hours, indicating 7-8 hours for full charge and up to 22% conversion rate.
3.3 Mounting Instructions
Choose an outdoor location that receives ample direct sunlight and where motion detection is desired. Common installation areas include walls, fences, doorways, patios, and yards.
- Unlock and Activate: Press the power button to activate the light.
- Mark Position: Hold the light against the desired mounting surface and mark the screw holes.
- Drill Holes: Use a drill to create pilot holes at the marked positions. Insert wall anchors if necessary.
- Secure Light: Align the light with the holes and secure it using the provided screws.

Image 3.2: Visual guide demonstrating the installation process, including unlocking the light, drilling holes, and mounting the device on a wall.

Image 3.3: Examples of the solar light installed in different outdoor locations such as walls, patios, and gardens.
4. Operation
The Aigostar Solar Wireless Motion Sensor Security Light features three intelligent lighting modes. Press the power button repeatedly to cycle through the modes.
4.1 Lighting Modes:
- Motion Sensor Mode (Mode 1): The light remains off until motion is detected. Upon detection, it turns on with strong light for approximately 15-30 seconds, then turns off automatically if no further motion is detected.
- Dim Light Sensor Mode (Mode 2): The light automatically turns on at a dim level at night. When motion is detected, it brightens to strong light for 15-30 seconds, then returns to dim light.
- Constantly On Mode (Mode 3): The light turns on at a medium brightness level at night and stays on continuously until the battery depletes or dawn breaks.

Image 4.1: Visual representation of the three lighting modes: Strong Light Sensor Mode, Dim Light Sensor Mode, and Medium Light Mode, showing how the light behaves with and without motion detection.
4.2 Motion Sensor Functionality
The enhanced motion inductor provides powerful sensitivity, detecting movement up to 27 feet (8 meters) within a 120° detection angle. For optimal performance, ensure the sensor is not obstructed.
5. Maintenance
Regular maintenance ensures the longevity and optimal performance of your solar light.
- Clean Solar Panel: Periodically wipe the solar panel with a soft, damp cloth to remove dust, dirt, leaves, or snow. A clean panel ensures maximum sunlight absorption for efficient charging.
- Check for Obstructions: Ensure no trees, bushes, or other objects are blocking direct sunlight from reaching the solar panel, especially during winter months.
- Inspect Mounting: Occasionally check that the light is securely mounted and that screws are tight.
- Battery: The integrated Lithium-Ion battery is designed for long-term use. If the light's performance significantly degrades over time, it may indicate battery aging. Battery replacement is not user-serviceable.

Image 5.1: Depiction of the light's high-quality shade, highlighting its damage-proof, waterproof, dust-proof, and easy-to-clean properties.
6. Troubleshooting
If you encounter issues with your solar light, refer to the following common problems and solutions:
| Problem | Possible Cause | Solution |
|---|---|---|
| Light does not turn on at night. | Insufficient solar charge. Light is not activated. | Ensure the solar panel receives 6-8 hours of direct sunlight daily. Press the power button to activate the light. |
| Light stays dim or turns off quickly. | Insufficient solar charge. Battery degradation. | Relocate the light to a sunnier spot. Clean the solar panel. If the battery is old, performance may naturally decrease. |
| Motion sensor is not working. | Sensor obstructed. Incorrect mode selected. | Ensure the motion sensor is clear of obstructions. Cycle through modes to ensure a motion-sensing mode is active. |
| Light flickers or behaves erratically. | Low battery. Environmental interference. | Allow the light to charge fully. Ensure no strong electromagnetic interference nearby. |
7. Specifications
| Feature | Specification |
|---|---|
| Brand | Aigostar |
| Model Name | Solar Lights Outdoor Wireless Motion Sensor Security Lights |
| Product Dimensions | 5.5"L x 2.1"W x 3.8"H (14.5cm x 5.3cm x 10.1cm) |
| Material | Acrylonitrile Butadiene Styrene (ABS) |
| Power Source | Solar Powered |
| Light Source Type | LED |
| Light Color | Warm White (6500 Kelvin) |
| Brightness | 120 Lumens |
| Water Resistance Level | IP65 Waterproof |
| Motion Sensor Range | Up to 27 feet (8 meters) |
| Motion Sensor Angle | 120° |
| Illumination Angle | 270° |
| Battery | 1 Lithium Ion battery (included) |
| Charging Time | 6-8 hours in direct sunlight |
| Illumination Time | 8-15 hours (depending on mode and charge) |
| Included Components | Screws |

Image 7.1: Close-up of the high-efficiency solar panel, indicating up to 25% conversion rate and its role in charging the light for night-time operation.

Image 7.2: Diagram illustrating the premium PIR motion infrared sensor and its detection capabilities.
8. Warranty and Support
Aigostar stands behind the quality of its products.
- Return Service: Enjoy a 30-day hassle-free return service from the date of purchase.
- After-Sale Service: This product is covered by a 24-month after-sale service for your satisfaction.
- Contact Support: For any questions, concerns, or warranty claims, please contact Aigostar customer support through the retailer's platform or the official Aigostar website.