
1. Introduction
Thank you for choosing the KAOLALI HUD G3 Head-Up Display. This device projects essential driving information directly onto your windshield, allowing you to keep your eyes on the road. Featuring advanced mirror projection technology, the display is bright and clear, even in direct sunlight, without the need for reflective film. It offers multiple display modes and real-time alarms to enhance your driving safety and convenience. This manual provides detailed instructions for setup, operation, and maintenance of your HUD G3.

Image: The KAOLALI HUD G3 Head-Up Display unit, showcasing its compact design and clear digital display.
2. Package Contents
Please check the package carefully to ensure all items are present:
- 1 x KAOLALI HUD G3 Monitor
- 1 x USB Cable
- 1 x Anti-slip Mat
- 1 x User Manual

Image: A visual representation of the items included in the KAOLALI HUD G3 package: the HUD unit, USB cable, anti-slip mat, and user manual.
3. Product Features
- Mirror Projection Technology: The HUD G3 utilizes advanced mirror projection, providing a brighter and clearer display without ghosting or the need for additional reflective film. The display remains highly visible even in bright daylight conditions.
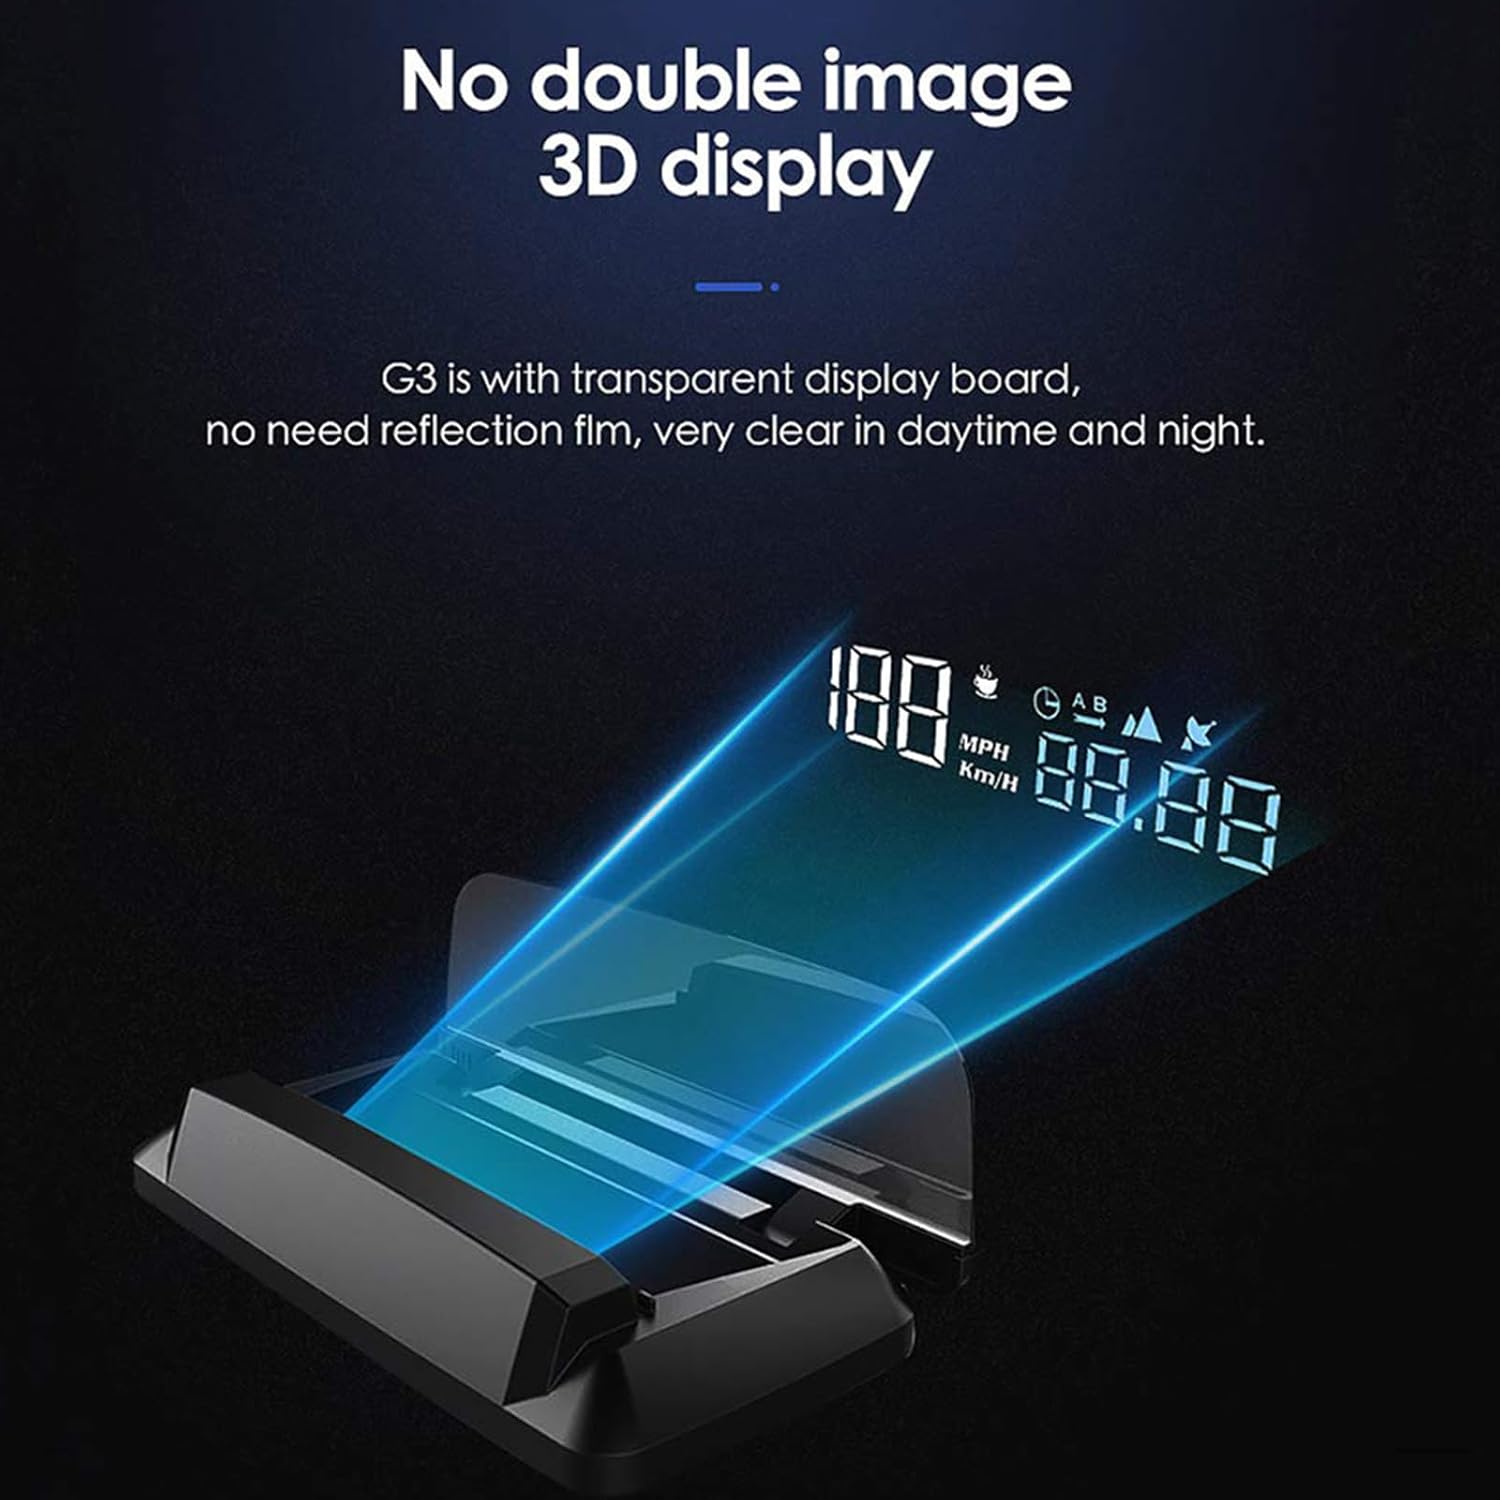
Image: Illustration of the mirror projection technology, showing the clear digital display projected onto the transparent screen.
- Universal Compatibility: Connects via a standard USB cable, making it compatible with all types of vehicles, including diesel, gasoline, and electric cars.
- Multi-Function Display: Offers 6 different display interfaces, allowing you to switch freely between various data points such as Speed, Speed + Clock, Speed + Single Driving Distance, Speed + Altitude, Speed + Satellite Number, and Speed + Single Driving Time.

Image: A visual guide to the six different display interfaces available on the HUD G3, showing various combinations of speed, time, distance, and other metrics.
- Real-Time Alarms: Equipped with overspeed alarm and fatigue driving alarm functions to enhance driving safety.

Image: Depiction of the two alarm functions: speed alarm (KM/H) and fatigue driving alarm (coffee cup icon), which activates every 4 hours.
- Automatic Brightness Adjustment: An integrated light sensor automatically adjusts the display brightness according to ambient light conditions, ensuring optimal visibility day and night without dazzling the driver.

Image: Comparison showing the HUD display clarity in bright sunlight and its soft brightness at night, demonstrating the automatic light sensor functionality.
- Accurate GPS Speed: Built-in GPS module ensures highly accurate speed readings derived directly from satellite signals.

Image: Graphic illustrating how the HUD G3 obtains accurate speed data from satellites via its built-in GPS module.
4. Setup Guide
Follow these steps to set up your KAOLALI HUD G3:
- Placement: Choose a suitable flat surface on your dashboard, typically near the windshield, where the HUD will not obstruct your view of the road. Use the provided anti-slip mat to secure the device.
- Power Connection: Connect the supplied USB cable to the HUD G3's power interface and plug the other end into a USB port in your vehicle (e.g., car charger, USB port). The device will power on automatically.

Image: Diagram showing the main components of the HUD G3, including the transparent reflector, display panel, power interface, wave button, and on/off button.
- GPS Signal Acquisition: Once powered on, the HUD will automatically search for GPS satellite signals. This may take a few moments, especially during the first use or if the vehicle has been stationary for a long time. Ensure your vehicle is in an open area for faster signal acquisition.
- Positioning: Adjust the angle of the HUD unit and its transparent reflector to ensure the projected display is clear and visible on your windshield without distortion.
5. Operating Instructions
The HUD G3 is designed for simple operation. Use the wave button (typically a scroll wheel or multi-directional button) to navigate and select options.
- Power On/Off: The device typically powers on automatically when connected to power and off when power is disconnected. There may also be a dedicated On/Off button for manual control.
- Switching Display Modes: Briefly press or scroll the wave button to cycle through the 6 available display interfaces.
- Entering Settings: Long press the wave button to enter the settings menu. Once in the settings, use the wave button to navigate options and short press to confirm selections. Long press again to exit settings.
- Adjusting Brightness: The HUD G3 features an automatic light sensor. No manual adjustment is typically needed, as it adapts to ambient light.
6. Display Modes
The HUD G3 offers six distinct display modes to suit your preferences:
- Speed: Displays current vehicle speed only.
- Speed + Clock: Shows current speed along with the accurate time from GPS satellites.
- Speed + Single Driving Distance: Displays current speed and the distance covered during the current trip.
- Speed + Altitude: Shows current speed and the vehicle's altitude.
- Speed + Satellite Number: Displays current speed and the number of GPS satellites currently connected.
- Speed + Single Driving Time: Shows current speed and the duration of the current trip.

Image: The HUD G3 displaying speed and time, highlighting its accurate satellite clock function.
7. Alarm Functions
The HUD G3 includes safety alarms to alert you during your drive:
- Overspeed Alarm: Alerts you if your vehicle exceeds a preset speed limit. This limit can usually be adjusted in the settings menu.
- Fatigue Driving Alarm: Reminds you to take a break after a certain period of continuous driving (e.g., every 4 hours). This helps prevent driver fatigue.
8. Troubleshooting
If you encounter any issues with your HUD G3, please refer to the following common problems and solutions:
| Problem | Possible Cause | Solution |
|---|---|---|
| No display/Device not powering on | Loose USB connection; No power from USB port; Device fault. | Check USB cable connection. Try a different USB port or car charger. Ensure vehicle ignition is on. |
| No GPS signal/Inaccurate speed | Vehicle in an enclosed area (tunnel, garage); Weak satellite signal; First-time use. | Move vehicle to an open area. Wait for a few minutes for GPS to acquire signal. Ensure no large metallic objects are blocking the signal path. |
| Display is blurry/Double image | Incorrect viewing angle; Dirty reflector/windshield. | Adjust the angle of the HUD unit and its transparent reflector. Clean the reflector and the section of the windshield where the image is projected. |
| Radio interference | Electromagnetic interference from the HUD's GPS module. | Try repositioning the HUD unit further away from the car's radio antenna or main radio unit. Some vehicles may experience minor interference due to sensitive radio systems. |
9. Specifications
| Feature | Detail |
|---|---|
| Model | H400 |
| Product Dimensions | 11.5 x 16 x 7 cm (4.5 x 6.3 x 2.8 inches) |
| Product Weight | 250 g (0.55 lbs) |
| Material | Plastic |
| Screen Size | 15.2 cm (6 inches) |
| Power Input | USB Cable (Universal compatibility) |
| Display Type | Mirror Projection |
| GPS Module | Built-in for speed and time accuracy |

Image: Technical drawing showing the dimensions of the HUD G3 unit in millimeters.
10. Maintenance
To ensure the longevity and optimal performance of your HUD G3, follow these maintenance guidelines:
- Cleaning: Use a soft, dry cloth to clean the exterior of the device and the transparent reflector. Avoid using abrasive cleaners or solvents, as they may damage the surface.
- Storage: If storing the device for an extended period, disconnect it from power and keep it in a cool, dry place away from direct sunlight and extreme temperatures.
- Handling: Handle the device with care to avoid dropping it or subjecting it to strong impacts, which could damage internal components.
11. Warranty and Support
KAOLALI products are manufactured with high-quality standards. For warranty information or technical support, please refer to the contact details provided with your purchase or visit the official KAOLALI website. Keep your purchase receipt as proof of purchase for warranty claims.
For further assistance, you may contact the seller directly through the platform where you purchased the product.


