Audiobank P1601
Audiobank P1601 Monoblock Car Audio Amplifier User Manual
Model: P1601
Introduction
This manual provides detailed instructions for the installation, operation, and maintenance of your Audiobank P1601 Monoblock Car Audio Amplifier. Please read this manual thoroughly before use to ensure proper functionality and safety.
Safety Precautions
- Always disconnect the vehicle's battery before installing or servicing any car audio components.
- Ensure proper grounding to prevent electrical hazards.
- Do not expose the amplifier to moisture or extreme temperatures.
- Use appropriate gauge wiring as specified in the installation section.
- Consult a professional if you are unsure about any installation steps.
Package Contents
Verify that all items are present in the package:
- Audiobank P1601 Monoblock Amplifier
- 4 Gauge 2300 Watts Car Amplifier Installation Wiring Kit (Red)
- User Manual (this document)

Image: Audiobank P1601 Monoblock Amplifier and the included 4 Gauge 2300 Watts Car Amplifier Installation Wiring Kit in red.
Product Features
- Monoblock Class AB Amplifier
- Heavy-Duty Aluminum Alloy Heatsink for efficient heat dissipation
- Adjustable Low Pass Filter (LPF)
- Sub Sonic Filter
- Phase Control (0°/180°)
- Bass Boost Control (0dB to 12dB)
- Gain Control (Min to Max)
- Remote Level Control Port

Image: Top view of the Audiobank P1601 amplifier, showing the input and control panel with settings for LPF, Sub Sonic, Phase, Bass Boost, and Gain.

Image: Rear view of the Audiobank P1601 amplifier, displaying the power input terminals (GND, REM, +12V), fuse slots, and speaker output terminals.
Setup and Installation
Wiring Diagram Overview
Proper wiring is crucial for optimal performance and safety. Refer to the following general guidelines. A detailed wiring diagram should be provided with your vehicle's audio system or by a professional installer.
- Power Connection: Connect the 4-gauge primary wire (red) from the vehicle's positive battery terminal to the +12V terminal on the amplifier. Ensure an inline fuse holder (included in the kit) is installed near the battery.
- Ground Connection: Connect the ground wire (brown/black) from the GND terminal on the amplifier to a clean, unpainted metal surface on the vehicle's chassis. The ground point should be as short as possible.
- Remote Turn-On: Connect the remote turn-on wire from your head unit's remote output to the REM terminal on the amplifier. This wire signals the amplifier to turn on when the head unit is active.
- RCA Input: Connect the RCA cables (blue) from your head unit's pre-out to the INPUT terminals (CH1/CH2) on the amplifier.
- Speaker Output: Connect your subwoofer(s) to the SPEAKER OUTPUT terminals on the amplifier. Ensure correct polarity (+ to + and - to -).
- Accessory Connections: Utilize the included terminals and connectors for secure and proper wiring.

Image: Roll of red 4 gauge primary power wire.

Image: Coiled brown/black ground wire.

Image: Blue RCA audio cables for signal input.
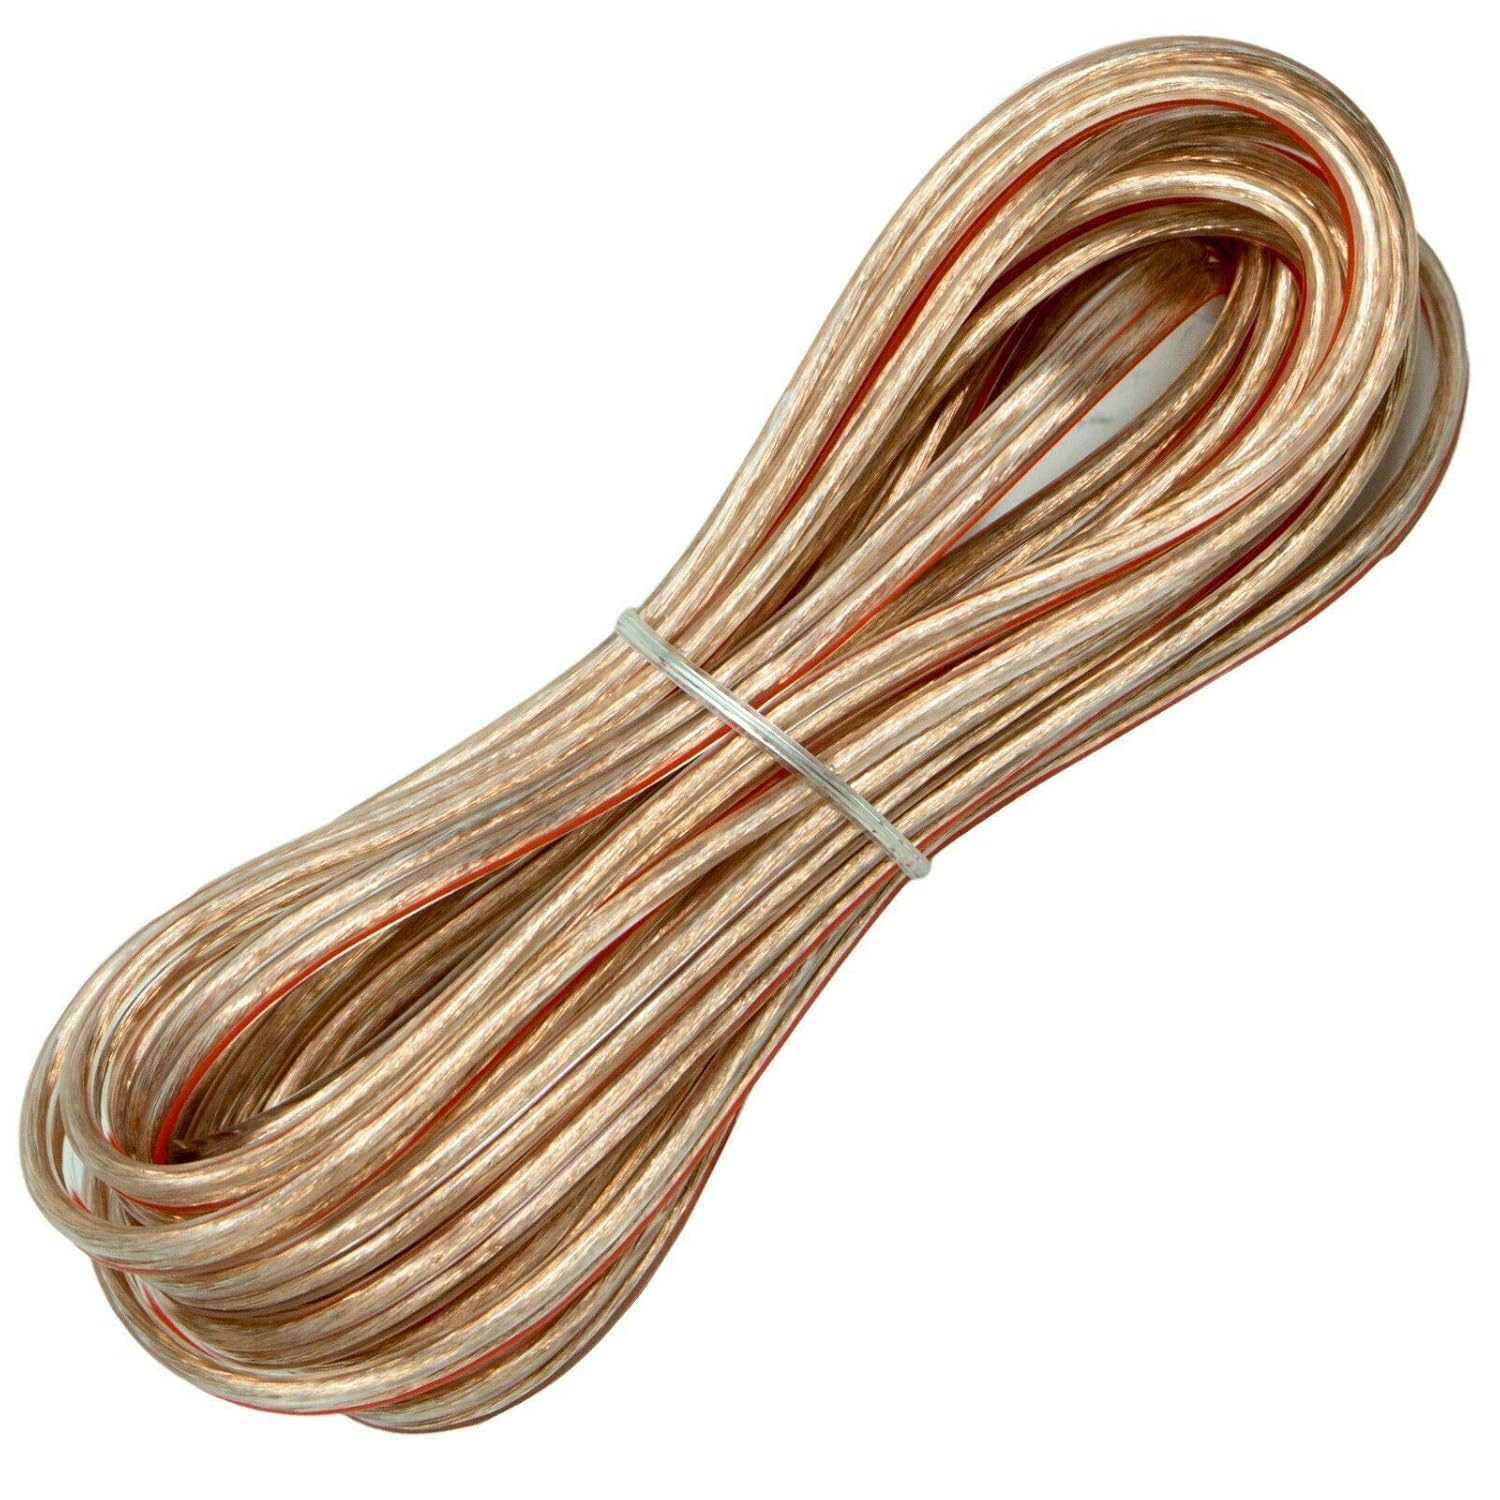
Image: Clear speaker wire for connecting to subwoofers.

Image: Assortment of wiring kit accessories including terminals, connectors, and fuse holder.
Operating Instructions
Initial Power-Up
After completing all wiring connections, reconnect the vehicle's battery. The amplifier's power indicator (PWR) should illuminate when the head unit is turned on.
Adjusting Controls
- GAIN: Start with the gain control at minimum. Gradually increase it until the desired volume is achieved without distortion. This matches the amplifier's input sensitivity to the head unit's output.
- LPF (Low Pass Filter): Adjust this control to set the upper frequency limit for the subwoofer. Typically, this is set between 50Hz and 250Hz, depending on your subwoofer and personal preference.
- SUB SONIC: This filter removes extremely low frequencies that are inaudible and can cause damage to the subwoofer. Set it slightly below your subwoofer's resonant frequency, usually between 15Hz and 50Hz.
- PHASE: Use the phase switch (0° or 180°) to ensure the subwoofer's output is in phase with the rest of your car's audio system, preventing cancellation and improving bass response.
- BASS BOOST: This control provides an adjustable boost to bass frequencies. Use sparingly to avoid distortion and potential damage to speakers.
Maintenance
- Keep the amplifier clean and free from dust and debris. Use a soft, dry cloth for cleaning.
- Ensure adequate ventilation around the amplifier to prevent overheating. Do not block the heatsink fins.
- Periodically check all wiring connections for tightness and corrosion.
Troubleshooting
| Problem | Possible Cause | Solution |
|---|---|---|
| No Power / Amplifier does not turn on |
|
|
| No Sound Output |
|
|
| Distorted Sound |
|
|
| Amplifier Overheats |
|
|
Specifications
| Feature | Detail |
|---|---|
| Model | P1601 |
| Amplifier Class | Class AB Monoblock |
| Output Power | 1600 Watts (Peak) |
| Number of Channels | 1 (Mono) |
| Mounting Type | Surface Mount |
| Heatsink Material | Aluminum Alloy |
| Low Pass Filter (LPF) | Adjustable (50Hz - 250Hz) |
| Sub Sonic Filter | Adjustable (15Hz - 50Hz) |
| Phase Control | 0° / 180° |
| Bass Boost | 0dB - 12dB |
Warranty and Support
For warranty information and technical support, please refer to the manufacturer's official website or contact their customer service department. Keep your purchase receipt as proof of purchase.
Manufacturer: Audiobank
Date First Available: August 21, 2021
For additional support, you may visit the Audiobank brand page on Amazon.
Ask a question about this manual
Ask about setup, troubleshooting, compatibility, parts, safety, or missing instructions. Manuals+ will review the question and use this page’s manual context to help answer it.