Protuning IK.202.508.99
GODMORGON LED Cabinet and Wall Lighting 13x3 cm
Instruction Manual
1. Product Overview
The GODMORGON LED Cabinet and Wall Lighting unit is designed to provide uniform illumination, ideal for areas around mirrors and sinks. Its versatile design allows for mounting on a wall, functioning as a shelf, or placement on top of a bathroom cabinet. This unit features an energy-efficient LED light source, consuming significantly less energy and offering a longer lifespan compared to traditional incandescent bulbs.

Figure 1.1: The GODMORGON LED Cabinet and Wall Lighting unit, showcasing its sleek design.
2. Safety Information
Please read all safety instructions carefully before installation and use. Failure to follow these instructions may result in electric shock, fire, or serious injury.
- Electrical Safety: Installation should only be performed by a qualified electrician or competent person in accordance with local electrical codes and regulations.
- Power Disconnection: Always disconnect power at the main circuit breaker before attempting any installation, maintenance, or repair.
- Indoor Use Only: This product is designed for indoor use in dry or damp locations (e.g., bathrooms, provided it is not directly exposed to water spray). Do not install in wet locations.
- Mounting: Ensure the mounting surface is strong enough to support the weight of the fixture. Use appropriate hardware for the wall material.
- Cleaning: Do not use abrasive cleaners or solvents. Clean with a soft, damp cloth only.
- LEDs: Do not attempt to replace the integrated LED light source. The light source is designed to last the lifetime of the product.
3. Package Contents
Verify that all components are present before beginning installation:
- GODMORGON LED Lighting Unit (1)
- Mounting Bracket(s) (Quantity may vary based on model)
- Screws and Wall Plugs (for typical wall materials)
- Instruction Manual (this document)
If any parts are missing or damaged, please contact your retailer or the manufacturer for assistance.
4. Setup and Installation
This lighting unit can be installed in two primary ways: wall-mounted or placed on top of a cabinet.
4.1 Wall Mounting
- Prepare the Area: Ensure the power supply to the installation area is turned off at the main circuit breaker.
- Mark Drilling Points: Hold the mounting bracket against the wall at the desired installation height. Use a pencil to mark the drilling points.
- Drill Holes: Drill holes at the marked points using an appropriate drill bit for your wall material. Insert wall plugs if necessary.
- Secure Bracket: Attach the mounting bracket to the wall using the provided screws. Ensure it is level and securely fastened.
- Electrical Connection: Connect the electrical wiring from the wall to the lighting unit according to local electrical codes. Ensure all connections are secure and insulated. If unsure, consult a qualified electrician.
- Attach Light Unit: Carefully attach the GODMORGON LED lighting unit to the secured mounting bracket. Ensure it clicks into place or is fastened according to the specific design.

Figure 4.1: Example of the GODMORGON LED light unit wall-mounted above a mirror.

Figure 4.2: The GODMORGON LED light unit installed above a bathroom cabinet, providing illumination for the sink area.
4.2 Cabinet Top Placement
- Prepare the Area: Ensure the power supply to the installation area is turned off at the main circuit breaker.
- Position Unit: Place the GODMORGON LED lighting unit directly on top of the bathroom cabinet in the desired position.
- Secure (Optional): Depending on the cabinet design and stability requirements, you may choose to secure the unit to the cabinet top using appropriate screws (not always necessary if stable).
- Electrical Connection: Connect the electrical wiring to the lighting unit. Ensure all connections are secure and insulated. If unsure, consult a qualified electrician.

Figure 4.3: The GODMORGON LED light unit placed on top of a bathroom cabinet, providing overhead lighting.
5. Operating Instructions
Once installed and connected to the power supply, the GODMORGON LED lighting unit operates by a standard wall switch or the switch it is wired to. There are no additional controls on the unit itself.
- To Turn On: Flip the connected wall switch to the "ON" position.
- To Turn Off: Flip the connected wall switch to the "OFF" position.
6. Maintenance
The GODMORGON LED lighting unit requires minimal maintenance.
- Cleaning: To clean the fixture, ensure the power is disconnected. Wipe the surface with a soft, slightly damp cloth. Do not use harsh chemicals, abrasive cleaners, or scouring pads, as these can damage the finish.
- LEDs: The LED light source is integrated and not user-replaceable. Do not attempt to open the unit or replace the LEDs.
- Inspection: Periodically inspect the wiring and mounting for any signs of wear or damage. If any issues are found, disconnect power and consult a qualified professional.
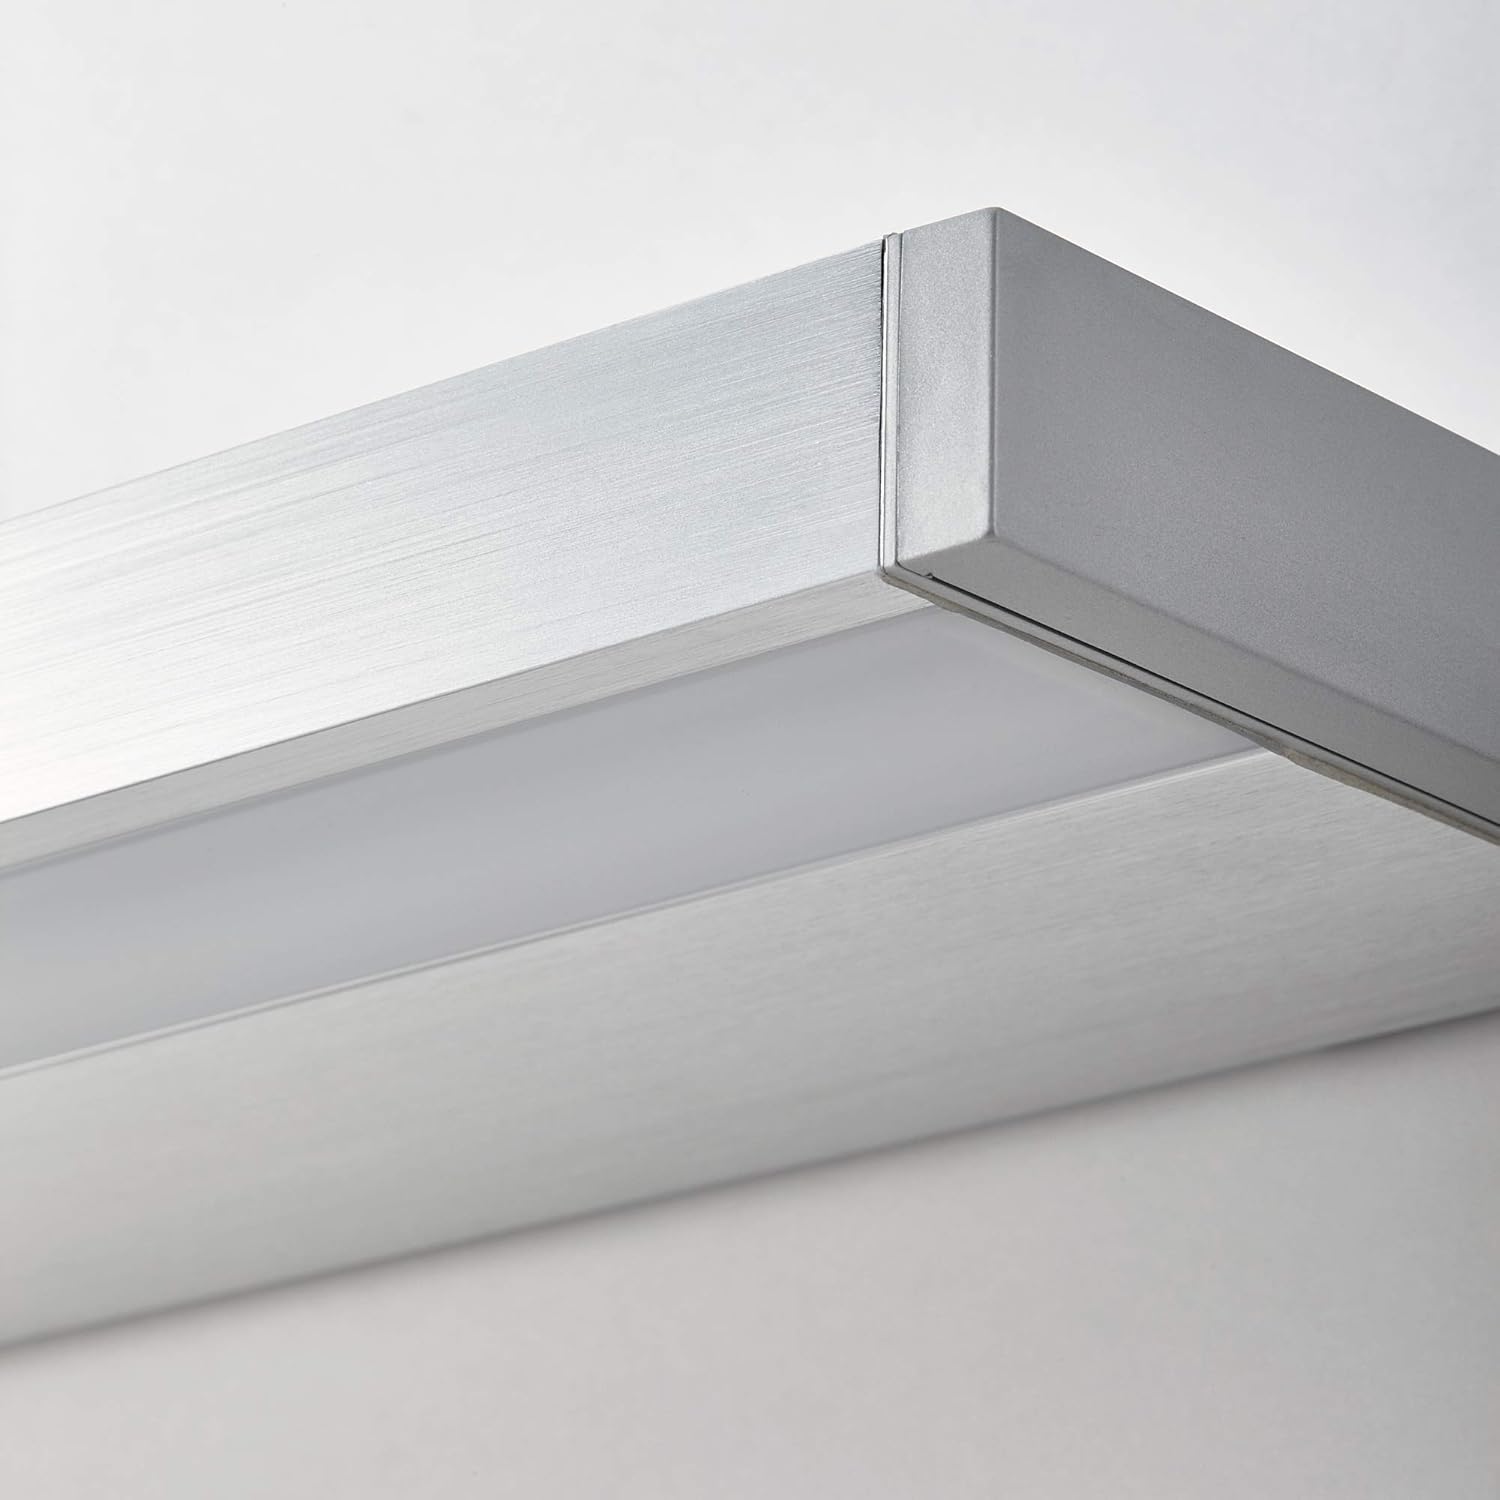
Figure 6.1: Close-up of the GODMORGON LED light unit, showing the integrated LED strip.
7. Troubleshooting
If you encounter issues with your GODMORGON LED lighting unit, refer to the following common problems and solutions:
| Problem | Possible Cause | Solution |
|---|---|---|
| Light does not turn on. |
|
|
| Light flickers or dims. |
|
|
| Physical damage to the unit. | Impact or improper handling. | Contact customer support for replacement options. Do not attempt to repair damaged units. |
If the problem persists after attempting these solutions, please contact customer support or a qualified electrician.
8. Specifications
| Feature | Detail |
|---|---|
| Brand | Protuning |
| Model Number | IK.202.508.99 |
| Product Dimensions (L x D x H) | 60 cm x 13 cm x 3 cm |
| Luminous Flux | 350 lumens |
| Power Consumption | 10.5 W |
| Voltage | 230 Volts |
| Max. Load/Shelf (if used as shelf) | 2 kg |
| Material | Metal |
| Power Source | Corded Electric |
| Room Type | Bathroom |
9. Warranty and Support
This product comes with a manufacturer's warranty. Please refer to the warranty card included with your purchase or visit the manufacturer's official website for detailed warranty terms and conditions.
For technical support, troubleshooting assistance, or to inquire about replacement parts, please contact Protuning customer service. Contact information can typically be found on the product packaging or the manufacturer's website.
Manufacturer: Protuning
Model: IK.202.508.99
Ask a question about this manual
Ask about setup, troubleshooting, compatibility, parts, safety, or missing instructions. Manuals+ will review the question and use this page’s manual context to help answer it.