
1. Introduction
This manual provides essential information for the proper setup, operation, and maintenance of your Comp XP HP G3 Stylus Pen. This active pen is designed to enhance your digital interaction with compatible HP devices, offering precise input for writing, drawing, and navigation.
2. Compatibility
The HP G3 Stylus Pen is compatible with the following HP models:
- HP Elite x2 1013 G3
- HP EliteBook x360 1030 G3
- HP EliteBook x360 1030 G2
- HP EliteBook x360 1040 G5
- HP EliteBook x360 1020 G2
- HP Pro x2 612 G2
For HP Elite x2 1013 G3 and HP EliteBook x360 1030 G3, the pen offers enhanced capabilities including 20-30 milliseconds latency, tilt detection and sensitivity adjustments, 4096 pressure levels, and a 240 Hz report rate. For other compatible models, basic capabilities are supported: 30-35 milliseconds latency, no tilt detection or sensitivity adjustments, 2048 pressure levels, and a report rate of 133-200 Hz (varies with simultaneous pen and touch mode).
3. What's in the Box
- HP Pen
- Replacement Nibs (x4)
- Replacement tip tool
The pen is packaged securely, ensuring all components are protected during transit.
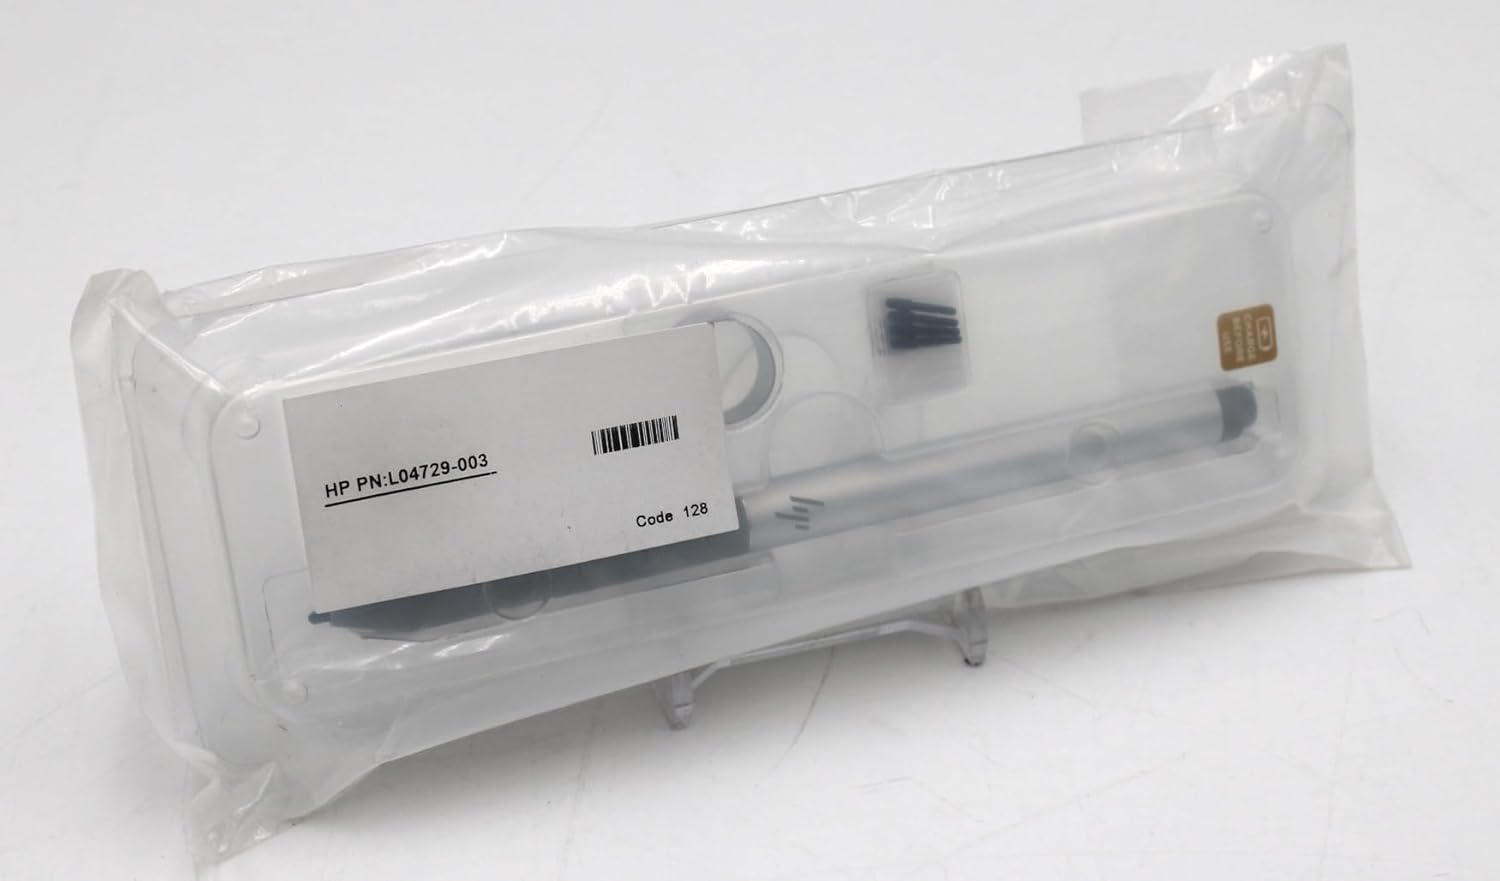
Image: HP G3 Stylus Pen in its clear plastic packaging, showing the pen and accessories.

Image: The HP G3 Stylus Pen displayed alongside its four replacement nibs and the specialized tool for nib removal.
4. Setup
4.1. Charging the Pen
The HP G3 Stylus Pen features a rechargeable battery. To charge the pen, gently pull the top cap to reveal the USB-C charging port. Connect the pen to a power source using a USB-C to USB-A cable. An LED indicator will show the charging status.
Video: Demonstrates how to access the USB-C charging port by removing the pen's top cap and connecting it for charging.
Video: Illustrates the process of charging the Active Pen G3, showing the removal of the cap and insertion of the charging cable.
4.2. Initial Connection
The pen is designed for automatic detection by compatible HP devices. No Bluetooth pairing is typically required. Simply bring the pen close to the screen, and it should automatically connect and be ready for use.
5. Operating Instructions
5.1. Basic Pen Functions
The pen allows for natural writing and drawing on your device's touchscreen. Its pressure sensitivity ensures varied line thickness and opacity based on applied pressure.
5.2. Button Functions
The pen features customizable buttons for enhanced functionality:
- Long Press Touchscreen: A long press on the touchscreen with the pen can activate a right-click menu, similar to a mouse.
- Edit Button: Use the designated edit button on the pen for quick editing functions within compatible applications.
- Selection: Long press the pen on content to select it.
- Zoom In/Out: Utilize specific gestures or button combinations (if configured) for zooming.
- Rotating: Content can be rotated using the pen, often in conjunction with touch gestures.
- Copy/Paste: Selected content can be copied and pasted using the pen's functions.
- Delete: A long press on selected content can also be used to delete it.
- Eraser Button: The eraser button allows for quick correction of digital ink.
Video: Demonstrates various stylus button functions, including long press for right-click, editing, selection, zooming, rotating, copying, pasting, and erasing.
5.3. Magnetic Attachment
The pen features a magnetic attachment for convenient storage on compatible HP devices, ensuring it is always within reach and securely stored.
6. Maintenance
6.1. Battery Care
To ensure optimal performance, regularly charge your pen. The LED indicator will provide feedback on the battery status. Avoid extreme temperatures and prolonged exposure to direct sunlight.
6.2. Nib Replacement
If the pen tip becomes worn or damaged, replace it using one of the provided replacement nibs and the tip removal tool. Gently pull the old nib out with the tool and insert a new one until it clicks into place.
7. Troubleshooting
- Pen not responding: Ensure the pen is charged. Verify that your HP device is compatible with the pen.
- Inaccurate input: Check if the pen nib is securely in place. If worn, replace the nib.
- Buttons not working: Ensure the pen is connected to your device. Check device settings for pen customization options.
8. Specifications
| Dimensions | 148mm x 10.2mm (5.83 x 0.40 inches) |
| Weight | Approximately 15g (0.53 oz) |
| Color | Gray |
| Pen Pressure Level Resolution | 4096 Levels (on enhanced compatible devices) |
| Material | Aluminum |
| Battery Type | 1 Lithium Ion battery required (rechargeable) |
9. Warranty and Support
For warranty information and technical support, please refer to the documentation provided with your original HP device or visit the official HP support website. Keep your purchase receipt for warranty claims.