
1. Introduction
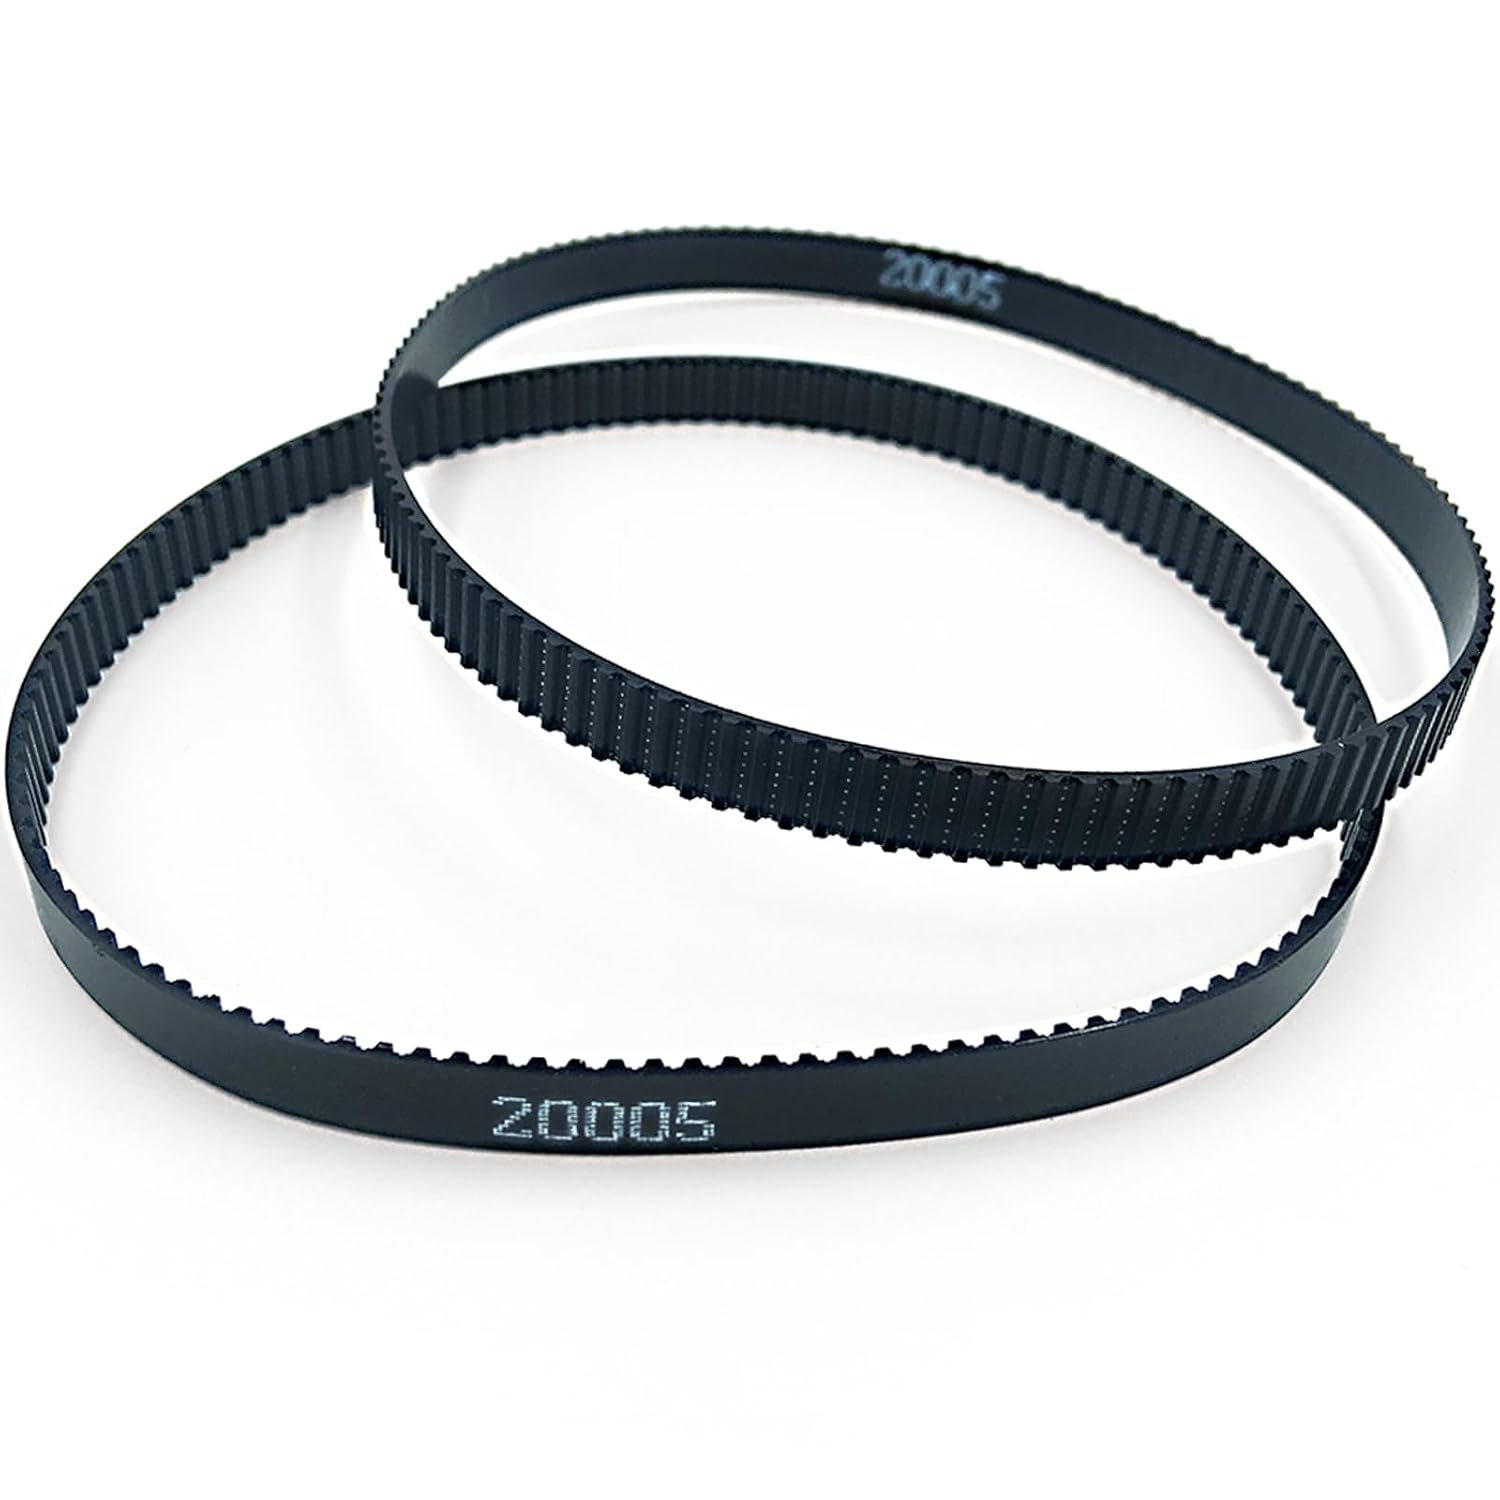
This manual provides essential information for the installation, operation, and maintenance of the PARTS Main Drive Belt 79867M. This drive belt is a replacement component designed for use with Zebra ZT410, ZT411, ZT420, and ZT421 thermal label printers with 300dpi resolution.
Important Note:
- This belt is specifically for 300dpi models and is not compatible with 200dpi versions of the Zebra ZT410/ZT420 printers.
- Always ensure the printer is powered off and unplugged before performing any maintenance or installation.
2. Setup and Installation
Follow these steps to correctly install the new main drive belt in your Zebra thermal printer:
- Prepare the Printer: Power off your Zebra ZT410/ZT411/ZT420/ZT421 printer and unplug it from the power source. Open the printer's access cover to expose the internal drive mechanism.
- Locate the Motor: Identify the motor responsible for driving the print mechanism and the existing drive belt.
- Remove Motor Screws: Locate the two screws that secure the motor in place. These screws allow for adjustment of belt tension.
- Loosen/Remove Screws: Loosen or remove these two screws to allow the motor to move slightly. This will create slack in the old belt, making it easier to remove.
- Remove Old Belt: Carefully remove the worn or damaged drive belt from the pulleys.
- Install New Belt: Place the new PARTS Main Drive Belt 79867M onto the pulleys. Ensure it is seated correctly and smoothly around all gears and rollers.

- Adjust Tension and Secure: Reposition the motor to achieve proper belt tension. The belt should be taut but not overly tight. Once tension is correct, tighten the two motor screws securely.
- Close and Test: Close the printer's access cover. Reconnect the power cable and turn on the printer. Perform a test print to ensure proper functionality.
3. Operating Instructions
The main drive belt is an internal component that facilitates the movement of the print head and media within the printer. Once correctly installed, its operation is integrated into the printer's normal functions.
For specific operating instructions related to your Zebra ZT410, ZT411, ZT420, or ZT421 thermal printer, please refer to the official user manual provided by Zebra Technologies.
4. Maintenance
To ensure the longevity and optimal performance of your PARTS Main Drive Belt 79867M and your printer, consider the following maintenance tips:
- Regular Inspection: Periodically inspect the drive belt for any signs of wear, such as cracks, fraying, stretching, or missing teeth. A worn belt can lead to inconsistent print quality or complete printer malfunction.
- Cleanliness: Keep the internal area of the printer, especially around the drive mechanism, free from dust, paper debris, and label residue. Accumulation of debris can interfere with belt operation and cause premature wear.
- Proper Tension: Ensure the belt maintains proper tension. If it appears loose, it may slip; if it's too tight, it can put undue strain on the motor and other components. Refer to the installation section for tension adjustment.
5. Troubleshooting
If you encounter issues after replacing the main drive belt, consider these troubleshooting steps:
- Printer Not Functioning: Double-check all connections, including the power cable. Ensure the printer's covers are fully closed, as some printers have safety interlocks.
- Belt Slipping or Noise: This often indicates incorrect belt tension. Re-open the printer and adjust the motor position to achieve proper tension. Ensure the motor screws are tightened securely.
- Print Quality Issues: If print quality has degraded (e.g., inconsistent feeding, skipped labels), verify the belt is correctly aligned on all pulleys and that its tension is appropriate.
- Incorrect Belt Model: Confirm that you have installed the correct 300dpi version of the belt (P/N 79867M or 20005) for your specific Zebra ZT410/ZT411/ZT420/ZT421 printer model. The 200dpi models use a different belt.
- Other Printer Problems: If the belt appears correctly installed and tensioned, and issues persist, consult your Zebra printer's comprehensive troubleshooting guide for other potential causes.
6. Specifications
| Feature | Detail |
|---|---|
| Product Name | Main Drive Belt |
| Part Number | 79867M, 20005 |
| Brand | PARTS |
| Compatibility | Zebra ZT410, ZT411, ZT420, ZT421 Thermal Label Printers (300dpi models only) |
| Included Components | 1x ZT410/420 Main Drive Belt 300dpi |
| GTIN/UPC | 880611087849 |


7. Warranty and Support
The PARTS Main Drive Belt 79867M comes with a 3-month replacement warranty from the date of purchase. Additionally, customers are eligible for a 30-day money-back guarantee if the product does not meet their satisfaction for any reason.
For technical assistance, warranty claims, or any other support inquiries, please contact your retailer or the manufacturer directly. Please have your purchase details and the product's part number (79867M or 20005) available when contacting support.


