1. Introduction
This manual provides instructions for the installation, use, and care of your RoboTeen Custom 3D Printed Front and Rear Windshield Mounts, specifically designed for the Crosstour CR900 Dash Camera. These mounts offer a custom-fit solution for securing your dash camera system to your vehicle's windshield.

Image 1.1: Overview of the custom 3D printed front and rear windshield mounts.
2. Product Components
The product includes two custom 3D printed mounts: one for the front dash camera unit and one for the rear dash camera unit. Adhesive materials (velcro or double-sided tape) are provided for windshield attachment.
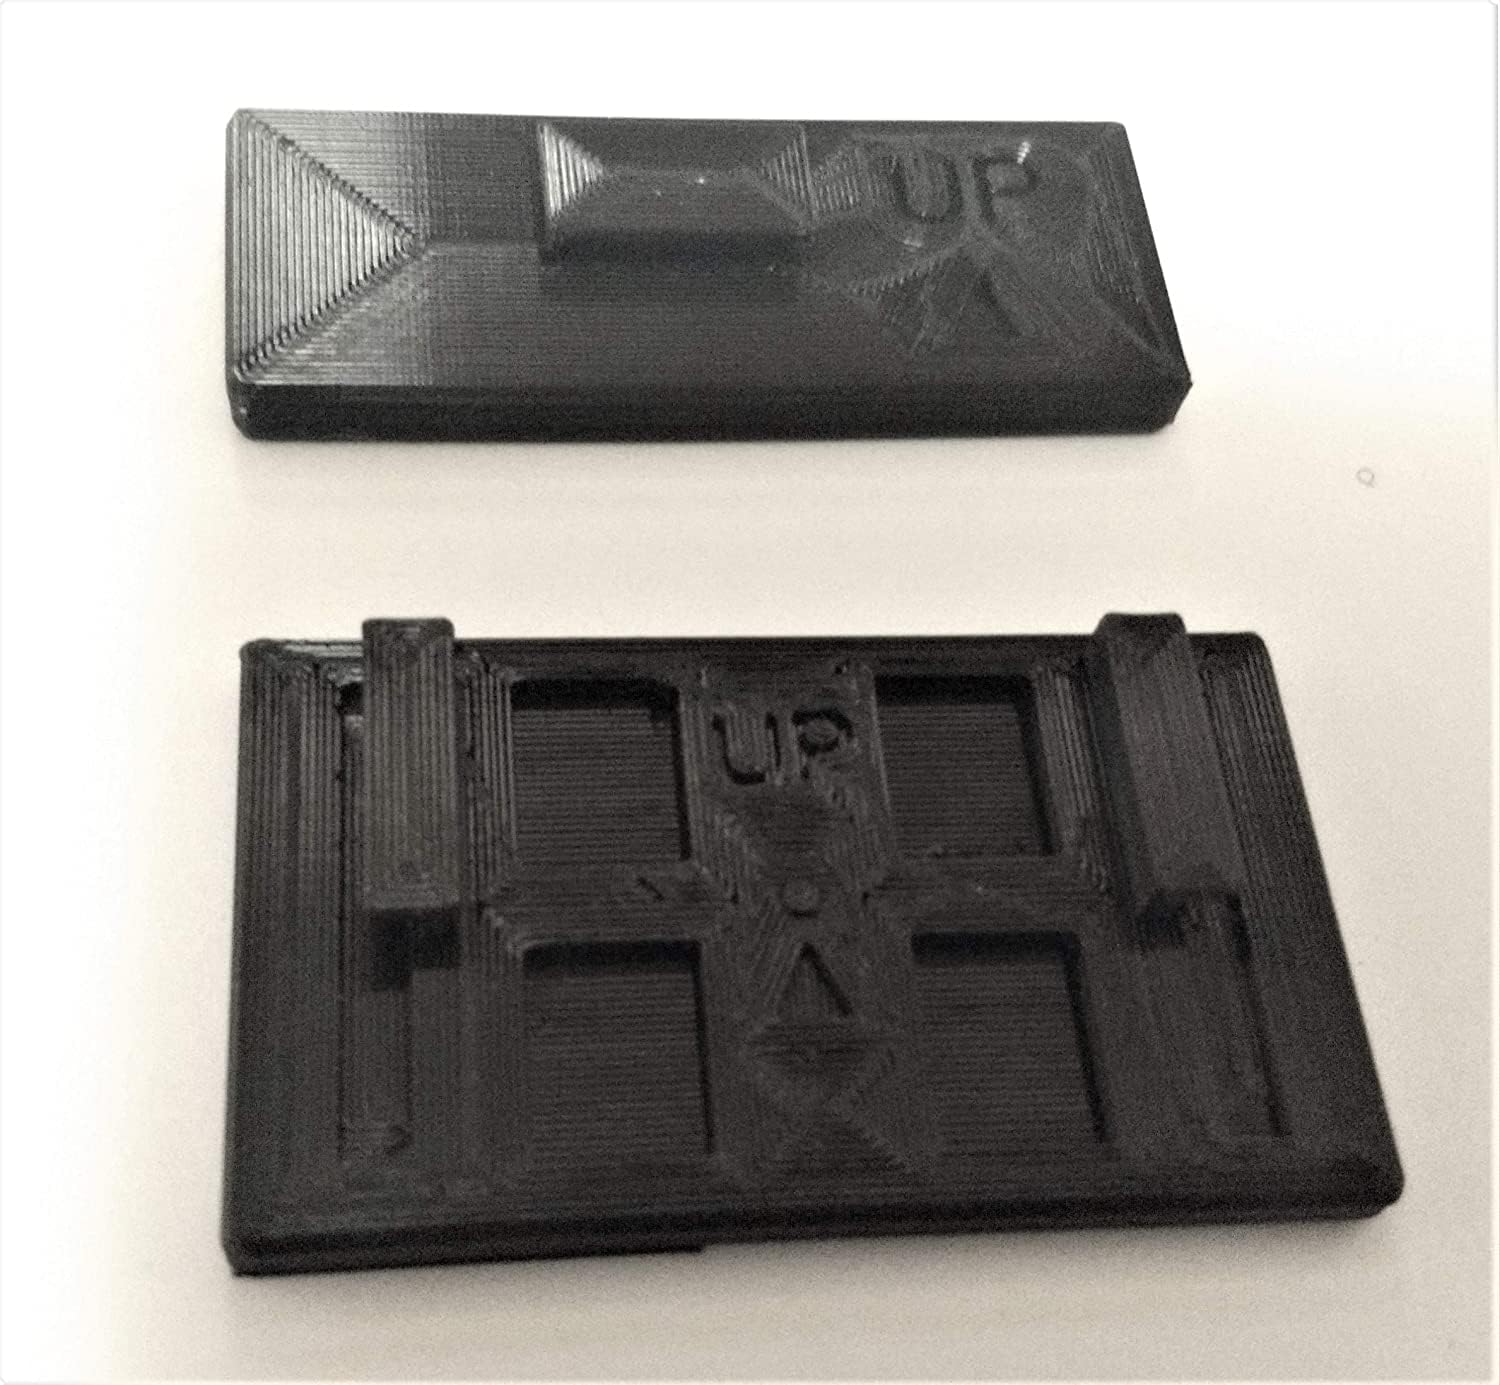
Image 2.1: Top view of the front and rear mounts, showing their distinct designs.
3. Setup and Installation
Follow these steps to properly install your dash camera mounts:
- Prepare the Windshield Surface: Clean the desired mounting area on your windshield thoroughly with an alcohol wipe to remove any dust, grease, or residue. Allow the surface to dry completely.
- Identify Mounts: Distinguish between the front camera mount and the rear camera mount. The mounts are designed to fit specific camera units.
- Attach Adhesive to Mount: Apply the provided velcro or double-sided tape to the flat side of each mount that will face the windshield. Ensure firm adhesion to the mount.
- Position the Mounts: Carefully position each mount on the cleaned windshield surface. Press firmly for at least 30 seconds to ensure strong adhesion. For optimal results, allow the adhesive to cure for several hours (or as recommended by the adhesive manufacturer) before attaching the camera.
- Attach Dash Camera: Slide the respective Crosstour CR900 dash camera unit onto its corresponding mount until it clicks securely into place. Ensure the camera is oriented correctly (e.g., "UP" indicator on the mount facing upwards).

Image 3.1: The Crosstour CR900 dash camera units positioned next to their respective custom mounts, ready for attachment.

Image 3.2: The Crosstour CR900 dash camera units securely attached to the custom 3D printed mounts.
Important Note: If the provided adhesive is not sufficient for your needs, you may need to procure a stronger adhesive solution for mounting the mounts to the windshield.
4. Operating Considerations
Once installed, the mounts securely hold your dash camera in place. Ensure the camera's view is unobstructed and that it is positioned to capture the desired field of vision. Periodically check the mount's adhesion to the windshield, especially after significant temperature changes.
5. Maintenance
- Cleaning: Wipe the mounts with a soft, damp cloth to remove dust or smudges. Avoid harsh chemicals that may damage the PETG plastic.
- Adhesive Check: Regularly inspect the adhesive bond between the mount and the windshield. If the mount shows signs of loosening, re-secure it with new adhesive.
- Heat Exposure: The mounts are constructed from PETG plastic, which offers improved heat resistance compared to other plastics. They are designed to withstand temperatures up to 100°F (37.8°C) without deforming. If the interior temperature of your vehicle consistently exceeds 100°F, these mounts are not recommended, as deformation may occur.
6. Troubleshooting
- Mount Not Sticking:
- Ensure the windshield surface was thoroughly cleaned and dry before application.
- Apply firm pressure for an adequate duration during installation.
- Allow sufficient curing time for the adhesive.
- If issues persist, consider using a stronger, automotive-grade adhesive.
- Mount Deforming:
- The mounts are designed for temperatures up to 100°F. If your car's interior temperature frequently exceeds this, the material may soften or deform. Consider alternative mounting solutions or parking in shaded areas.
- Camera Not Fitting Securely:
- Ensure you are using the correct mount for the corresponding camera unit (front vs. rear).
- Verify the camera is aligned correctly with the mount's grooves and pushed firmly until it locks.
7. Specifications
| Product Type | Custom 3D Printed Windshield Mounts |
| Compatibility | Crosstour CR900 Dash Camera (Front & Rear Units) |
| Material | PETG Plastic |
| Heat Resistance | Up to 100°F (37.8°C) |
| Attachment Method | Adhesive (Velcro or Double-Sided Tape, user-supplied alternatives possible) |
| Item Weight | Approximately 2 ounces (total for both mounts) |
8. Warranty and Support
Specific warranty information for this custom 3D printed product is not provided in the product details. For any questions, support, or warranty inquiries, please contact the seller, RoboTeen, directly through the platform where the purchase was made.