1. Safety Information
Please read all instructions carefully before beginning assembly and installation. Failure to follow these instructions may result in electric shock, fire, or other hazards that can cause injury or property damage.
- Electrical Safety: Always turn off the main power at the circuit breaker or fuse box before installing, cleaning, or servicing the fixture. Ensure all electrical connections comply with local codes and ordinances. If you are unsure about wiring, consult a qualified electrician.
- Handling Crystals: Crystals are fragile. Handle them with care to prevent chipping or breaking. Wear gloves to avoid leaving fingerprints.
- Weight: Ensure the ceiling junction box and mounting hardware can support the weight of the fixture.
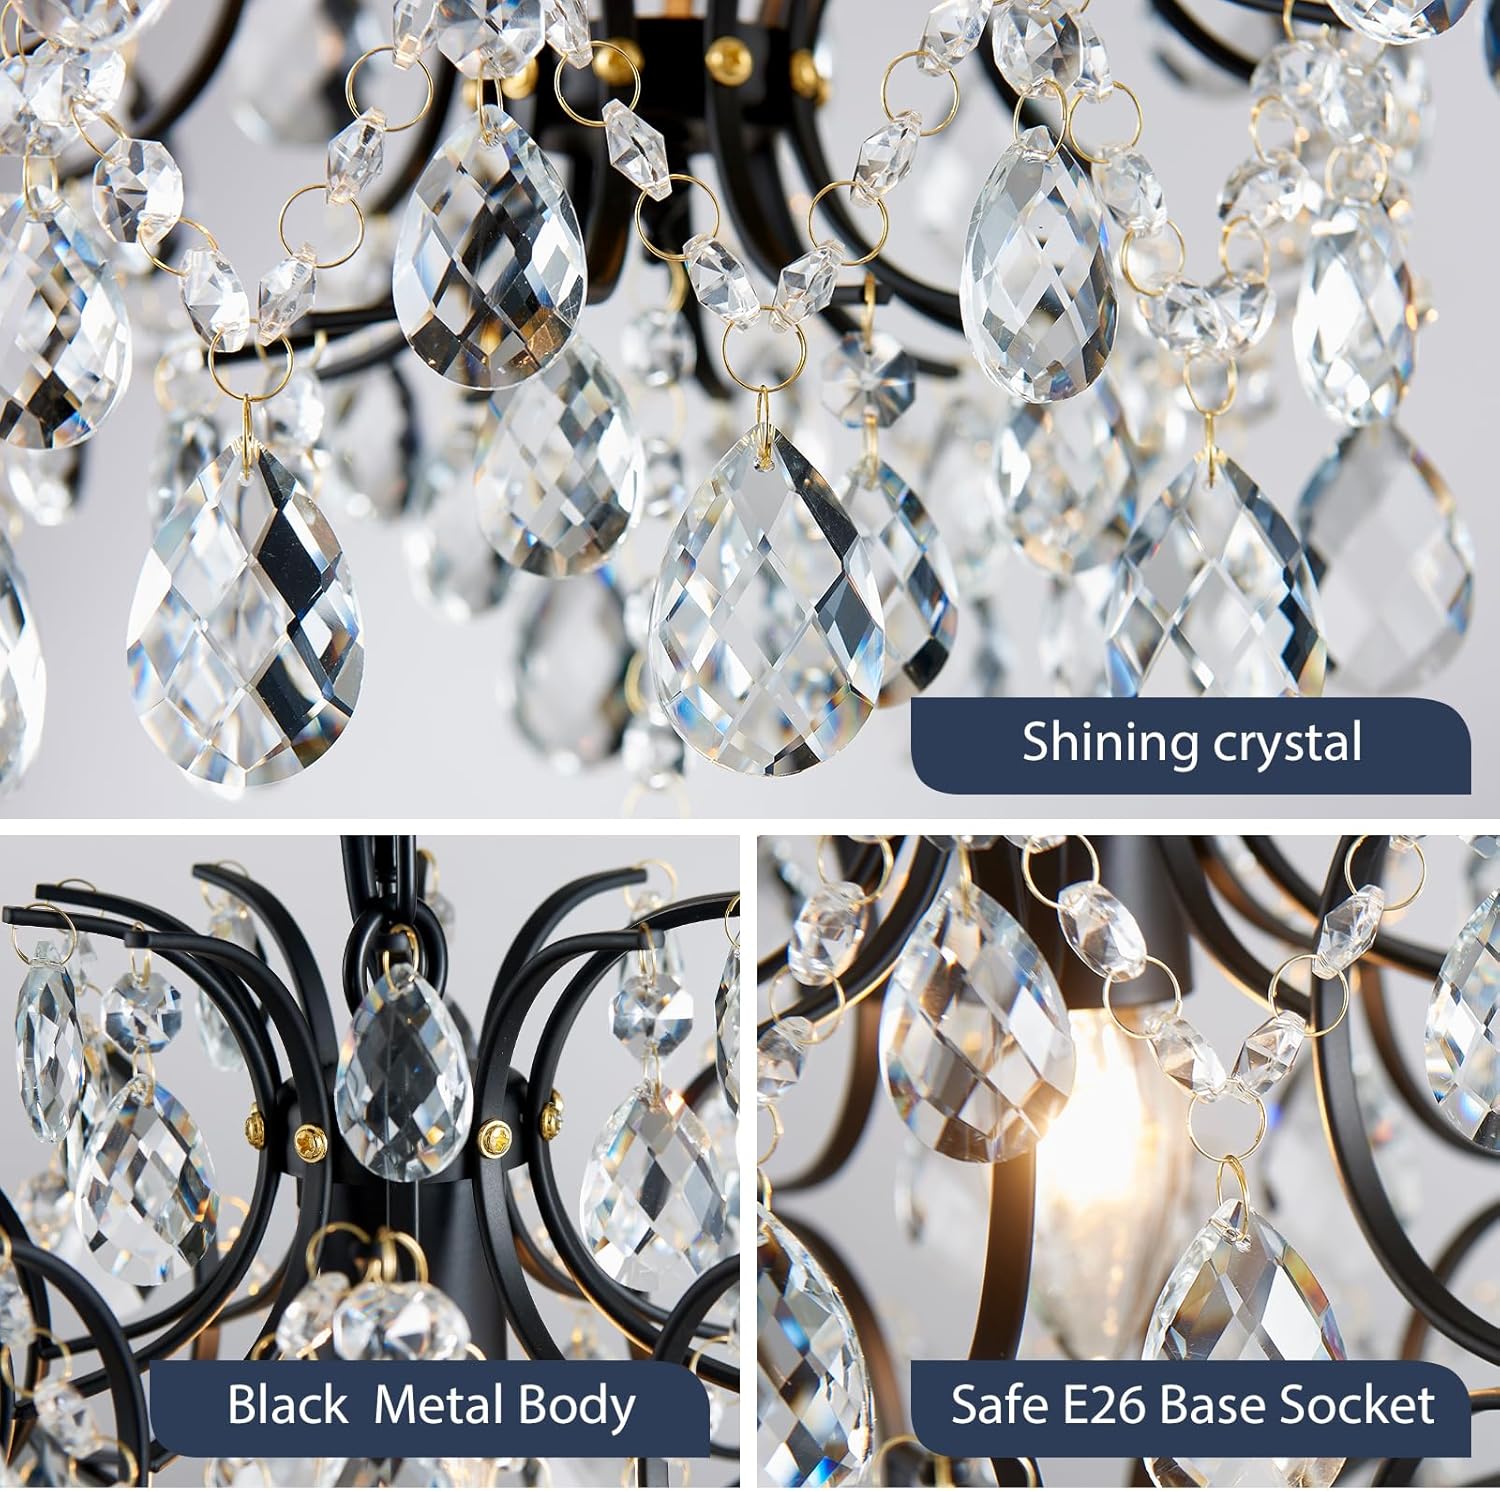
- Bulb Requirements: Use only E26 bulbs as specified. Do not exceed the maximum wattage.
- Indoor Use Only: This fixture is designed for indoor use in dry locations. Do not expose to moisture.
2. Package Contents
Carefully unpack all components and check against the list below. Keep all packaging materials until installation is complete to ensure no parts are missing or damaged.

Components List:
- Chandelier Frame (Black Metal Body)
- Crystal Components (various shapes and sizes, typically pre-sorted and labeled)
- Ceiling Canopy/Plate (Diameter 5 inch x Height 2 inch)
- Adjustable Hanging Chain (max Length 40 inch)
- Mounting Hardware (screws, wire nuts, crossbar)
- Instruction Manual
Note: E26 bulb is required and not included.
3. Setup & Installation
3.1 Pre-Installation
- Turn off Power: Before starting, ensure the power to the circuit at the main fuse box or circuit breaker is completely off.
- Prepare Tools: Gather necessary tools (not included): screwdriver, wire strippers, electrical tape, pliers, and safety glasses.
- Review Instructions: Read through all steps before beginning. It is highly recommended to assemble the chandelier frame and attach crystals before hanging the fixture, as noted by many users for ease of assembly.
3.2 Assembly of Chandelier Frame and Crystals
The chandelier frame typically requires minor assembly. Pay close attention to the orientation of the arms to ensure welded seams face upwards. The crystal attachment process is time-consuming but crucial for the final appearance.
- Assemble the metal frame components according to the diagrams provided in the included manual. Ensure all arms are securely attached.
- Identify the different crystal types (often labeled A, B, C, D, etc.) and their corresponding hanging locations on the frame.
- Using pliers, carefully open the small rings on the crystal strands and attach them to the designated points on the chandelier frame. It is often easier to attach the connecting crystal strings (e.g., 'a' type) first, then individual crystals.
- Ensure each crystal hangs freely and is not obstructed by other parts of the frame or other crystals.
3.3 Installation to Ceiling


- Attach Mounting Bracket: Secure the mounting crossbar to the ceiling junction box using the provided screws.
- Adjust Chain Length: Determine the desired hanging height for your chandelier. The chain is adjustable up to 40 inches. Remove excess chain links if necessary.
- Wire Connections: Connect the fixture's wires to the house wires: black to black (live), white to white (neutral), and bare copper/green to bare copper/green (ground). Secure connections with wire nuts and electrical tape.
- Secure Canopy: Carefully lift the chandelier and tuck the wires into the junction box. Slide the ceiling canopy up the chain and secure it to the mounting bracket with the provided screws.
- Install Bulb: Screw one E26 bulb (not included) into the socket.
- Restore Power: Turn the power back on at the circuit breaker.
4. Operation

Once installed and powered, the Bestier Pendant Chandelier operates like a standard light fixture.
- Turning On/Off: Use your wall switch to turn the chandelier on or off.
- Dimming Functionality: This fixture is dimmable. If you wish to use a dimming feature, ensure you have a compatible dimmable E26 bulb and a dimmer switch installed on your wall.
5. Maintenance
Regular cleaning and proper care will help maintain the beauty and longevity of your chandelier.
- Cleaning the Crystals: To clean the crystals, turn off the power to the fixture. Use a soft, lint-free cloth, slightly dampened with water or a mild glass cleaner. Avoid abrasive cleaners or harsh chemicals that could damage the crystal finish.
- Cleaning the Metal Frame: Wipe the black metal frame with a dry, soft cloth. Do not use abrasive cleaners or polishes that could scratch or dull the finish.
- Bulb Replacement: Ensure the power is off before replacing the bulb. Allow the bulb to cool completely before touching it. Replace with an E26 bulb of the correct wattage.
- Periodic Inspection: Periodically check all connections and hanging components to ensure they remain secure.
6. Troubleshooting
If you encounter issues with your chandelier, refer to the following common problems and solutions:
| Problem | Possible Cause | Solution |
|---|---|---|
| Light does not turn on. | No power to fixture, loose wiring, faulty bulb, faulty wall switch. | Check circuit breaker/fuse. Ensure all wire connections are secure. Replace bulb. Test wall switch. |
| Light flickers. | Loose bulb, incompatible dimmer switch/bulb, loose wiring. | Tighten bulb. Ensure dimmable bulb is used with a compatible dimmer. Check wiring connections. |
| Crystals fall off. | Rings not securely closed, improper attachment during assembly. | Ensure all crystal rings are fully closed with pliers. Re-attach crystals firmly. |
| Chandelier hangs crooked. | Mounting bracket not level, uneven chain adjustment. | Adjust mounting bracket to be level. Ensure chain is properly seated and adjusted evenly. |
7. Specifications
| Feature | Detail |
|---|---|
| Brand | Bestier |
| Model Name | AK-AJ-18163 |
| Color | Black |
| Material | Metal, Crystal |
| Style | Modern |
| Light Fixture Form | Chandelier |
| Product Dimensions | 12.6"L x 12.6"W x 15.75"H (D13" x H16") |
| Ceiling Plate Dimensions | Diameter 5 inch x Height 2 inch |
| Adjustable Hanging Chain | Max Length 40 inch |
| Room Type | Bathroom, Dining Room, Bedroom, Living Room, Entryway |
| Indoor/Outdoor Usage | Indoor |
| Power Source | AC |
| Installation Type | Ceiling Mount |
| Special Feature | Dimmable (with compatible bulb and switch) |
| Light Source Type | CFL, LED, Halogen, Incandescent |
| Number of Light Sources | 1 |
| Voltage | 240 Volts |
| Wattage | 40 watts (max) |
| Bulb Base | E26 |
| Assembly Required | Yes |
| Item Weight | 7.39 pounds |
8. Warranty & Support
For warranty information or technical support, please refer to the documentation included with your purchase or contact Bestier customer service through their official website or the retailer where the product was purchased.
Please have your model number (AK-AJ-18163) and purchase date ready when contacting support.