1. Introduction
Thank you for choosing the Candy Brava CDPH 2L1049W-01 Slim Dishwasher. This manual provides essential information for the safe and efficient installation, operation, and maintenance of your appliance. Please read these instructions carefully before using the dishwasher and keep them for future reference.
2. Safety Information
General Safety
- This appliance is intended for household use only.
- Do not allow children to play with the appliance.
- Keep packaging materials away from children.
- Ensure the appliance is properly grounded.
- Do not operate the dishwasher if it is damaged.
Electrical Safety
- Connect the dishwasher to a properly grounded outlet.
- Do not use extension cords or multiple adapters.
- Always unplug the appliance before cleaning or maintenance.
Water Safety
- Ensure water inlet and outlet hoses are securely connected to prevent leaks.
- The appliance includes an anti-overflow system for added safety.
Usage Safety
- Only use detergents and rinse aids specifically designed for dishwashers.
- Place sharp items like knives with the handles up to avoid injury.
- Do not open the door during operation, especially during the hot wash cycle.
3. Product Overview
The Candy Brava CDPH 2L1049W-01 is a slimline dishwasher designed for efficiency and convenience in smaller kitchens. It features a compact design with a 45 cm width and a capacity for 10 place settings.
Main Components
- Upper Basket: Adjustable for different dish sizes.
- Lower Basket: For larger plates and pots.
- Cutlery Basket: For forks, knives, and spoons.
- Detergent Dispenser: For dishwasher tablets or powder.
- Rinse Aid Dispenser: For improved drying and shine.
- Salt Container: For water softening.
- Spray Arms: Two rotating spray arms ensure thorough cleaning.
- Control Panel: Features LED display and push-button controls for program selection and settings.

Figure 3.1: Front view of the Candy Brava CDPH 2L1049W-01 Dishwasher.
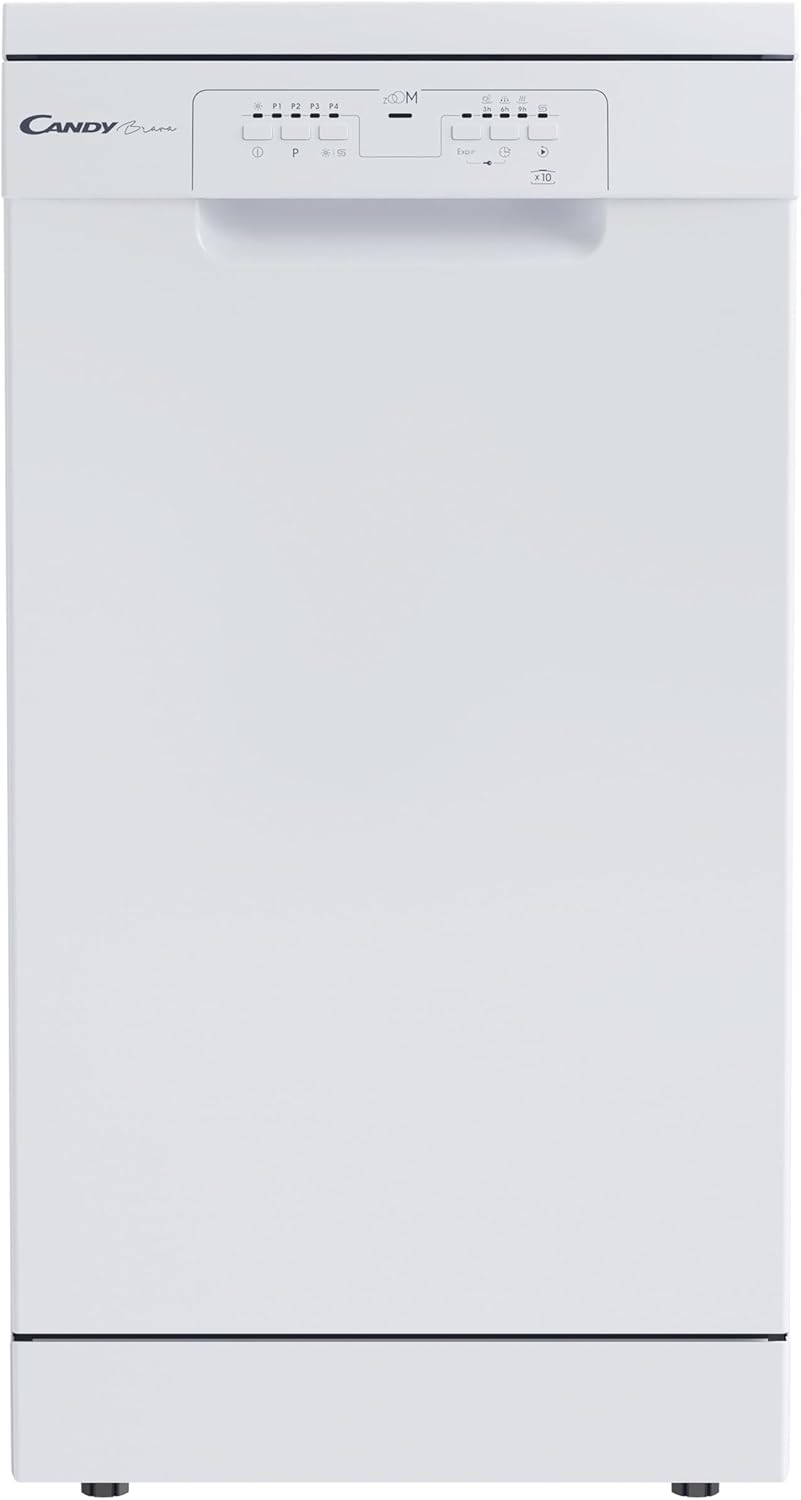
Figure 3.2: Interior view of the dishwasher with baskets.
4. Installation
Proper installation is crucial for the safe and efficient operation of your dishwasher. It is recommended that installation be performed by a qualified technician.
Placement
- The dishwasher is a freestanding model.
- Ensure sufficient space for opening the door and accessing the baskets.
- Dimensions: 85 cm (height) x 45 cm (width) x 58 cm (depth).
- Place the appliance on a stable, level surface.
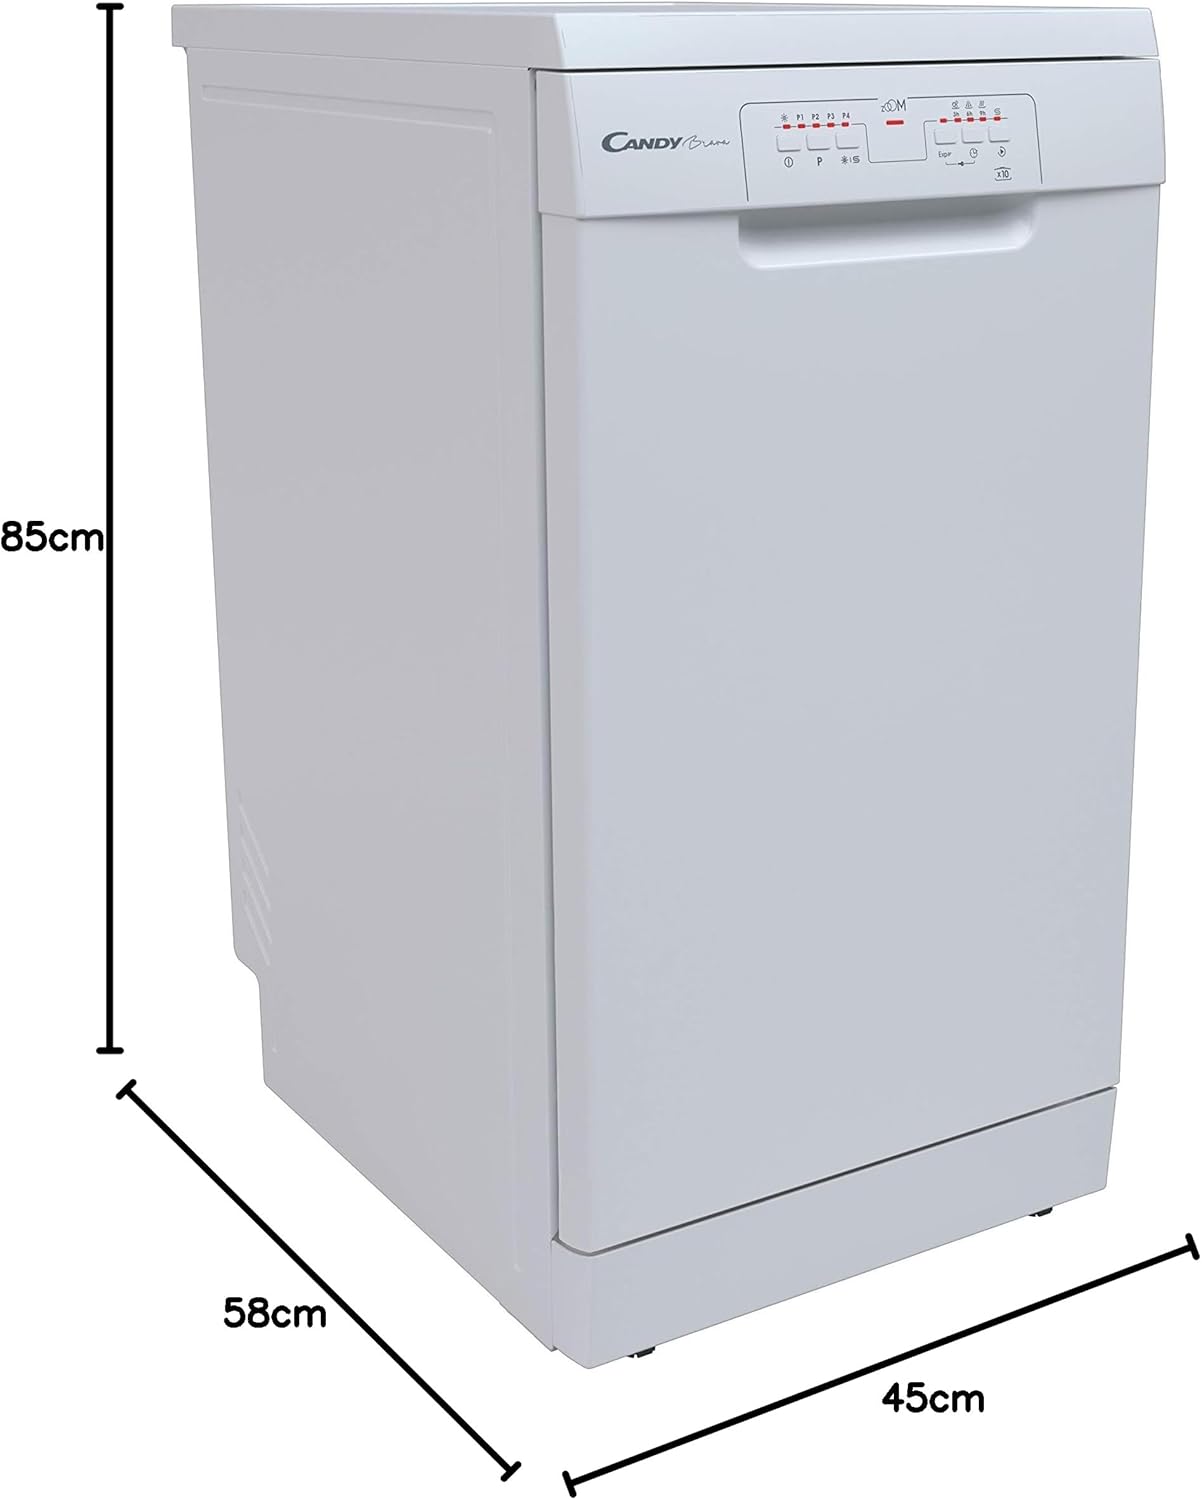
Figure 4.1: Dishwasher dimensions (Height: 85cm, Depth: 58cm, Width: 45cm).
Water Connection
- Connect the water inlet hose to a cold water tap with a 3/4-inch thread.
- Ensure the drain hose is properly connected to a drain pipe or sink.
- Check for any leaks after connecting the hoses.
Electrical Connection
- Connect the power cord to a grounded electrical outlet (230 Volts).
- Do not use adapters or extension cords.
5. Initial Setup
Before using your dishwasher for the first time, perform the following steps:
Filling the Salt Dispenser
- Unscrew the cap of the salt container located at the bottom of the dishwasher.
- Using a funnel, pour approximately 1 kg of dishwasher salt into the container.
- Fill the container with water until it overflows.
- Replace the cap tightly.
- The salt indicator light on the control panel will turn off after a few cycles.
Filling the Rinse Aid Dispenser
- Open the rinse aid dispenser cover, usually located next to the detergent dispenser.
- Carefully pour rinse aid into the dispenser until it reaches the maximum level indicator.
- Close the cover securely.
- The rinse aid indicator light on the control panel will illuminate when the level is low.
6. Operating Instructions
Follow these steps for daily operation of your dishwasher:
Loading the Dishwasher
- Scrape off large food particles from dishes before loading.
- Place larger items in the lower basket and smaller, delicate items in the upper basket.
- Ensure dishes do not block the spray arms.
- Place cutlery in the cutlery basket with handles down for forks and spoons, and handles up for knives.

Figure 6.1: Example of a properly loaded dishwasher.
Adding Detergent
- Open the detergent dispenser.
- Add the appropriate amount of dishwasher detergent (tablet, powder, or liquid) according to the program selected and the soil level of the dishes.
- Close the dispenser cover firmly.
Selecting and Starting a Program
- Close the dishwasher door.
- Press the Power button to turn on the appliance.
- Use the Program selection button to choose your desired wash cycle. The selected program will be indicated on the LED display.
- Press the Start/Pause button to begin the cycle.
Delayed Start Function
- After selecting a program, press the Delay Start button repeatedly to set a delay of 3, 6, or 9 hours.
- The dishwasher will start automatically after the set delay time.
7. Dishwasher Programs
The Candy Brava CDPH 2L1049W-01 offers 5 wash programs to suit various needs:
| Program | Description | Typical Use |
|---|---|---|
| Eco | Standard program for normally soiled daily dishes, most efficient in terms of water and energy consumption. | Daily use, mixed loads. |
| Intensive | For heavily soiled dishes, pots, and pans with dried-on food. | Pots, pans, heavily soiled items. |
| Universal | For normally soiled dishes, suitable for a wide range of items. | Everyday dishes, general use. |
| Prewash | Short rinse cycle to prevent food from drying onto dishes if not washing immediately. | Pre-rinsing, partial loads. |
| Zoom 32 min | Quick wash program for lightly soiled dishes that do not require drying. | Lightly soiled items, quick refresh. |
8. Maintenance
Regular maintenance ensures optimal performance and extends the lifespan of your dishwasher.
Cleaning the Filters
- Locate the filter assembly at the bottom of the dishwasher tub.
- Twist and remove the coarse filter, then separate the fine filter.
- Rinse all filter components under running water to remove food particles.
- Reassemble the filters and place them back into the dishwasher, ensuring they are securely locked.
Cleaning the Spray Arms
- Periodically check the spray arm nozzles for blockages.
- If necessary, remove the spray arms and clean the nozzles with a thin wire or toothpick.
- Ensure the spray arms rotate freely after reinstallation.
Cleaning the Exterior and Interior
- Wipe the exterior surfaces with a soft, damp cloth. Do not use abrasive cleaners.
- Clean the door seal regularly to remove food residue and prevent odors.
- Run a dishwasher cleaning cycle with a specialized cleaner periodically to remove grease and limescale buildup.
9. Troubleshooting
Before contacting customer service, please check the following common issues and their solutions:
| Problem | Possible Cause | Solution |
|---|---|---|
| Dishwasher does not start. | Power cord not plugged in; door not closed properly; fuse blown. | Check power connection; ensure door is latched; check household fuse/breaker. |
| Dishes are not clean. | Improper loading; clogged spray arms; insufficient detergent; incorrect program. | Reload dishes correctly; clean spray arm nozzles; use adequate detergent; select appropriate program. |
| Water not draining. | Clogged filter; kinked drain hose; drain pump malfunction. | Clean filters; straighten drain hose; contact service if pump is faulty. |
| White spots on dishes. | Insufficient rinse aid; hard water; low salt level. | Refill rinse aid; check salt level and adjust water hardness setting if available. |
10. Specifications
Technical specifications for the Candy Brava CDPH 2L1049W-01 Dishwasher:
- Model Number: 32002214 (CDPH 2L1049W-01)
- Form Factor: Freestanding
- Product Weight: 38 kg
- Voltage: 230 Volts
- Number of Place Settings: 10
- Number of Programs: 5 (Eco, Intensive, Universal, Prewash, Zoom 32 min)
- Water Consumption (per cycle): 9 Liters
- Noise Level: 49 Decibels (C)
- Energy Class: E (0.75 kWh/cycle)
- Product Dimensions (H x W x D): 85 x 45 x 58 cm
- Interior Material: Stainless Steel
- Controls Type: Push-button with LED display
- Special Features: Delayed Start (3/6/9 H), Salt and Rinse Aid Indicators, Anti-overflow system.
11. Warranty and Support
For warranty information, technical assistance, or to purchase spare parts, please refer to the warranty card included with your product or contact Candy customer service. Keep your proof of purchase for warranty claims.
You can find more information and support on the official Candy website: www.candy-home.com


