1. Introduction
This manual provides detailed instructions for the installation, operation, and maintenance of your new carburetor. This carburetor is designed as a replacement part for specific Ariens 624E Snow Blower models equipped with a Tecumseh 6HP engine. Please read this manual thoroughly before attempting any installation or maintenance.
2. Safety Information
Warning: Always disconnect the spark plug wire and ensure the engine is cool before performing any work on the snow blower. Fuel is highly flammable. Work in a well-ventilated area and avoid open flames or sparks. Wear appropriate personal protective equipment (PPE) such as gloves and eye protection.
- Ensure the engine is off and cool before beginning.
- Disconnect the spark plug wire to prevent accidental starting.
- Work in a well-ventilated area.
- Keep fuel away from ignition sources.
- Dispose of old fuel and parts responsibly.
3. Package Contents
Verify that all items are present in the package:
- 1 x Carburetor
- 1 x Gasket

Image 3.1: The carburetor and its accompanying gasket.
The image above displays the carburetor and the gasket that are included in your purchase. Ensure both components are present and undamaged before proceeding with installation.
4. Setup and Installation
This section outlines the general steps for replacing the carburetor on your Ariens 624E Snow Blower with a Tecumseh 6HP engine. Specific procedures may vary slightly depending on your exact model. It is recommended to consult your snow blower's original service manual for detailed instructions.
4.1 Tools Required
- Socket Wrench Set
- Screwdriver Set (Phillips and Flathead)
- Pliers
- Fuel Line Clamp (optional, but recommended)
- Container for draining fuel
4.2 Removal of Old Carburetor
- Prepare the Snow Blower: Ensure the engine is off and cool. Disconnect the spark plug wire.
- Drain Fuel: Place a suitable container under the fuel line and disconnect the fuel line from the carburetor. Allow all fuel to drain.
- Remove Air Filter Assembly: Loosen and remove any bolts or clamps securing the air filter housing and air filter. Carefully remove the air filter assembly.
- Disconnect Linkages: Identify and carefully disconnect all throttle and choke linkages connected to the carburetor. Take note of their positions or take a photo for reassembly.
- Remove Mounting Bolts: Locate the bolts that secure the carburetor to the engine manifold. Loosen and remove these bolts.
- Remove Old Carburetor: Carefully pull the old carburetor away from the engine. Be mindful of any remaining gaskets or spacers.
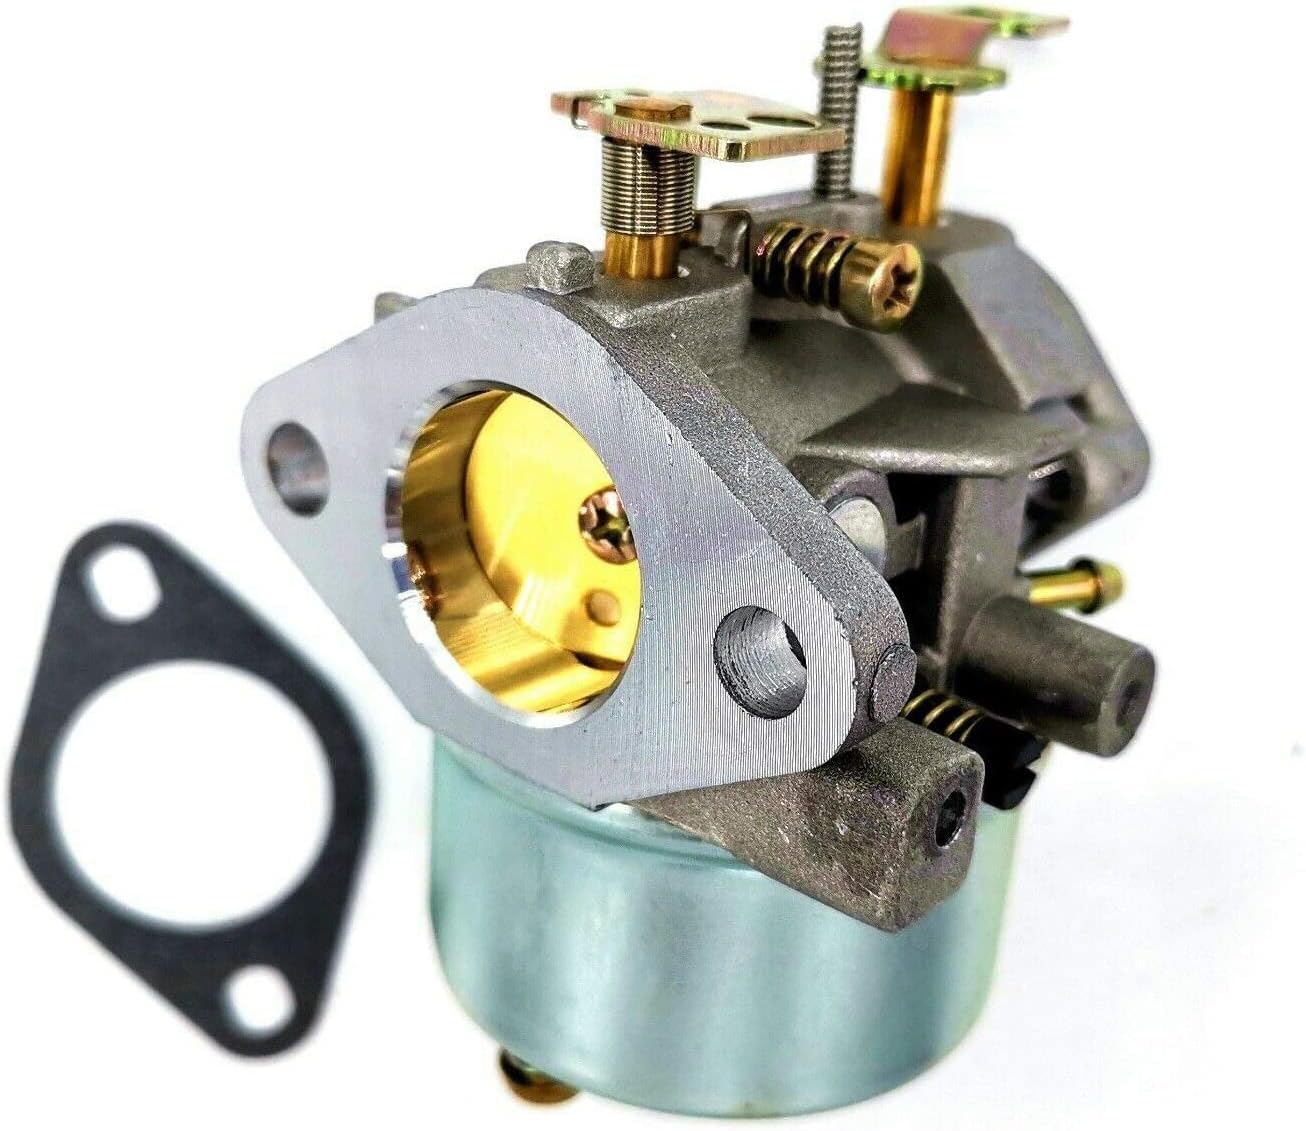
Image 4.1: Side view of the replacement carburetor, showing the fuel inlet and mounting points.
This image provides a clear side view of the carburetor, highlighting the fuel inlet and the mounting flange. This perspective can be helpful during the removal and installation process to identify connections.
4.3 Installation of New Carburetor
- Inspect New Carburetor: Before installation, visually inspect the new carburetor for any damage. Ensure it matches the appearance of your old carburetor as per manufacturer recommendation.
- Install New Gasket: Place the new gasket (included) onto the engine manifold studs. Ensure it is properly aligned.
- Mount New Carburetor: Carefully position the new carburetor onto the manifold studs, aligning it with the gasket.
- Secure Mounting Bolts: Reinstall the mounting bolts and tighten them securely, but do not overtighten.
- Reconnect Linkages: Reconnect all throttle and choke linkages to their correct positions on the new carburetor. Refer to your notes or photos taken during removal.
- Reconnect Fuel Line: Reconnect the fuel line to the carburetor's fuel inlet. Ensure a secure connection to prevent leaks.
- Reinstall Air Filter Assembly: Reattach the air filter and its housing.
- Refill Fuel Tank: Add fresh, clean fuel to the snow blower's fuel tank.
- Reconnect Spark Plug: Reconnect the spark plug wire.

Image 4.2: Top view of the carburetor, showing the throttle and choke mechanisms.
This image provides a top-down view of the carburetor, which is useful for identifying and reconnecting the throttle and choke linkages during installation. Pay close attention to the spring and lever positions.
5. Operating Instructions (Post-Installation)
After successful installation of the new carburetor, follow these steps to start and operate your snow blower:
- Prime the Carburetor: If your snow blower has a primer bulb, press it several times until fuel is visible in the fuel line or the bulb feels firm.
- Set Choke: Move the choke lever to the "FULL CHOKE" position.
- Set Throttle: Set the throttle to the "FAST" or "RUN" position.
- Start Engine: Pull the recoil starter cord firmly or engage the electric starter.
- Adjust Choke: Once the engine starts and runs smoothly, gradually move the choke lever to the "RUN" or "OFF" position.
- Warm-up: Allow the engine to warm up for a few minutes before engaging the auger or driving the snow blower.

Image 5.1: Bottom view of the carburetor, showing the float bowl and drain screw.
This image shows the bottom of the carburetor, including the float bowl. While not directly related to starting, understanding this component can be useful for future maintenance or troubleshooting related to fuel delivery.
6. Maintenance
Proper maintenance ensures the longevity and optimal performance of your carburetor. Regular checks and cleaning are recommended.
6.1 Fuel Quality
- Always use fresh, clean, unleaded gasoline.
- Avoid using old or stale fuel, as it can cause deposits and clog the carburetor.
- Consider using a fuel stabilizer, especially during off-season storage.
6.2 Cleaning
- Periodically inspect the carburetor for external dirt or debris. Clean with a soft brush or cloth.
- If the engine experiences fuel-related issues (e.g., rough idling, stalling), the carburetor may need internal cleaning. This typically involves disassembling the carburetor and cleaning jets and passages with carburetor cleaner. This procedure should only be performed by individuals with mechanical experience.
6.3 Storage
- Before long-term storage (e.g., off-season), drain all fuel from the fuel tank and carburetor. Run the engine until it stalls from lack of fuel to ensure the carburetor is dry.
- Alternatively, use a fuel stabilizer and run the engine for a few minutes to circulate the stabilized fuel through the system.
7. Troubleshooting
This section addresses common issues you might encounter after installing the new carburetor. If problems persist, consult a qualified service technician.
| Problem | Possible Cause | Solution |
|---|---|---|
| Engine won't start | No fuel, clogged fuel line, incorrect choke setting, spark plug issue. | Check fuel level, ensure fuel line is connected and clear, adjust choke, check spark plug. |
| Engine runs rough or stalls | Dirty carburetor jets, old fuel, air leak, incorrect idle adjustment. | Clean carburetor, use fresh fuel, check for air leaks around gaskets, adjust idle screw. |
| Fuel leaks from carburetor | Improperly seated gasket, loose mounting bolts, faulty float needle. | Ensure gasket is correctly installed and bolts are tightened. Inspect float needle for debris or wear. |
Note: Some user reviews mention issues with the needle valve or spring return. If you experience continuous fuel overflow or weak spring return, inspect these components carefully. Professional assistance may be required.
8. Specifications
- Product Type: Replacement Carburetor
- Compatibility: Ariens 624E Snow Blower models 920001, 932039, 932042 (ST624E) with Tecumseh 6HP Engine
- Included: 1 Carburetor, 1 Gasket
- Manufacturer: BHABAGALUSHKI OZOZLINSH LOUGFELTEY
- UPC: 619438194139
9. Warranty and Support
For any questions regarding this product, installation, or troubleshooting beyond the scope of this manual, please contact the seller or manufacturer directly. Information regarding specific warranty terms may be available from your point of purchase.
Note: Always refer to the original snow blower manufacturer's manual for comprehensive service and safety information related to your specific equipment.
