1. Important Safety Instructions
Please read these instructions carefully before using the appliance and keep them for future reference. This appliance is intended for household use only.
- Electrical Safety: Ensure the voltage indicated on the rating label matches your mains supply. Do not operate the appliance with a damaged cord or plug.
- Hot Surfaces: The appliance surfaces become very hot during operation. Use oven mitts or handles. Do not touch hot surfaces directly.
- Children: This appliance can be used by children aged 8 years and above and persons with reduced physical, sensory or mental capabilities or lack of experience and knowledge if they have been given supervision or instruction concerning use of the appliance in a safe way and understand the hazards involved. Children shall not play with the appliance. Cleaning and user maintenance shall not be made by children unless they are older than 8 and supervised.
- Water and Moisture: Do not immerse the appliance, cord, or plug in water or any other liquid. Do not use the appliance near water.
- Placement: Place the appliance on a stable, heat-resistant surface, away from walls and flammable materials. Ensure adequate ventilation.
- Unplugging: Always unplug the appliance from the mains socket after use, before cleaning, and in case of malfunction.
- Accessories: Only use accessories supplied or recommended by the manufacturer.
2. Product Components
Familiarize yourself with the parts of your SEVERIN Crepe Maker CM 2199.
- Crepe Maker Base Unit
- Removable Non-Stick Cooking Plate (approx. 38 cm diameter)
- Temperature Control Knob with Indicator Light (Red: Heating, Blue: Ready)
- Batter Spreader
- Crepe Spatula

3. Setup and First Use
- Unpacking: Carefully remove all packaging materials and dispose of them responsibly.
- Initial Cleaning: Before first use, wipe the non-stick cooking plate with a damp cloth. Ensure it is completely dry before placing it on the base unit.
- Placement: Place the crepe maker on a flat, stable, and heat-resistant surface. Ensure there is sufficient space around the appliance for ventilation.
- Assembly: Place the removable cooking plate securely onto the heating element of the base unit.
- Power Connection: Plug the power cord into a suitable wall socket (230V).
- Pre-heating (First Use Only): For the first use, it is recommended to heat the appliance without food for approximately 5-10 minutes at maximum temperature to burn off any manufacturing residues. A slight odor may occur; this is normal. Ensure the area is well-ventilated. After this, unplug the appliance and let it cool down completely before cleaning it as described in the "Cleaning & Maintenance" section.

4. Operating Instructions
4.1 Preparing Crepes
- Prepare Batter: Prepare your desired crepe batter.
- Pre-heat: Plug in the appliance. Turn the temperature control knob to the desired setting. The indicator light will illuminate red, indicating the appliance is heating.
- Ready Indicator: Once the set temperature is reached, the indicator light will turn blue. The appliance is now ready for use.

Image 4.1: A detailed view of the temperature control knob. The light changes from red (heating) to blue (ready) to indicate optimal cooking temperature. - Apply Batter: Pour a small amount of batter onto the center of the hot cooking plate.
- Spread Batter: Immediately use the provided batter spreader to spread the batter evenly in a circular motion to form a thin crepe.

Image 4.2: Illustrates the technique of using the batter spreader to achieve a uniformly thin crepe on the cooking surface. - Cook Crepe: Cook for approximately 1-2 minutes until the edges begin to brown and the surface appears set.
- Flip Crepe: Use the provided crepe spatula to carefully loosen the edges and flip the crepe. Cook the other side for another 30-60 seconds until golden brown.
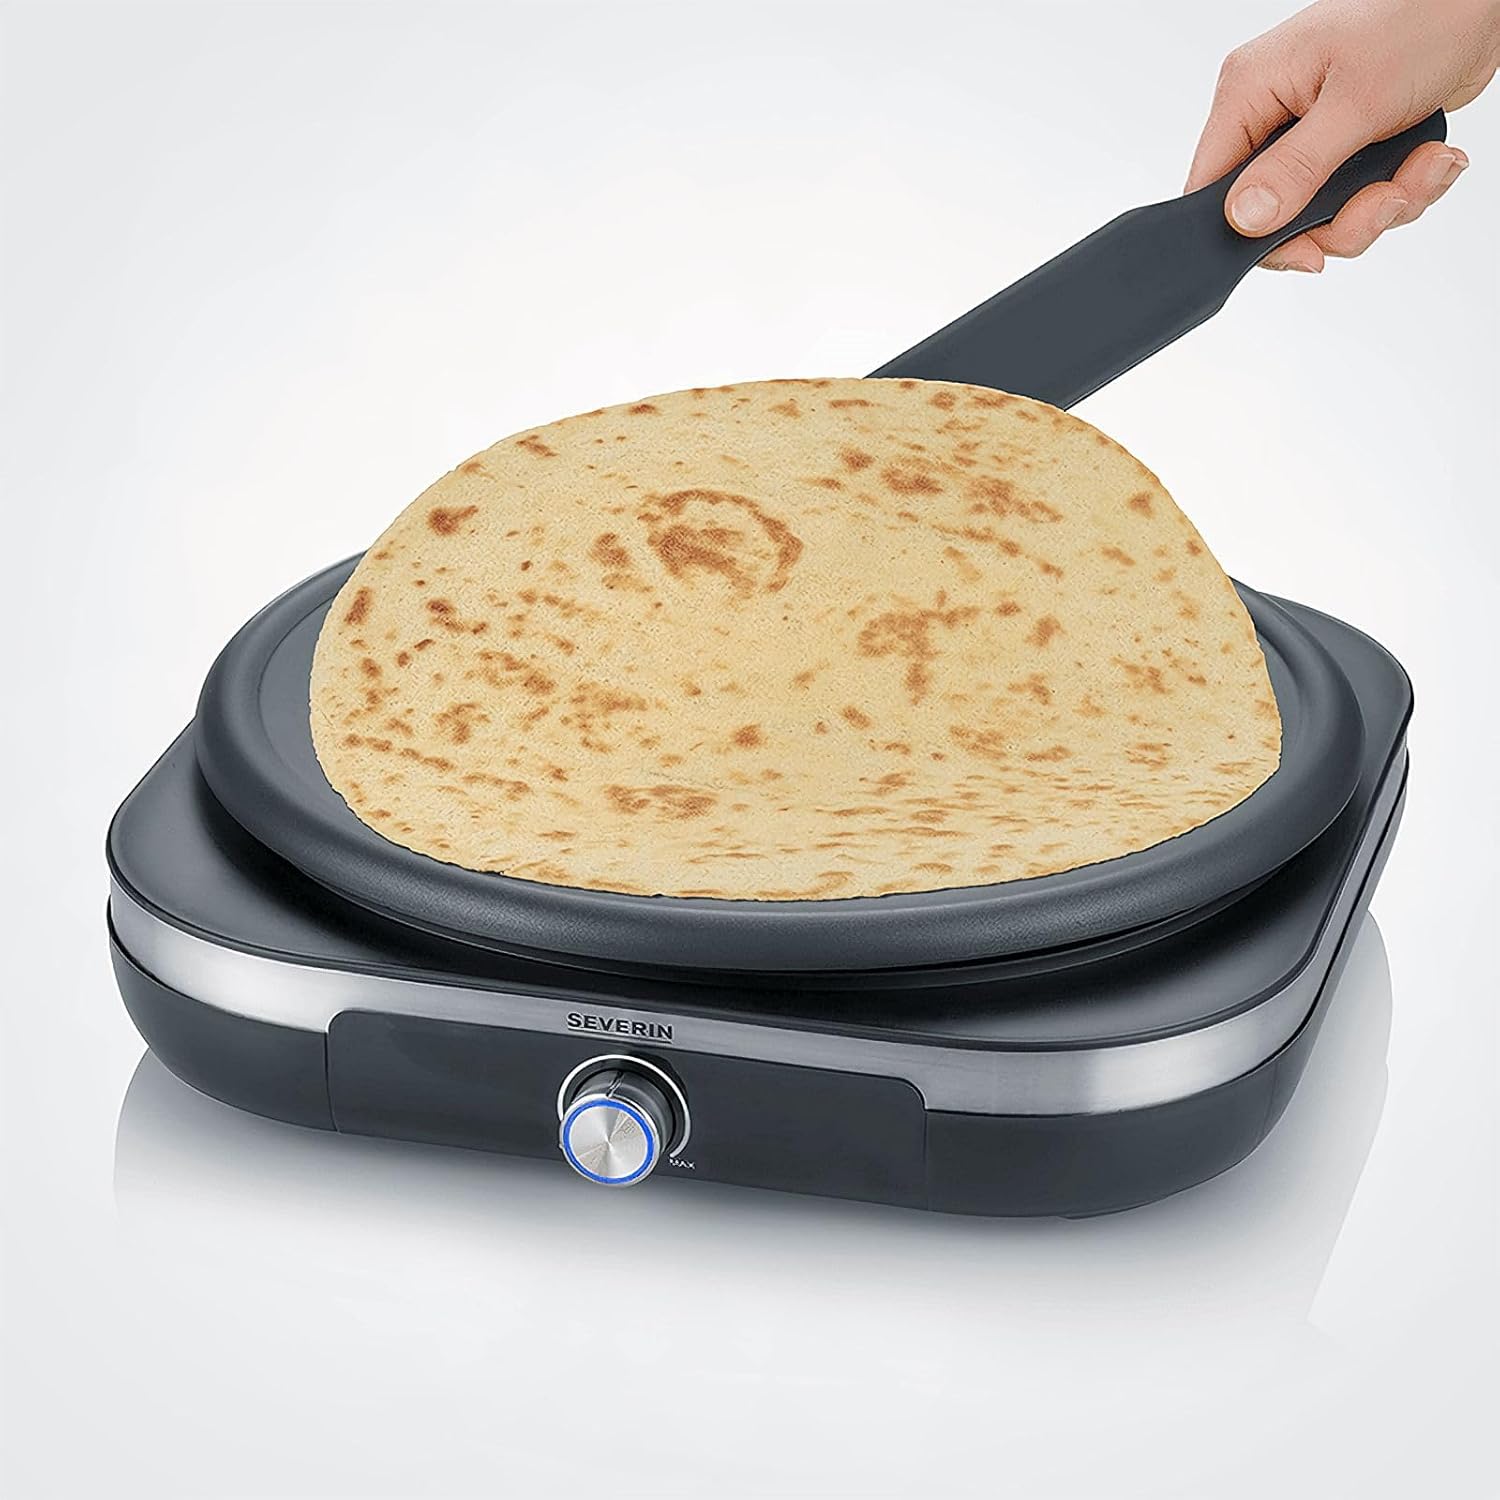
Image 4.3: Shows a crepe being flipped on the hot plate using the provided spatula, demonstrating the non-stick quality. - Remove Crepe: Once cooked, remove the crepe using the spatula and place it on a plate. Repeat the process for subsequent crepes.
4.2 Tips for Best Results
- For optimal non-stick performance, lightly grease the cooking plate with a small amount of oil or butter before the first crepe and periodically if needed.
- Adjust the temperature setting according to your recipe and desired browning.
- Allow the appliance to reheat fully between crepes if the blue indicator light turns off.

5. Cleaning and Maintenance
Regular cleaning ensures the longevity and optimal performance of your crepe maker.
- Unplug and Cool: Always unplug the appliance from the power outlet and allow it to cool down completely before cleaning.
- Remove Cooking Plate: Carefully remove the non-stick cooking plate from the base unit.
- Clean Cooking Plate: The removable non-stick cooking plate can be easily cleaned with warm soapy water and a soft sponge. Do not use abrasive cleaners or metal scouring pads, as these can damage the non-stick coating. Rinse thoroughly and dry completely.

Image 5.1: Shows the removable cooking plate being cleaned under running water with a sponge, demonstrating the ease of cleaning due to its non-stick surface. - Clean Base Unit: Wipe the exterior of the base unit with a soft, damp cloth. Do not immerse the base unit in water or any other liquid.
- Clean Accessories: Wash the batter spreader and crepe spatula with warm soapy water and dry them.
- Storage: Store the clean and dry appliance in a safe, dry place.
6. Troubleshooting
| Problem | Possible Cause | Solution |
|---|---|---|
| Appliance does not turn on. | Not plugged in, power outlet malfunction, or appliance fault. | Check if the plug is securely inserted. Test the outlet with another appliance. If the problem persists, contact customer support. |
| Crepes stick to the plate. | Insufficient oil/butter, plate not hot enough, or damaged non-stick coating. | Lightly grease the plate before each crepe. Ensure the blue indicator light is on before adding batter. Avoid using metal utensils that can damage the coating. |
| Crepes are not cooking evenly. | Batter not spread evenly, or temperature setting too low/high. | Use the batter spreader to ensure an even layer. Adjust the temperature knob for desired results. Allow the plate to fully reheat between crepes. |
| Smoke or unusual odor during first use. | Residues from manufacturing process. | This is normal for the first use. Ensure good ventilation. The odor should dissipate after a few minutes. |
7. Technical Specifications
- Brand: Severin
- Model Number: CM 2199
- Power: 1500 Watts
- Voltage: 230 Volts
- Material: Stainless Steel
- Color: Crepe Maker/Black
- Product Dimensions (L x W x H): 39.5 x 41 x 10.5 cm
- Item Weight: 3 Kilograms
- Special Features: High-quality non-stick coating, Soft-Touch adjustable thermostat for continuous temperature setting.
- Included Components: Batter spreader, Crepe spatula

8. Warranty and Support
SEVERIN products are designed for durability and performance. This product comes with a 2-year warranty from the date of purchase.
The warranty covers defects in materials and workmanship under normal household use. It does not cover damage resulting from misuse, neglect, accidental damage, or unauthorized modifications.
For warranty claims or technical support, please contact your local SEVERIN service center or the retailer where the product was purchased. Please have your proof of purchase and the model number (CM 2199) ready.
For more information, you may visit the official SEVERIN website: www.severin.com


