1. Introduction
The HEATIT PLSR Self-Regulating Heating Cable is designed to provide frost protection for water pipes and assist in snow melting on roofs and gutters. This manual provides essential information for the safe and effective installation, operation, and maintenance of your heating cable.

Image 1.1: HEATIT PLSR Self-Regulating Heating Cable in use for pipe and roof protection.
Using heating cables helps prevent pipes from bursting, avoids roof ice dam formation, reduces maintenance costs, and contributes to environmental protection and energy conservation.

Image 1.2: Benefits of using heating cables for frost and ice protection.
2. Safety Information
Read all instructions carefully before installation and operation. Failure to follow these instructions may result in electric shock, fire, or property damage.
- The HEATIT PLSR heating cable is ETL and UL certified, ensuring compliance with North American safety standards.
- Ensure the power supply matches the cable's rated voltage (110V-120V).
- Do not cut or splice the heating cable.
- Do not install the cable in areas where it can be damaged by sharp objects or excessive bending.
- Always disconnect power before installing or servicing the heating cable.
- The indicator light on the plug shows that power is ON. It does not necessarily mean the cable is heating. The cable heats only when the integrated thermostat senses low temperatures.

Image 2.1: Essential tips for understanding the heating cable's operation and components.

Image 2.2: Safety certifications and product features.
3. Product Overview
The HEATIT PLSR Self-Regulating Heating Cable is designed for efficient frost protection and de-icing. Its self-regulating technology automatically adjusts heat output based on ambient temperature, preventing overheating and ensuring energy efficiency.
Key Features:
- Self-Regulating Technology: Automatically adjusts heat output at each point along the cable, eliminating the risk of overheating or burnouts from overlapping.
- Pre-assembled: Ready for immediate use.
- Durable Construction: Features an industrial-grade outer jacket for anti-freeze, wear resistance, high temperature resistance, and corrosion resistance, ensuring a long service life.
- Wide Application: Suitable for both residential and commercial use on various pipe materials and roof types.

Image 3.1: Comparison of self-regulating and non-self-regulating heating cables.

Image 3.2: Industrial-grade outer jacket and temperature ratings.
4. Specifications
The following table details the technical specifications for the HEATIT PLSR Self-Regulating Heating Cable:

Image 4.1: Detailed product specifications.
| Feature | Detail |
|---|---|
| Listing | UL, ETL |
| Rated Voltage | 110V-120V |
| Output (ice & snow @ 50°F/10°C) | 7 W/ft |
| Output (@ 40°F/5°C) | 8.5 W/ft |
| Output (@ 32°F/0°C) | 10 W/ft |
| Length | 50 feet |
| Cold Lead | 10ft cord with plug |
| Cable Bus Wires Gauge (AWG) | 16 |
| Conductor Insulation | Self Regulating Conductive Core |
| Max Exposure Temperature | 185°F (85°C) |
| Min. Circuit Breaker Size (Amps) | 15 |
| Normal cable Thickness (in/mm) | 0.23 (5.8) |
| Normal cable width (in/mm) | 0.42 (10.6) |
| Electrical Classification | Nonhazardous & hazardous |
| Outer Jacket | TPE |
| Braid | Tinned Copper |
| Inner Jacket | Modified Polyolefin |
5. Installation
The HEATIT PLSR heating cable offers flexible installation options for both pipe freeze protection and roof de-icing. Ensure all local electrical codes are followed during installation.
5.1. Pipe Freeze Protection
The cable can be installed on various pipe materials, including Pex, Galvanized, ABS Plastic, Steel, Copper, and PVC Plastic.

Image 5.1: Compatible pipe materials for heating cable installation.
The cable can be installed using straight tracing or spiral tracing methods.

Image 5.2: Flexible installation methods for pipe protection.
- Preparation: Ensure the pipe surface is clean and dry.
- Attachment: Secure the heating cable along the length of the pipe using electrical tape or cable ties at regular intervals (e.g., every 12 inches). For valves or irregular shapes, spiral wrap the cable to ensure full coverage.
- Insulation: For optimal performance and energy efficiency, insulate the pipe and cable assembly with appropriate pipe insulation.
- Power Connection: Plug the pre-assembled cold lead into a grounded 110V-120V outlet protected by a 15 Amp circuit breaker.
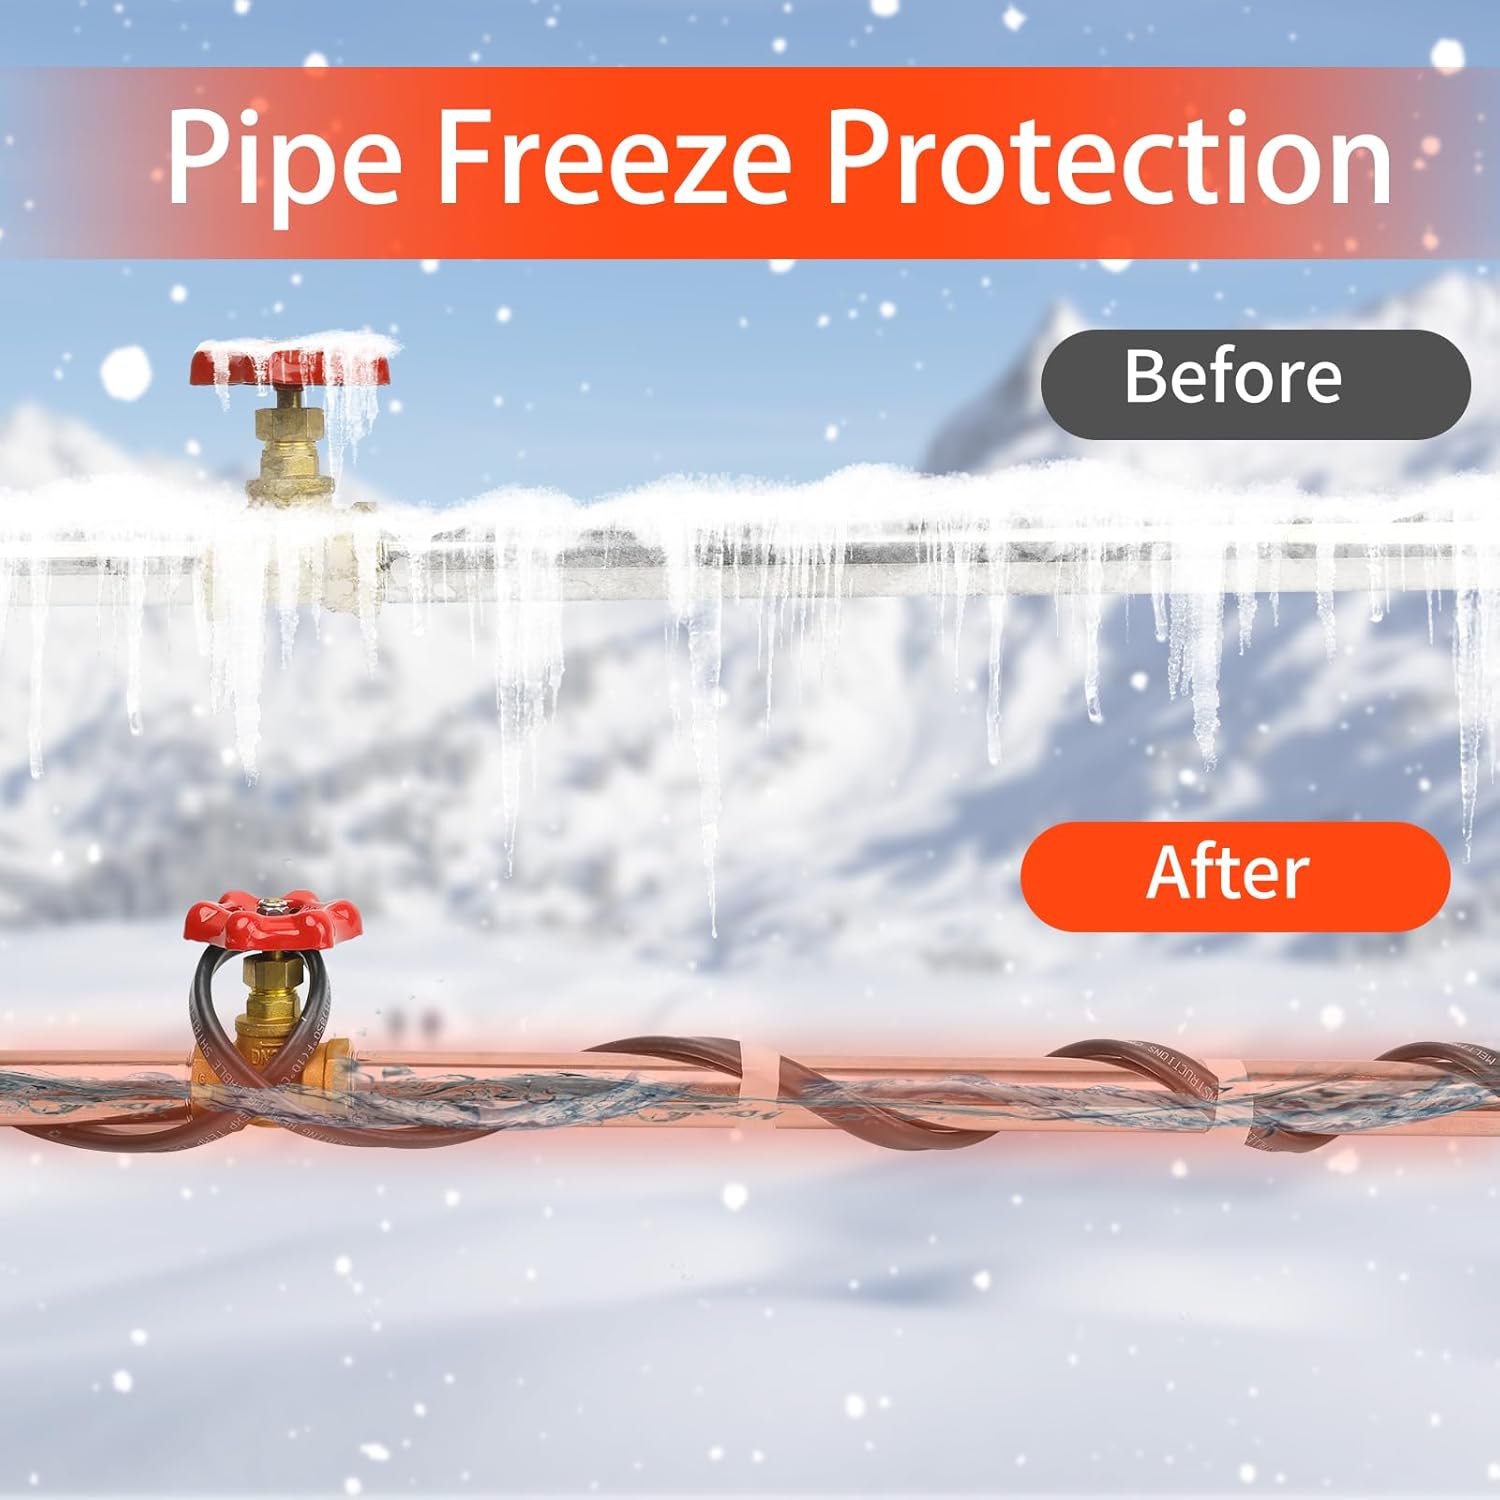
Image 5.3: Visual representation of pipe freeze protection effectiveness.
5.2. Roof De-icing
The heating cable can be used on various roof types, including Metal, Slate, Stone, Rubber, Asphalt, Ceramic, Wood, and Composite roofs.

Image 5.4: Compatible roof types for de-icing cable installation.

Image 5.5: Roof de-icing application with heating cable.
- Planning: Determine the areas prone to ice dam formation, typically along eaves, in gutters, and downspouts.
- Pattern: Install the cable in a zigzag or serpentine pattern along the roof edge and inside gutters and downspouts. Use roof clips or fasteners designed for heating cables to secure it.
- Drainage: Ensure the cable extends into downspouts to allow melted water to drain freely.
- Power Connection: Plug the pre-assembled cold lead into a grounded 110V-120V outlet protected by a 15 Amp circuit breaker.
6. Operation
The HEATIT PLSR heating cable is designed for automatic operation due to its self-regulating properties.
- Once plugged into a power source, the cable's internal thermostat will sense the ambient temperature.
- When temperatures drop to near freezing, the cable will automatically increase its heat output to prevent freezing.
- As temperatures rise, the cable's heat output will decrease, conserving energy.
- The lighted plug indicates that the cable is receiving power. This light does not indicate that the cable is actively heating, only that it is powered on and ready to heat when needed.
7. Maintenance
Minimal maintenance is required for the HEATIT PLSR heating cable to ensure its longevity and effective operation.
- Seasonal Inspection: Before the onset of cold weather each year, visually inspect the entire length of the cable for any signs of damage, cuts, or fraying.
- Connection Check: Ensure the plug and any connections are secure and free from corrosion.
- Clear Debris: For roof installations, ensure gutters and downspouts are clear of leaves and debris that could impede water flow.
- Avoid Damage: Take care not to damage the cable during other maintenance activities (e.g., roof cleaning, painting).
8. Troubleshooting
If you encounter issues with your HEATIT PLSR heating cable, refer to the following common problems and solutions:
| Problem | Possible Cause | Solution |
|---|---|---|
| Cable not heating | No power to the outlet | Check the circuit breaker. Ensure the outlet is functional. |
| Ambient temperature is above freezing point | The self-regulating cable will only heat when temperatures are low enough. This is normal operation. | |
| Damaged cable or plug | Inspect the cable and plug for visible damage. If damaged, discontinue use and replace. | |
| Ice still forming on pipes/roof | Insufficient cable coverage or improper installation | Review installation instructions. Ensure adequate cable length and proper wrapping/pattern for the application. |
| Lack of insulation (for pipes) | Add or improve pipe insulation for better heat retention. |
If the problem persists after attempting these solutions, contact customer support.
9. Warranty & Support
9.1. Limited Warranty
The HEATIT PLSR Self-Regulating Heating Cable comes with a 10-year limited warranty. This warranty covers defects in materials and workmanship under normal use and service conditions. Please retain your proof of purchase for warranty claims.
9.2. Product Insurance
Our products are backed by a $2 million insurance policy, providing additional assurance regarding quality, safety, and your peace of mind.
9.3. Transparency Program
This product is part of the Transparency Program, which safeguards its authenticity. Each product features a unique Transparency code, guaranteeing the purchase of authentic brand products and underscoring HEATIT's commitment to quality and customer satisfaction.

Image 9.1: Certifications, insurance, and transparency program details.
9.4. Customer Service
For any questions, technical assistance, or warranty claims, please contact HEATIT customer service. Our dedicated team aims to provide professional feedback within 24 hours.
Contact information can typically be found on the product packaging or the official HEATIT website.