Gliging 60 Layout
Gliging Switch Sound Dampeners Sheet User Manual
Model: 60 Layout
Introduction
This manual provides detailed instructions for the Gliging Switch Sound Dampeners Sheet, designed to enhance the acoustic performance of mechanical keyboards. This product is specifically for keyboards with a 60-key layout.
The sound dampener sheet is placed between the keyboard's Printed Circuit Board (PCB) and the positioning plate to reduce resonance and eliminate cavity sound, resulting in a thicker, more satisfying sound profile.
Product Features
- Sound Enhancement: Eliminates cavity sound, increases sound thickness, and reduces keyboard resonance.
- Noise Reduction: Effectively dampens keyboard noise by filling the space between the PCB and the steel plate.
- Easy Installation: Designed for placement between the PCB and positioning board; no adhesive required. Does not interfere with light positions.
- Optimal Thickness: With a 3mm thickness, it is suitable for most standard 1.5mm positioning plates, accommodating the typical 3mm to 3.5mm space between PCB and plate. Ideal for both welded and hot-swappable keyboard switches.
- Customization: A key component for keyboard enthusiasts looking to DIY and modify their mechanical keyboards for improved acoustics.
Components Overview
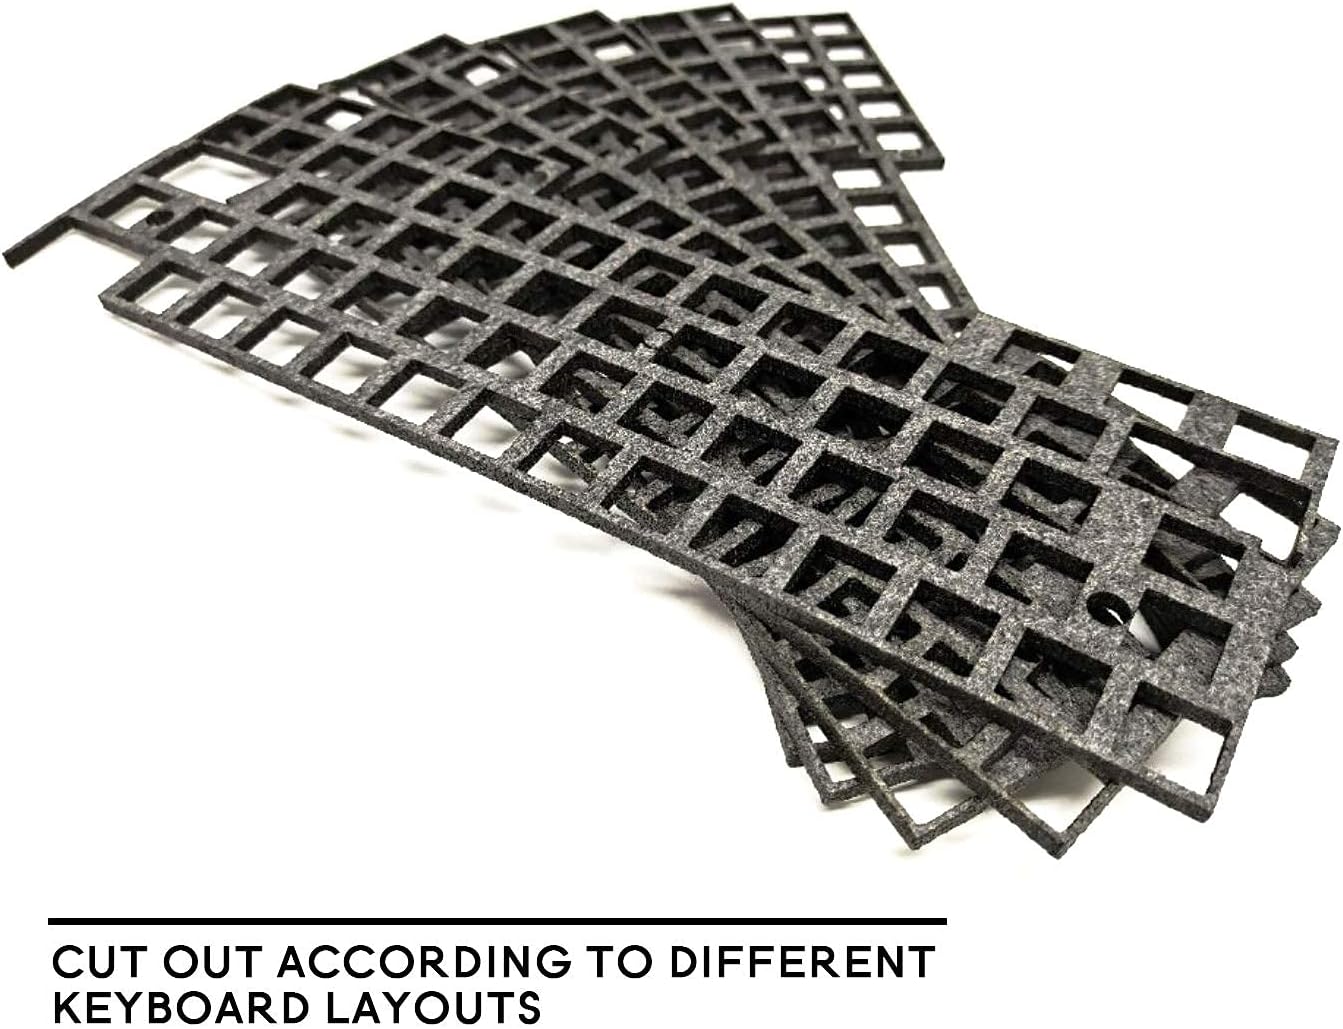
The Gliging Switch Sound Dampeners Sheet is a precisely cut foam sponge designed to fit specific keyboard layouts.

Installation Guide
Installing the Gliging Switch Sound Dampeners Sheet requires disassembling your mechanical keyboard. Please proceed with caution.
- Disassemble Keyboard: Carefully remove the keycaps, then unscrew and separate the keyboard case. This will expose the PCB and positioning plate assembly.
- Separate PCB and Plate: Gently separate the PCB from the positioning plate. This may involve desoldering switches if your keyboard is not hot-swappable.
- Place Dampener: Position the Gliging Switch Sound Dampeners Sheet directly on top of the PCB, ensuring all switch cutouts and mounting holes align correctly. The sheet is designed to fit snugly between the PCB and the positioning plate.
- Reassemble Keyboard: Carefully place the positioning plate back onto the PCB, sandwiching the dampener sheet. Ensure all components align and no wires are pinched. Re-solder switches if necessary.
- Secure Case: Reattach the keyboard case and secure it with screws. Replace all keycaps.


Important Note: This silencer pad is measured and drawn according to the keyboard entity. It is not produced by the original manufacturer and cannot be guaranteed to be fully fitted for all keyboard models. Some holes, gaps, or circles may be deviated due to variations in keyboard designs. Please verify compatibility with your specific keyboard model before installation.
Operation and Effect
Once installed, the Gliging Switch Sound Dampeners Sheet operates passively by absorbing sound waves and vibrations within the keyboard's internal cavity.
Expected Effects:
- Reduced hollow or "pingy" sounds from the keyboard case.
- A deeper, more solid sound profile for keystrokes.
- Overall reduction in keyboard resonance.


Maintenance
The Gliging Switch Sound Dampeners Sheet requires minimal maintenance once installed.
- Cleaning: If the keyboard is disassembled for other modifications, the dampener sheet can be gently wiped with a dry, lint-free cloth to remove dust. Avoid using liquids or harsh chemicals.
- Longevity: The foam material is durable and designed for long-term use. It should not degrade under normal operating conditions within the keyboard.
Troubleshooting
- Problem: Keyboard case does not close properly after installation.
- Ensure the dampener sheet is correctly aligned and not overlapping any edges or internal components.
- Verify that the sheet is the correct layout size for your keyboard.
- Check for any obstructions or components that might be preventing the case from closing. Some keyboards may require minor trimming around screw posts or specific internal structures.
- Problem: Sound improvement is not noticeable.
- Confirm the dampener is properly seated between the PCB and the positioning plate, covering the entire area.
- Ensure the keyboard case is fully sealed. Gaps in the case can still allow sound resonance.
- Note that the effect may vary depending on the original keyboard's construction and materials.
Product Specifications
| Attribute | Detail |
|---|---|
| Product Type | Switch Sound Dampeners Sheet |
| Brand | Gliging |
| Model | 60 Layout |
| Material | Dimple Foam Sponge |
| Thickness | 3mm |
| Package Dimensions | 11.06 x 5.75 x 0.51 inches |
| Item Weight | 2.46 ounces |
| ASIN | B08R68ZWXF |
| Date First Available | December 22, 2020 |
Warranty and Support
For specific warranty information or technical support regarding your Gliging Switch Sound Dampeners Sheet, please refer to the official Gliging brand store or contact Gliging customer service directly.
Gliging Brand Store: Visit Gliging Store on Amazon
Ask a question about this manual
Ask about setup, troubleshooting, compatibility, parts, safety, or missing instructions. Manuals+ will review the question and use this page’s manual context to help answer it.