
Armor3 M07467-WH
Armor 3 NuChamp Wireless Gaming Controller User Manual
For Nintendo Switch® and Nintendo Switch® Lite (White)
Introduction
Thank you for purchasing the Armor 3 NuChamp Wireless Gaming Controller. This manual provides detailed instructions on how to set up, operate, and maintain your new controller, ensuring an optimal gaming experience on your Nintendo Switch® or Nintendo Switch® Lite console.
Package Contents
- 1 x Armor 3 NuChamp Wireless Gaming Controller (White)
- 1 x USB Charging Cable
- 1 x User Manual
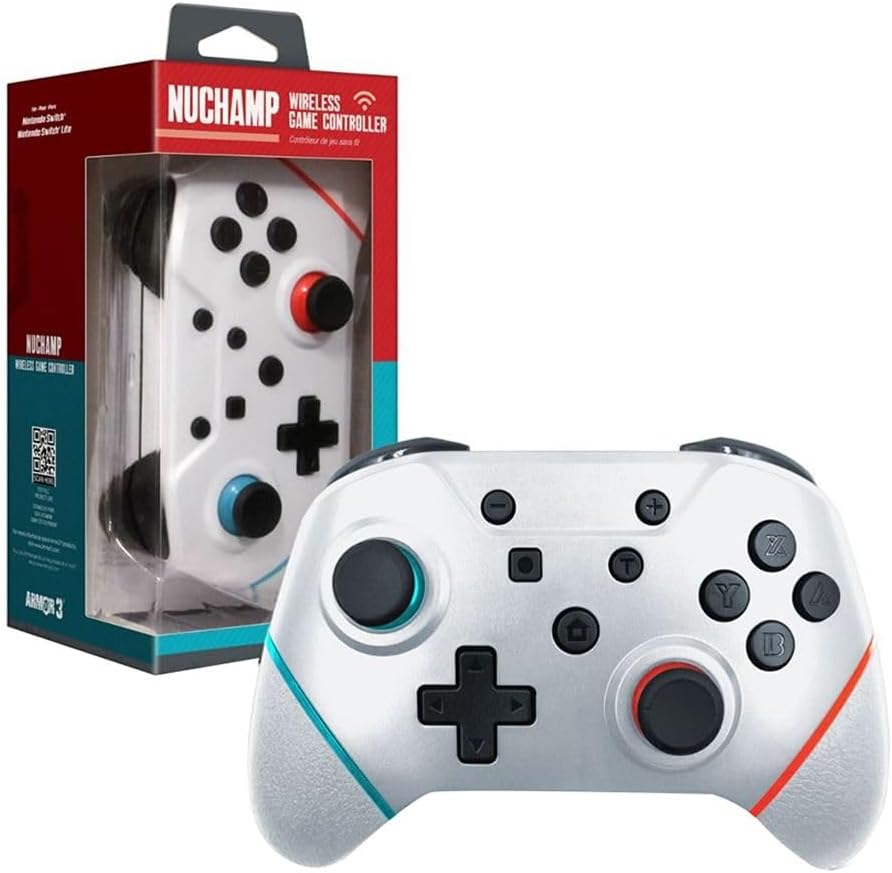
Image: The Armor 3 NuChamp Wireless Gaming Controller displayed next to its retail box, showcasing the product and its packaging.
Product Overview
Familiarize yourself with the various components of your NuChamp Wireless Gaming Controller.
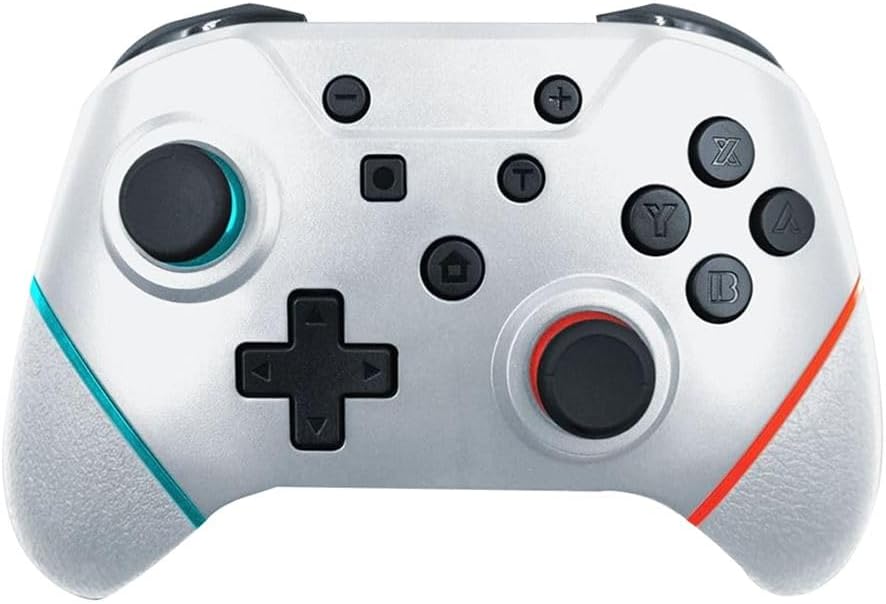
Image: A direct front view of the Armor 3 NuChamp Wireless Gaming Controller, highlighting its buttons, joysticks, and ergonomic design.
- Left Analog Stick: For movement and camera control.
- D-Pad: Directional input.
- Minus (-) Button: System menu access.
- Screenshot Button: Capture in-game screenshots.
- Home Button: Return to the console's home screen.
- Right Analog Stick: For camera control and aiming.
- A/B/X/Y Buttons: Action buttons.
- Plus (+) Button: System menu access.
- L/R Buttons: Shoulder buttons.
- ZL/ZR Buttons: Trigger buttons.
- Pro Paddle Buttons: Reassignable buttons on the back of the controller.
- USB-C Port: For charging and wired connection.

Image: An angled view of the Armor 3 NuChamp Wireless Gaming Controller, showing its ergonomic grips and the placement of the shoulder buttons and triggers.
Setup
1. Charging the Controller
Before first use, fully charge the controller. The built-in rechargeable battery lasts approximately 8 to 10 hours on a full charge.
- Connect the supplied USB charging cable to the USB-C port on the controller.
- Connect the other end of the cable to a USB power source (e.g., Nintendo Switch dock, USB wall adapter, computer USB port).
- The indicator lights on the controller will show charging status. They will typically stop blinking or turn solid when fully charged.
2. Pairing with Nintendo Switch® / Switch® Lite
The NuChamp controller uses Bluetooth for wireless connection.
- On your Nintendo Switch console, go to the HOME Menu.
- Select "Controllers", then "Change Grip/Order".
- On the NuChamp controller, press and hold the Home button for a few seconds until the indicator lights begin to flash rapidly. This indicates the controller is in pairing mode.
- Once the controller appears on the Switch screen, release the Home button. The indicator lights will become solid, confirming successful pairing.
- If pairing fails, ensure the controller is charged and try again. You may need to restart your Switch console.
Operating Instructions
Basic Controls
The NuChamp controller functions similarly to official Nintendo Switch Pro Controllers. All standard buttons (A/B/X/Y, D-Pad, Analog Sticks, L/R, ZL/ZR, Plus/Minus, Home, Screenshot) operate as expected in compatible games.
Turbo Function
The controller features a turbo function for rapid firing of buttons.
- To activate Turbo: Press and hold the button you wish to set to turbo (e.g., A button), then press the Turbo button (usually a dedicated button or a combination, refer to specific controller markings if available). The button will now rapidly input when held down.
- To deactivate Turbo: Repeat the process: press and hold the turbo-enabled button, then press the Turbo button again.
Reassignable Pro Paddle Buttons
The controller includes reassignable paddle buttons on the back for advanced customization.
- To assign a paddle button:
- Press and hold the Program button (often a small button on the back or bottom of the controller) until an indicator light flashes.
- Press the paddle button you wish to assign (e.g., P1).
- Press the button you want to map to the paddle (e.g., A, B, X, Y, L, R, ZL, ZR, D-Pad directions).
- Press the Program button again to save the assignment. The indicator light will stop flashing.
- To clear a paddle assignment: Repeat the assignment process, but instead of pressing a button to map, press the Program button twice after selecting the paddle.
Motion Controls and Force Feedback (Vibration)
The controller supports motion controls for games that utilize them and provides force feedback (vibration) for immersive gameplay. These features are automatically enabled when connected to the Nintendo Switch.
Maintenance
- Cleaning: Use a soft, dry cloth to clean the controller. Do not use harsh chemicals or abrasive materials.
- Storage: Store the controller in a cool, dry place away from direct sunlight and extreme temperatures.
- Battery Care: To prolong battery life, avoid fully discharging the battery frequently. Charge the controller regularly, even if not in use for extended periods.
Troubleshooting
| Problem | Possible Cause / Solution |
|---|---|
| Controller does not turn on. | Battery may be depleted. Connect the controller to a power source using the USB cable and allow it to charge. |
| Controller does not pair with Switch. |
|
| Buttons or sticks are unresponsive. |
|
| Vibration (Force Feedback) is not working. |
|
Specifications
- Model Number: M07467-WH
- Connectivity: Wireless Bluetooth
- Battery: 1 Lithium Ion (included)
- Battery Life: Approximately 8-10 hours
- Dimensions: 17.81 x 11.71 x 9.09 cm (7.01 x 4.61 x 3.58 inches)
- Weight: 317.51 g (0.7 lbs)
- Language: English
- Country of Origin: China
- Release Date: January 1, 2023
Warranty and Support
For warranty information and technical support, please visit the official Armor3 website or contact their customer service. Keep your purchase receipt as proof of purchase.
Official Website: www.armor3.com
Related documentsM07467-WH

Ask a question about this manual
Ask about setup, troubleshooting, compatibility, parts, safety, or missing instructions. Manuals+ will review the question and use this page’s manual context to help answer it.