Introduction
Thank you for choosing the BALDR 359V2-BL Digital Weather Station. This device provides accurate indoor and outdoor temperature and humidity readings, a 12-hour weather forecast, time display, alarm clock, and moon phase information. It supports up to three wireless outdoor sensors for comprehensive monitoring of various locations. Please read this manual carefully to ensure proper setup and operation.
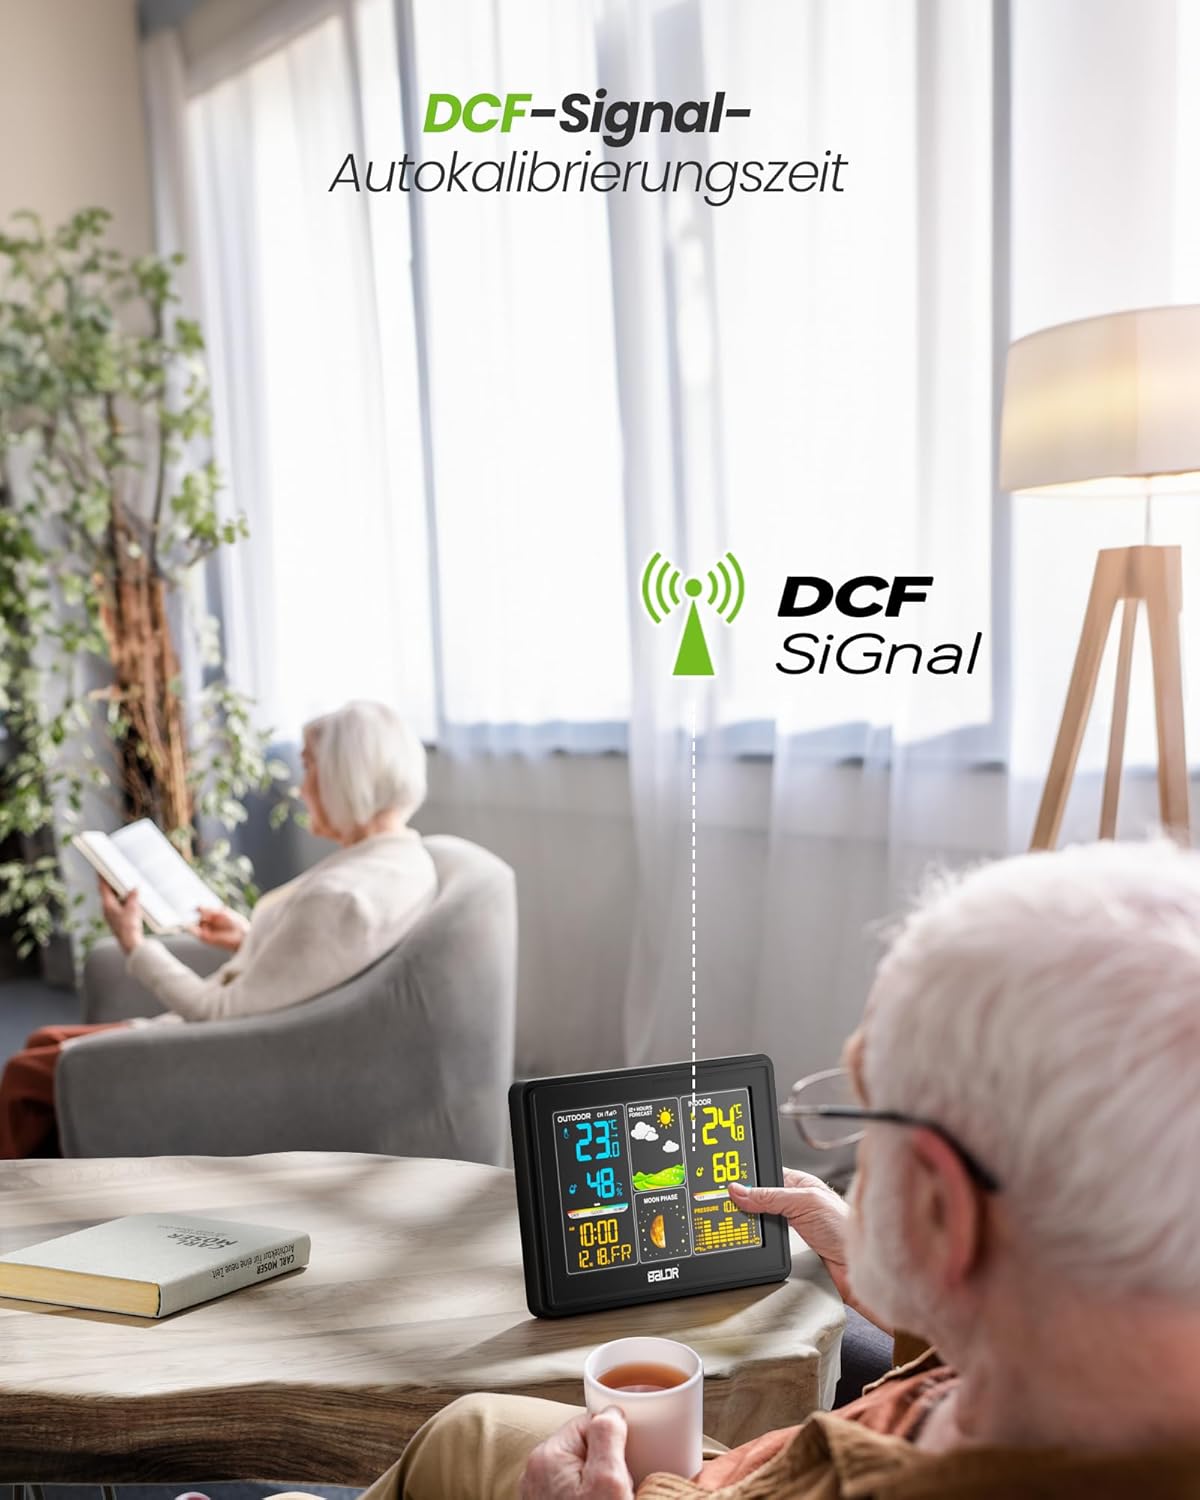
Image: The BALDR 359V2-BL Digital Weather Station main unit, showcasing its vibrant display with various weather and time data.
Setup
1. Powering the Main Unit
The main unit can be powered by the included AC adapter or by batteries (not included) for backup. For continuous display and optimal performance, it is recommended to use the AC adapter.
- AC Adapter: Connect the AC adapter to the power port on the back of the main unit and plug it into a wall outlet.
- Batteries: Open the battery compartment on the back of the main unit and insert 3 x AAA batteries (not included), observing the correct polarity.
2. Powering the Outdoor Sensor
The outdoor sensor requires 2 x AA batteries (not included).
- Open the battery compartment on the back of the outdoor sensor.
- Insert 2 x AA batteries, ensuring correct polarity.
- Close the battery compartment securely.

Image: Powering the main unit via AC adapter and battery installation for the outdoor sensor.
3. Pairing the Outdoor Sensor
Once both units are powered, the main unit will automatically search for the outdoor sensor. The outdoor temperature and humidity should appear on the display within a few minutes. If not, manually initiate pairing:
- Press and hold the CHANNEL button on the main unit for 3 seconds to initiate a search for outdoor sensors.
- Press the TX button inside the outdoor sensor's battery compartment to send a signal.

Image: Wireless connection between the main unit and the outdoor sensor.
4. Outdoor Sensor Placement
For accurate readings, place the outdoor sensor in a shaded, dry location, protected from direct sunlight and rain. Avoid placing it near heat sources or metal objects that could interfere with the wireless signal.

Image: Guidelines for optimal outdoor sensor placement to ensure accurate data.
5. DCF Signal for Automatic Time Calibration
The weather station features a DCF radio-controlled clock function, which automatically synchronizes the time with the atomic clock signal. This ensures precise timekeeping. The DCF signal icon will appear on the display when successfully synchronized.

Image: The weather station receiving the DCF signal for automatic time calibration.
Operating
1. Display Overview
The main unit's color display is divided into several sections:
- Outdoor Section: Displays outdoor temperature, humidity, and channel number.
- Weather Forecast: Shows animated icons predicting weather for the next 12-24 hours.
- Indoor Section: Displays indoor temperature, humidity, and comfort level indicator.
- Time & Date: Shows current time, date, and day of the week.
- Moon Phase: Illustrates the current phase of the moon.
- Barometric Pressure: Displays current atmospheric pressure and a historical bar chart.

Image: The VA screen offers a clear viewing angle, displaying comprehensive weather data.
2. Weather Forecast
The weather station analyzes changes in atmospheric pressure to predict weather conditions for the next 12 to 24 hours. The forecast icons include Sunny, Partly Cloudy, Cloudy, Rainy, and Snowy.

Image: Visual representation of weather changes predicted for the next 12 hours.
3. Backlight Control
The display features adjustable backlight settings for comfortable viewing in various lighting conditions. Press the SNOOZE/LIGHT button to cycle through different brightness levels (Off, 10%, 50%, 100%).

Image: Adjusting the backlight to create a comfortable viewing atmosphere.
4. Comfort Level Indicator
The indoor section includes a comfort level indicator (DRY, GOOD, HUMID) based on the indoor temperature and humidity, helping you maintain an optimal indoor environment.

Image: The comfort status display helps monitor indoor conditions.
5. Multiple Sensor Monitoring
The weather station supports up to three outdoor sensors (one included). You can switch between sensor channels by pressing the CHANNEL button on the main unit. This allows monitoring of different areas like a garden, garage, or basement.

Image: Monitoring temperature and humidity from up to three different locations using multiple outdoor sensors.
Maintenance
- Cleaning: Wipe the display and casing with a soft, damp cloth. Do not use abrasive cleaners or solvents.
- Battery Replacement: Replace batteries in both the main unit and outdoor sensor when the low battery indicator appears on the display. Ensure correct polarity when inserting new batteries.
- Sensor Environment: Periodically check the outdoor sensor's placement to ensure it remains protected from extreme weather conditions and direct sunlight for accurate readings.
Troubleshooting
| Problem | Possible Cause | Solution |
|---|---|---|
| No outdoor temperature/humidity reading. | Sensor not paired or out of range; low sensor battery. | Ensure sensor is within 100m of the main unit. Replace sensor batteries. Press and hold CHANNEL on main unit for 3 seconds, then press TX on sensor. |
| Incorrect time display. | DCF signal not received; manual time not set. | Ensure main unit is placed away from interference. Manually set time if DCF signal is consistently unavailable. |
| Display is dim or blank. | Low main unit battery; AC adapter not connected. | Replace main unit batteries or connect the AC adapter. Adjust backlight using the SNOOZE/LIGHT button. |
| Inaccurate temperature/humidity. | Sensor exposed to direct sunlight/rain; poor ventilation. | Relocate outdoor sensor to a shaded, dry area. Ensure proper air circulation around both units. |
Specifications
- Model Number: 359V2-BL
- Main Unit Dimensions: 16 x 11 x 2 cm (L x W x H)
- Outdoor Sensor Dimensions: 10 x 3.6 x 1.8 cm (H x W x D)
- Weight: 400 grams (main unit)
- Connectivity Technology: 433 MHz Wireless
- Temperature Accuracy: ±2°C
- Recommended Uses: Pressure, Temperature, Humidity, Moon Phase
- Special Features: Clock, Transparent display (VA screen)
- Components Included: 1 Main Unit, 1 Outdoor Sensor

Image: Dimensions of the BALDR 359V2-BL Digital Weather Station main unit.
Warranty
BALDR products are manufactured to high-quality standards. This product is covered by a standard manufacturer's warranty against defects in materials and workmanship. Please refer to the product packaging or BALDR's official website for specific warranty terms and duration.
Support
For further assistance, technical support, or inquiries regarding your BALDR 359V2-BL Digital Weather Station, please visit the official BALDR website or contact their customer service department. Contact information can typically be found on the product packaging or on the manufacturer's website.