
1. Introduction
Thank you for choosing the BALDR Wireless Weather Station. This device provides comprehensive weather information, including indoor and outdoor temperature and humidity, a 12-24 hour weather forecast, atmospheric pressure trends, moon phases, and a DCF radio-controlled clock with an alarm function. This manual will guide you through the setup, operation, and maintenance of your weather station.
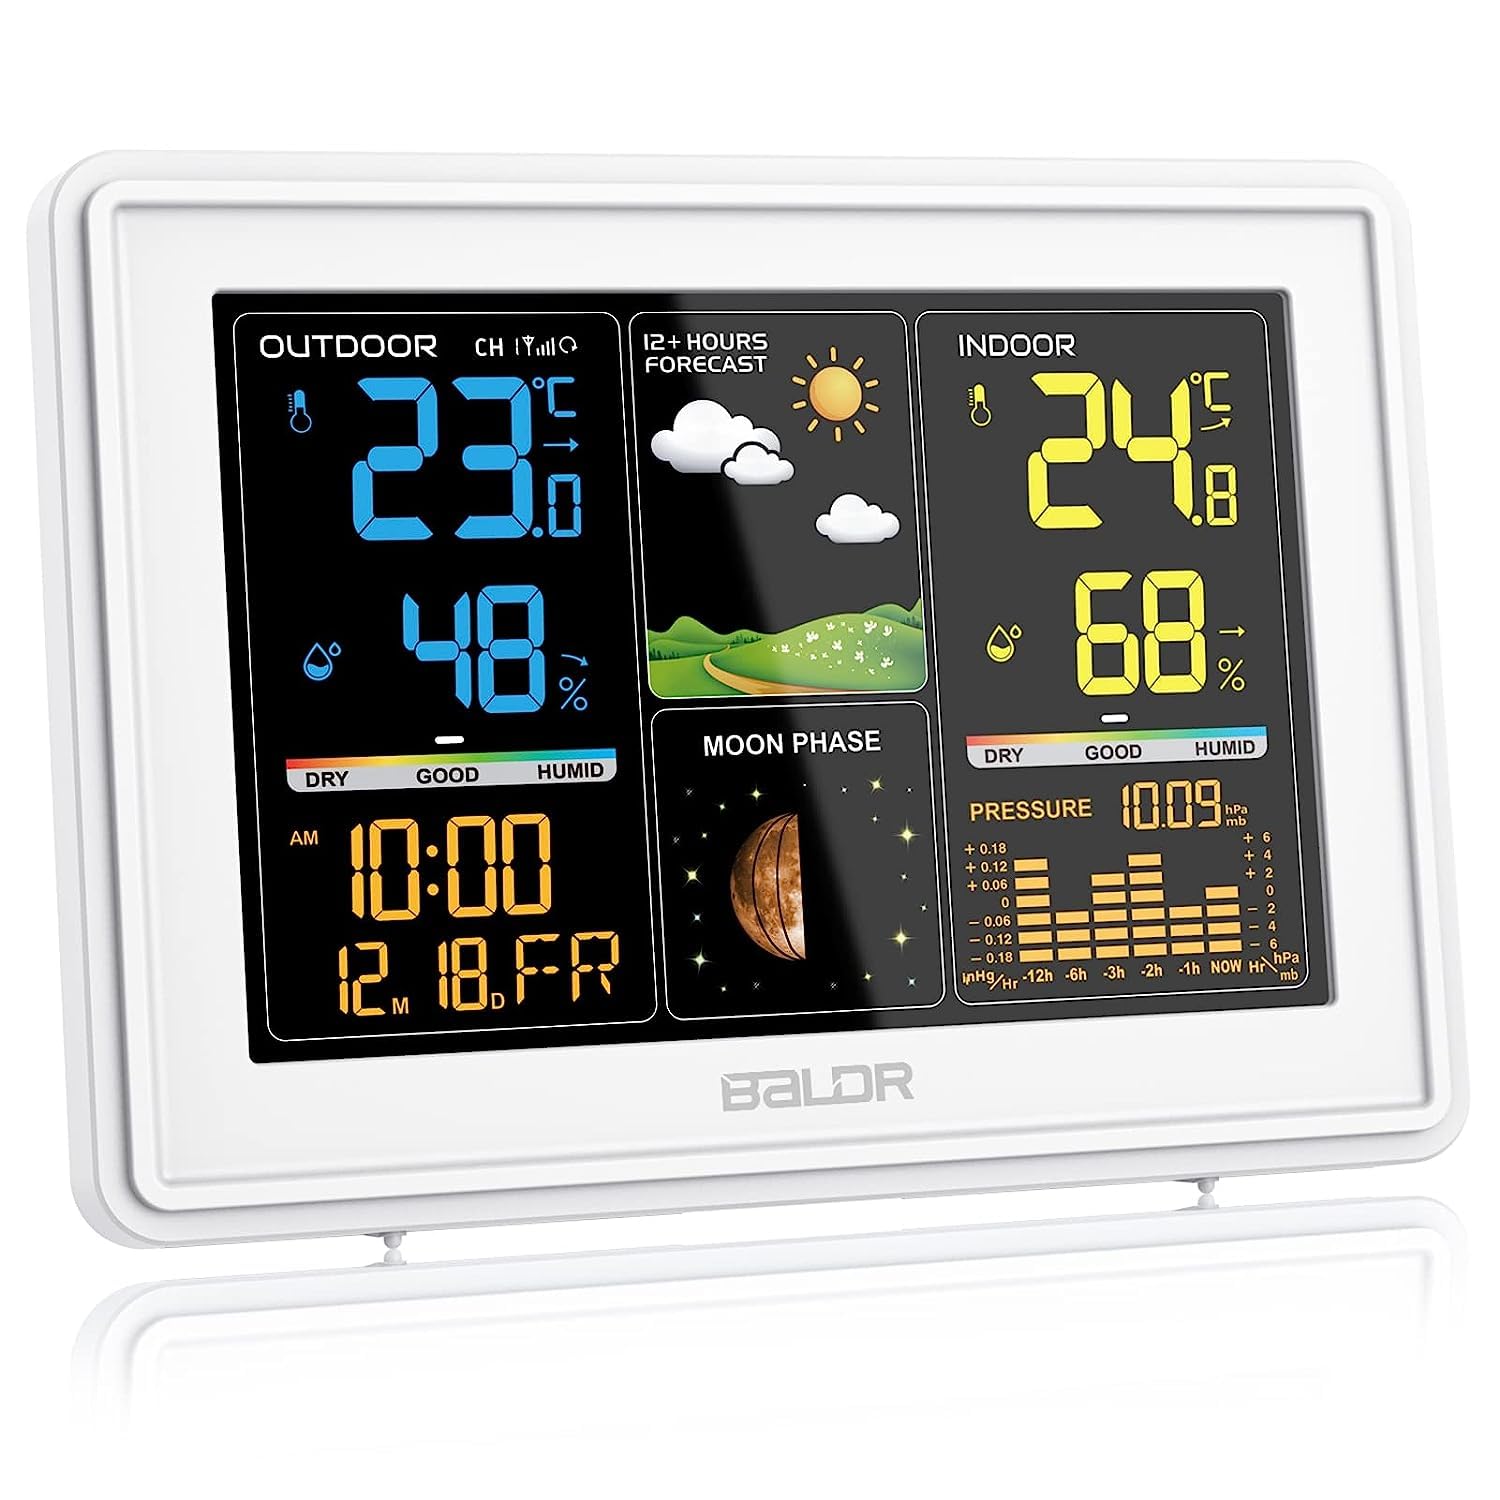
Image 1.1: BALDR Wireless Weather Station main unit and outdoor sensor.
2. Package Contents
- 1 x BALDR Wireless Weather Station Main Unit
- 1 x Wireless Outdoor Sensor
- 1 x AC Power Adapter
- 1 x User Manual (this document)
- Note: 1 x CR2032 battery for backup is included, but batteries for the outdoor sensor are not.
3. Setup
3.1 Powering the Main Unit
- Connect the provided AC power adapter to the main unit and plug it into a power outlet.
- Insert the included CR2032 battery into the battery compartment for backup purposes. This battery retains time and settings during power outages.

Image 3.1: Connecting the AC power adapter to the main unit.
3.2 Installing and Placing the Outdoor Sensor
- Open the battery compartment of the outdoor sensor and insert 2 x AA batteries (not included), observing polarity.
- Place the outdoor sensor in a shaded, dry location, protected from direct sunlight and precipitation. Ensure it is within 100 meters (328 feet) of the main unit in open areas.
- Avoid placing the sensor near large metal objects, electrical appliances, or sources of strong radio interference.

Image 3.2: Recommended placement for the outdoor sensor (shaded and protected).
3.3 Sensor Pairing and DCF Signal Reception
Upon powering on, the main unit will automatically search for the outdoor sensor and attempt to receive the DCF radio signal for time synchronization. This process may take several minutes.
- Ensure the outdoor sensor is powered on and within range.
- The DCF signal icon will flash during reception and become solid once synchronized.
- If the DCF signal is not received, you may need to manually set the time or reposition the unit.

Image 3.3: DCF signal reception for automatic time calibration.
3.4 Multiple Sensor Monitoring (Optional)
The weather station supports up to 3 wireless outdoor sensors (only one is included). To add additional sensors, refer to the specific instructions provided with those sensors. The main unit can display data from different channels (CH1, CH2, CH3).

Image 3.4: Monitoring up to three different locations with additional outdoor sensors.
4. Operating Instructions
4.1 Display Overview
The color LCD display provides a clear overview of all weather data. It is divided into sections for outdoor conditions, 12-24 hour forecast, indoor conditions, moon phase, atmospheric pressure, and time/date.
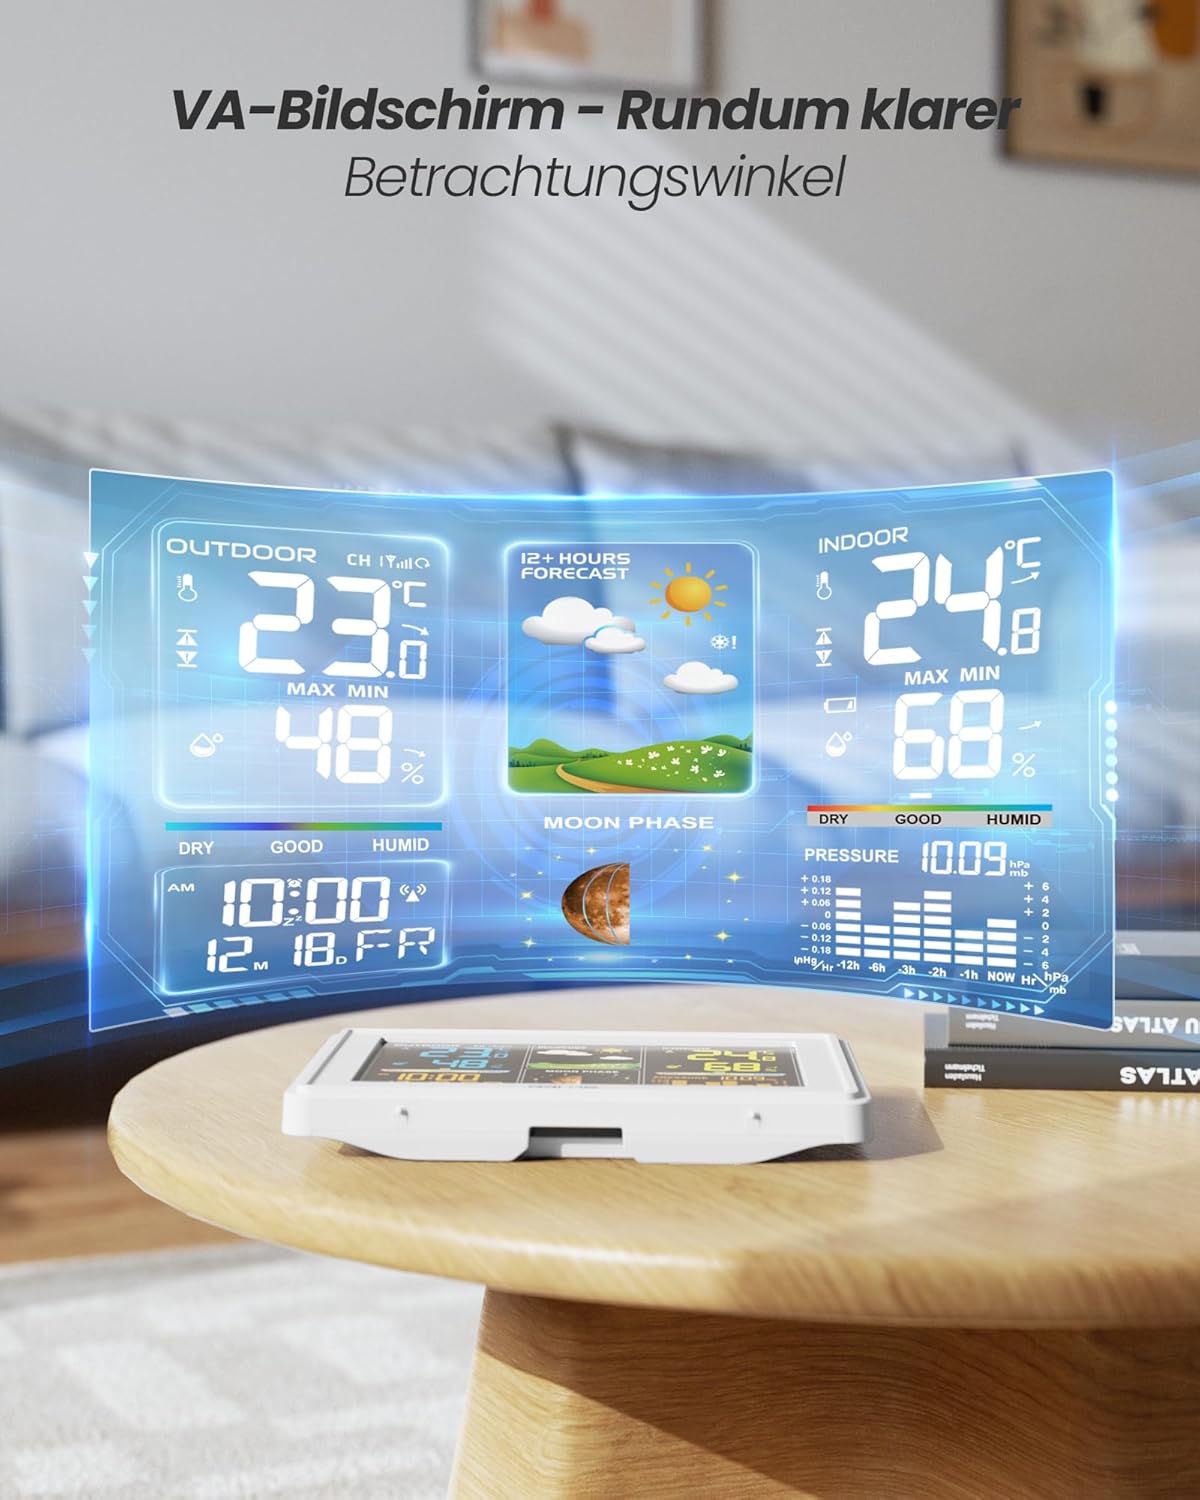
Image 4.1: Detailed view of the weather station's digital color display showing various data points.
4.2 Adjusting Backlight
The display features a 4-level adjustable white backlight. Use the dedicated button (often labeled 'LIGHT' or similar) to cycle through brightness levels (Off, 10%, 50%, 100%). The backlight remains permanently lit when powered by the AC adapter.

Image 4.2: Backlight adjustment levels for optimal viewing.
4.3 Weather Forecast
The station predicts weather for the next 12-24 hours based on temperature, humidity, and atmospheric pressure changes. Forecast icons include sunny, partly cloudy, cloudy, rainy, and snowy. The barometer dynamically displays pressure changes over the past 12 hours.

Image 4.3: Weather forecast icons for the next 12 hours.
4.4 Time, Date, and Alarm
- The current time and date are automatically updated via the DCF radio signal.
- The station includes an alarm function. When the alarm sounds, press the snooze button for an additional 5 minutes of sleep.

Image 4.4: Time and date display.

Image 4.5: Activating the snooze function.
4.5 Min/Max Records and Comfort Levels
The station records minimum and maximum indoor/outdoor temperature and humidity. It also displays 5 comfort levels based on current indoor humidity.
5. Maintenance
- Clean the display and unit with a soft, dry cloth. Do not use abrasive cleaners or solvents.
- Replace outdoor sensor batteries annually or when the low battery indicator appears.
- Ensure the outdoor sensor remains protected from extreme weather conditions.
6. Troubleshooting
6.1 No Outdoor Temperature/Humidity Reading
- Check if the outdoor sensor batteries are correctly installed and not depleted.
- Ensure the sensor is within the 100-meter wireless range of the main unit.
- Reduce obstacles between the sensor and the main unit (e.g., thick walls, metal objects).
- Re-pair the sensor by removing batteries from both units, then reinserting them first into the sensor, then the main unit.
6.2 DCF Time Synchronization Failure
- Ensure the main unit is placed away from electronic devices that may cause interference.
- Try repositioning the main unit, especially near a window, for better signal reception.
- Allow several hours for the unit to attempt synchronization, as signal strength varies.
- If automatic synchronization consistently fails, manually set the time and date.
6.3 Display Issues
- Ensure the AC power adapter is securely connected.
- Check the backlight setting; it might be set to 'Off'.
- If the display is dim or flickering, try a different power outlet or adapter.
7. Specifications
| Feature | Specification |
|---|---|
| Model Number | 359V2-WH |
| Product Dimensions (Main Unit) | 4.3D x 23.5W x 13.5H cm (16 x 1.03 x 11 cm) |
| Power Source | AC Power Adapter (Main Unit), 2x AA Batteries (Outdoor Sensor) |
| Connectivity Technology | Wireless (433 MHz/868 MHz) |
| Wireless Range | Up to 100 meters (open areas) |
| Temperature Accuracy | ±1 °C |
| Display Type | LCD Color Display |
| Special Features | Alarm, Wireless, Clock, Weather Forecast, Barometer, Moon Phase |
| Included Components | AC-voedingsadapter; 1 x CR2032 batterij |

Image 7.1: Product dimensions of the main unit.
8. Warranty and Support
BALDR products are designed for reliability and performance. For warranty information and customer support, please refer to the documentation included with your purchase or visit the official BALDR website. Some regions may offer extended warranty options upon product registration.
Note: One customer review mentioned the possibility to extend the warranty for 5 years without cost by registering the product with the purchase order number. Please check the official BALDR website for current warranty policies and registration details.


