1. Introduction
This manual provides essential information for the proper installation, operation, and maintenance of your 10L0L 14V Golf Cart Solenoid. This solenoid is designed as a direct replacement for specific EZGO gas golf cart models. Please read these instructions carefully before proceeding with installation or use to ensure safe and effective performance.
2. Product Overview and Features
The 10L0L 14V Golf Cart Solenoid is a 4-terminal starter solenoid engineered for reliable starting performance in compatible gas golf carts. Key features include:
- Voltage: 14V
- Contact Capacity: 100A continuous, up to 200A inrush current
- Terminals: 4-terminal design for straightforward connection
- Durability: Features corrosion-resistant terminals and heat-resistant housing for extended lifespan in outdoor and high-vibration conditions.
- Reliability: Each unit undergoes 100% testing for coil resistance, contact welding, and cycle life before shipment.
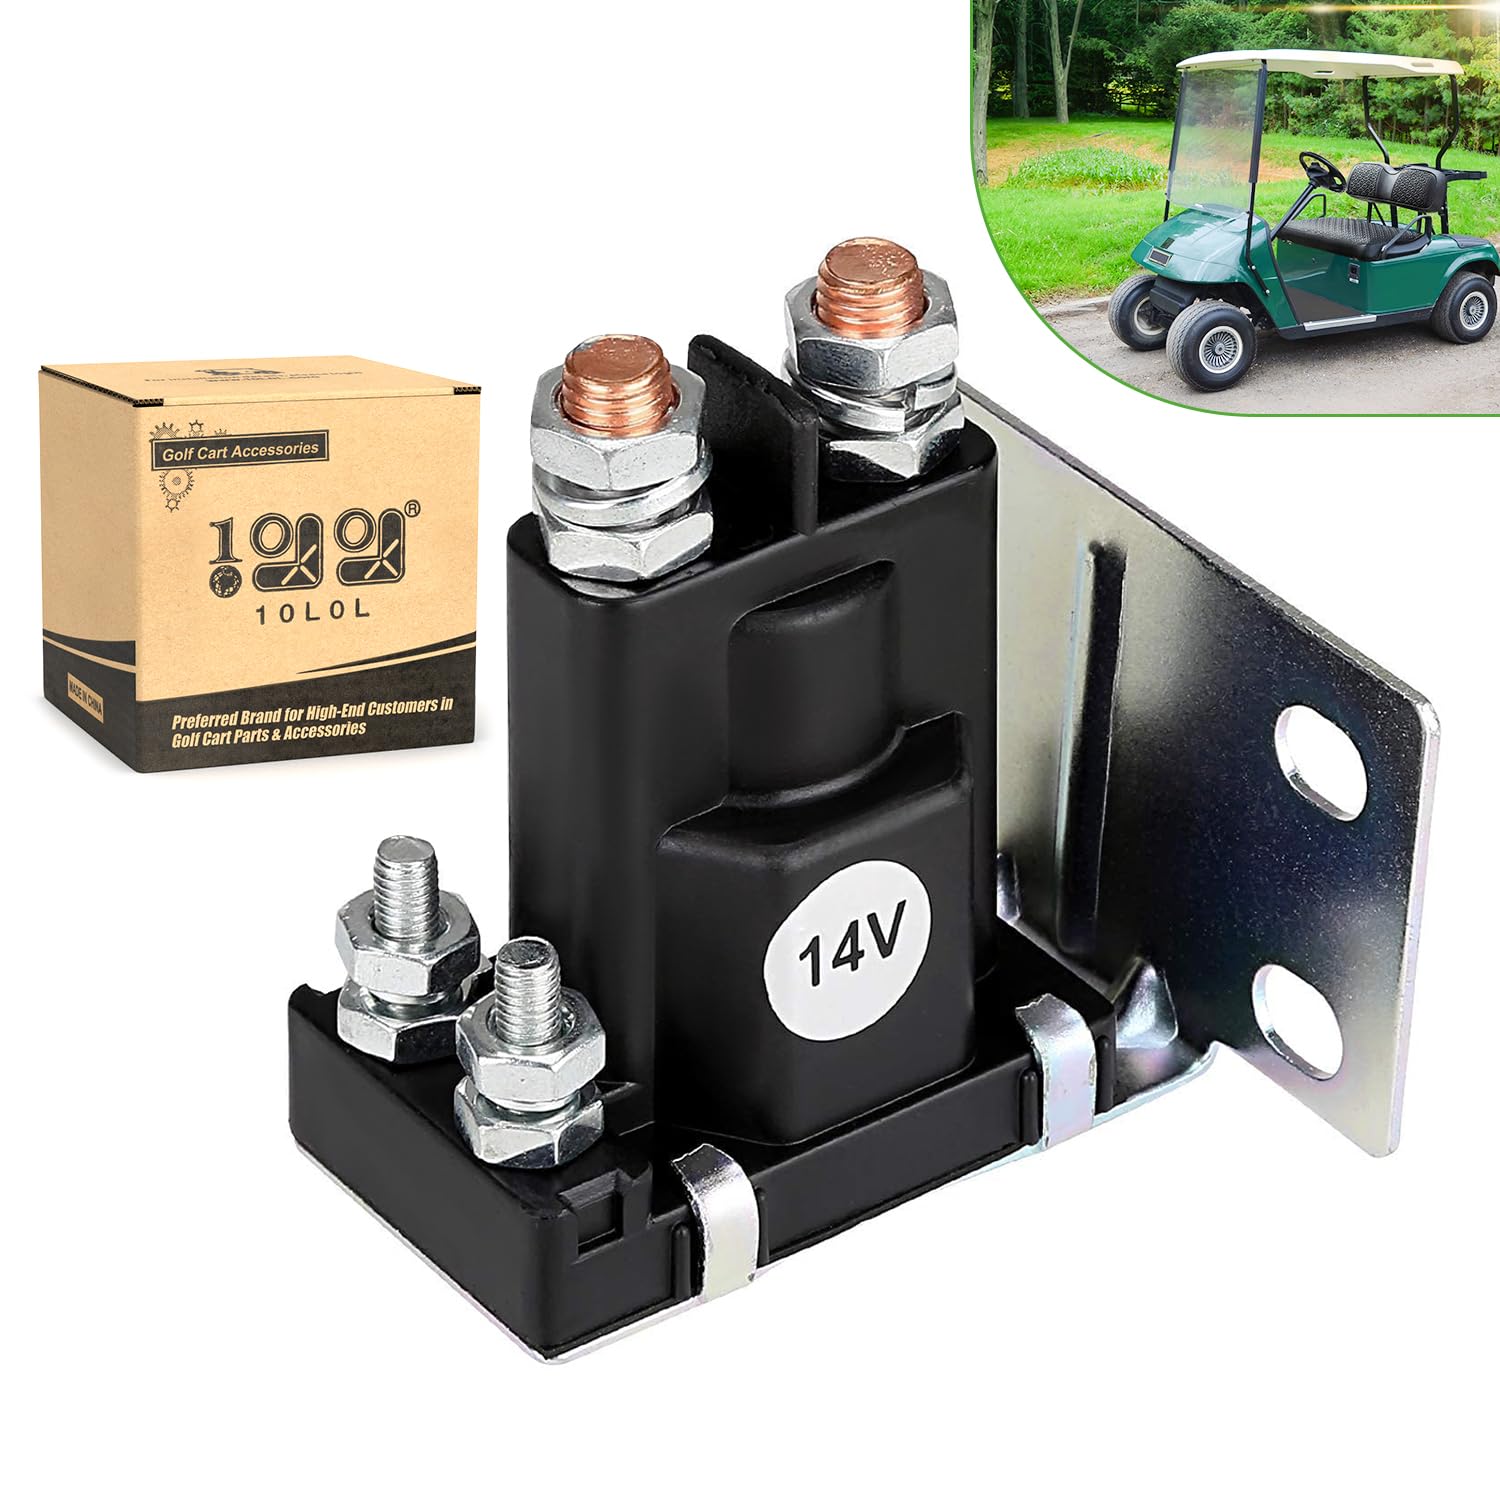
Figure 1: Front view of the 10L0L 14V Golf Cart Solenoid.
3. Compatibility
This 10L0L 14V Solenoid is specifically designed for the following EZGO Gas Golf Cart models:
- EZGO TXT (1994-Up)
- EZGO Medalist (1994-Up)
- EZGO 875 (1994-Up)
- EZGO 4/6 Passenger Shuttle (1994-Up)
- Cushman 2200 (1994-Up)
- ST Series Gas Vehicles (e.g., ST Express, ST Shuttle, ST Sport, ST 350) from 1994 to present
It directly replaces OEM part numbers: 27153-G01, 27153G01, and 612813.
4. Installation and Setup
Safety First: Before beginning any installation, ensure the golf cart's battery is disconnected to prevent electrical shock or damage to the vehicle's electrical system.
- Locate the Existing Solenoid: Identify the current solenoid in your golf cart. Refer to your golf cart's service manual for its exact location.
- Disconnect Wiring: Carefully disconnect all wires from the existing solenoid, noting their positions for correct re-connection. It is recommended to take a photograph before disconnecting.
- Remove Old Solenoid: Unmount the old solenoid from its bracket.
- Mount New Solenoid: Position the new 10L0L solenoid in the same location. This unit features a mounting bracket for secure installation.
- Connect Wiring: Reconnect the wires to the new solenoid's 4 terminals, ensuring each wire is attached to its corresponding terminal as noted during disconnection. This solenoid is designed for direct OEM replacement, requiring no cutting, crimping, or adapters.
- Secure Connections: Ensure all terminal connections are tight and secure to prevent intermittent operation or electrical issues.
- Reconnect Battery: Once all connections are verified, reconnect the golf cart's battery.
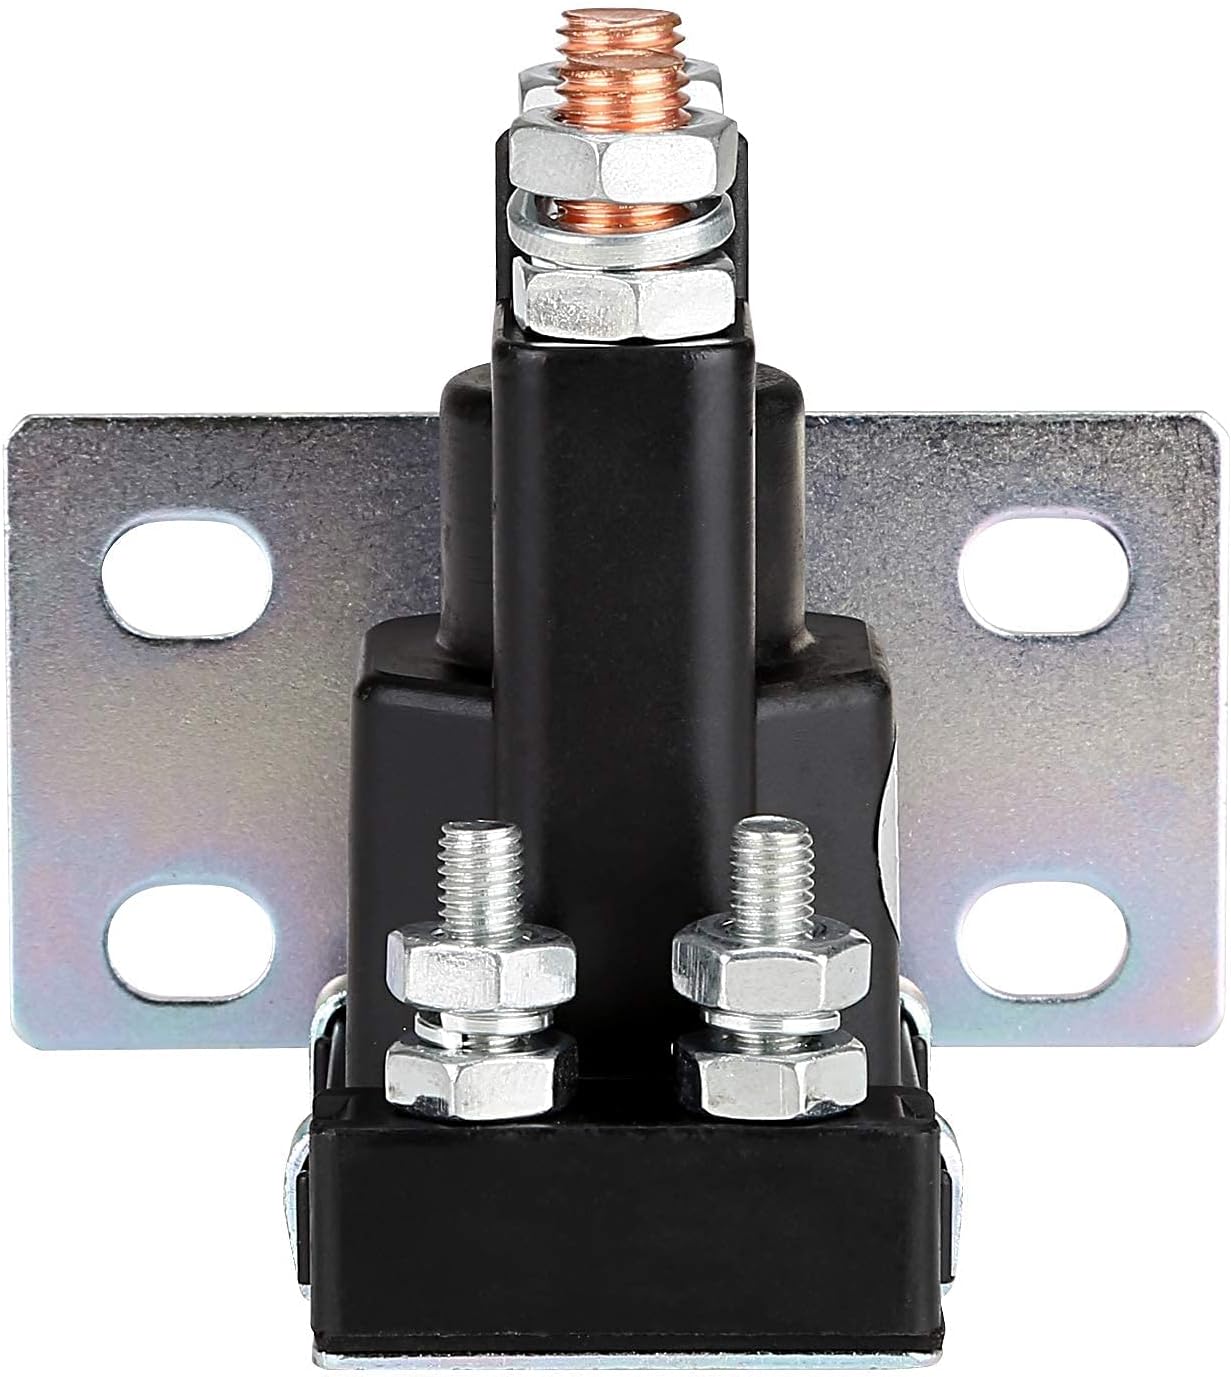
Figure 2: Close-up view of the solenoid terminals for wiring reference.
Video 1: A detailed 360-degree view of the 10L0L 14V Golf Cart Solenoid, useful for visual reference during installation.
5. Operation
The solenoid functions as an electrical switch, allowing current to flow to the starter motor when activated. Its 100A continuous contact load capacity and up to 200A inrush current ensure stable and efficient current switching. This design is optimized for the frequent start-stop operations typical of golf carts, providing reliable engine engagement.
6. Maintenance
To ensure the longevity and optimal performance of your 10L0L solenoid:
- Periodic Inspection: Regularly inspect the solenoid's terminals and wiring for any signs of corrosion, looseness, or damage.
- Clean Terminals: If corrosion is present, carefully clean the terminals using a wire brush and a suitable electrical contact cleaner. Ensure all connections are tight after cleaning.
- Environmental Protection: The solenoid features heat-resistant housing and corrosion-resistant terminals, but avoiding excessive exposure to moisture and extreme temperatures will further extend its life.
7. Troubleshooting
If your golf cart experiences starting issues after solenoid installation, consider the following:
- Solenoid Clicks but Engine Does Not Start: This often indicates that the solenoid is activating, but the main power circuit to the starter is not completing. Check the large terminal connections for tightness and corrosion. Verify battery charge and starter motor function.
- No Click from Solenoid: This suggests the solenoid is not receiving the activation signal or is faulty. Check the small control wire connections, the ignition switch, and any safety interlocks (e.g., pedal switch). Ensure the battery has sufficient voltage.
- Intermittent Starting: Inspect all wiring connections for looseness or corrosion. Ensure the battery terminals are clean and tight.
If troubleshooting steps do not resolve the issue, consult a qualified golf cart technician.
8. Specifications
| Attribute | Value |
|---|---|
| Item Package Dimensions L x W x H | 3.7 x 3.11 x 2.91 inches |
| Package Weight | 0.24 Kilograms |
| Brand Name | 10L0L |
| Model Name | ezgo txt starter solenoid |
| Color | Black |
| Material | copper, metal |
| Manufacturer | 10L0L Direct |
| Part Number | 27153-G01 27153G01 |
| Size | 3.7 x 3.11 x 2.91" |
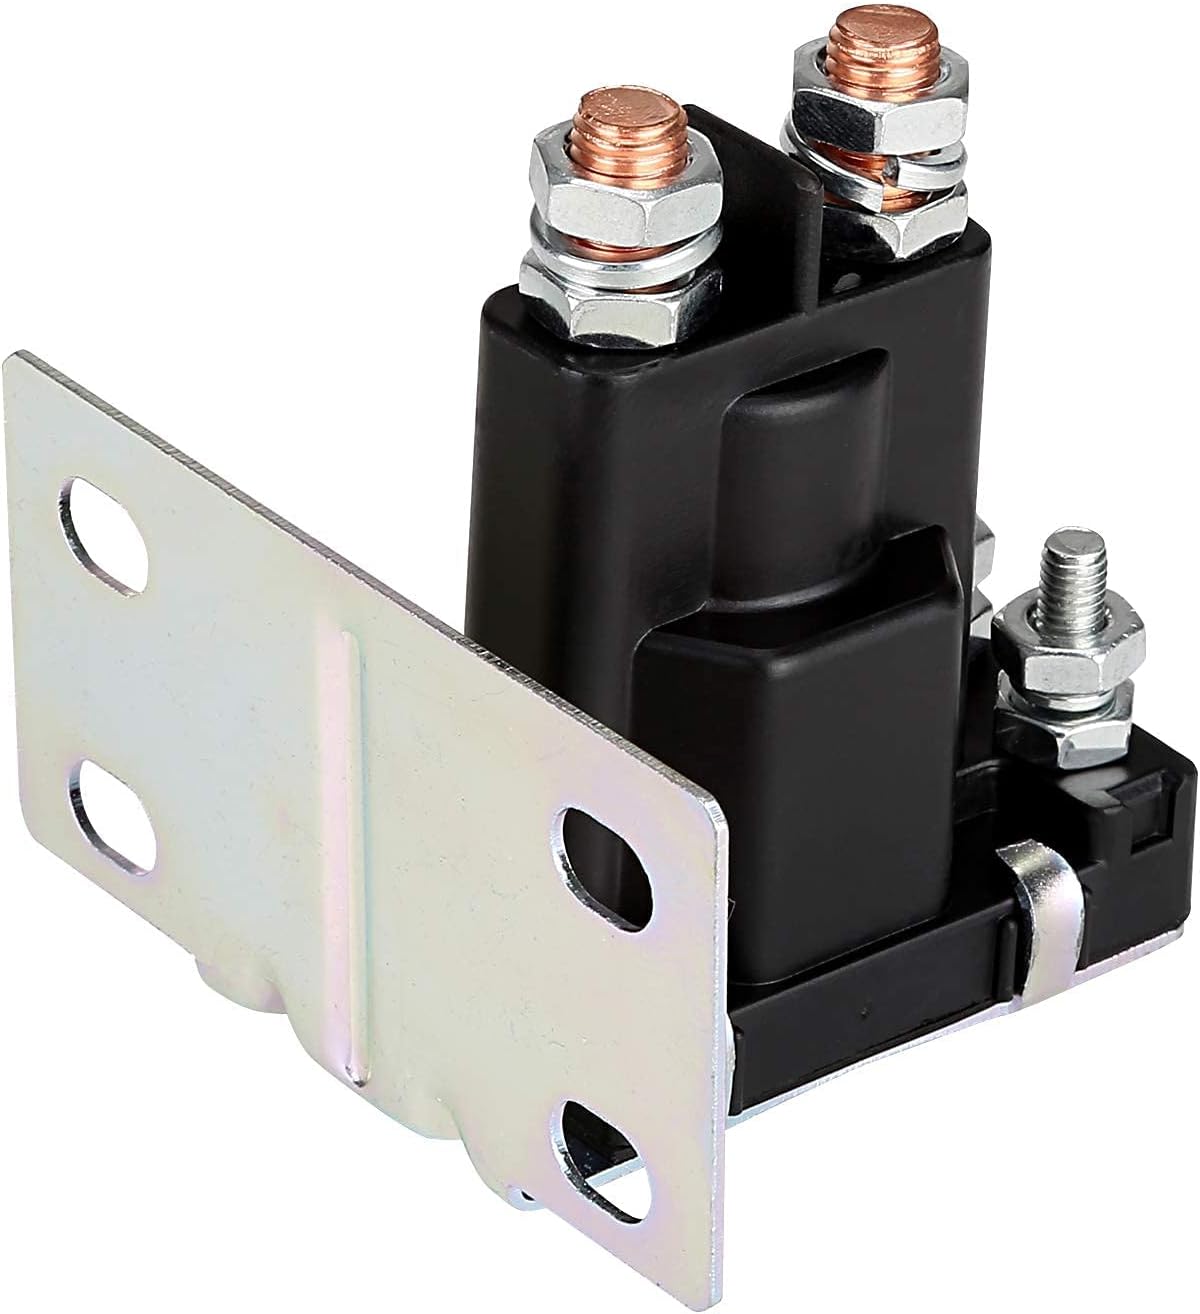
Figure 3: Dimensional diagram of the solenoid.
9. What's in the Box
The product package includes:
- 1 x 14V 200A Golf Cart Solenoid
10. Warranty and Support
This 10L0L Golf Cart Solenoid comes with a 1-Year Warranty from the date of purchase. For warranty claims, technical assistance, or any product-related inquiries, please contact 10L0L Direct customer support through your original point of purchase.