1. Introduction
This manual provides detailed instructions for the safe installation, operation, and maintenance of your Hinkley Graham 38893PN Medium Semi-Flush Mount Ceiling Light. This fixture features a transitional style with a polished nickel frame and faux parchment shades, designed for indoor use. Please read all instructions carefully before beginning installation.
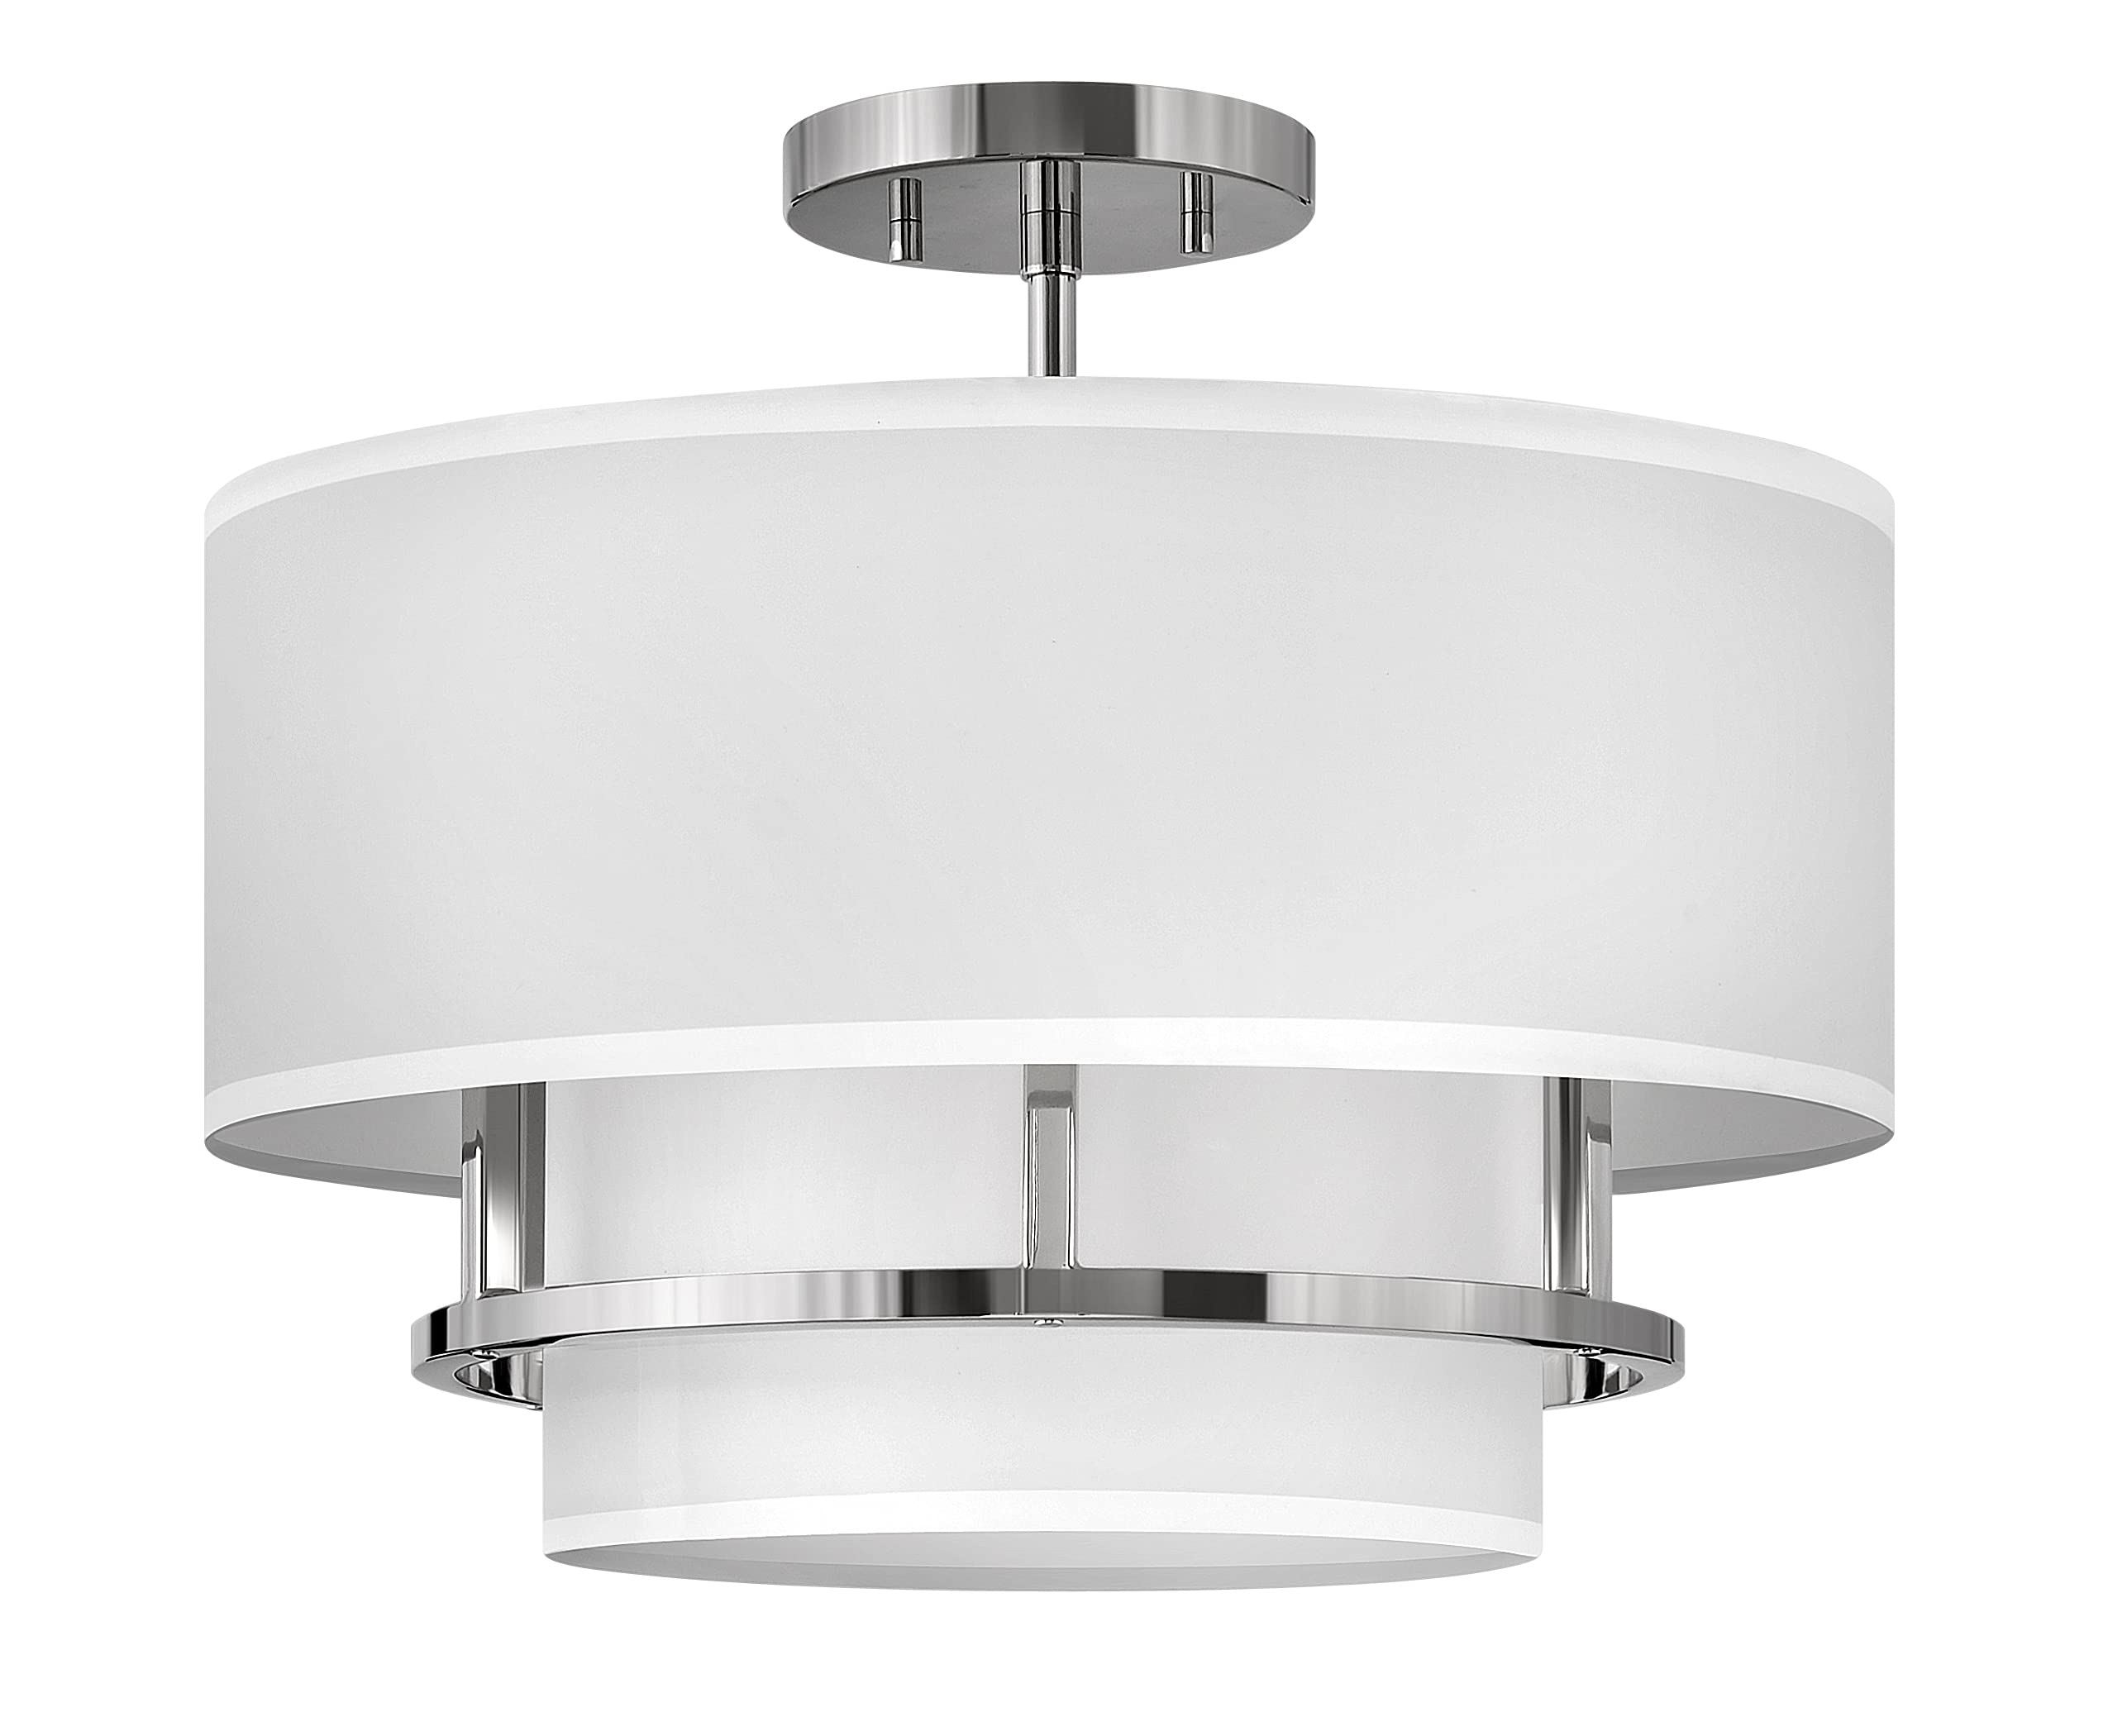
Figure 1.1: The Hinkley Graham 38893PN Medium Semi-Flush Mount Ceiling Light in Polished Nickel. This image shows the overall design of the fixture with its double drum faux parchment shades and polished nickel frame.
Video 1.1: An overview video showcasing various Hinkley lighting products, including design and quality aspects. This video provides a general visual context for Hinkley's product line.
2. Important Safety Information
WARNING: Risk of electric shock. Disconnect power at the fuse box or circuit breaker before installation or servicing. Consult a qualified electrician if you are unsure about the installation process.
- Read all instructions carefully before installation.
- This fixture is designed for dry (indoor) locations only. Do not install in damp or wet environments.
- Ensure all electrical connections comply with local codes and ordinances, as well as the National Electric Code (NEC) and Canadian Electrical Code (CEC).
- Use only the specified bulb type and wattage: (3) 5W LED Candelabra bulbs (E12 base), 60W equivalent (not included).
- Do not exceed the maximum wattage indicated on the fixture.
- Always wear safety glasses during installation.
- Keep combustible materials away from the light fixture.
- Check your local laws and building codes before purchasing and installing this product.
3. Package Contents
Carefully unpack the fixture and check that all parts are included. Retain the packaging until you are certain all components are present and the fixture is installed correctly.
- Semi-Flush Mount Fixture Assembly (Polished Nickel frame, welded frame, double drum faux parchment shades)
- Mounting Hardware Kit (crossbar, mounting screws, wire nuts, canopy screws)
- Instruction Manual
- Note: Light bulbs (3 x E12 Candelabra, 5W LED equivalent) are not included and must be purchased separately.
4. Specifications
| Brand | Hinkley |
| Model Number | 38893PN |
| Color/Finish | Polished Nickel |
| Material | Alloy Steel, Faux Parchment (Shade) |
| Style | Transitional |
| Fixture Type | Close to Ceiling / Semi-Flush Mount |
| Dimensions (L x W x H) | 16"L x 16"W x 13.75"H |
| Shade Dimensions | 16" Dia. x 6" H |
| Canopy Diameter | 5.25" |
| Item Weight | 4.84 Pounds |
| Light Source | LED Compatible |
| Number of Lights | 3 |
| Bulb Base | E12 (Candelabra) |
| Max Wattage per Bulb | 5 Watts (LED) |
| Voltage | 120 Volts |
| Dimmable | Yes (with compatible bulbs and dimmer switch) |
| Power Source | Hardwired |
| Indoor/Outdoor Usage | Indoor Only |
| Required Assembly | Yes |

Figure 4.1: Dimensional drawing of the Hinkley Graham 38893PN fixture, showing a width of 16 inches and a height of 13.75 inches.
5. Installation Instructions
Follow these steps to install your Hinkley Graham 38893PN Semi-Flush Mount Ceiling Light. It is recommended to have a second person assist during installation.
- Turn Off Power: Before starting, ensure the power to the junction box is completely off at the circuit breaker or fuse box.
- Prepare Mounting Surface: Ensure the ceiling surface is clean, dry, and structurally sound to support the fixture's weight.
- Install Mounting Bracket: Attach the mounting crossbar to the junction box using the provided screws. Ensure the crossbar is securely fastened.
- Wire the Fixture:
- Connect the black wire from the fixture to the black (hot) wire from the junction box using a wire nut.
- Connect the white wire from the fixture to the white (neutral) wire from the junction box using a wire nut.
- Connect the ground wire from the fixture to the ground wire from the junction box (or to the green ground screw on the mounting bracket) using a wire nut.
- Carefully tuck all wires into the junction box.
- Attach Fixture Canopy: Align the fixture's canopy with the mounting screws on the crossbar. Secure the canopy to the crossbar using the decorative nuts or screws provided.
- Install Light Bulbs: Screw three (3) E12 Candelabra base LED bulbs (max 5W each, 60W equivalent) into the sockets. Do not overtighten.
- Install Shades: Carefully attach the faux parchment shades to the fixture according to the specific design. Ensure they are seated properly and securely.
- Restore Power: Once installation is complete and all components are secure, restore power at the circuit breaker.

Figure 5.1: Close-up view of the fixture's canopy, showing the polished nickel finish and attachment points to the ceiling.
6. Operating Instructions
To operate your Hinkley Graham 38893PN Semi-Flush Mount Ceiling Light, simply use the wall switch connected to the fixture. If you have installed dimmable LED bulbs and a compatible dimmer switch, you can adjust the light intensity as desired.
7. Care and Maintenance
- Cleaning: Always disconnect power before cleaning. Wipe the fixture with a soft, dry cloth. Do not use abrasive cleaners, solvents, or polishes as they may damage the finish.
- Bulb Replacement: Ensure power is off and bulbs have cooled before attempting to replace them. Use only E12 Candelabra base LED bulbs, maximum 5W each.
- Shade Care: The faux parchment shades can be gently dusted with a soft, dry cloth. Avoid getting them wet.
8. Troubleshooting
| Problem | Possible Cause | Solution |
|---|---|---|
| Light does not turn on. |
|
|
| Light flickers. |
|
|
9. Warranty and Customer Support
This Hinkley Graham 38893PN Semi-Flush Mount Ceiling Light comes with a 2-year limited warranty from the date of purchase. This warranty covers defects in materials and workmanship under normal use.
For warranty claims, technical assistance, or replacement parts, please contact Hinkley Customer Support:
- Website: www.hinkley.com
- Phone: Refer to the Hinkley website for current contact numbers.
- Please have your model number (38893PN) and proof of purchase ready when contacting support.