
1. Introduction
This manual provides detailed instructions for the YAKii Solar Lantern, a decorative outdoor lighting solution. Designed with a traditional retro style, these metal lanterns combine classic aesthetics with modern solar technology, providing warm white light for your yard, garden, pathway, patio, or porch.

Figure 1.1: YAKii Solar Lanterns in an outdoor setting, showcasing their warm illumination.
2. Safety Information
Please read and understand all safety precautions before using the product:
- Ensure the product is installed in a location that receives direct sunlight for optimal charging.
- Do not attempt to modify or disassemble the lantern, as this may void the warranty and pose safety risks.
- Keep away from open flames or extreme heat sources.
- This product is designed for decorative purposes and is not intended as a primary light source.
- The lantern is waterproof (IP44 rated) but should not be submerged in water.
3. Package Contents
The YAKii Solar Lantern package typically includes:
- 2 x YAKii Solar Lanterns (Red-2pack)
- Pre-installed LED bulb
4. Product Specifications
| Feature | Specification |
|---|---|
| Model Number | LP110 |
| Brand | YAKii |
| Product Dimensions | 7.3"L x 7.3"W x 14.5"H |
| Item Weight | 1.76 pounds |
| Material | Metal |
| Finish Type | Painted |
| Color | Red |
| Power Source | Solar Powered |
| Light Source Type | Light Emitting Diode (LED) |
| Battery Type | 1 AAA batteries required (Solar, Lithium-Ion) |
| Battery Life | Up to 8 Hours (on full charge) |
| Water Resistance Level | Waterproof (IP44) |
5. Setup Guide
5.1. Unpacking
Carefully remove the lanterns from their packaging. Inspect for any visible damage before proceeding with installation.
5.2. Initial Activation
Locate the ON/OFF switch on the underside of the solar panel. Slide the switch to the "ON" position. The lantern will not light up during the day, but will begin charging.
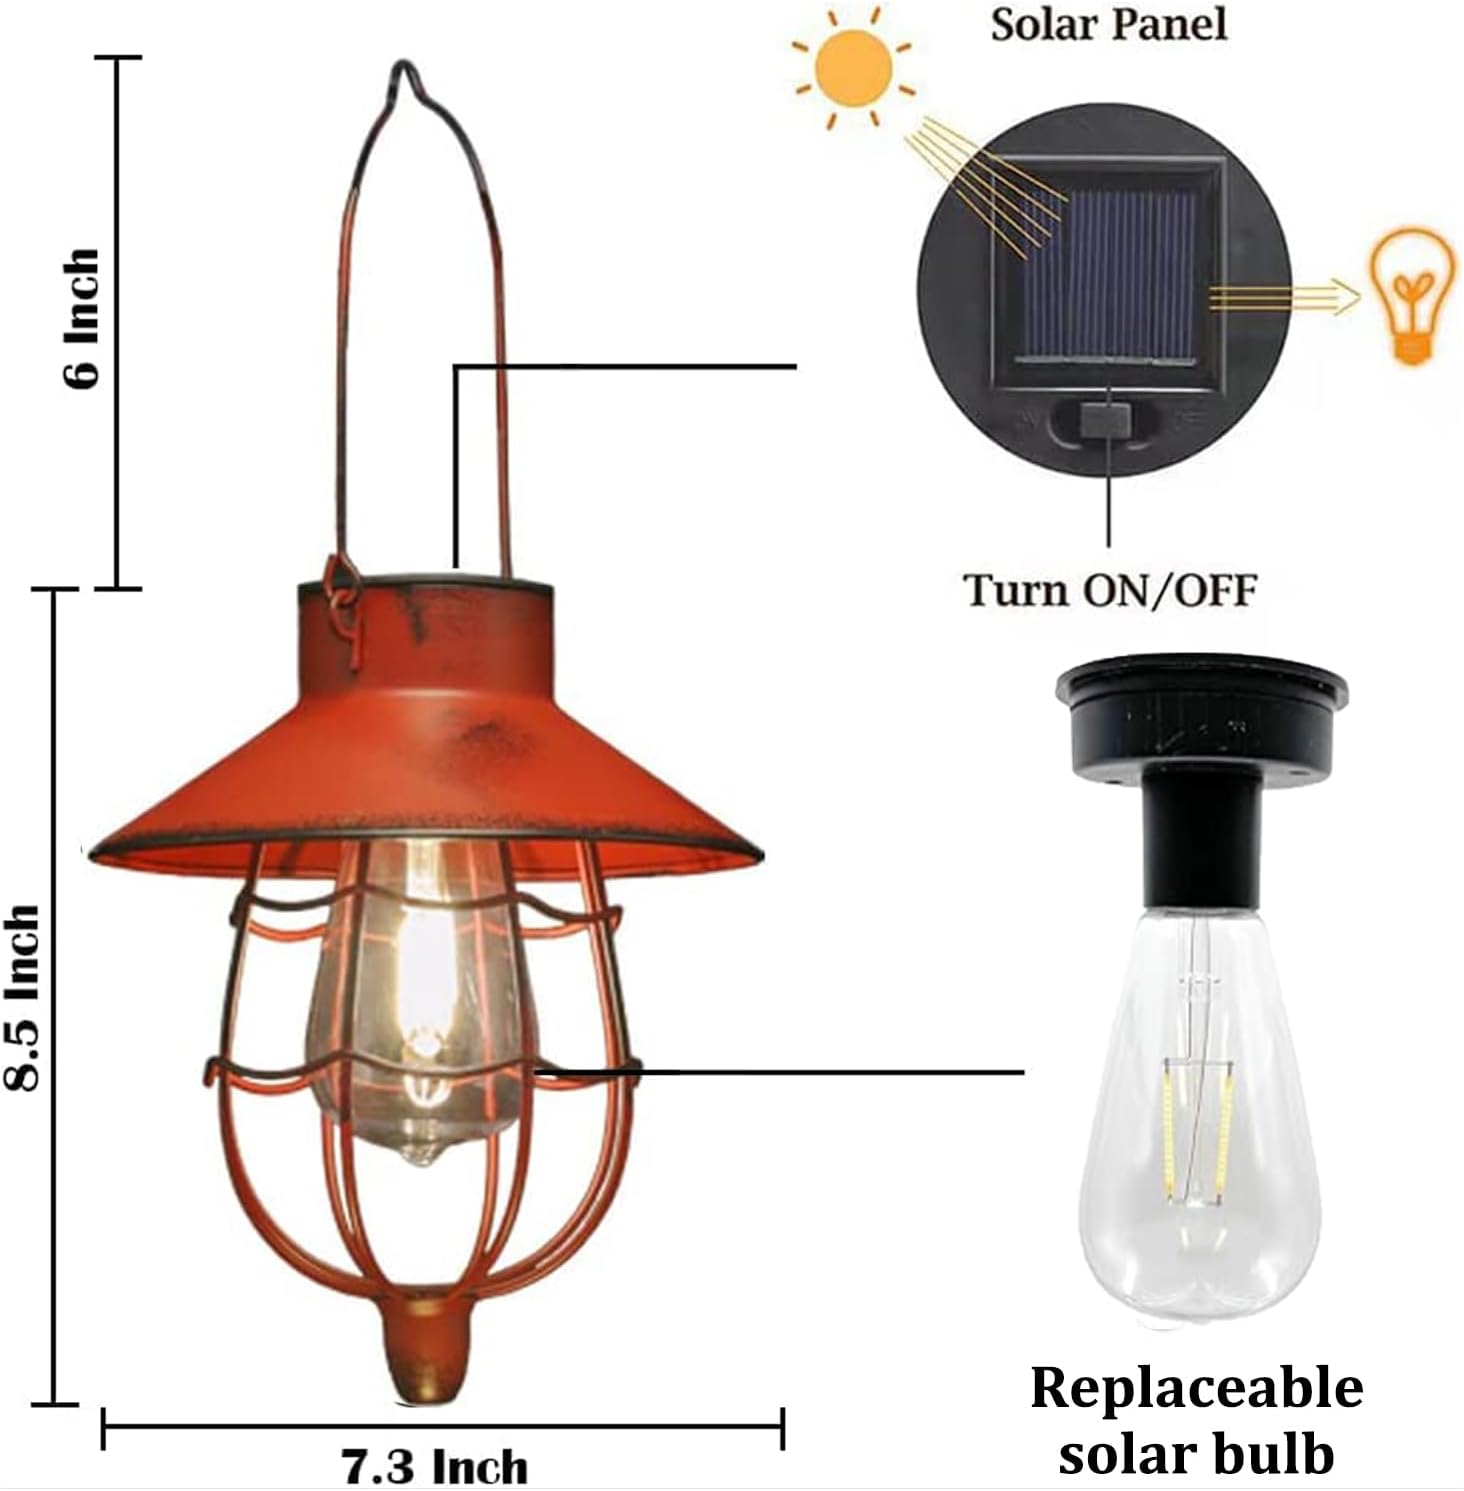
Figure 5.1: Detail of the solar panel and ON/OFF switch on the lantern.
Video 5.1: Demonstration of locating and operating the ON/OFF switch on the solar lantern.
5.3. Placement
For optimal performance, place the solar lanterns in an area that receives ample direct sunlight for at least 6-8 hours daily. This ensures the battery is fully charged for nighttime operation. Avoid shaded areas or locations under strong artificial light at night, as this may prevent the lantern from turning on automatically.

Figure 5.2: Proper placement of the solar lantern to maximize sun exposure for charging.
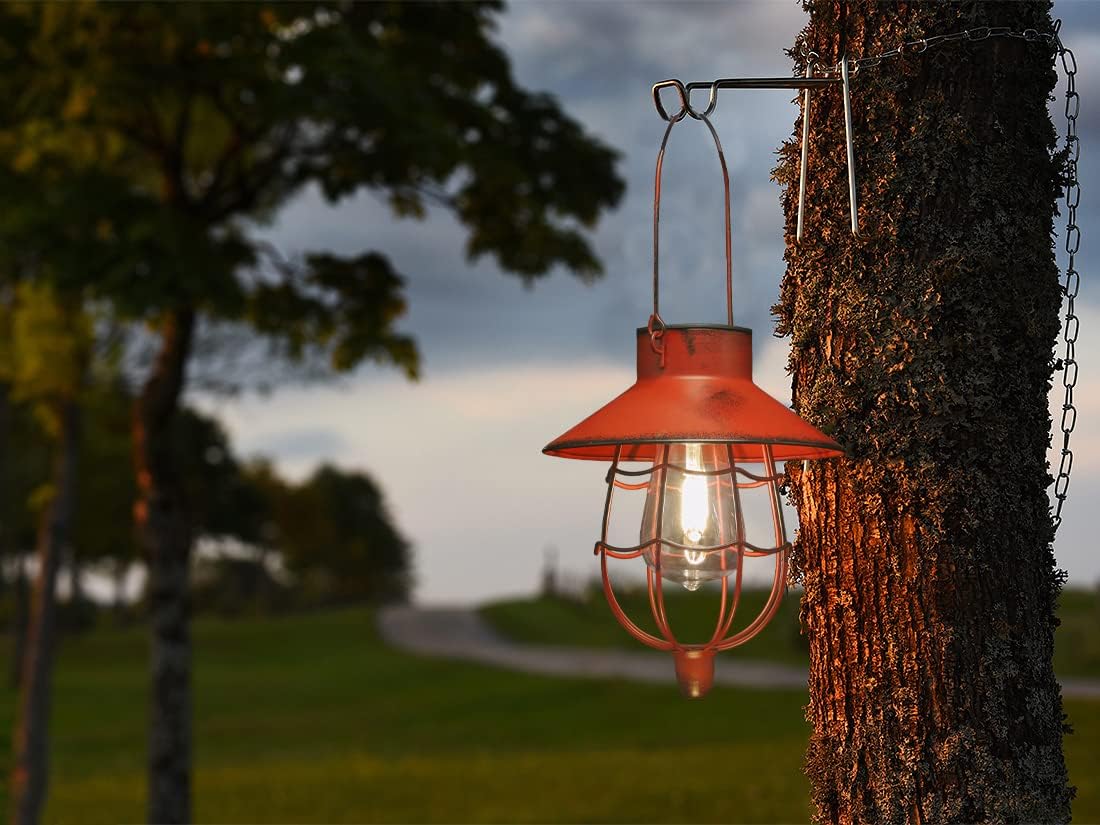
Figure 5.3: The lantern can be hung from various outdoor structures like tree branches or shepherd's hooks.
6. Operating Instructions
Once the ON/OFF switch is set to "ON" and the lanterns have received sufficient sunlight, they will automatically illuminate at dusk and turn off at dawn. No manual intervention is required for daily operation.

Figure 6.1: Automatic charging during the day and lighting at night.
The warm white LED light is designed to enhance ambiance and is not intended for bright area illumination. Its primary function is decorative.
7. Maintenance
7.1. Cleaning
Periodically wipe the solar panel and the lantern's metal surface with a soft, damp cloth to remove dust, dirt, and debris. This ensures efficient solar charging and maintains the aesthetic appeal of the anti-rust painted finish.
7.2. Battery Replacement
The lantern uses a rechargeable AAA battery. If the light output diminishes significantly over time or the lantern stops working, the battery may need replacement. Carefully open the battery compartment, typically located near the solar panel, and replace with a new rechargeable AAA battery of the same type and voltage.

Figure 7.1: Diagram showing the replaceable solar bulb and panel area.
8. Troubleshooting
8.1. Lantern does not light up at night:
- Check the switch: Ensure the ON/OFF switch on the solar panel is in the "ON" position.
- Sunlight exposure: Verify the lantern is placed in an area that receives ample direct sunlight (6-8 hours) during the day. Relocate if necessary.
- Battery charge: Allow the lantern to charge for at least 8-10 hours in direct sunlight before its first use or after prolonged storage.
- Battery condition: The rechargeable battery may have reached the end of its lifespan. Replace the AAA battery.
8.2. Light is dim or flickers:
- Insufficient charge: The battery may not have received a full charge. Ensure adequate sunlight exposure.
- Dirty solar panel: Clean the solar panel surface to remove any dirt or obstructions.
- Aging battery: Replace the AAA battery.
9. Warranty and Support
YAKii products are manufactured with a commitment to quality and durability. For any questions, concerns, or warranty inquiries regarding your solar lantern, please contact YAKii customer service. Refer to your original purchase documentation or the YAKii official website for specific warranty terms and contact information.