1. Introduction
This manual provides detailed instructions for the installation, operation, and maintenance of your LOMAZOO LMZ-RINCON single bowl stainless steel kitchen sink. Please read these instructions carefully before beginning installation or use to ensure proper function and longevity of your product. Retain this manual for future reference.
2. Safety Information
- Always wear appropriate personal protective equipment, such as gloves and safety glasses, during installation.
- Exercise caution when handling the sink, as edges may be sharp.
- Ensure all plumbing connections are secure and watertight to prevent leaks.
- If you are unsure about any part of the installation process, consult a qualified plumber.
- Do not use abrasive cleaners or tools that could scratch the stainless steel surface.
3. Package Contents
Verify that all components are present before beginning installation:
- LOMAZOO LMZ-RINCON Single Bowl Stainless Steel Sink
- Drain Assembly (strainer, flange, gaskets)
- Mounting Clips and Hardware
- Flexible Drain Pipe
- Instruction Manual
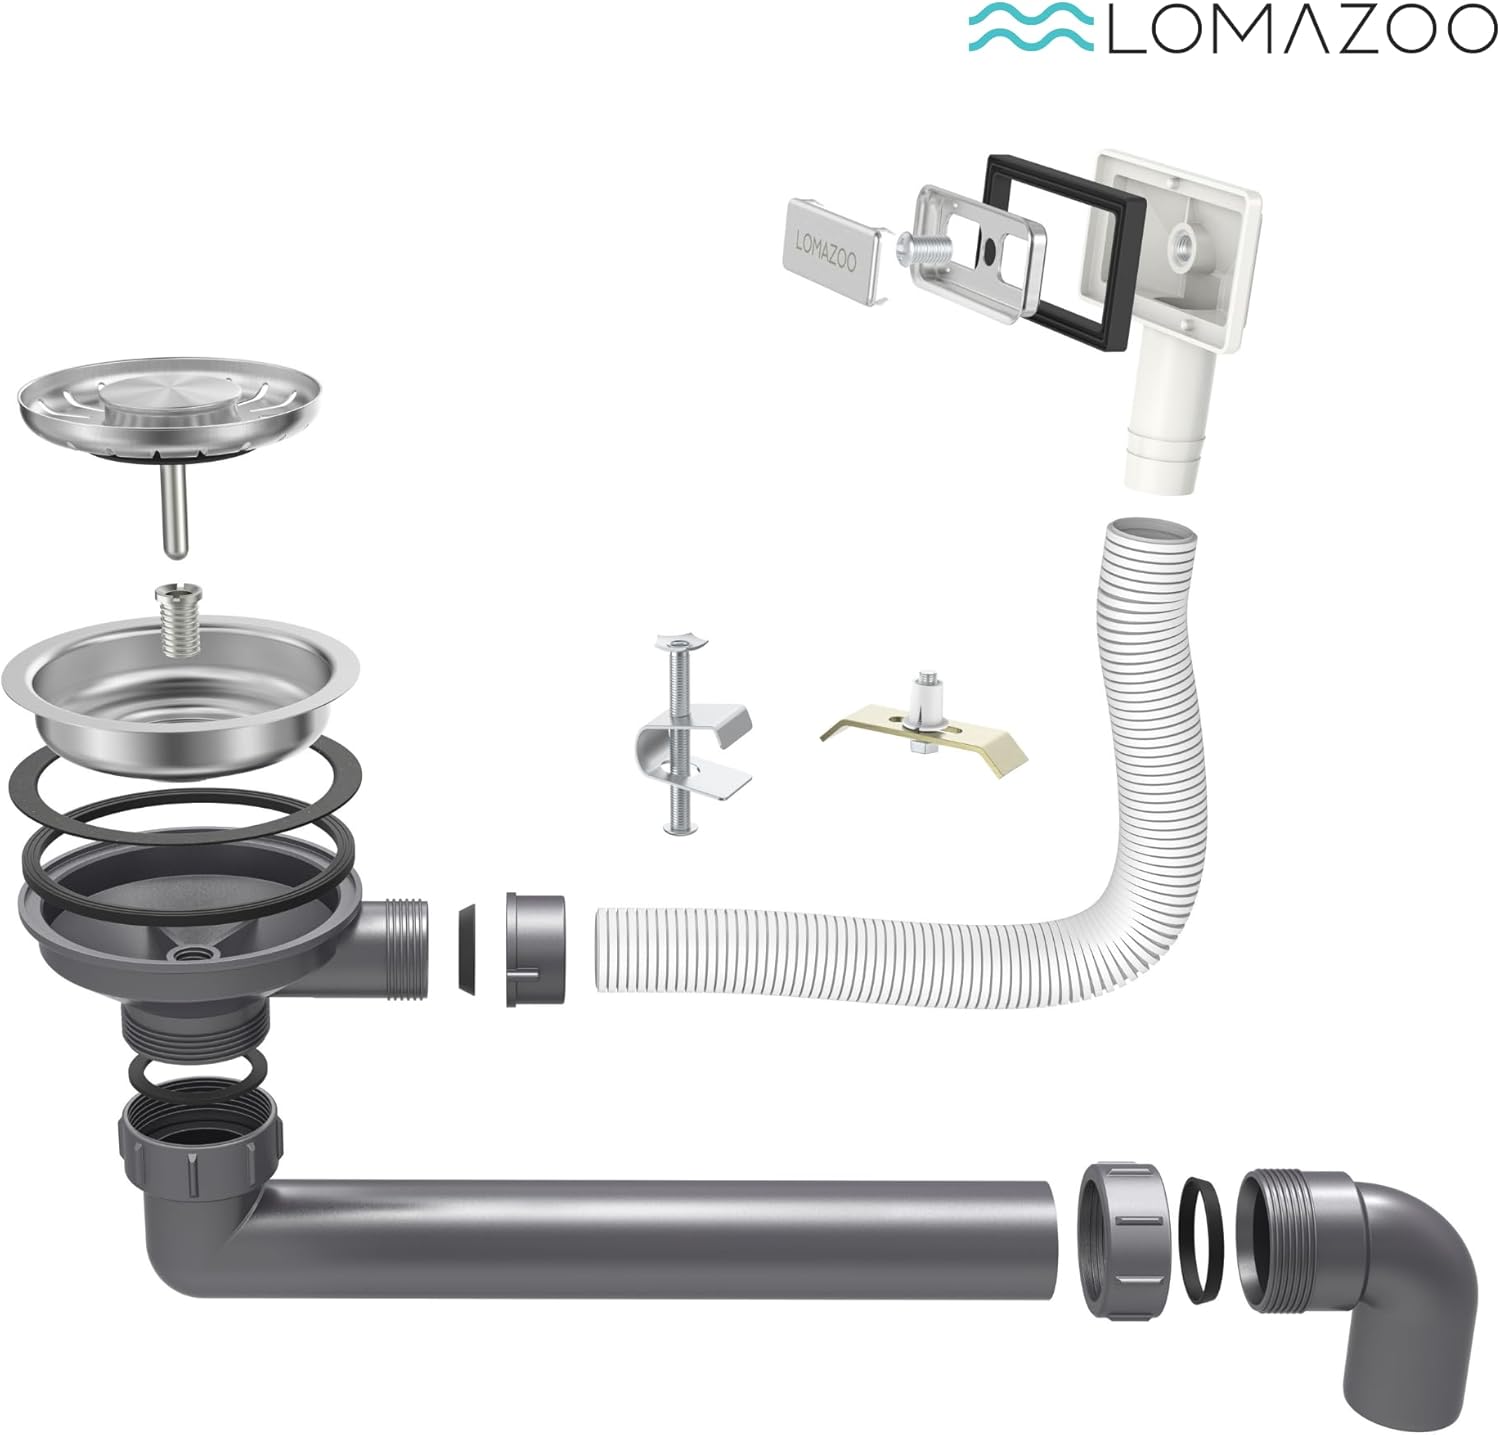
Figure 3.1: Exploded diagram showing all components included for the LOMAZOO sink installation, including the sink, drain assembly, and mounting hardware.
4. Specifications
| Feature | Specification |
|---|---|
| Brand | LOMAZOO |
| Model | LMZ-RINCON |
| Material | Stainless Steel |
| Overall Dimensions (L x W x H) | 44 x 22.4 x 20 cm |
| Bowl Dimensions (L x W x H) | 40 x 18 x 20 cm |
| Installation Type | Undermount |
| Weight | 3.9 Kilograms |
| Finish | Polished |

Figure 4.1: Technical diagram illustrating the precise dimensions of the LOMAZOO LMZ-RINCON single bowl kitchen sink, including overall and basin measurements.
5. Installation
5.1. Preparation
- Review Dimensions: Carefully check the sink dimensions (Figure 4.1) to ensure it fits your cabinet and countertop cutout.
- Clear Workspace: Ensure the installation area is clean, dry, and free of obstructions.
- Gather Tools: You will need standard plumbing tools, sealant, a drill, and a jigsaw (if cutting a new countertop opening).
5.2. Mounting the Sink
- Apply Sealant: Apply a continuous bead of silicone sealant around the perimeter of the countertop cutout where the sink will be mounted.
- Position Sink: Carefully lower the sink into the cutout, ensuring it is centered and aligned. Press down firmly to create a good seal with the sealant.
- Secure with Clips: Attach the provided mounting clips to the underside of the sink rim and tighten them against the countertop. Ensure even pressure around the sink.

Figure 5.1: The LOMAZOO LMZ-RINCON sink properly installed in a countertop.
5.3. Connecting Plumbing
- Install Drain Assembly: Place the drain flange into the sink's drain opening. Apply plumber's putty or sealant around the underside of the flange. Secure the rubber gasket, friction washer, and locknut from below, tightening firmly.
- Connect Drain Pipe: Attach the flexible drain pipe to the bottom of the drain assembly. Ensure all connections are hand-tightened first, then use a wrench for a secure, leak-free fit.
- Connect to Waste Line: Connect the other end of the drain pipe to your household waste line, following local plumbing codes.
- Test for Leaks: Once all connections are made, run water into the sink and check thoroughly for any leaks around the drain and pipe connections.

Figure 5.2: Components of the sink drain assembly.

Figure 5.3: Close-up of the drain strainer in place.
6. Operation
The LOMAZOO LMZ-RINCON sink is designed for standard kitchen use. Water flows into the basin and drains through the central drain opening. The included strainer basket prevents food particles and debris from entering the plumbing system. The sink features a sound-absorbing design to minimize noise during use.
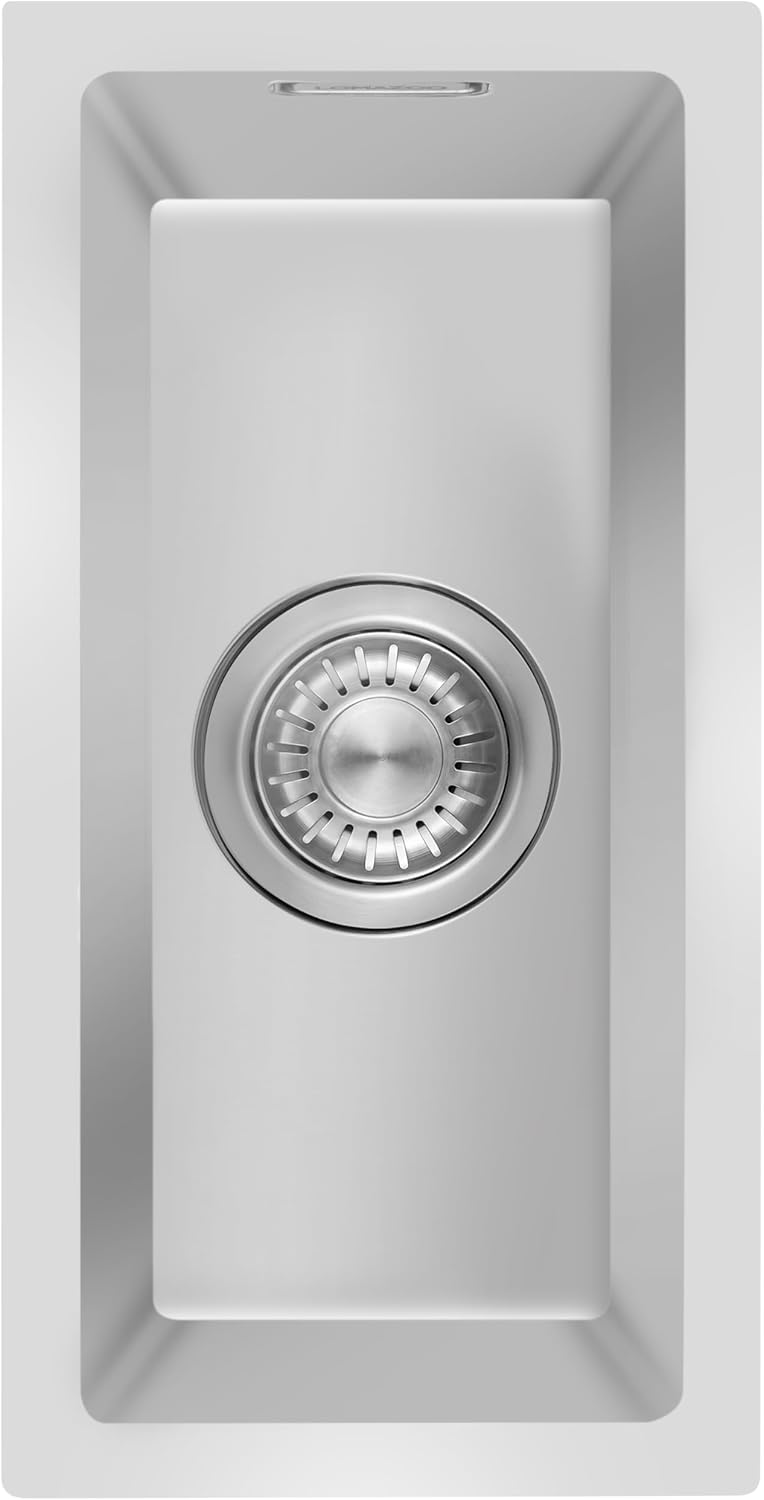
Figure 6.1: Top-down view of the sink with drain strainer.
7. Maintenance and Care
To maintain the appearance and functionality of your LOMAZOO stainless steel sink, follow these care guidelines:
- Regular Cleaning: Clean daily with a soft cloth or sponge and mild dish soap. Rinse thoroughly with clean water and dry immediately to prevent water spots.
- Avoid Abrasives: Do not use steel wool, abrasive pads, or harsh chemical cleaners (e.g., bleach, ammonia-based products) as these can scratch the surface or cause discoloration.
- Prevent Scratches: While stainless steel is durable, it can scratch. Use a cutting board for food preparation and avoid dragging heavy or sharp objects across the sink surface.
- Remove Stains: For stubborn stains, use a non-abrasive stainless steel cleaner, following the product's instructions. Always rub in the direction of the grain.
- Drain Care: Regularly remove and clean the drain strainer to prevent clogs and maintain hygiene.
8. Troubleshooting
| Problem | Possible Cause | Solution |
|---|---|---|
| Slow drainage | Clogged drain strainer or pipe. | Remove and clean the drain strainer. If the issue persists, check the drain pipe for blockages. |
| Water pooling in sink | Sink not level or improper installation slope. | Verify the sink and countertop are level. Ensure proper slope towards the drain during installation. |
| Water spots or discoloration | Hard water deposits or improper drying. | Dry the sink immediately after use. For existing spots, use a stainless steel cleaner or a solution of vinegar and water, then rinse and dry. |
| Leaks around drain | Loose connections or insufficient sealant. | Tighten drain connections. If necessary, disassemble, reapply plumber's putty or sealant, and reassemble. |
9. Warranty and Support
The LOMAZOO LMZ-RINCON kitchen sink comes with a 10-year manufacturer's warranty, covering defects in materials and workmanship under normal use. This warranty does not cover damage resulting from improper installation, misuse, abuse, or normal wear and tear.
For warranty claims or technical support, please contact LOMAZOO customer service through the retailer where the product was purchased. Please have your proof of purchase and model number (LMZ-RINCON) available.


